Know what is a furring strip, its usage, and installation
Top blog articles


What is a furring strip, in construction projects? Well, a furring strip is used in carpentry, shelving, and general finish work — wherever you need to prepare an even surface for exterior or interior structural applications.
These durable, narrow strips are made either from wood (such as southern yellow pine, spruce, or fir) or metal to ensure the structural integrity of a home improvement project. Pressure-treated lumber is even more durable. You can use the wooden strips to fur out a wall — to make it thicker or more even.
To “fur” is to build out a wall or ceiling so that a surface — whether horizontal or vertical — is leveled. Once you have a level surface, you can easily attach wallboard or paneling.

What is a furring strip?
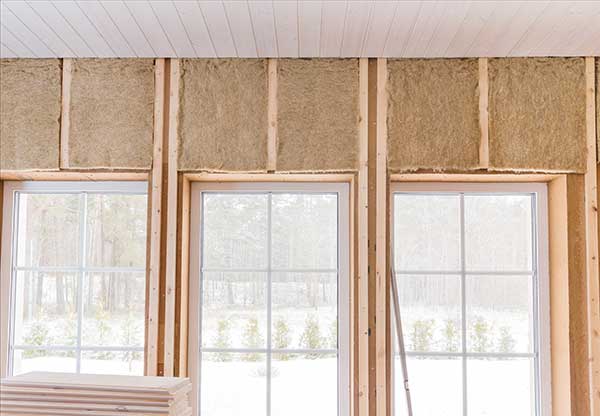
Furring strips, aka furring boards or wood strapping, are thin, narrow strips of wood or metal. The purpose of using them is to level or raise the surface of another material. This construction step helps prevent moisture from seeping in, creates space for insulation, or levels a ceiling or wall.
Generally, wood furring strips come in sizes: 1 inch x 2 inches (2.5 cm x 5 cm) or 1 inch x 3 inches (2.5 cm x 7.5 cm). You can nail them to studs or joists against a wall surface.
Of course, the amount of space between the strips is determined by the type of finishing material it is. For example, for heavy boards supporting ceramic tiles, you’ll need wider spacing while for thin paneling or plaster, you’ll need closely spaced strips.
Uses of furring strips
Furring strips can be utilized for a variety of interior as well as exterior construction projects. Basically, furring strips come in handy when you want to create a level surface on which you can attach other flat materials. They ensure a smooth surface.
Here are some ways you can utilize furring strips:
- These wood or metal strips help create a level, solid frame or a supportive structure — allowing for easy and effective attachment of wood, paneling, or plaster to a wall or a ceiling.
- Furring strips create air space between the plaster and the masonry wall.
- The strips are useful when installing insulation into the walls — preventing dampness from getting inside the wall, prohibiting the growth of mold, and preventing a thermal short. Keep in mind that metal strips provide a little more heat insulation than wooden strips.
- These strips are used at the time of installing bathtubs and tiled showers — to level out the surface that’s under the backer board.
- You can utilize these furring strips as an anchor for your drywall, just like regular 2×4 studs. And even to smooth out any dents in your wall or cinder block.
Types of furring strips
There are two types of furring strips:
Hat channel-shaped furring strip
These types of strips resemble a hat and hence the name. They are the most common types of metal furring strips — mostly used in large real estate projects. They are heat-resistant — providing protection from solar heat.
Z-channel-shaped furring strip
This strip is in the shape of the alphabet Z. The versatile construction material is popularly used in several home improvement projects.
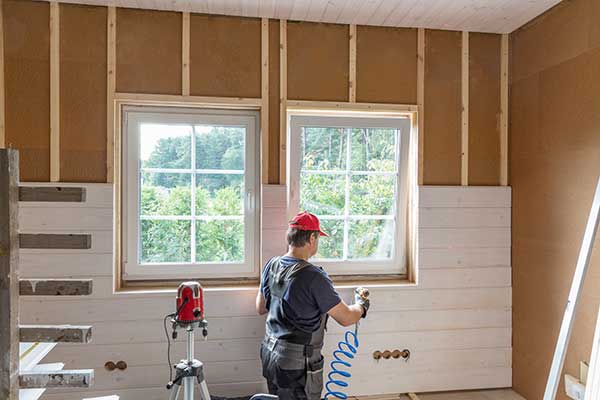
Furring strip installation
Furring a wall is cheaper than regular framing as it uses thinner strips of lumber. Installing furring strips is a simple process.
Keep in mind that the spacing and how you attach furring strips depend on the material of the existing wall and the finishing material.
If you’re attaching furring strips onto concrete or insulation, follow the steps below:
- Take a pressure-treated 2-by-4 piece of wood and place it on the floor, into the corner where the foam and the floor meet — leaving no gap between the rigid foam and the board.
- Turn the board over and spread a strong adhesive all over it. Again flip the board and press it down in its corner spot. Repeat with another 2-by-4 board — sticking it next to the first one. Cover the length of the room.
- Use a power drill or a hammer drill (with a 1/8-inch masonry bit) and make angled holes. Start at the top of the board and then into the concrete wall. Make sure the holes are spaced about 16 inches apart and are 1 ½ inch deep.
- Drive 3-inch fluted nails into the pilot holes and concrete using a sledgehammer.
- Measure the distance from one of the boards and cut two furring strips this exact length.
- Cover a furring strip side with a tough adhesive and press it onto the foam insulation.
- Drill 1/8-inch pilot holes through the furring strip, insulation, and concrete wall. Hammer them into the pilot holes.
- Repeat with all the furring strips.
Last thoughts
Well, now you know the answer to what is a furring strip. A furring strip is a thin, long piece of metal or wood that’s affixed to an unfinished wall — either horizontally or vertically. It can be used to support various finishing surfaces or to make an existing wall smooth.
It’s especially helpful in home renovations such as finishing a basement that has a wall of exposed concrete, blocks, or bricks.
Read more: Home insulation guide
Written by Ramona Sinha. November 8, 2022
Ramona is a senior content writer for Kukun. This experienced blogger uses simple and succinct words to decipher the complex phenomenon called life. She has written articles covering a broad range of topics, such as real estate, lending and mortgage, finance, business, taxation, home designs, home improvement projects, decor concepts, and more. An avid traveler, she’s a digital nomad at heart and an animal lover from the depths of her soul.
Top blog posts
See more >
Recommended
Join our newsletter
Get helpful renovation tips, insightful home maintenance articles, real estate market trends, and more.
Please enter a name
Please enter a valid e-mail
Your opinion matters, leave a comment
I thought these things were simple beams, I didn’t know they had a contractor term, haha