… or maybe 2.5x
Intro
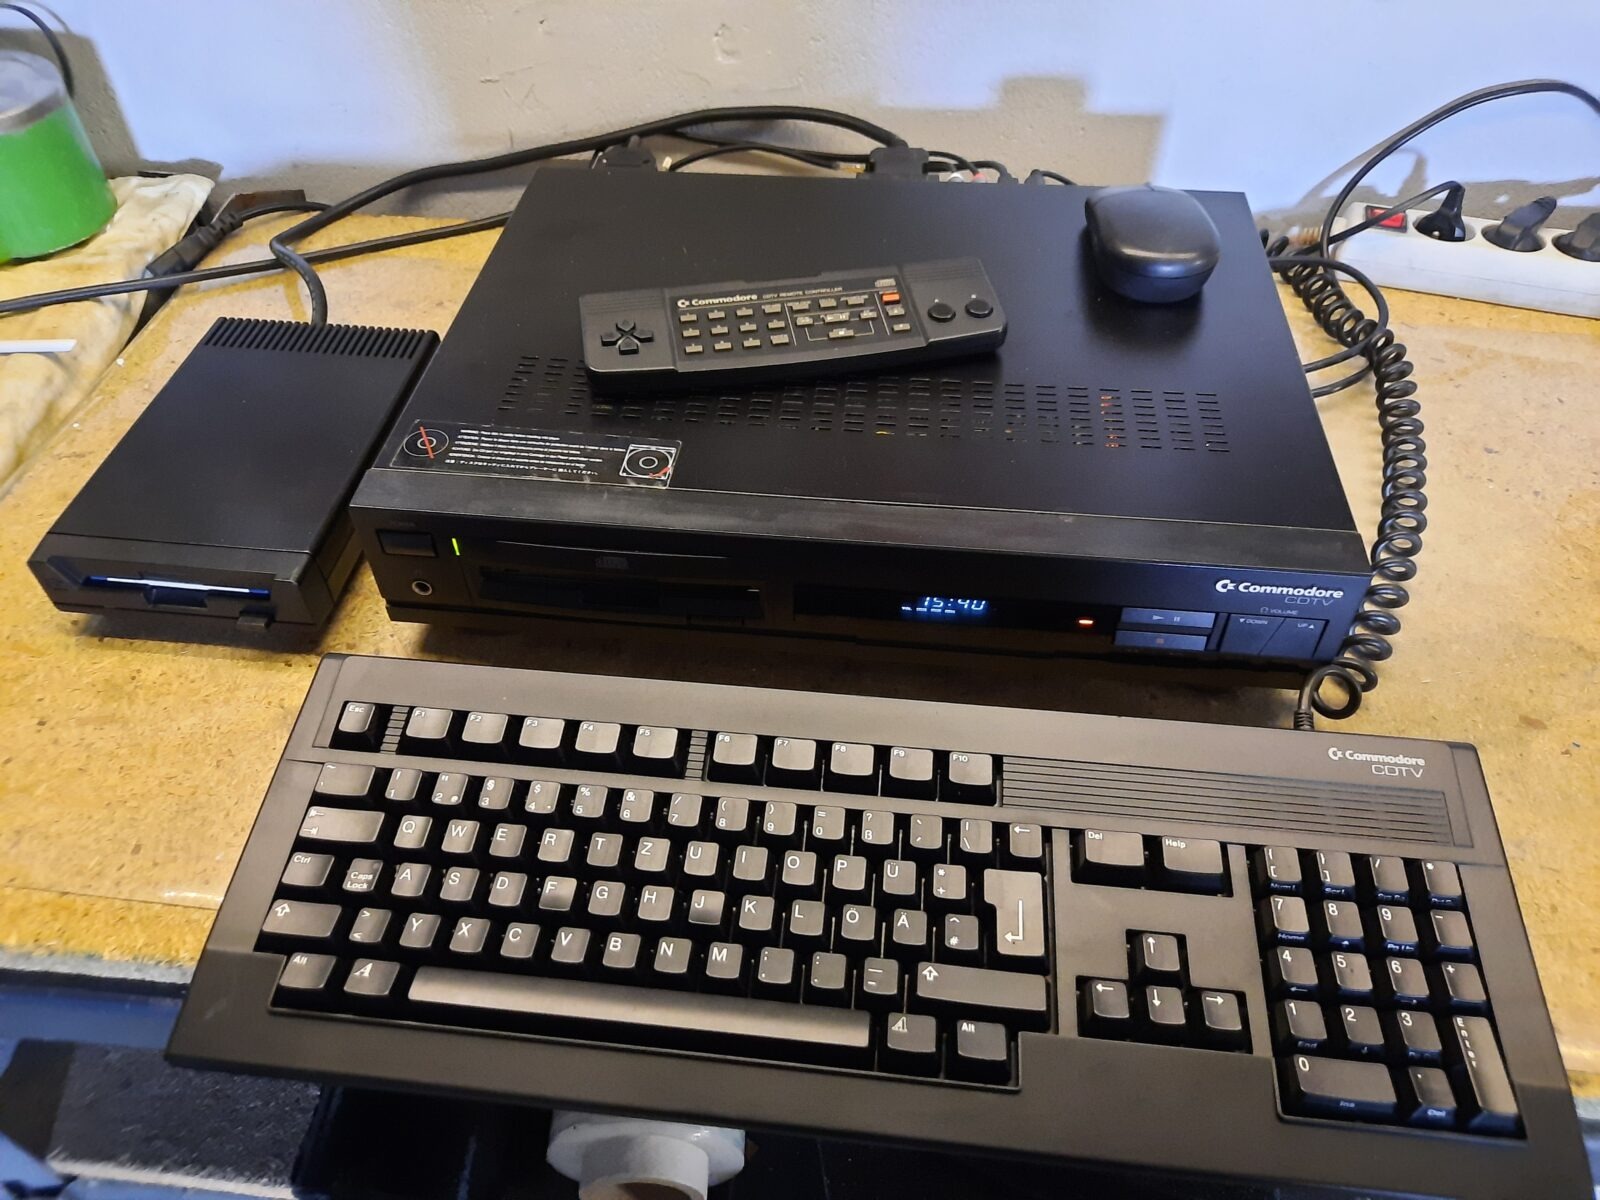
Today, I’ll be covering Commodore Amiga CDTV machines. I had two CDTVs in my garage already. The third Amiga was sent to me by Tomxx, one of the main guys responsible for the marvelous K&A magazine.
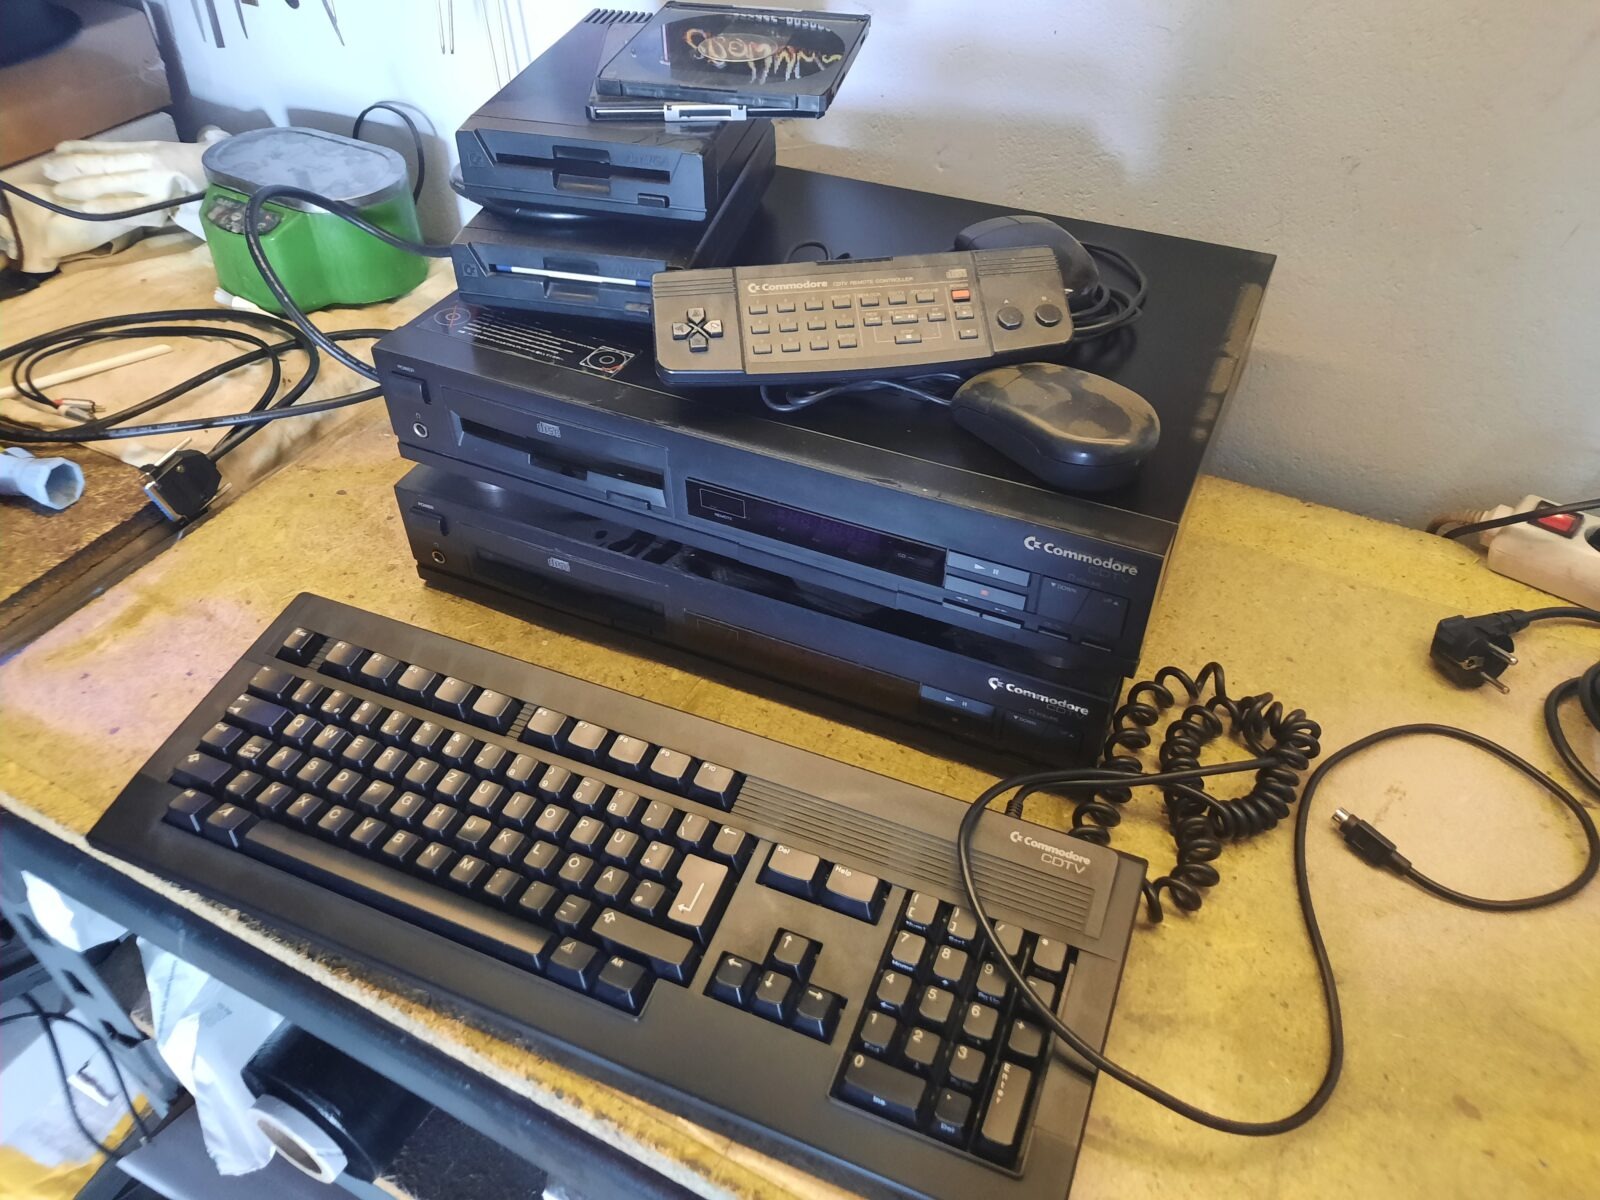
I started with a quick check and it quickly turned out that one machine was completely dead with some dents on the metal case and (surprisingly:) the other one worked fine. One of the Amigas was missing round legs and a button on the front panel.
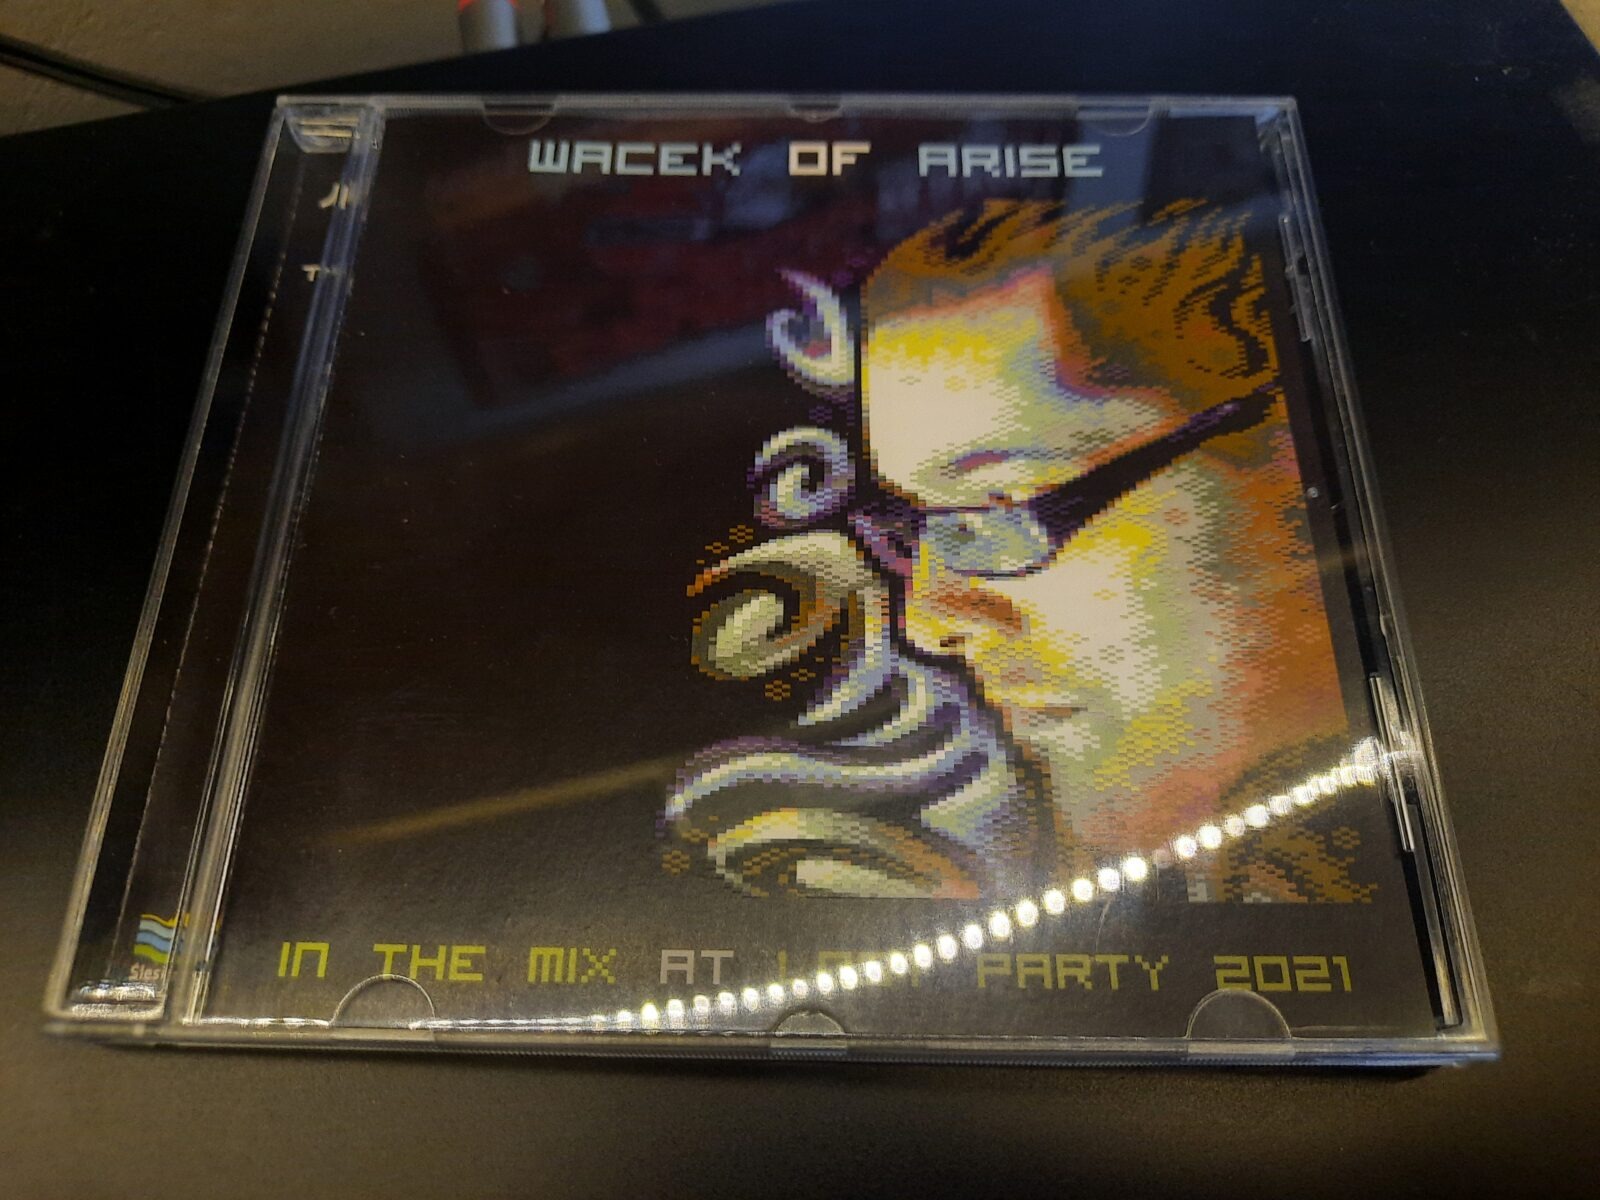
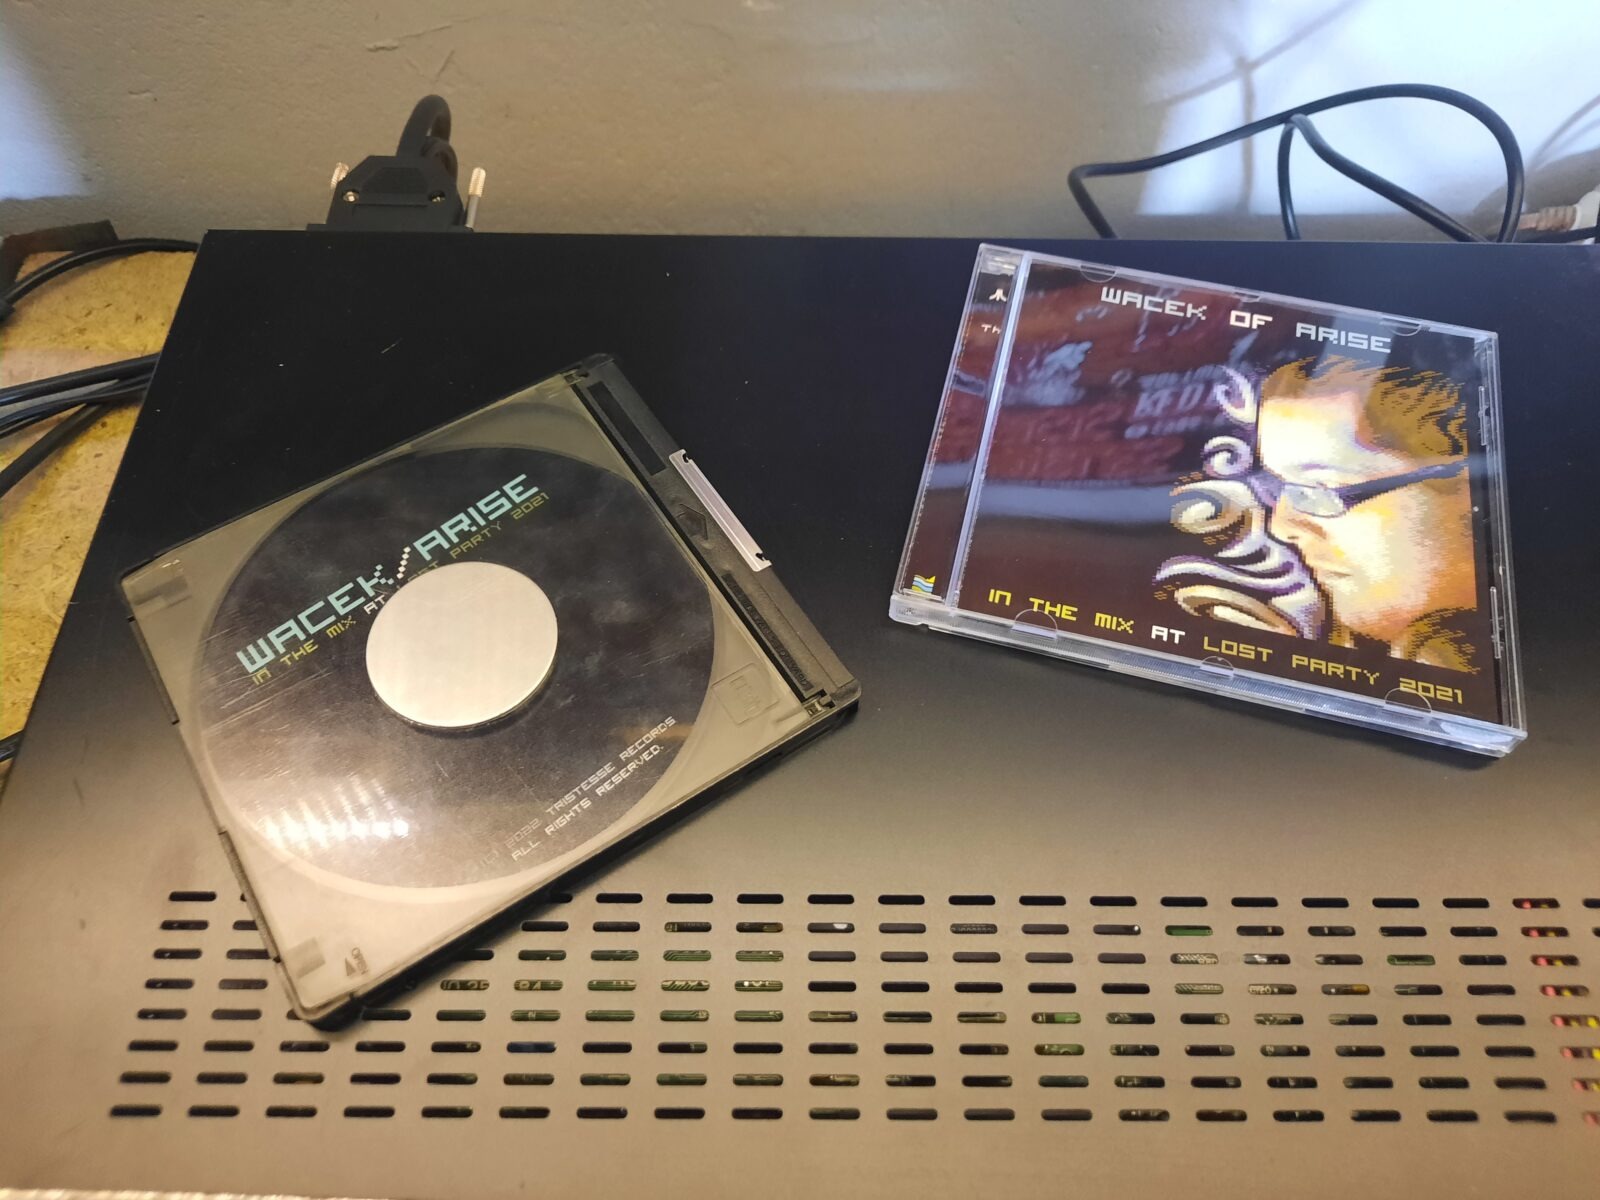
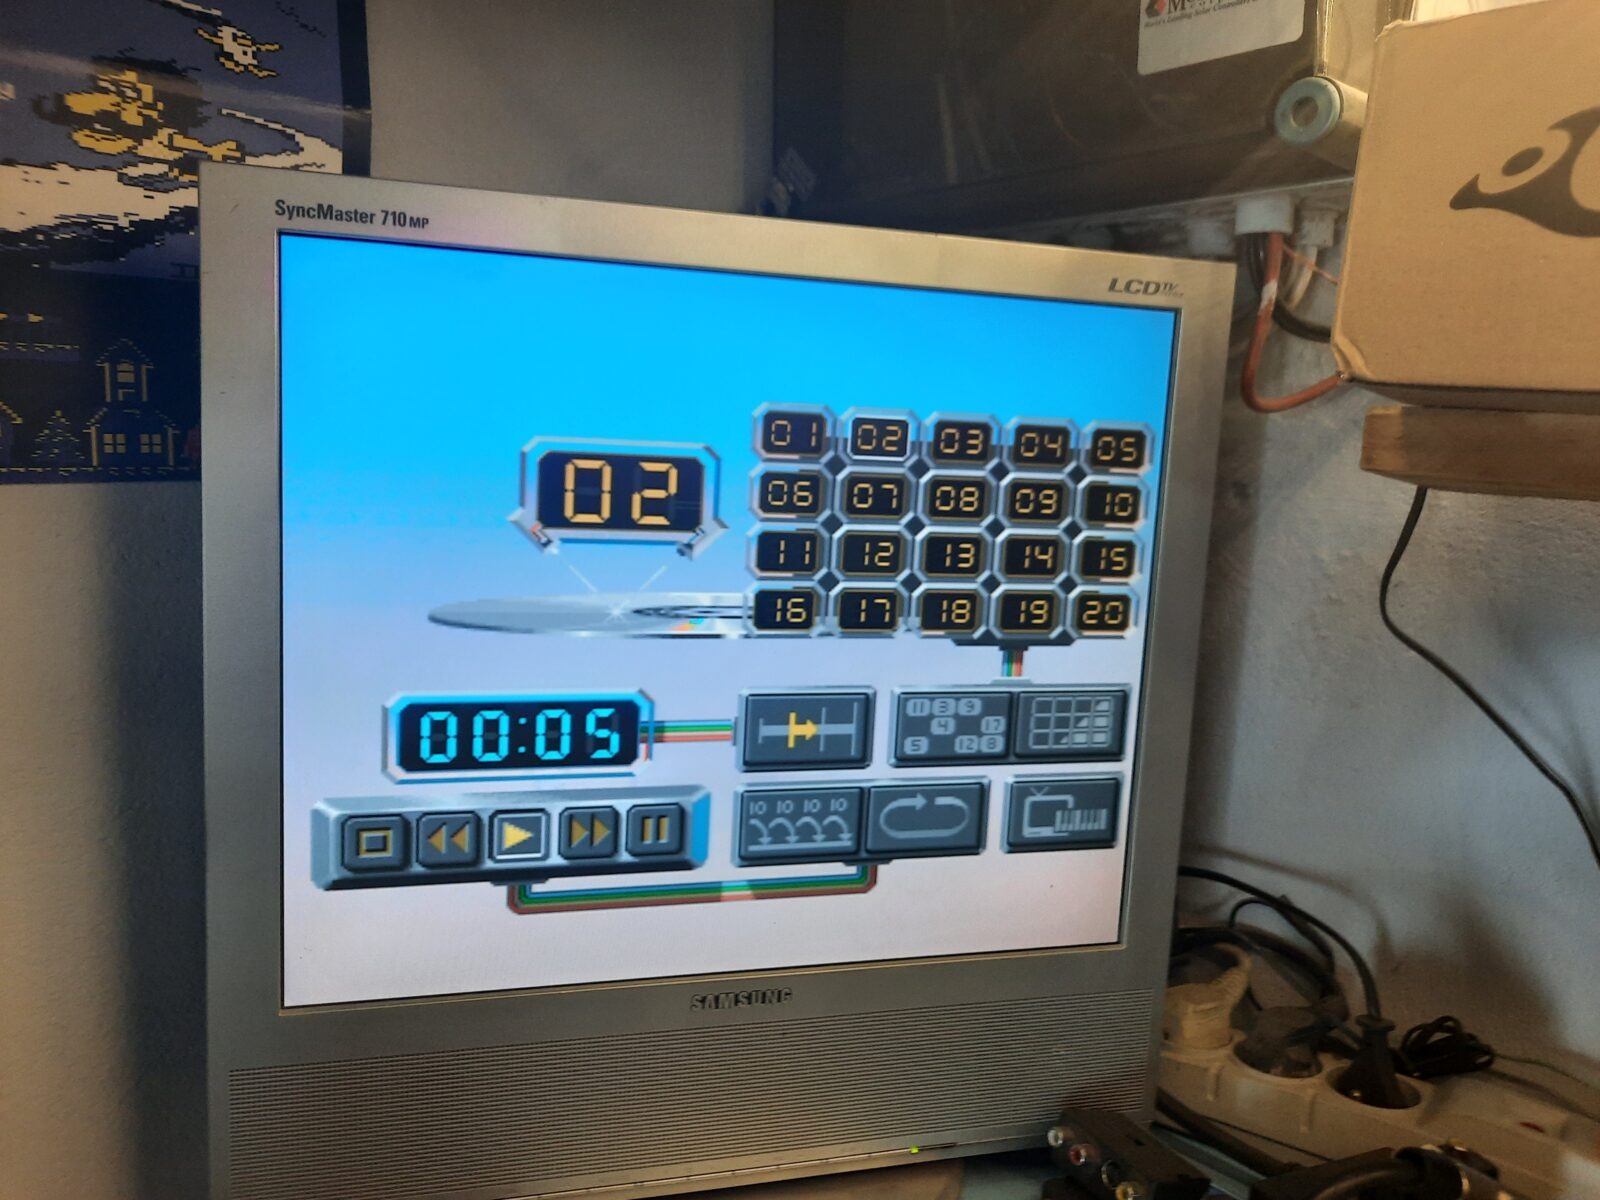
I’ve used a CD with some demoscene music by Wacek/Arise – In the mix at Lost Party 2021
Disassembly and cleaning
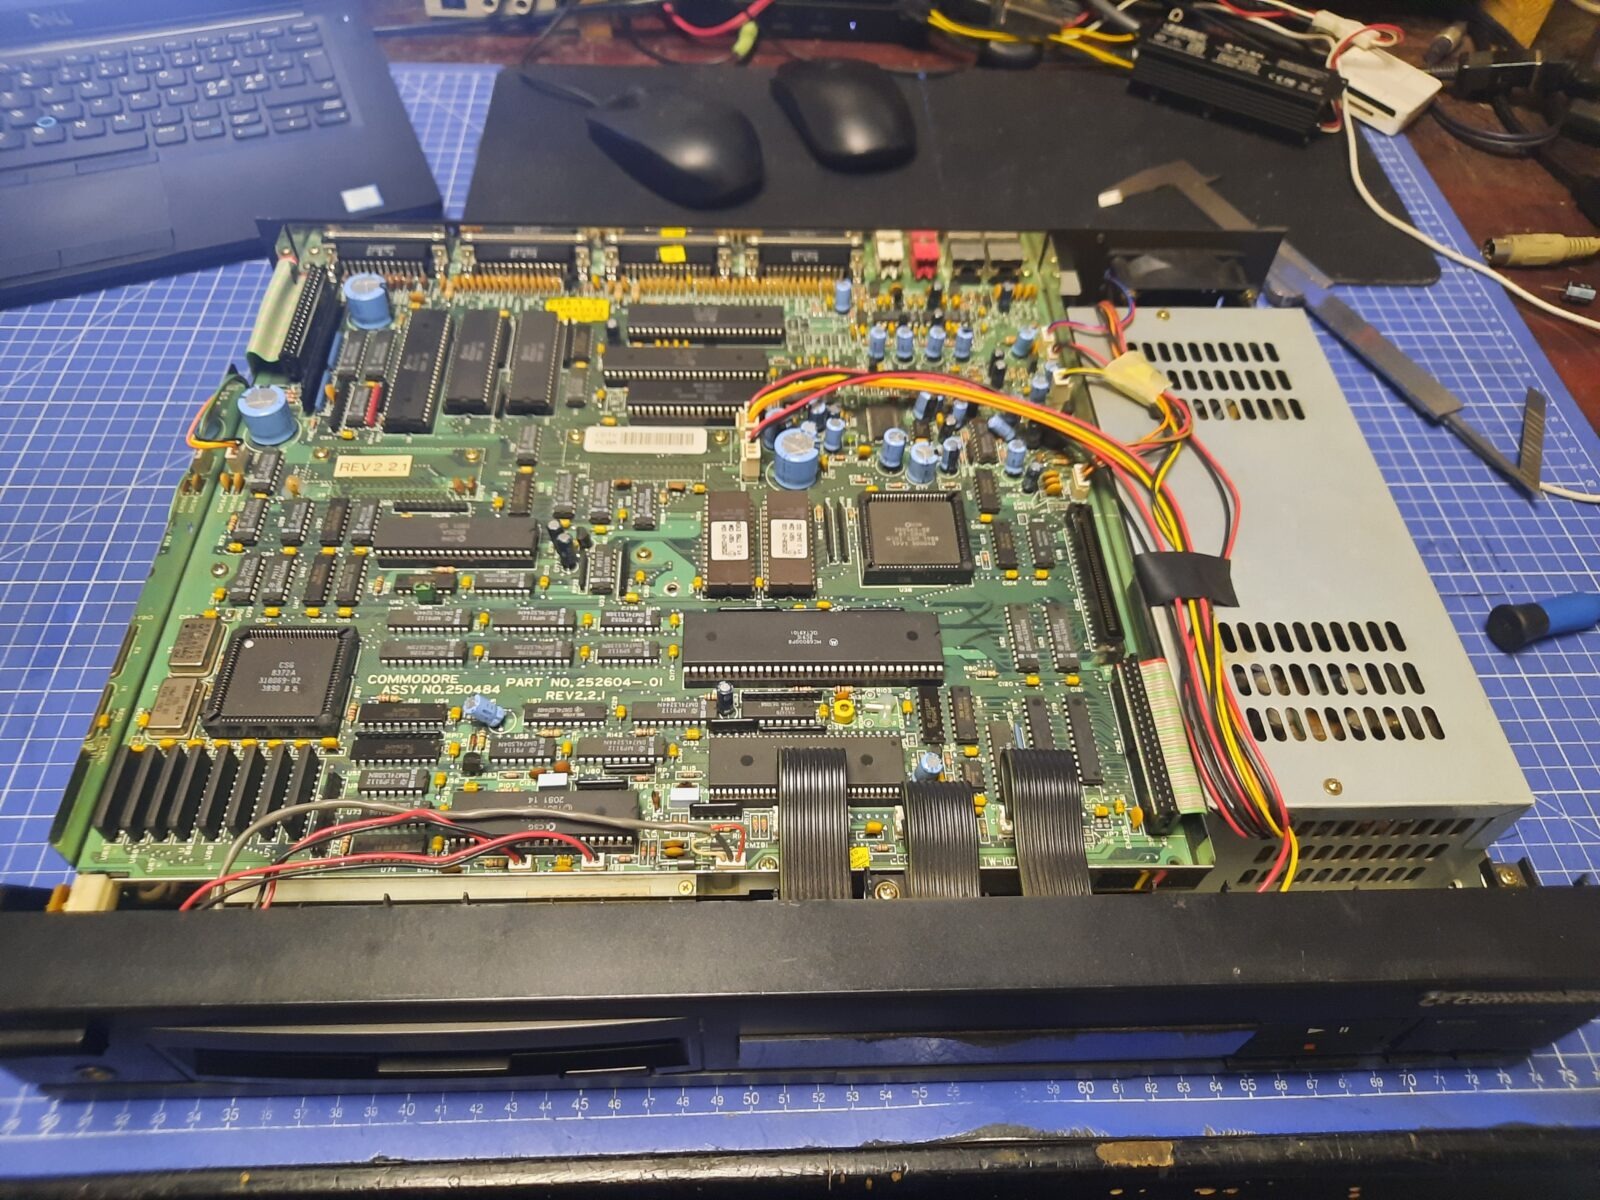
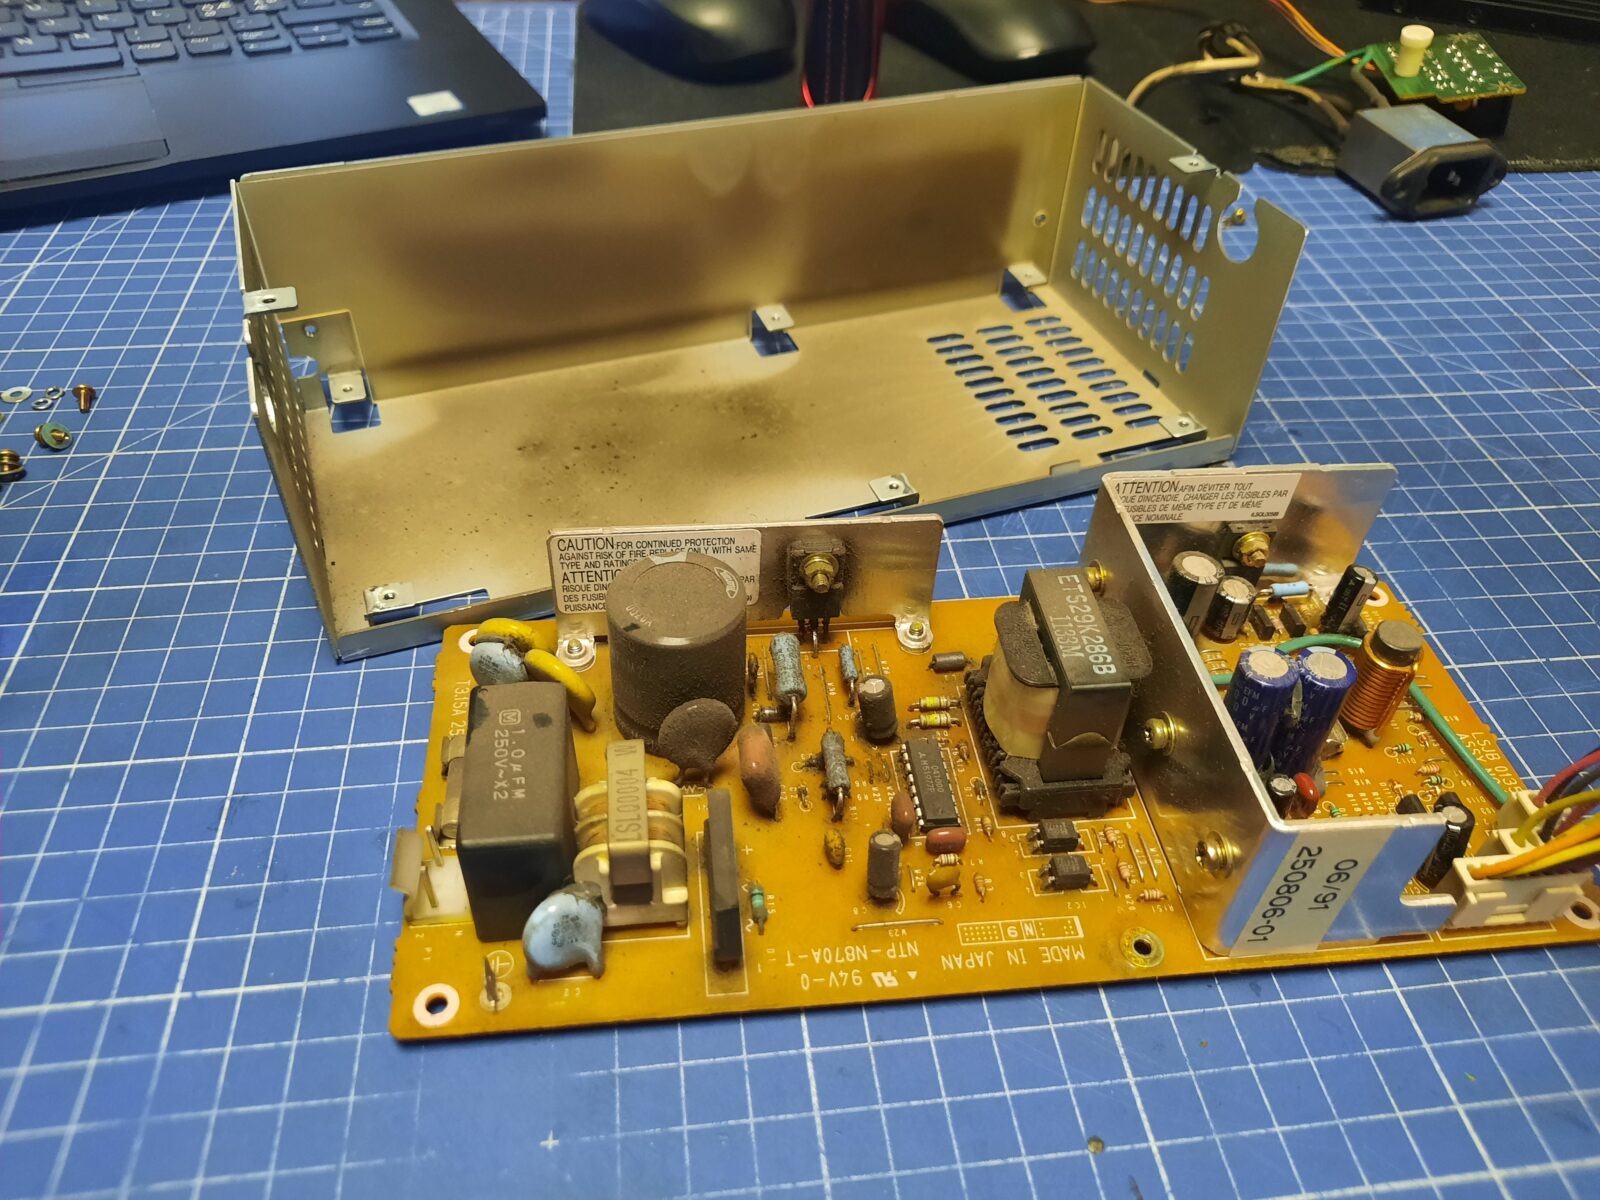
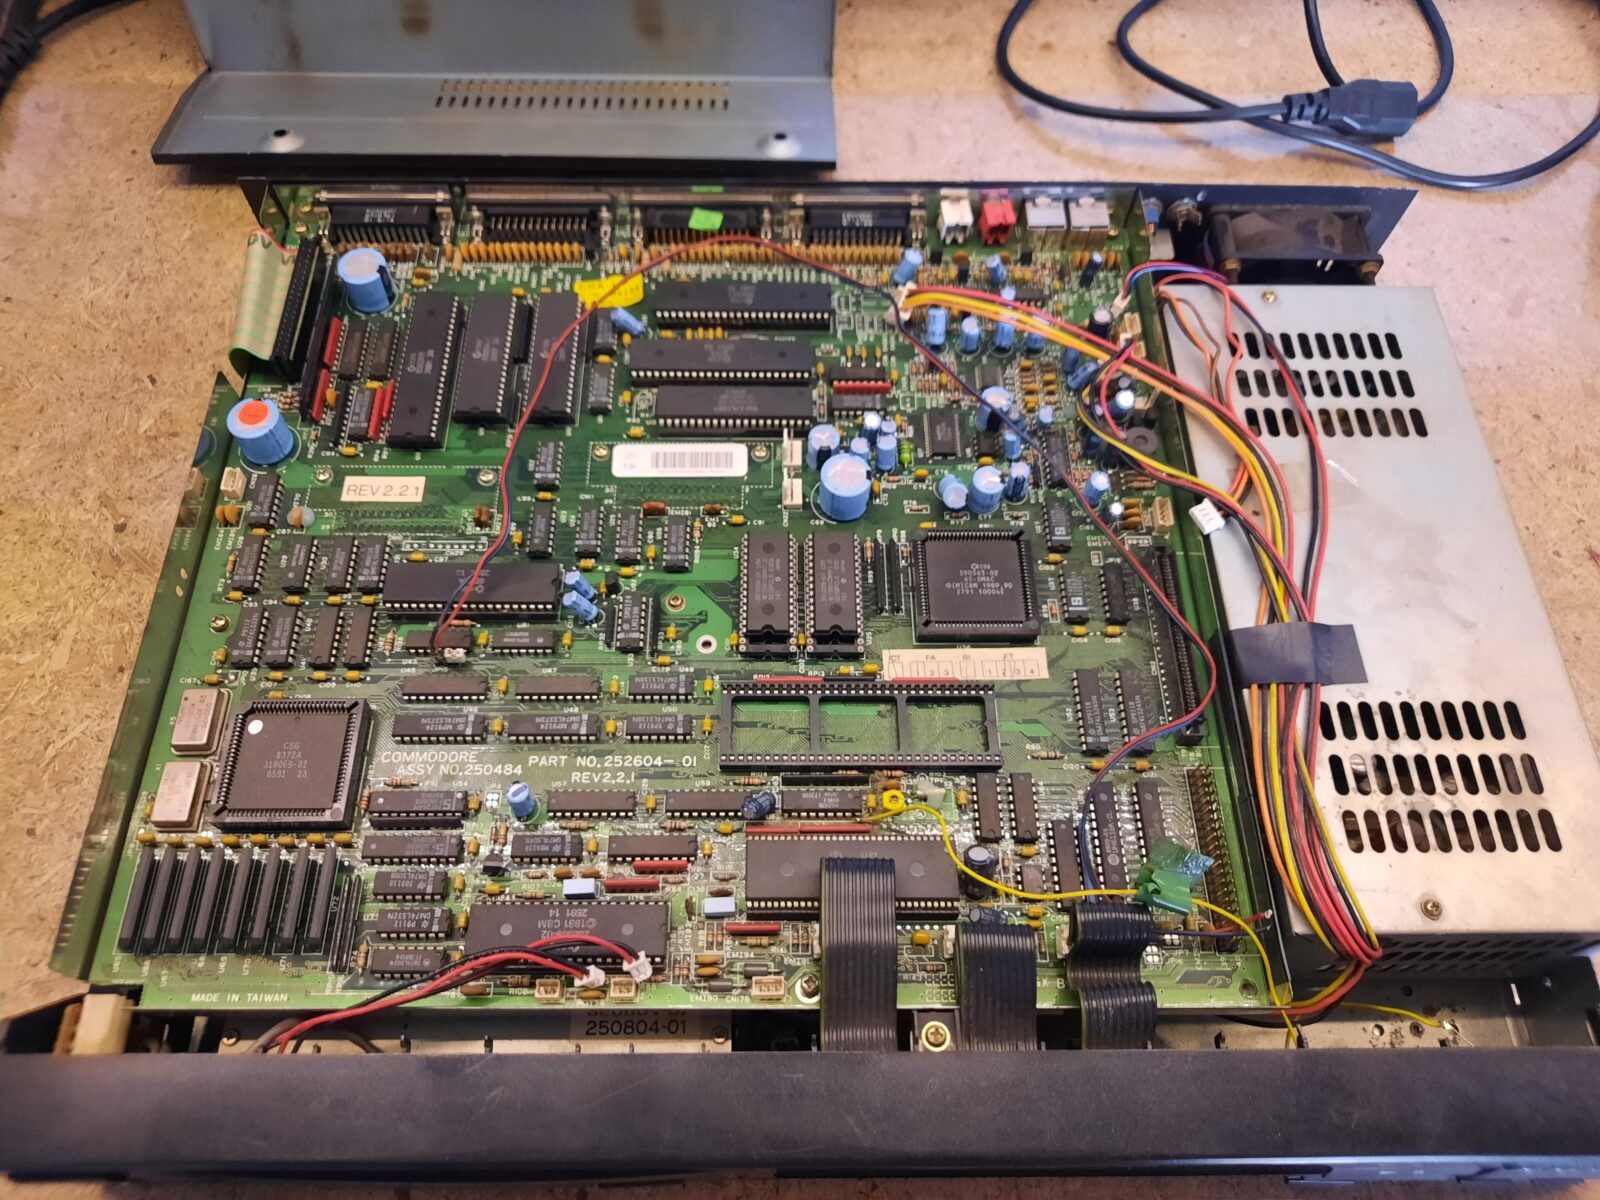
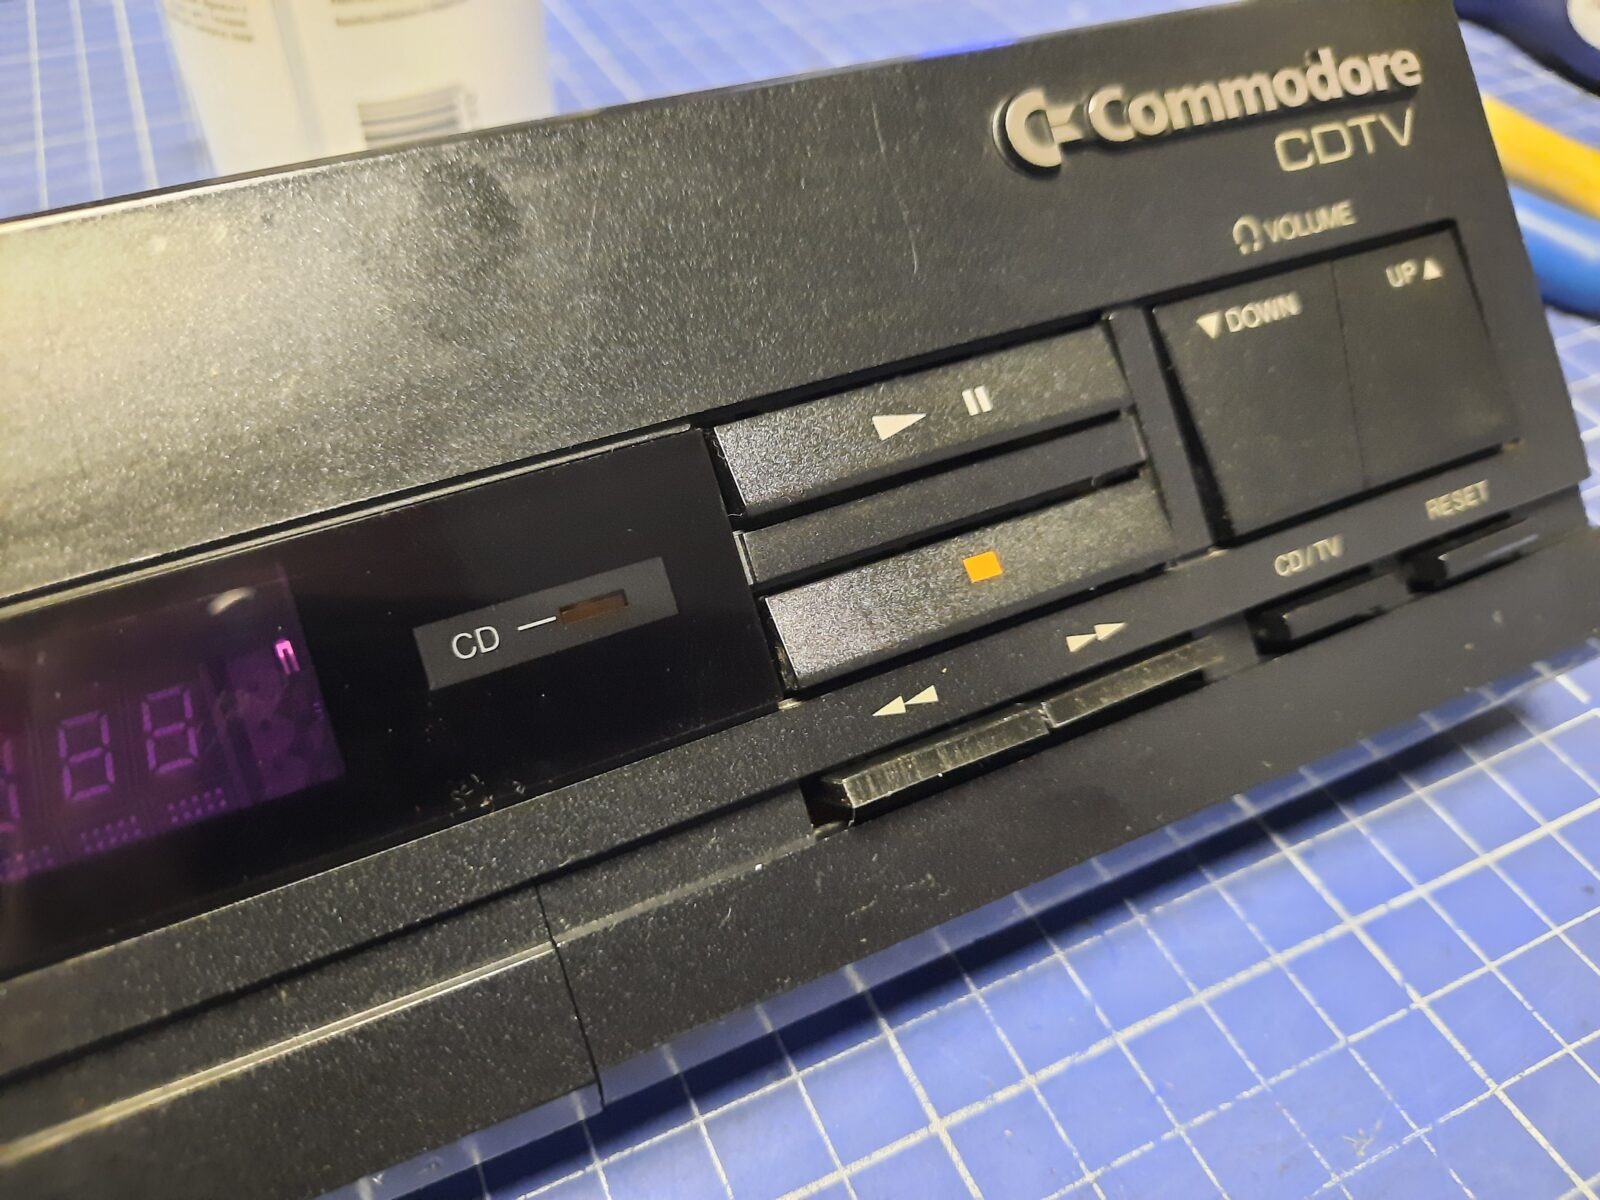
CDTV no.1
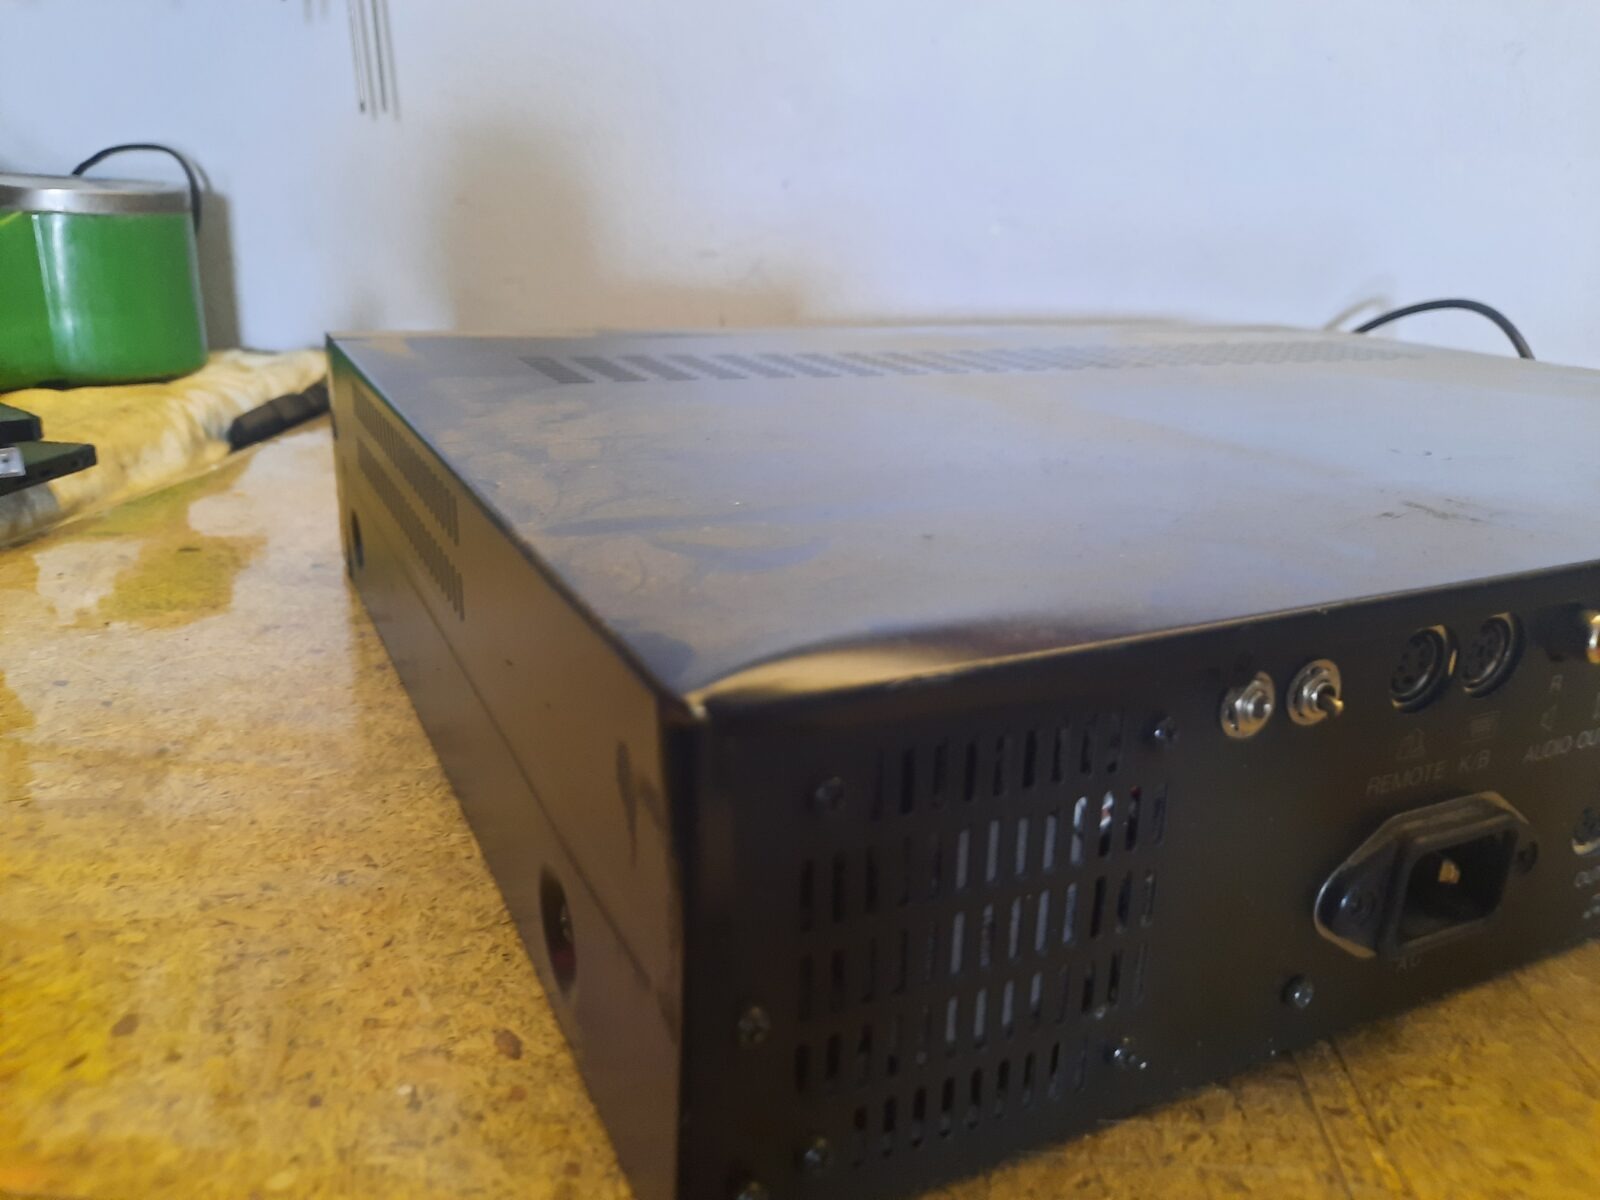
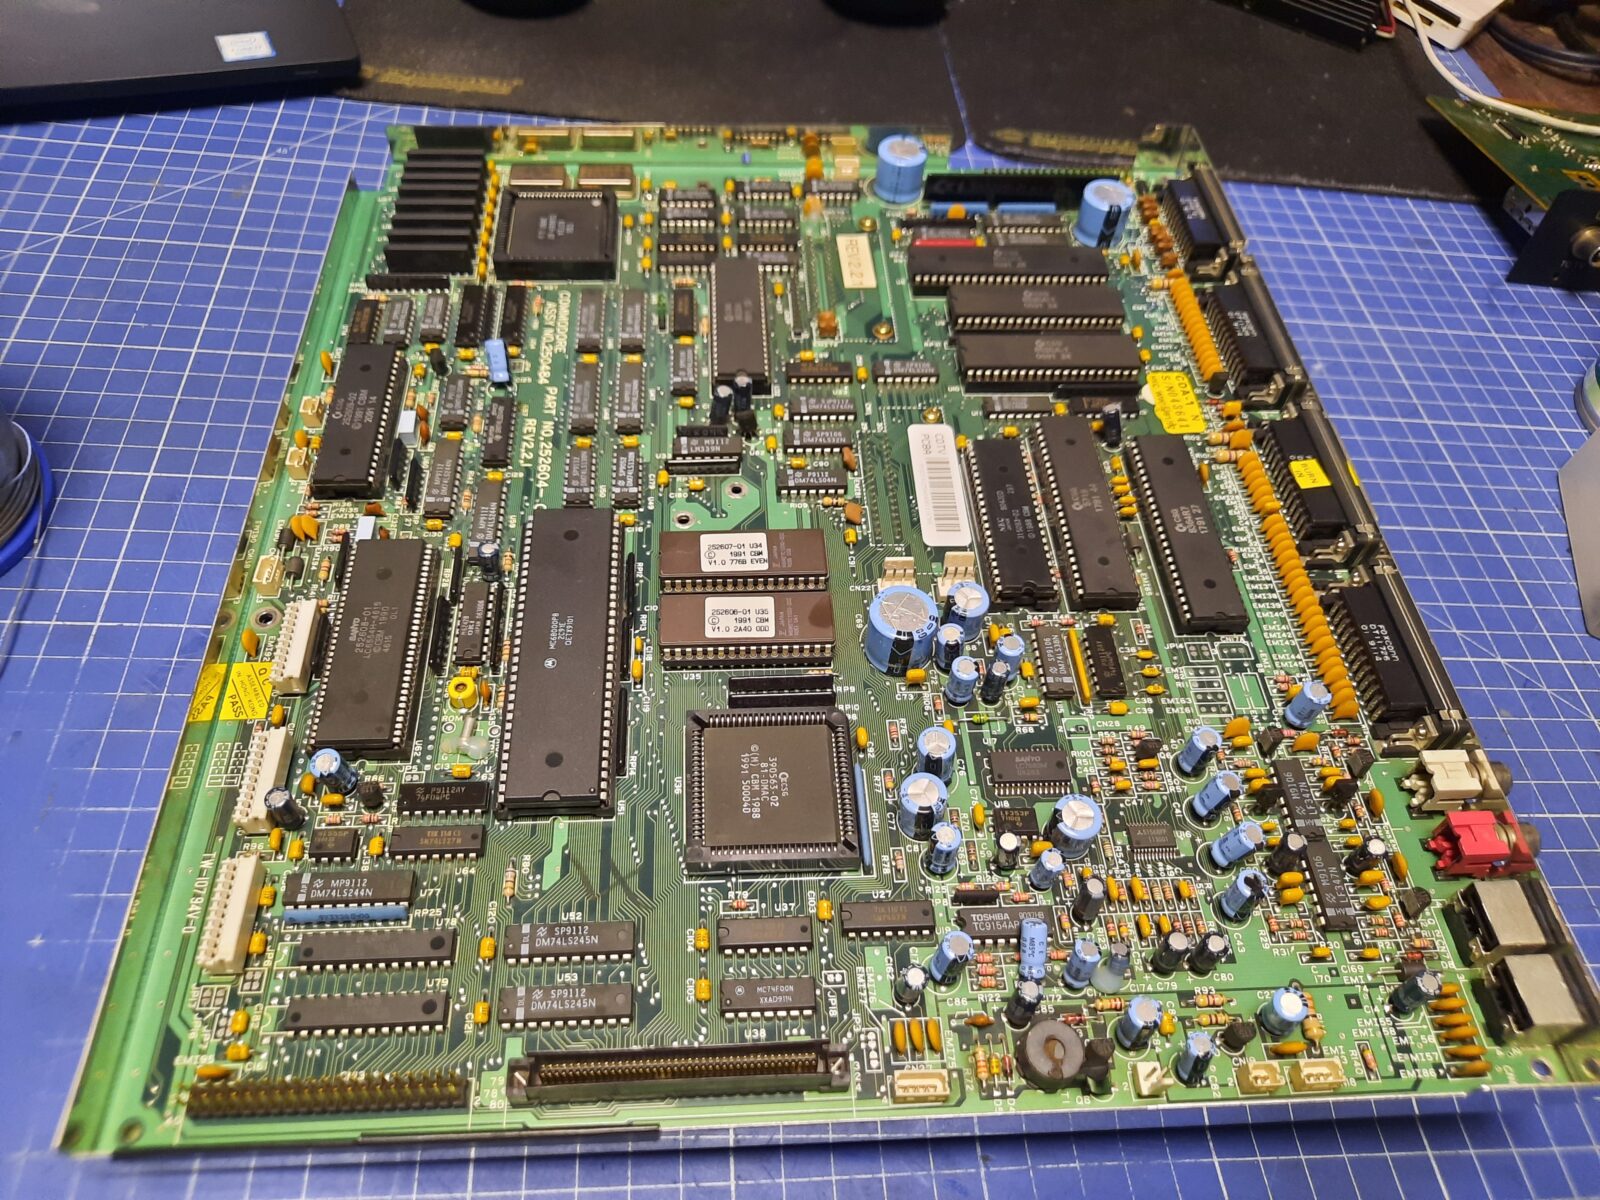
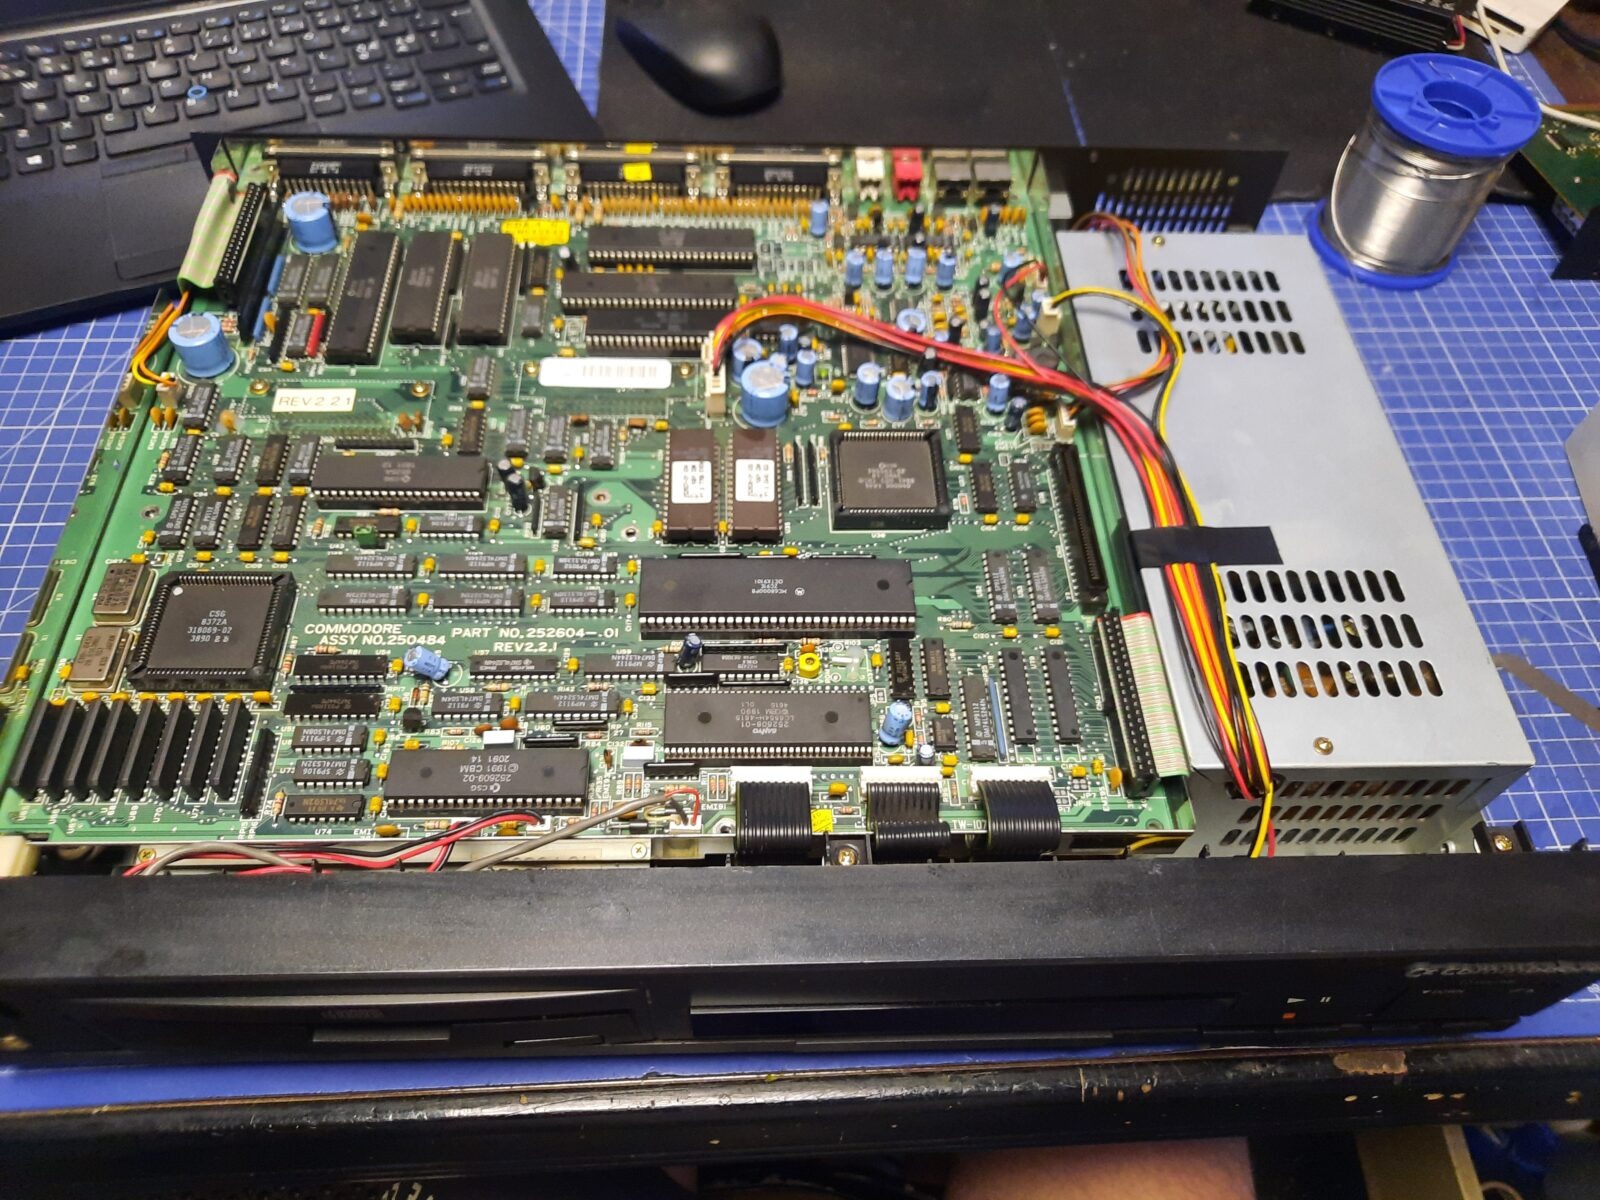
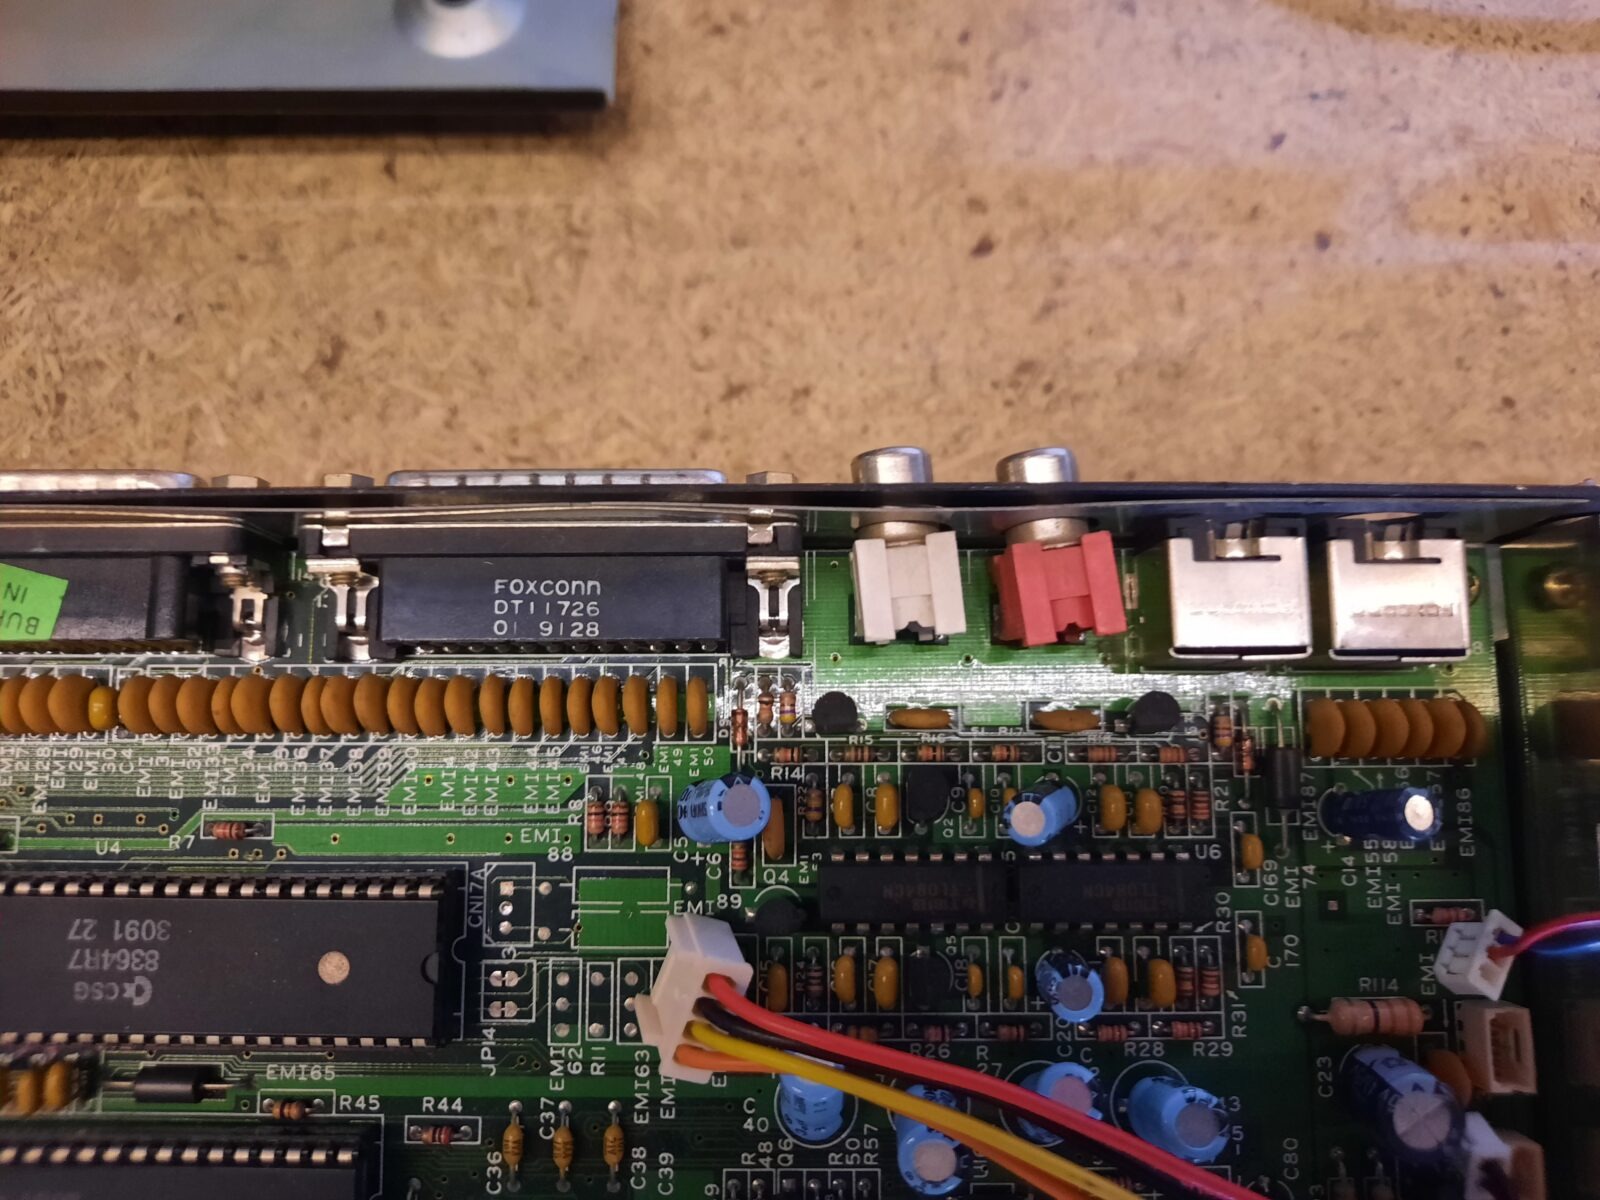
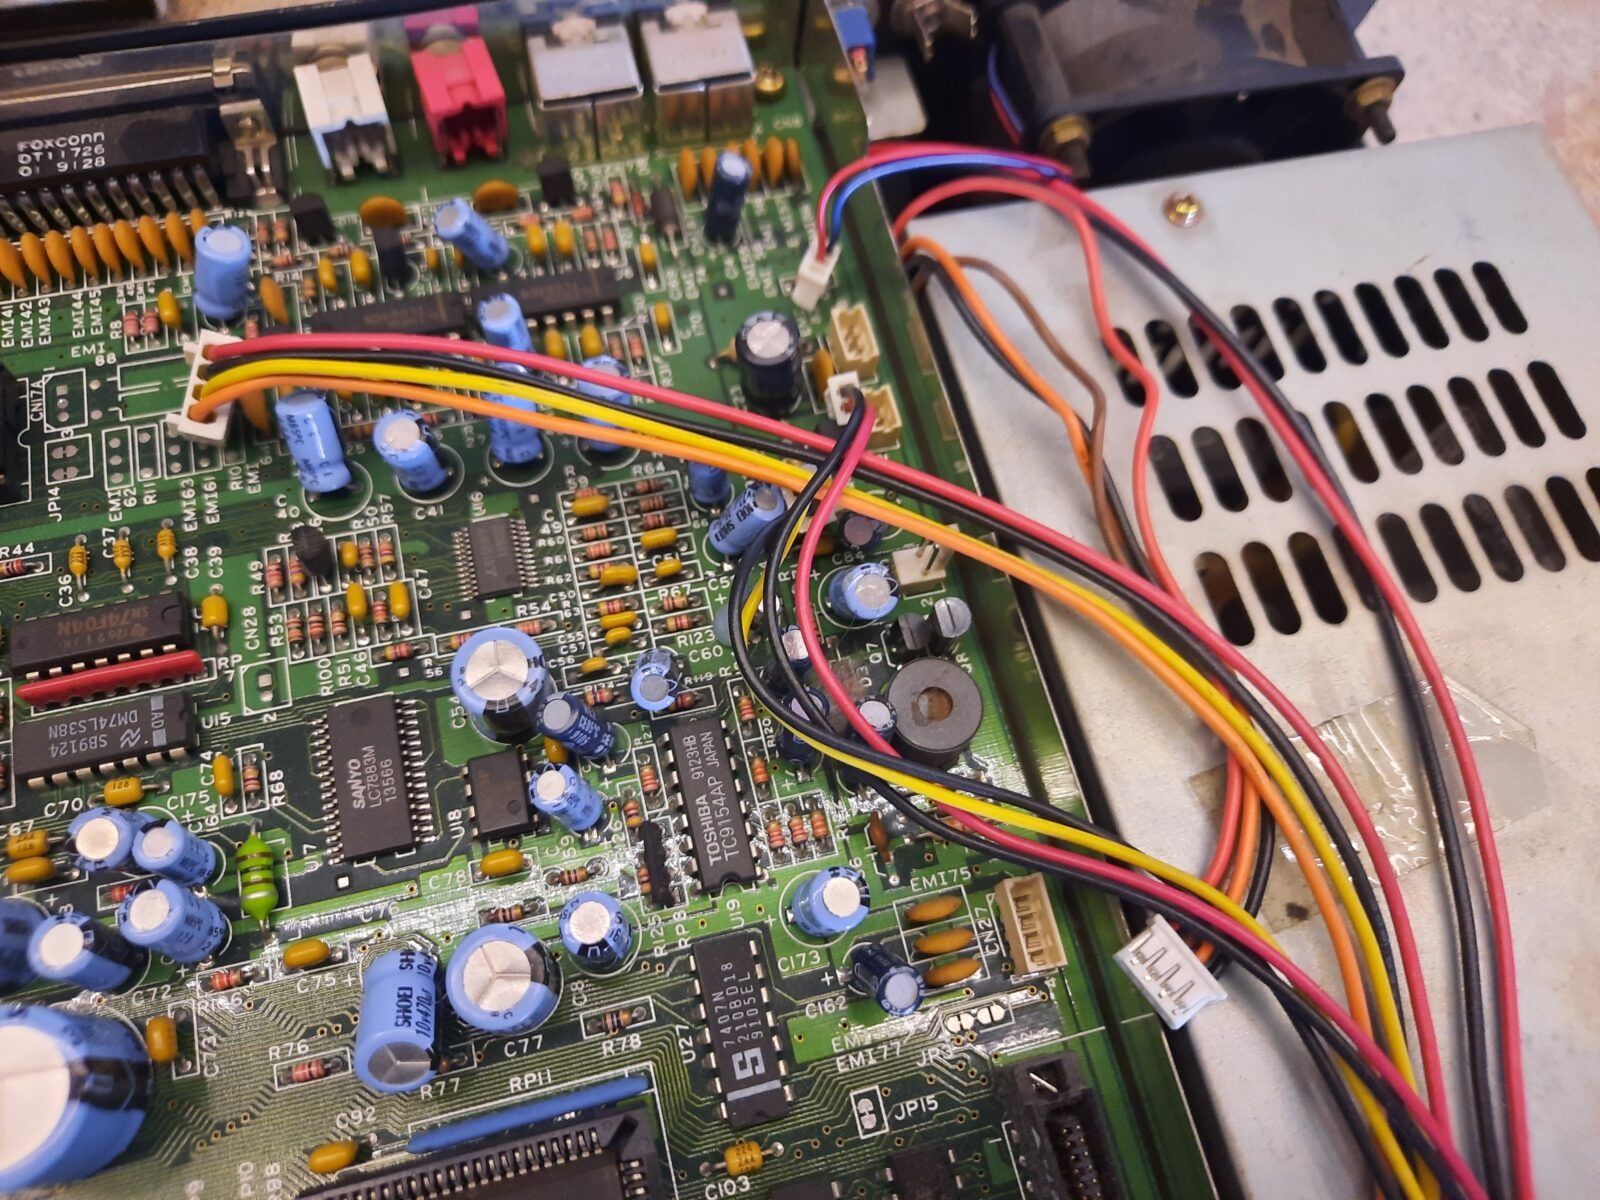
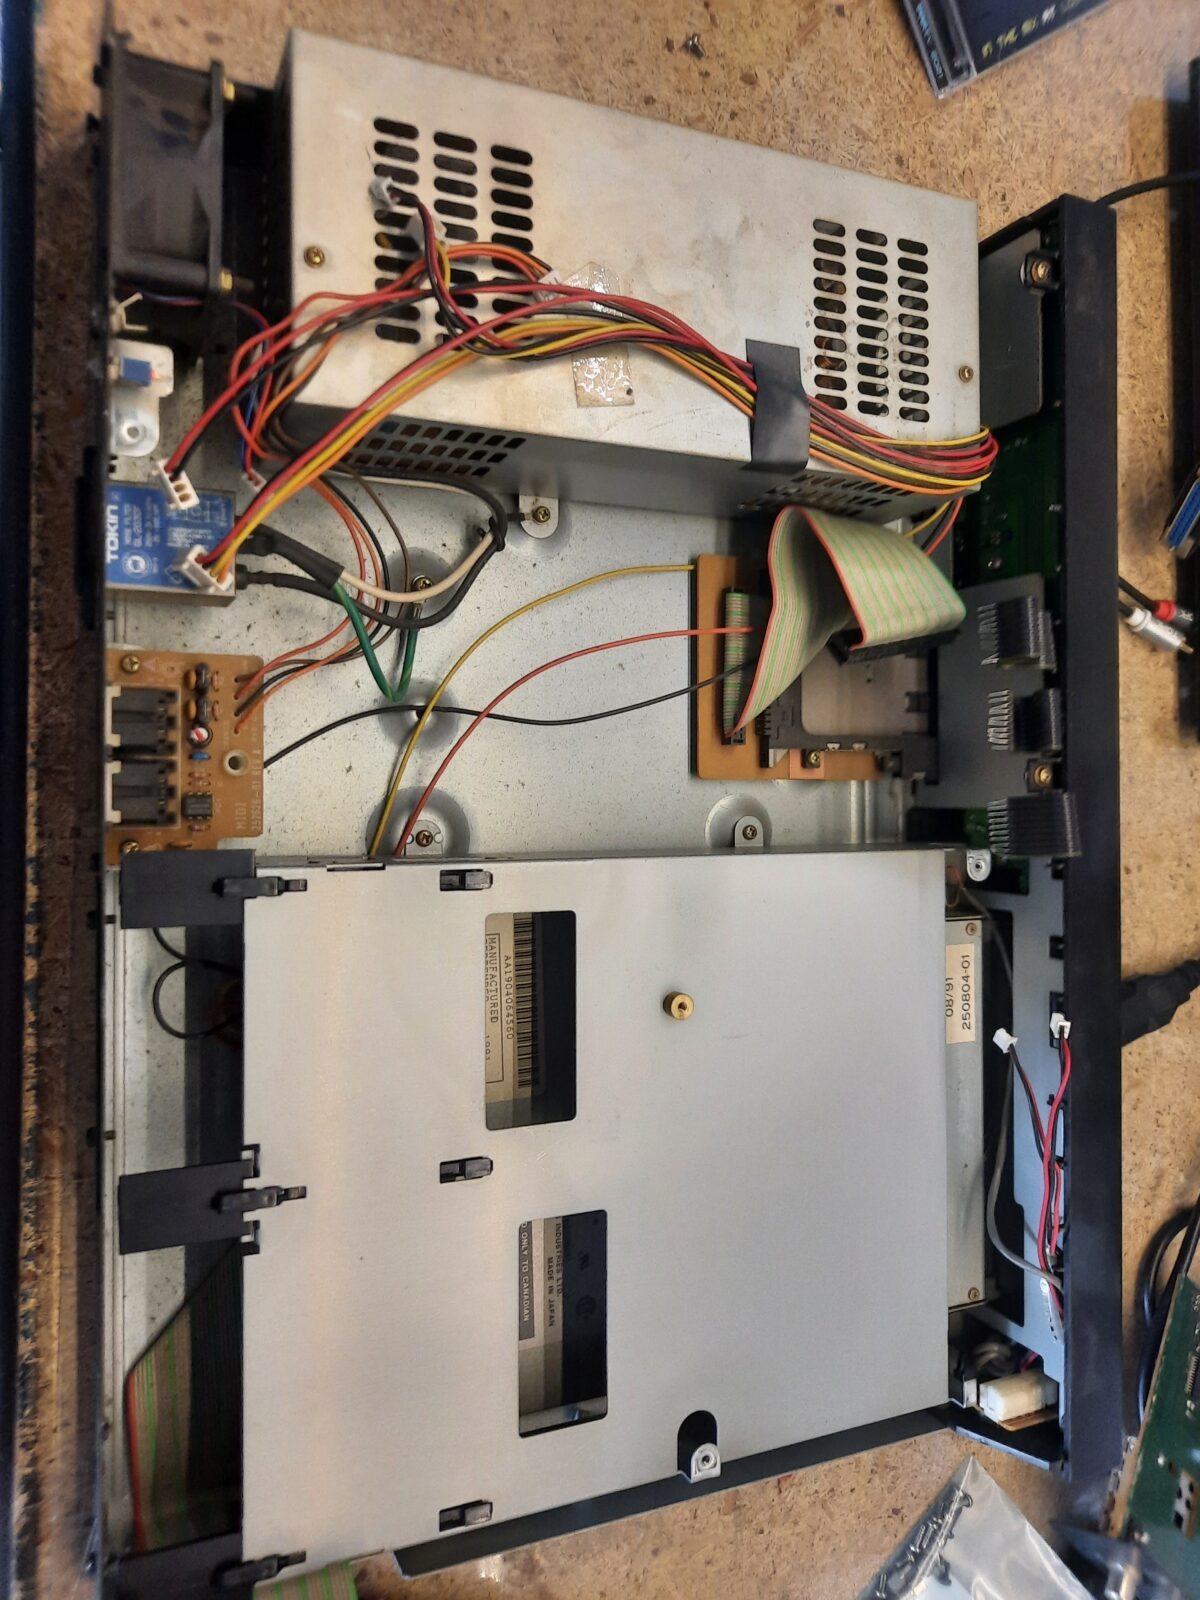
The plan for the working unit was to refresh and service it. Replace caps if necessary etc. In other words, standard refurb job.
Nice and clean 🙂

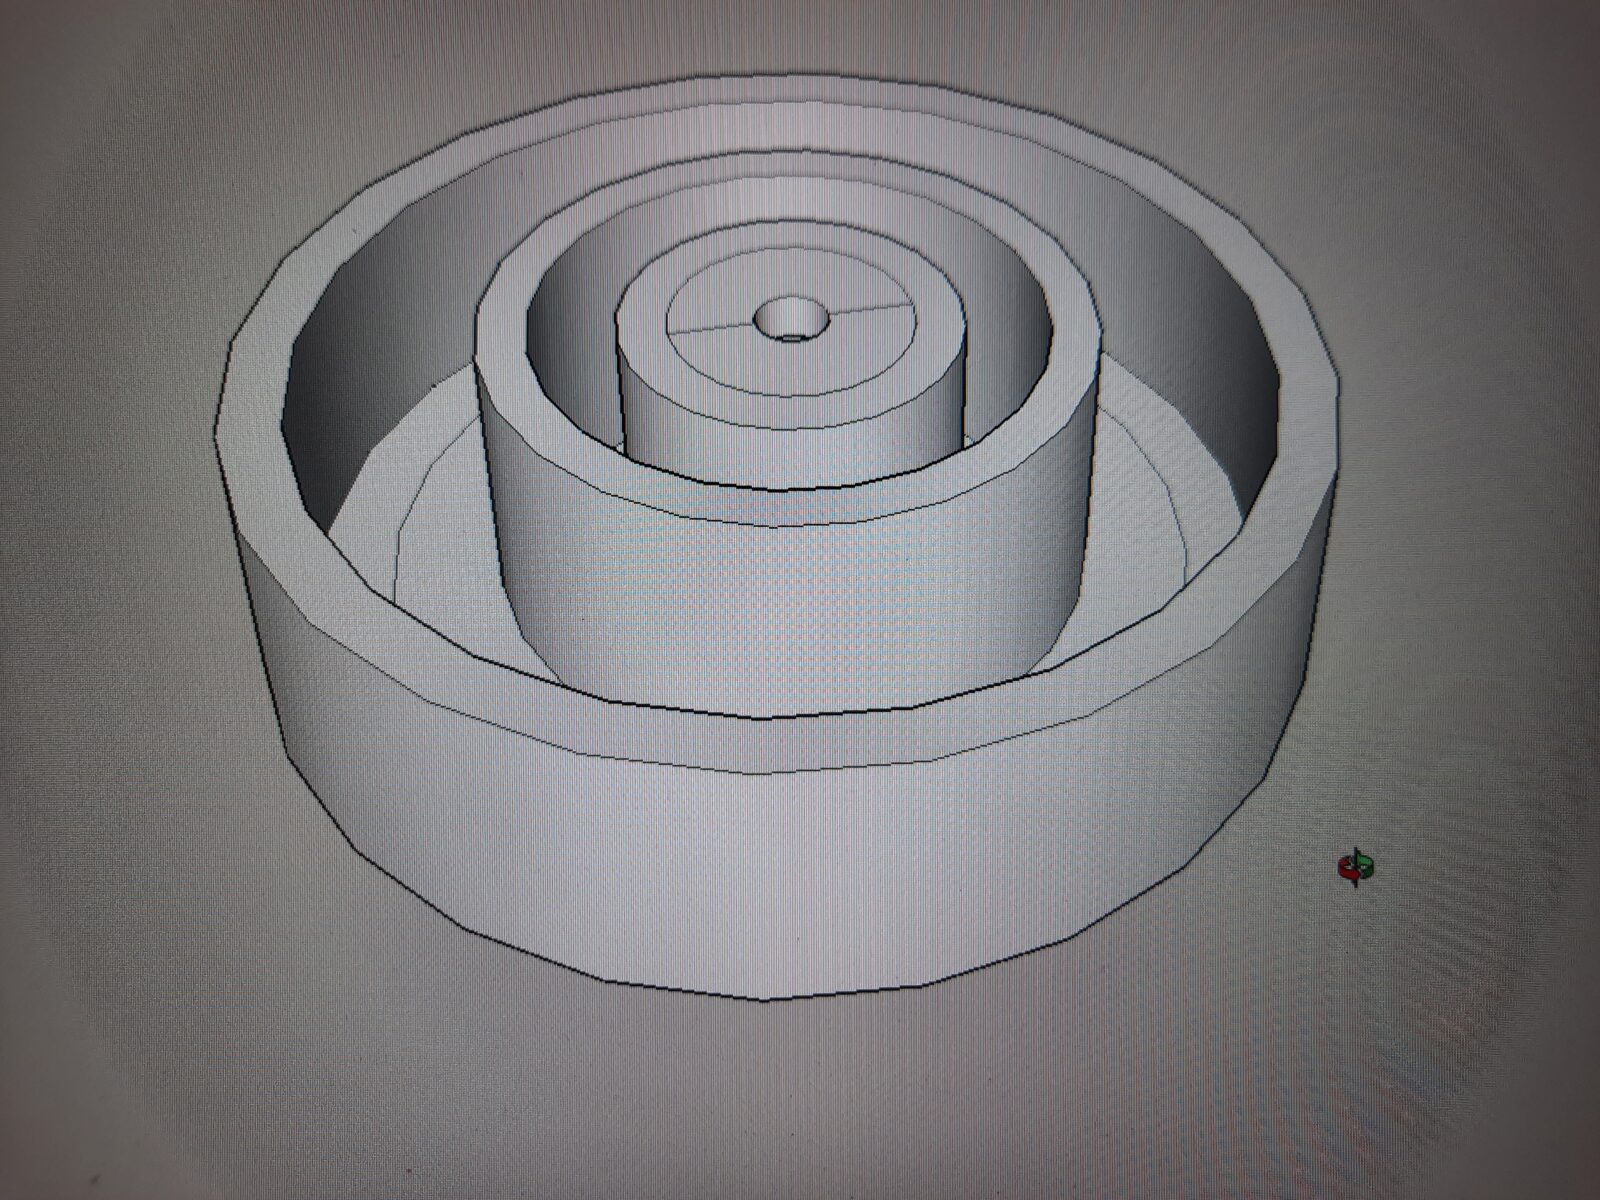
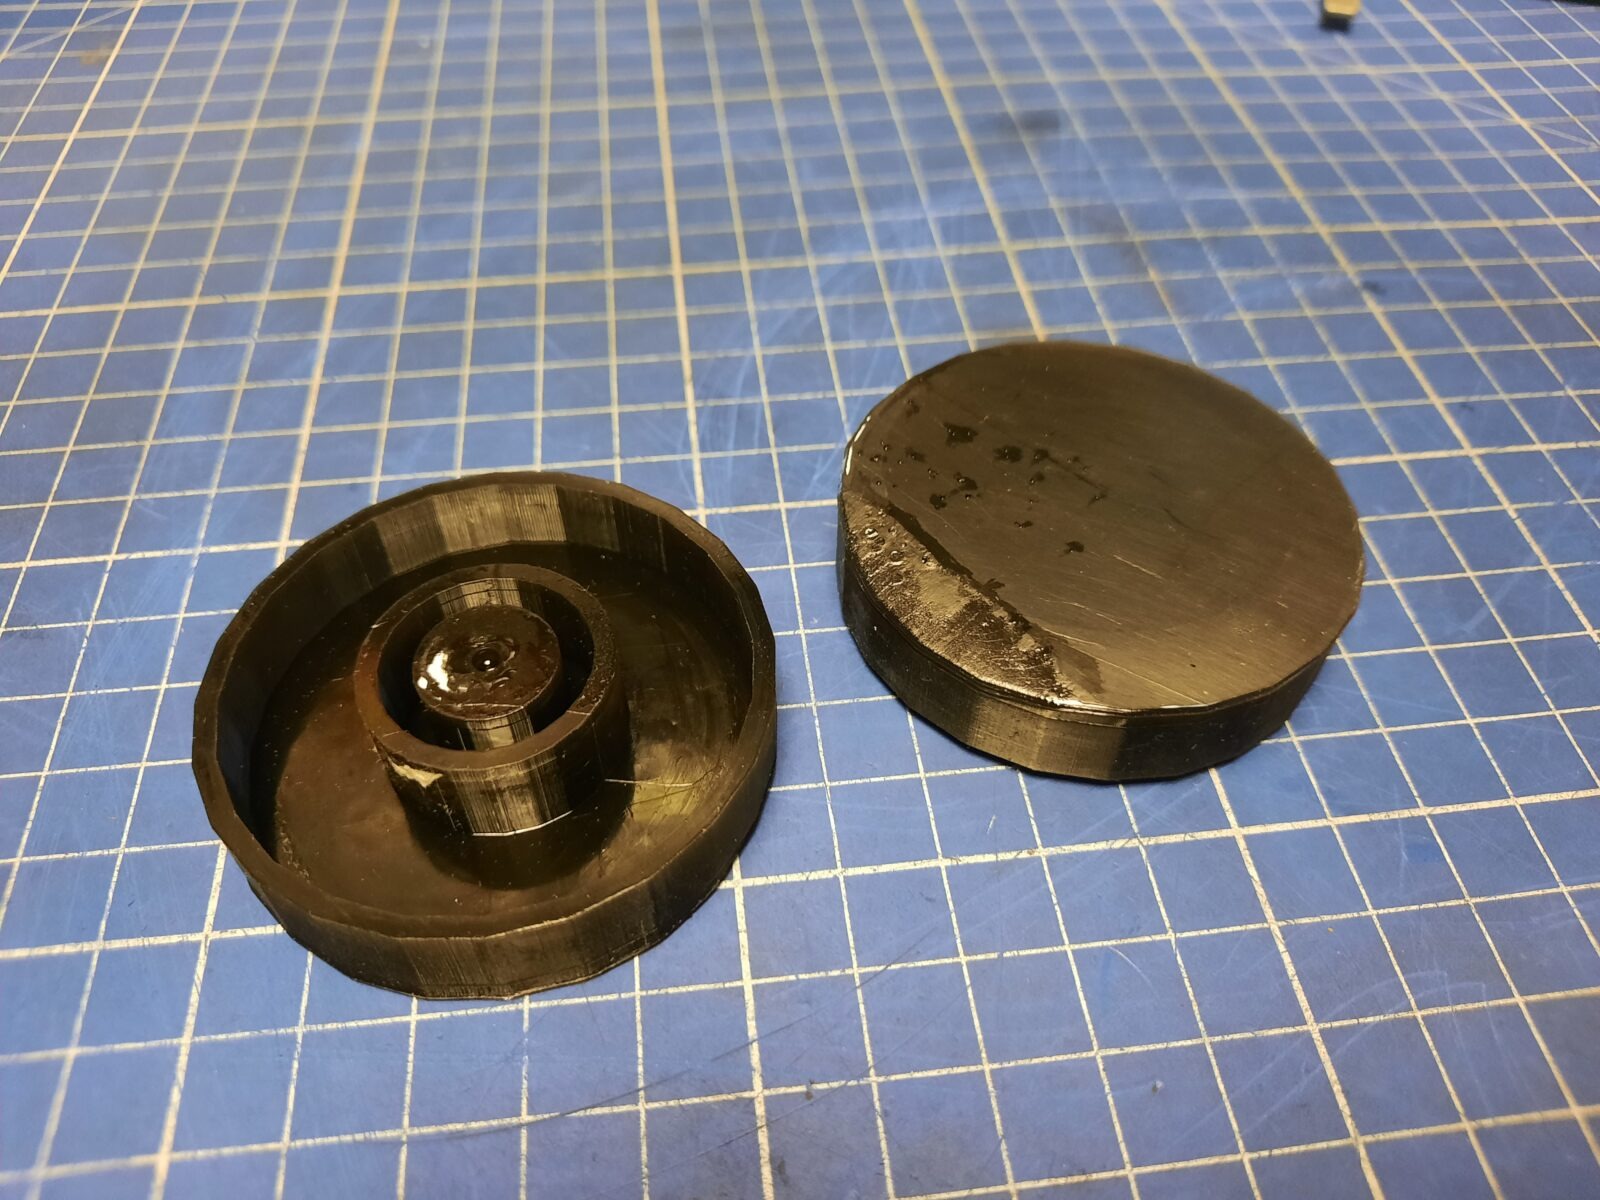
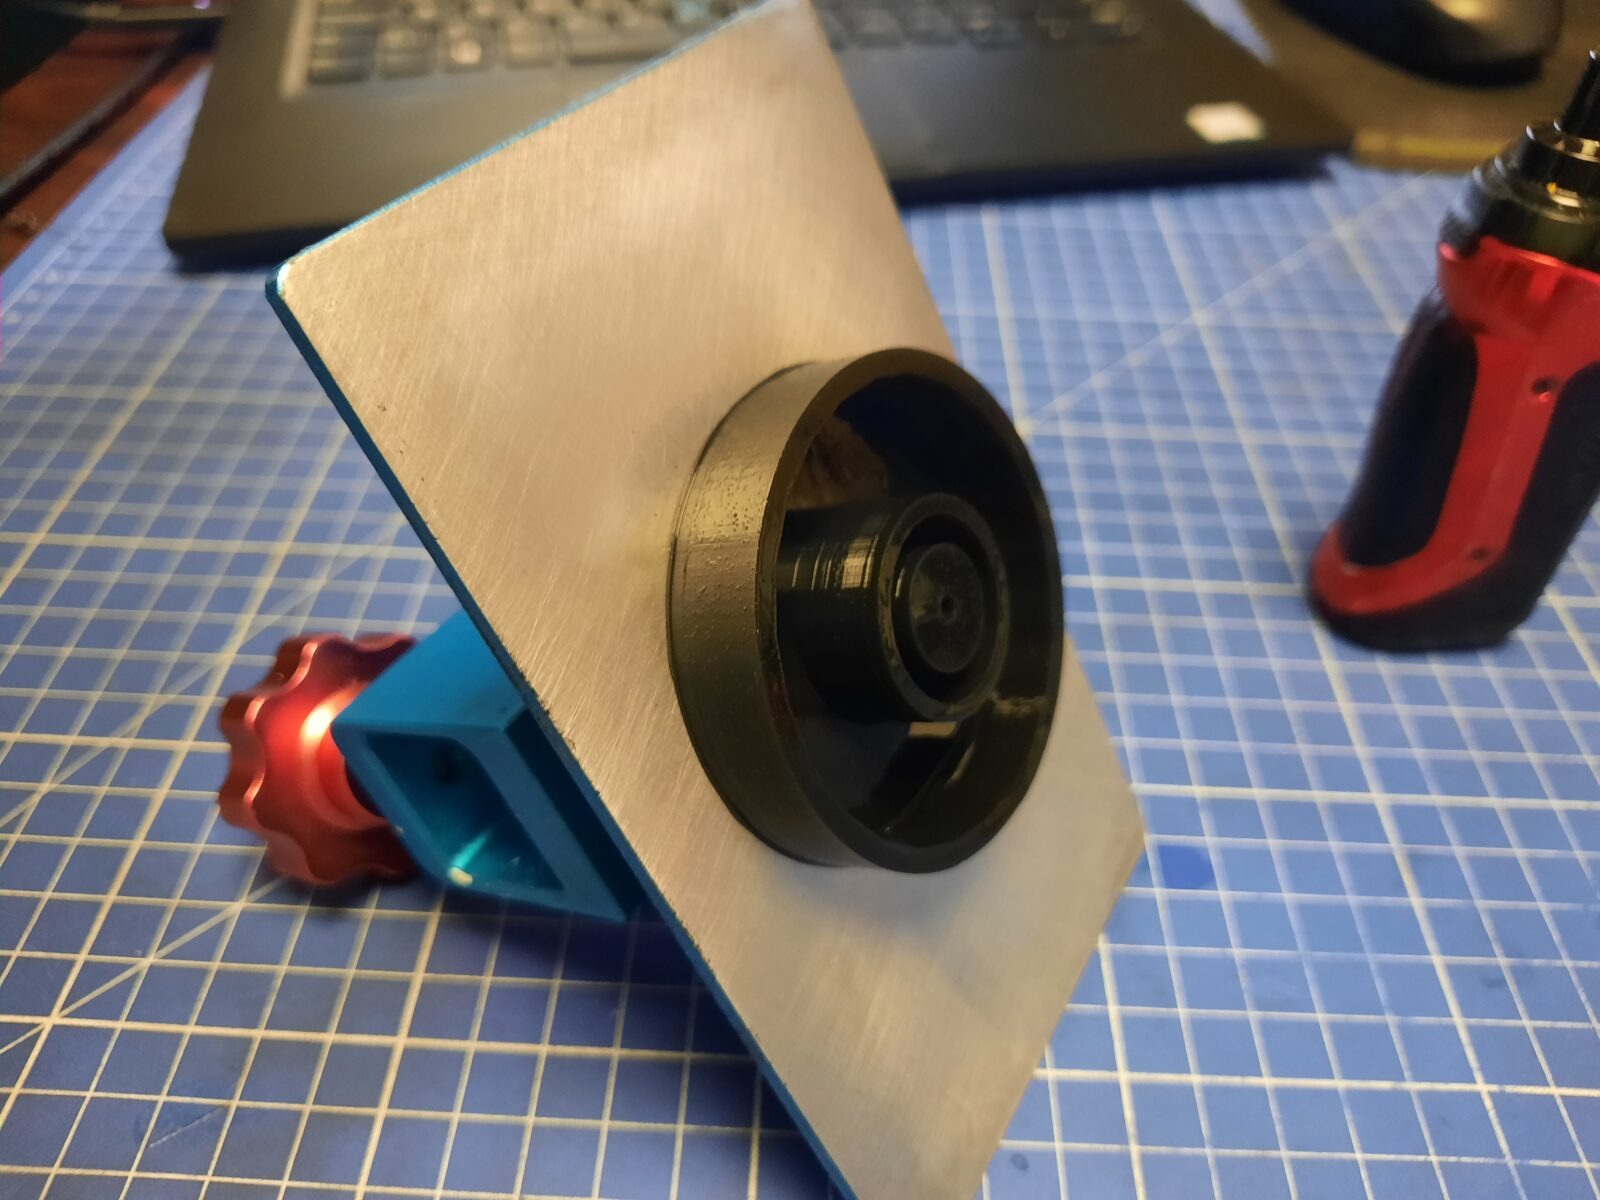
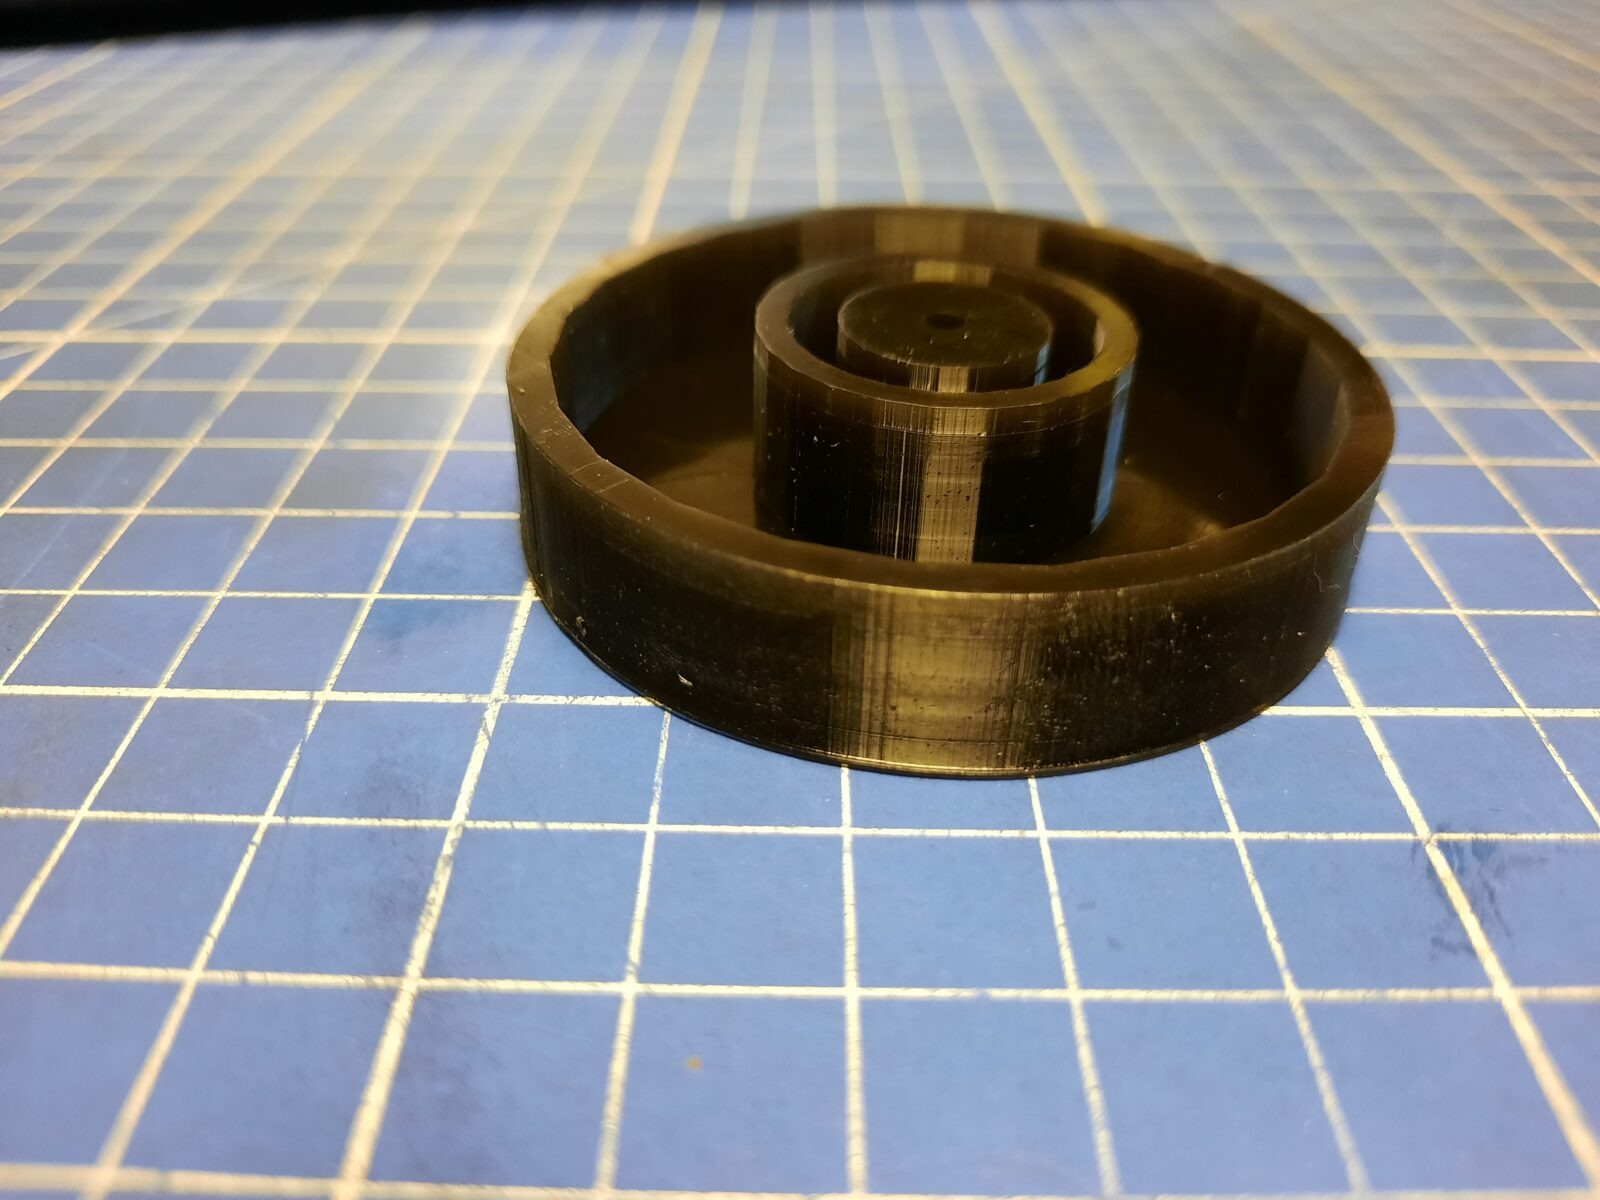
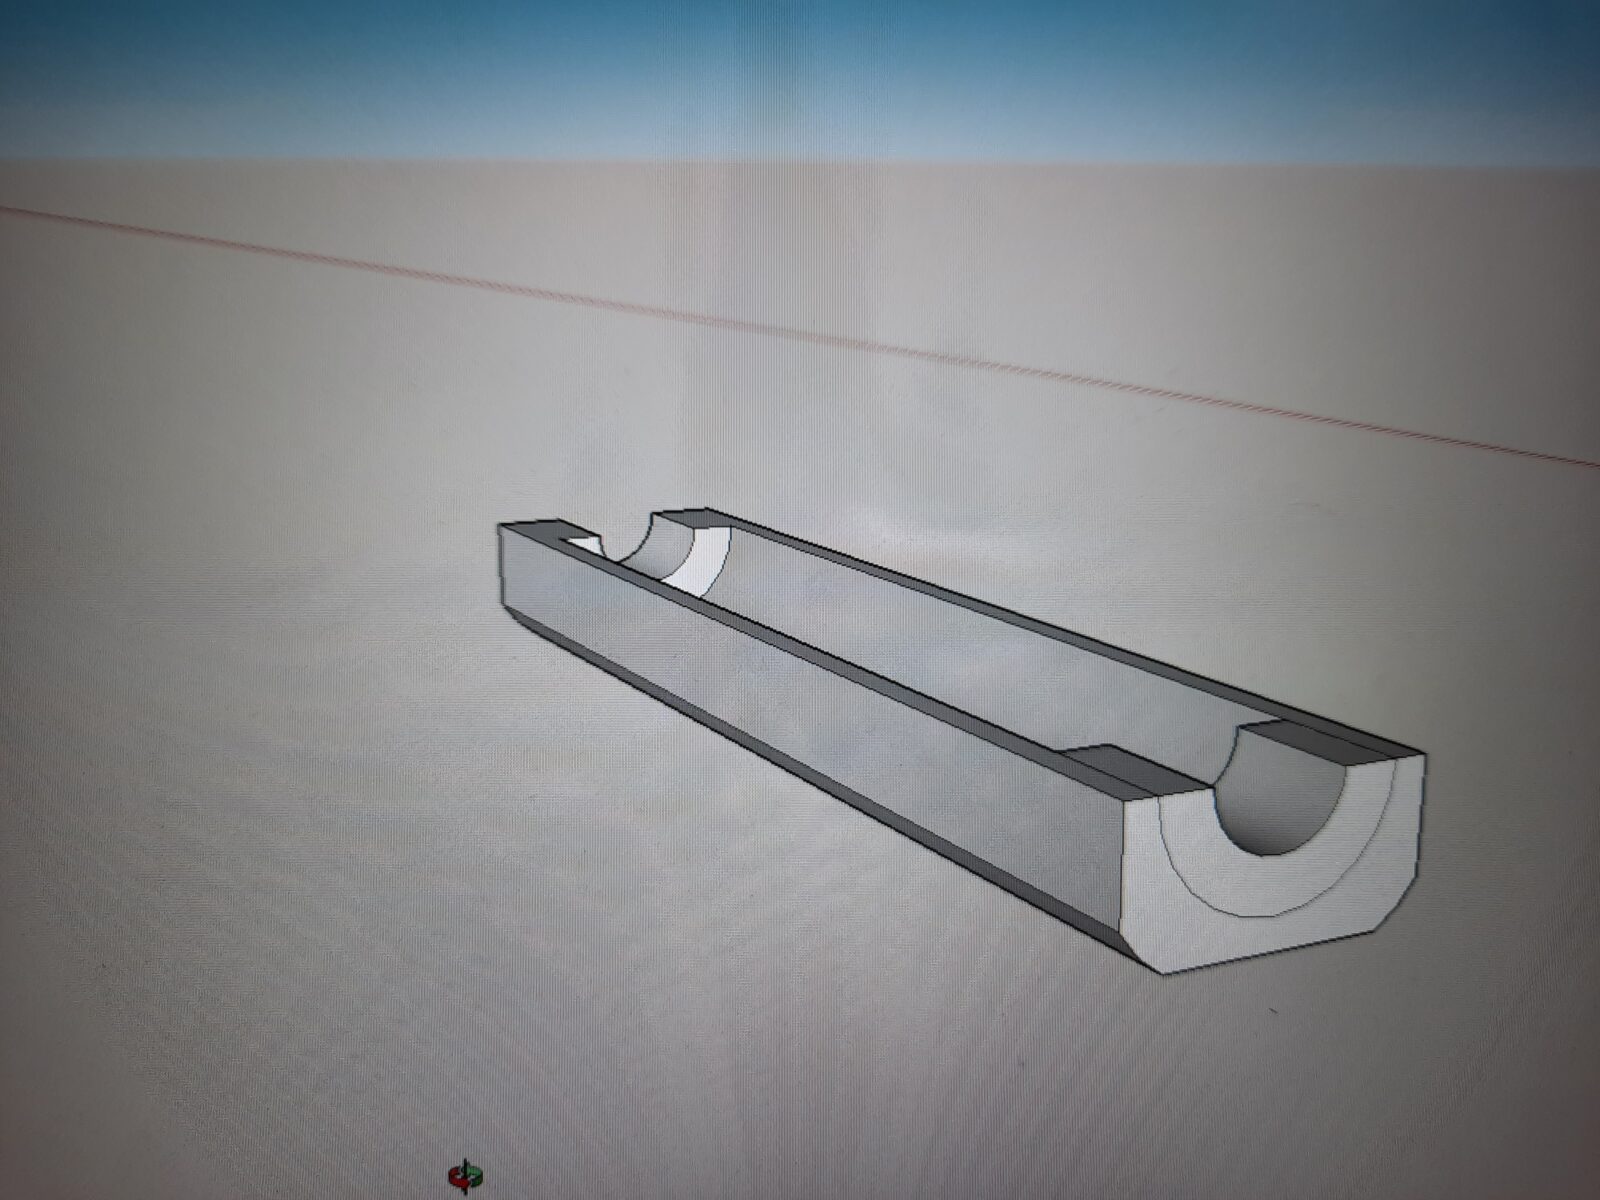
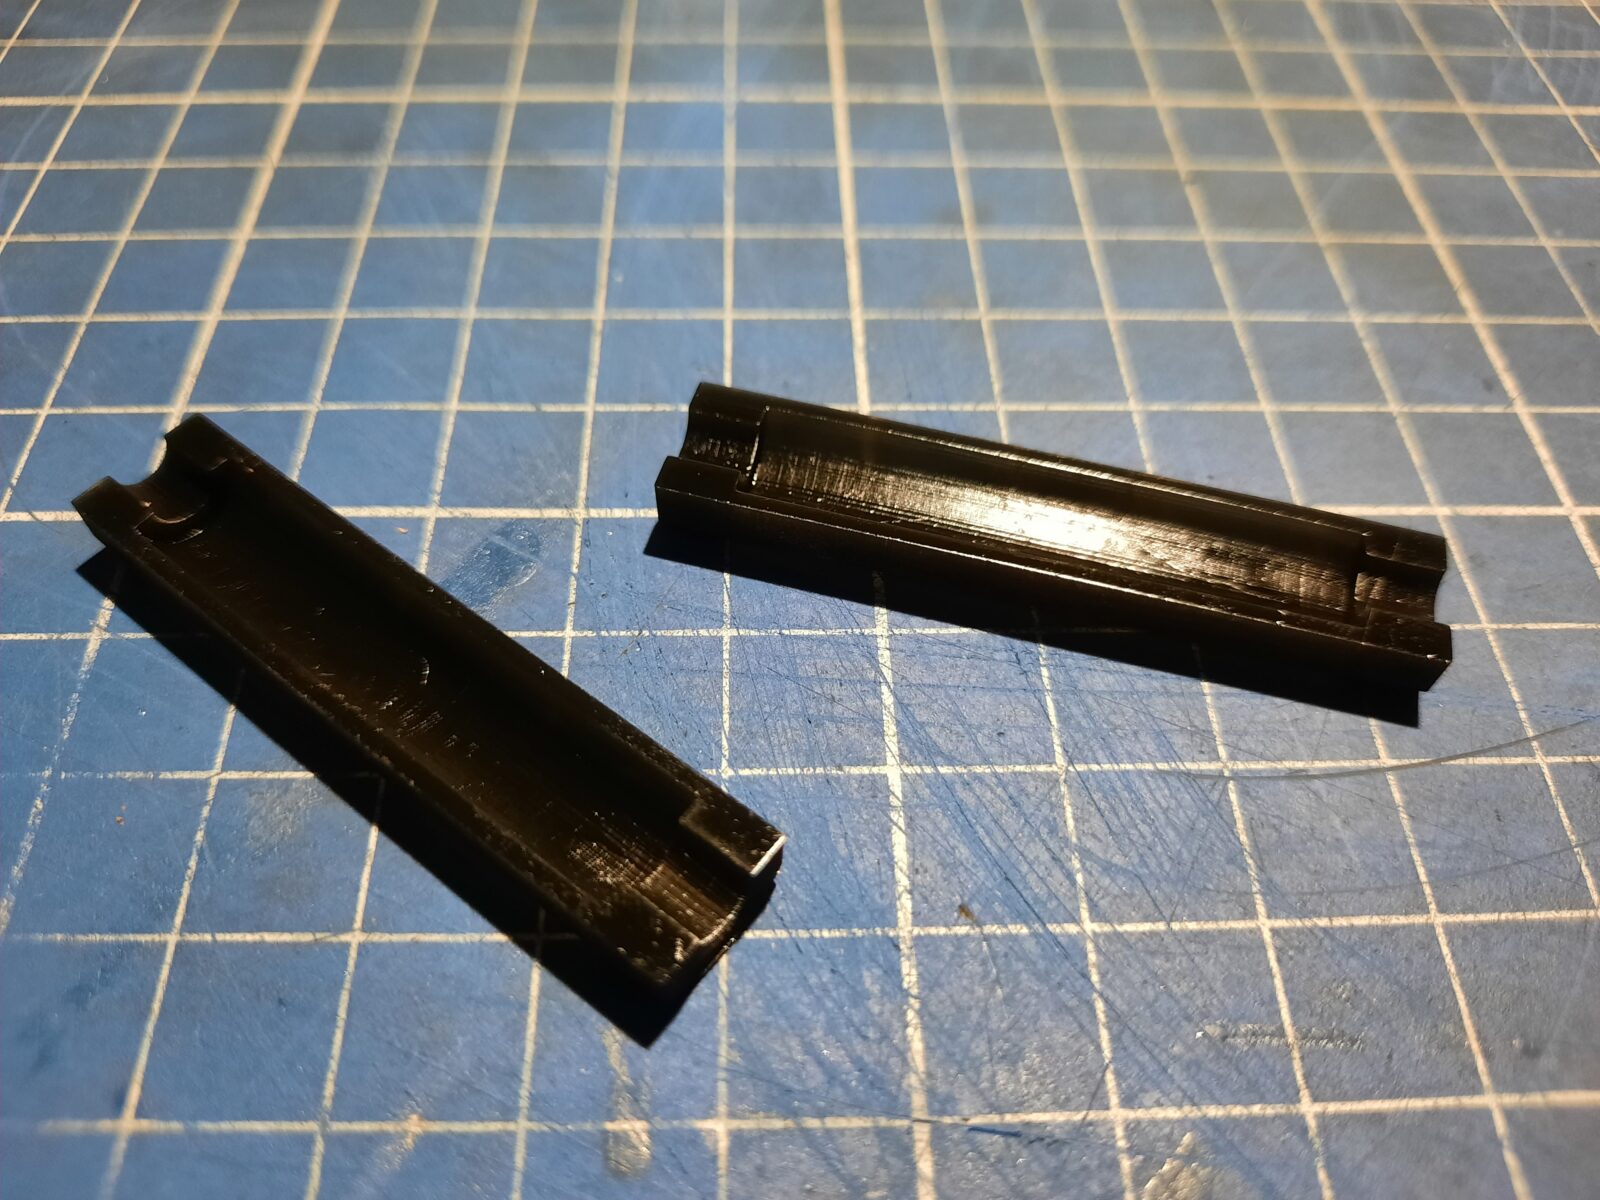
While other parts were drying, I managed to design and 3D print a round-leg prototype. The first prints failed but I’ve managed to correct it later 🙂 STL files at the bottom of the post
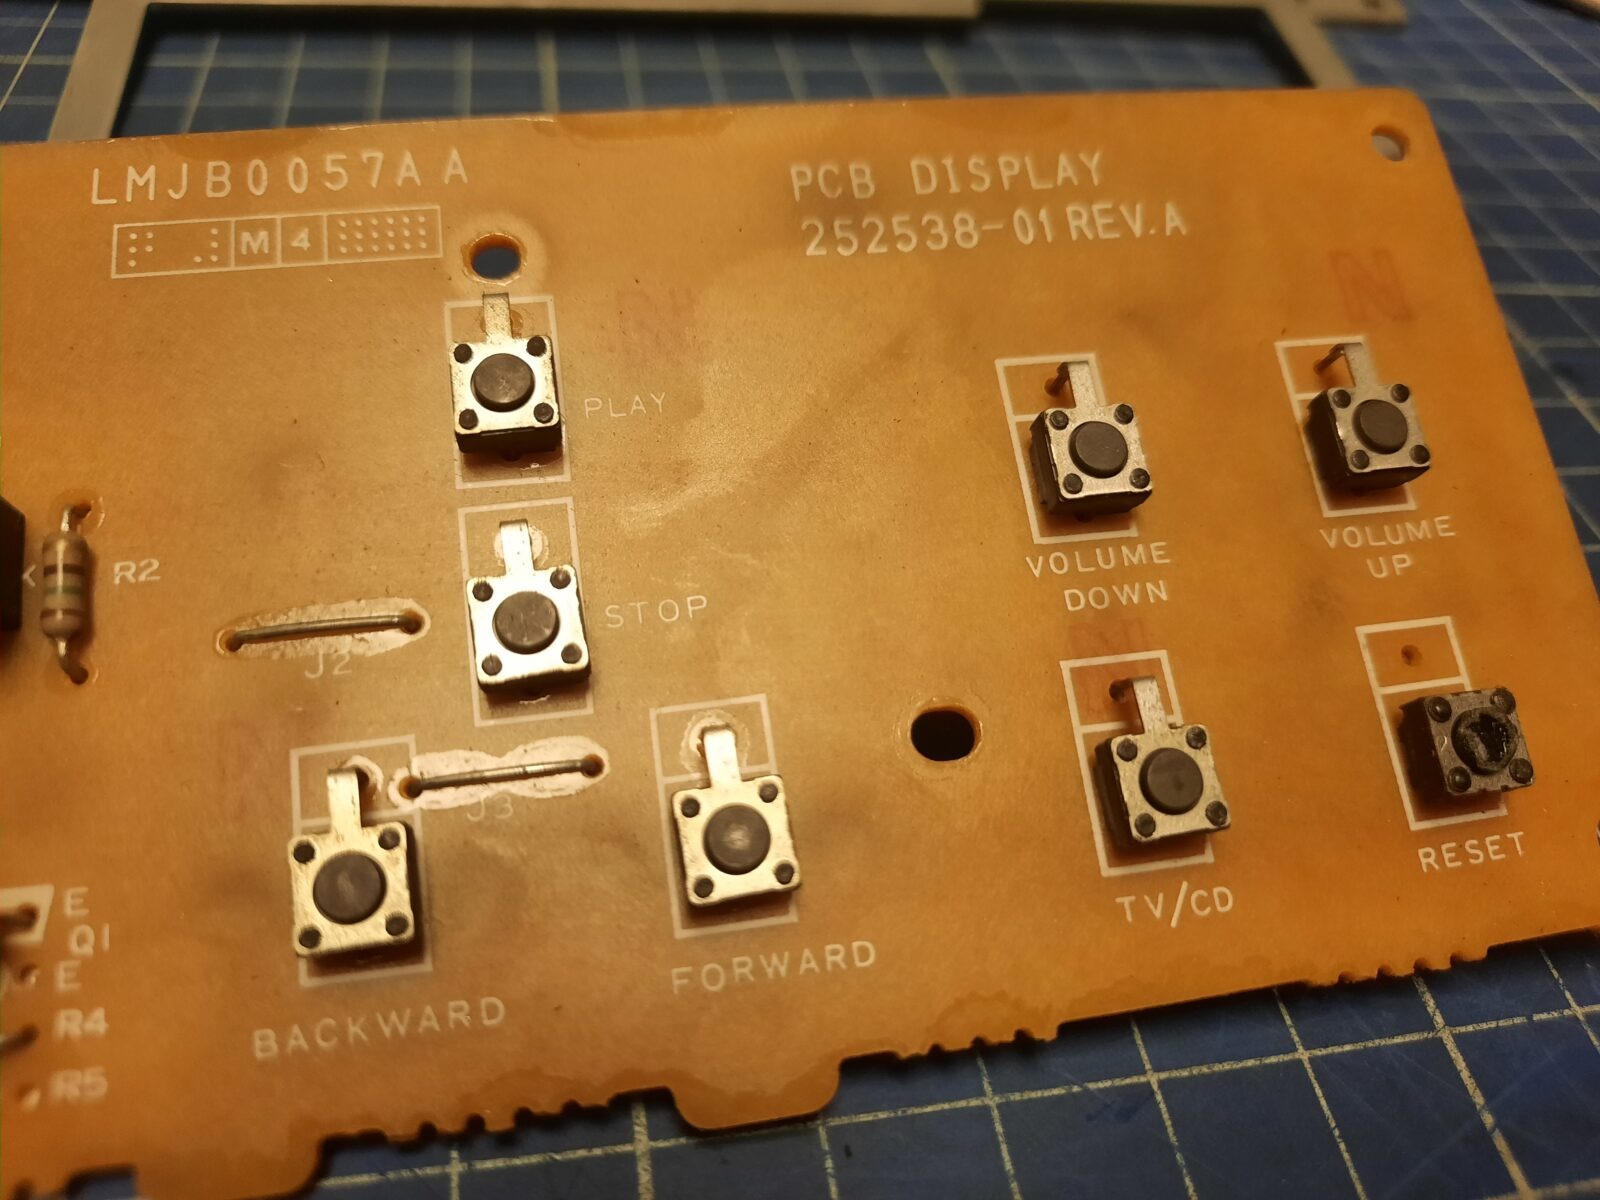
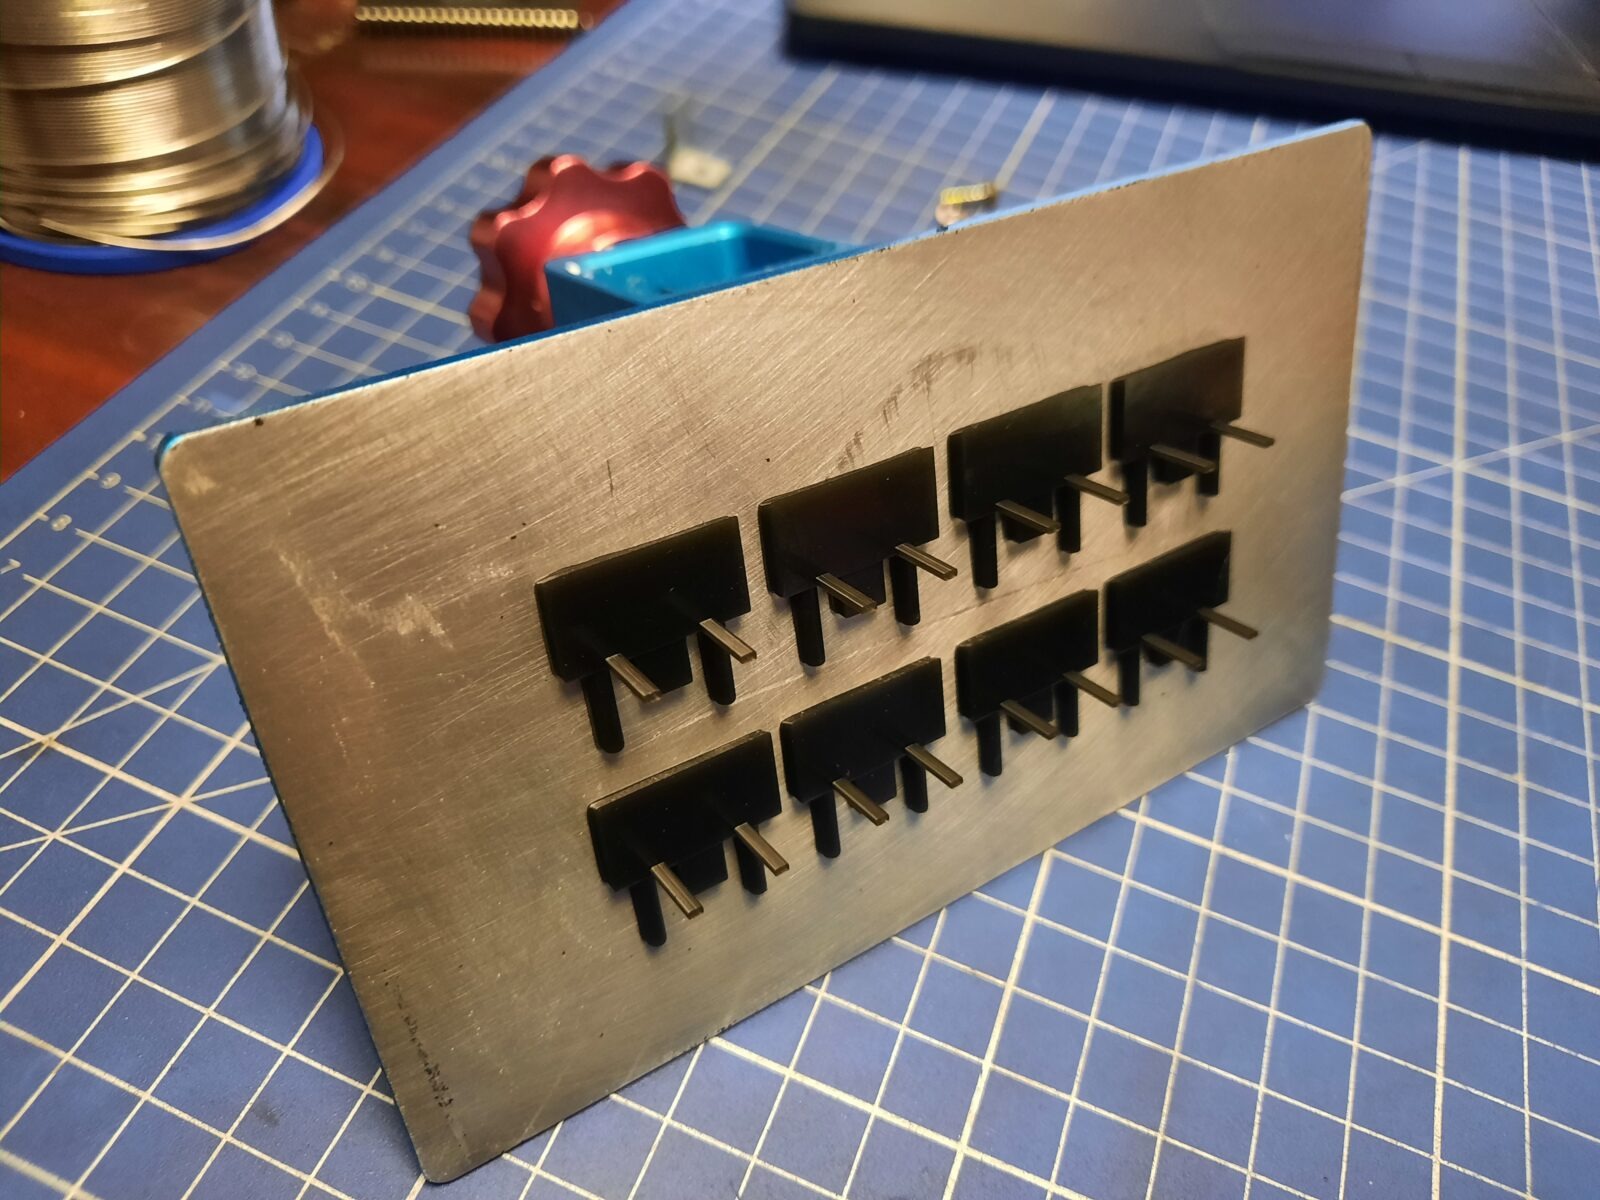
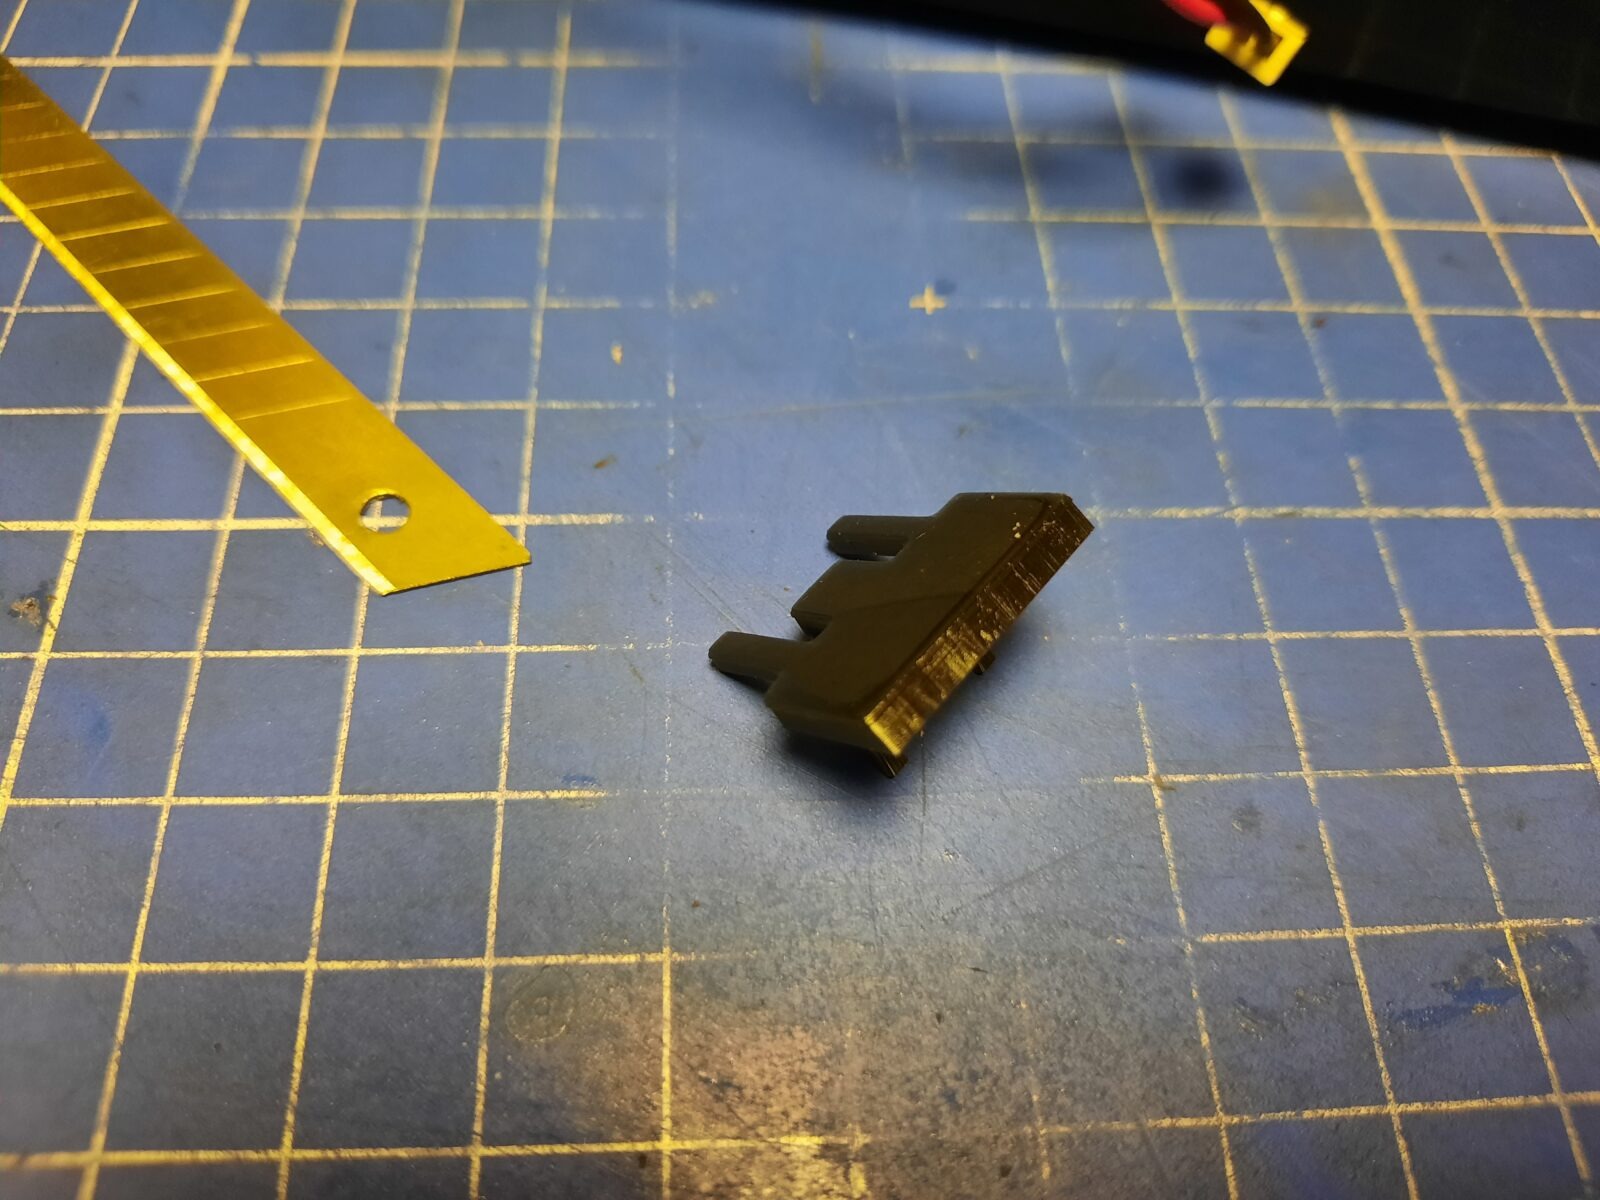
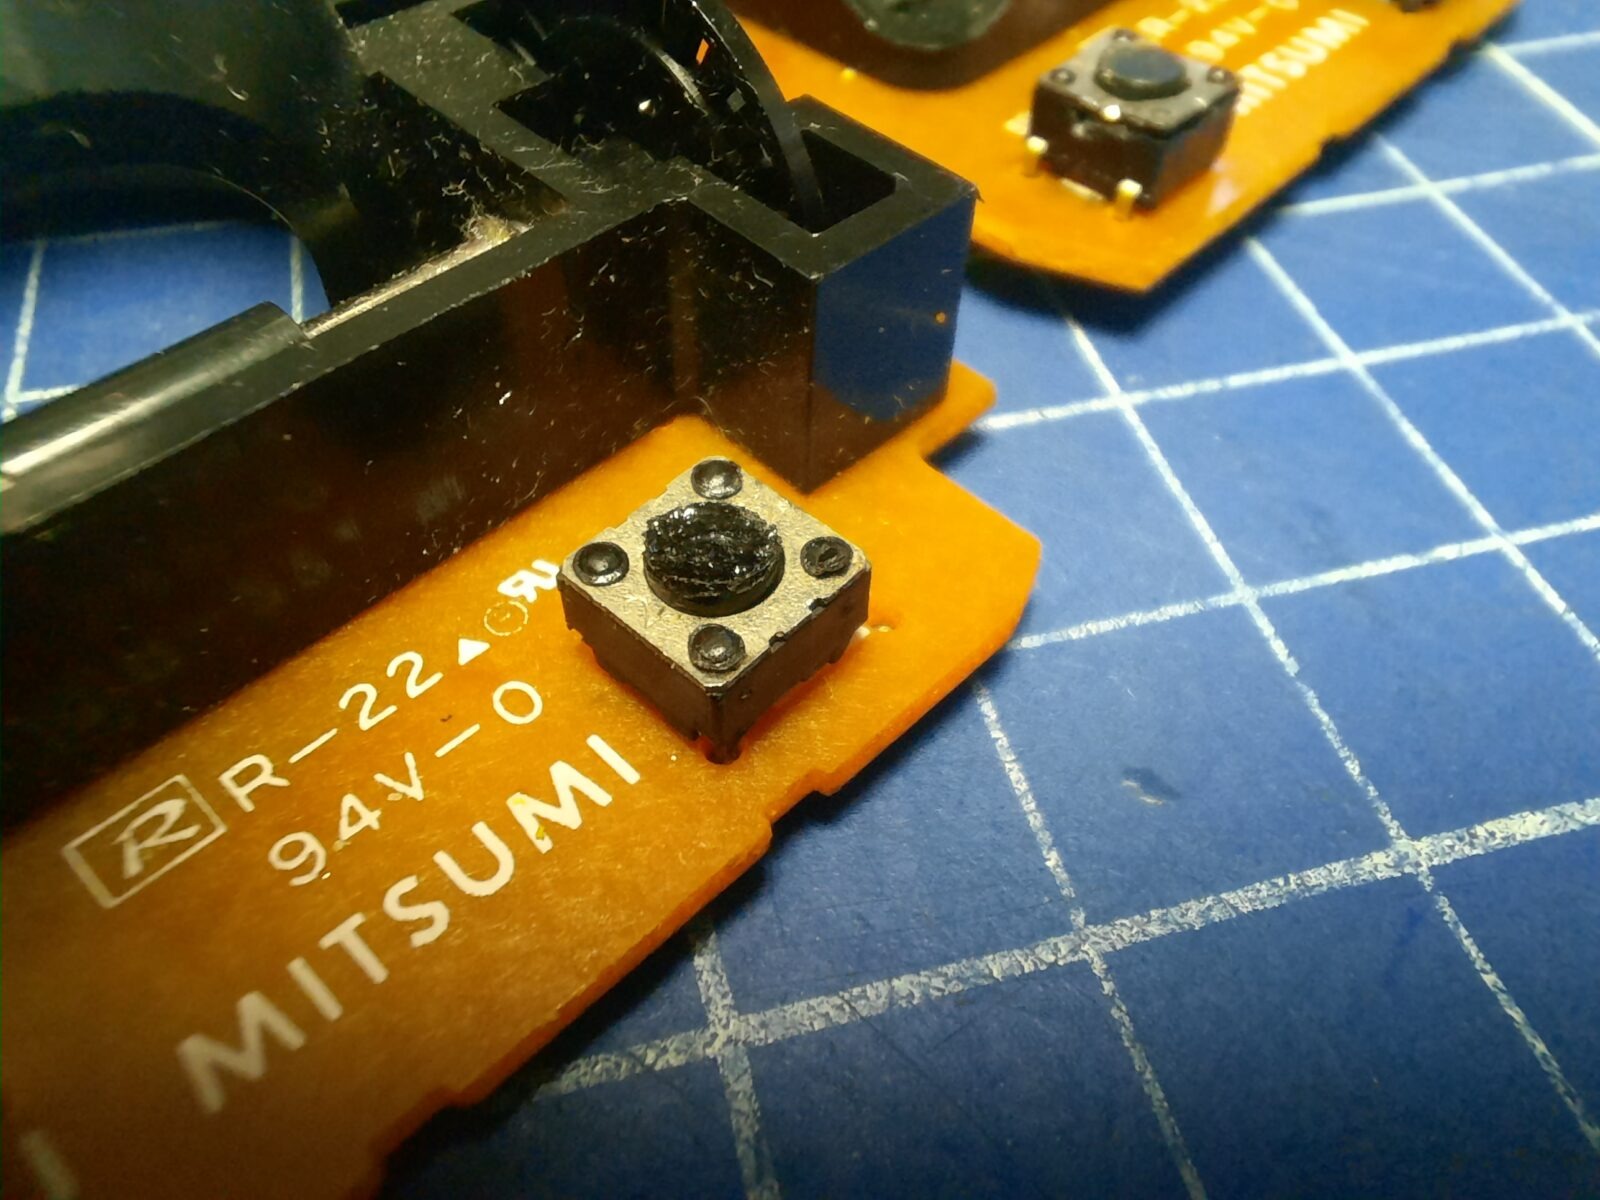
The TACT switches on the front panel had to be replaced as these were a bit worn out.
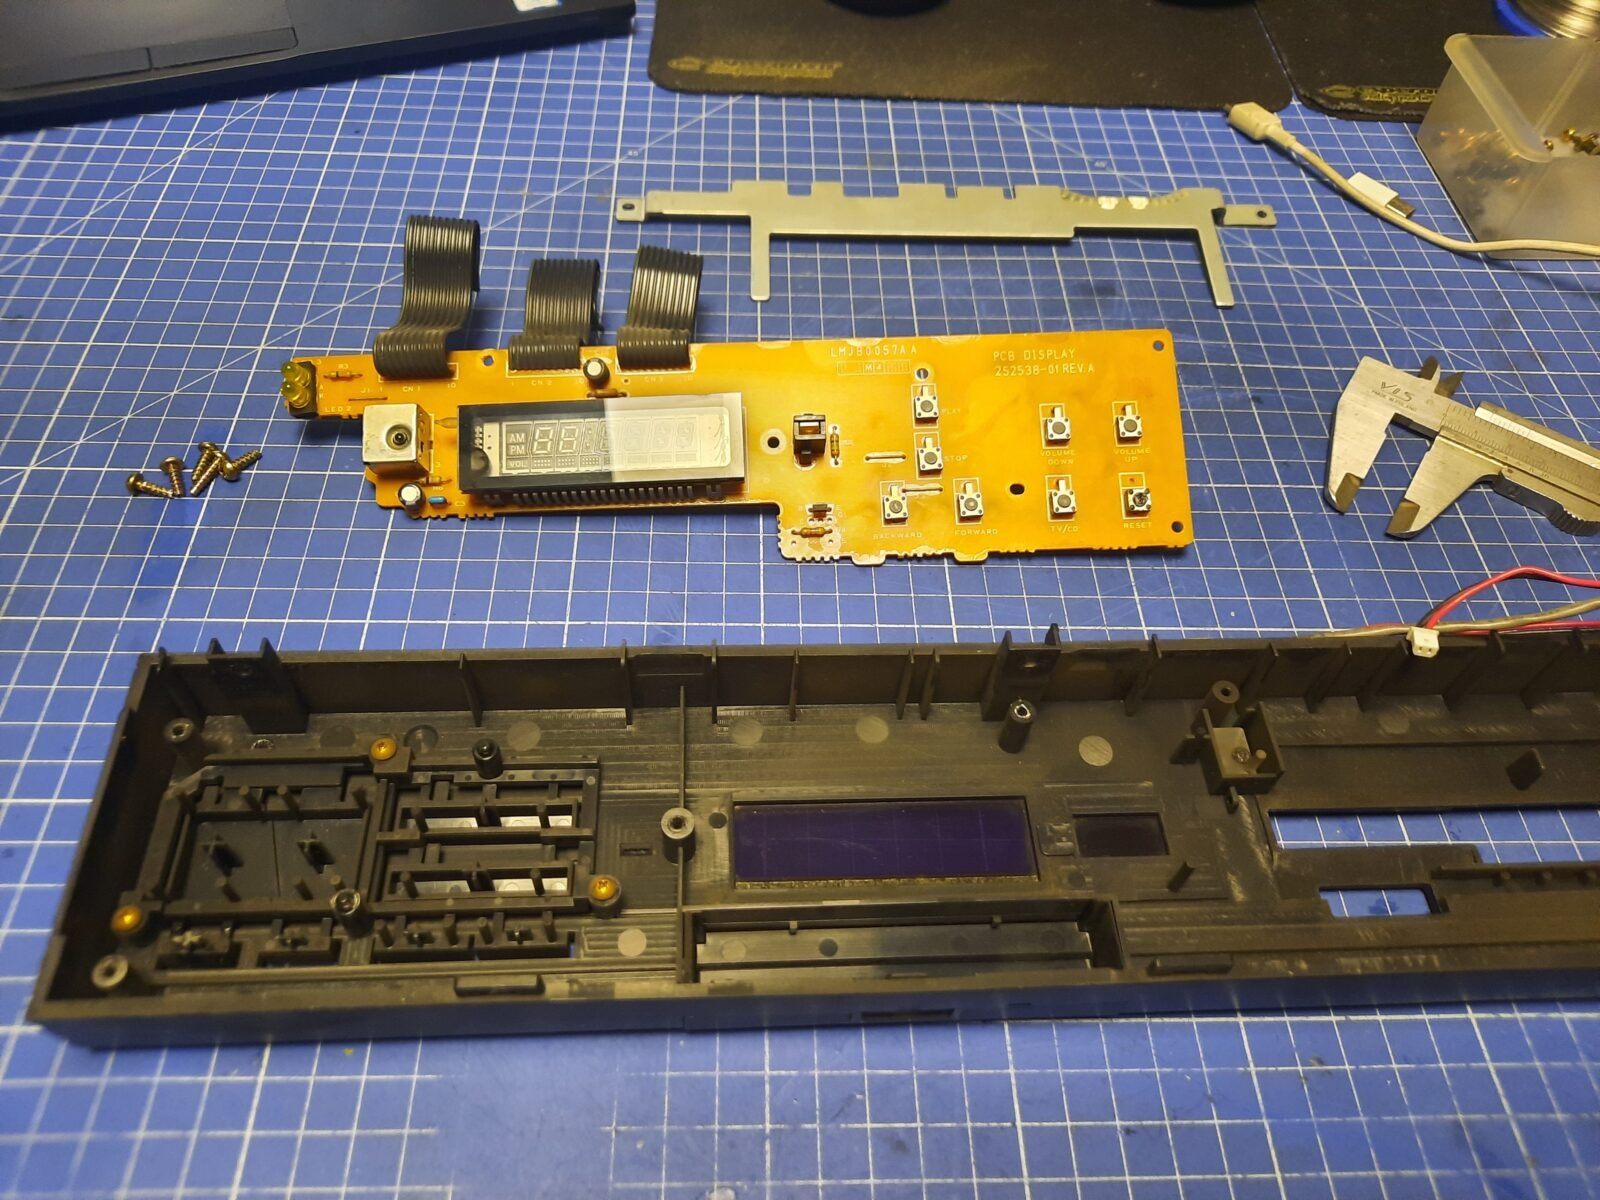
After cleaning, the front panel appeared as matt. To make it shine again I had to apply some mineral oil to it a bit later.
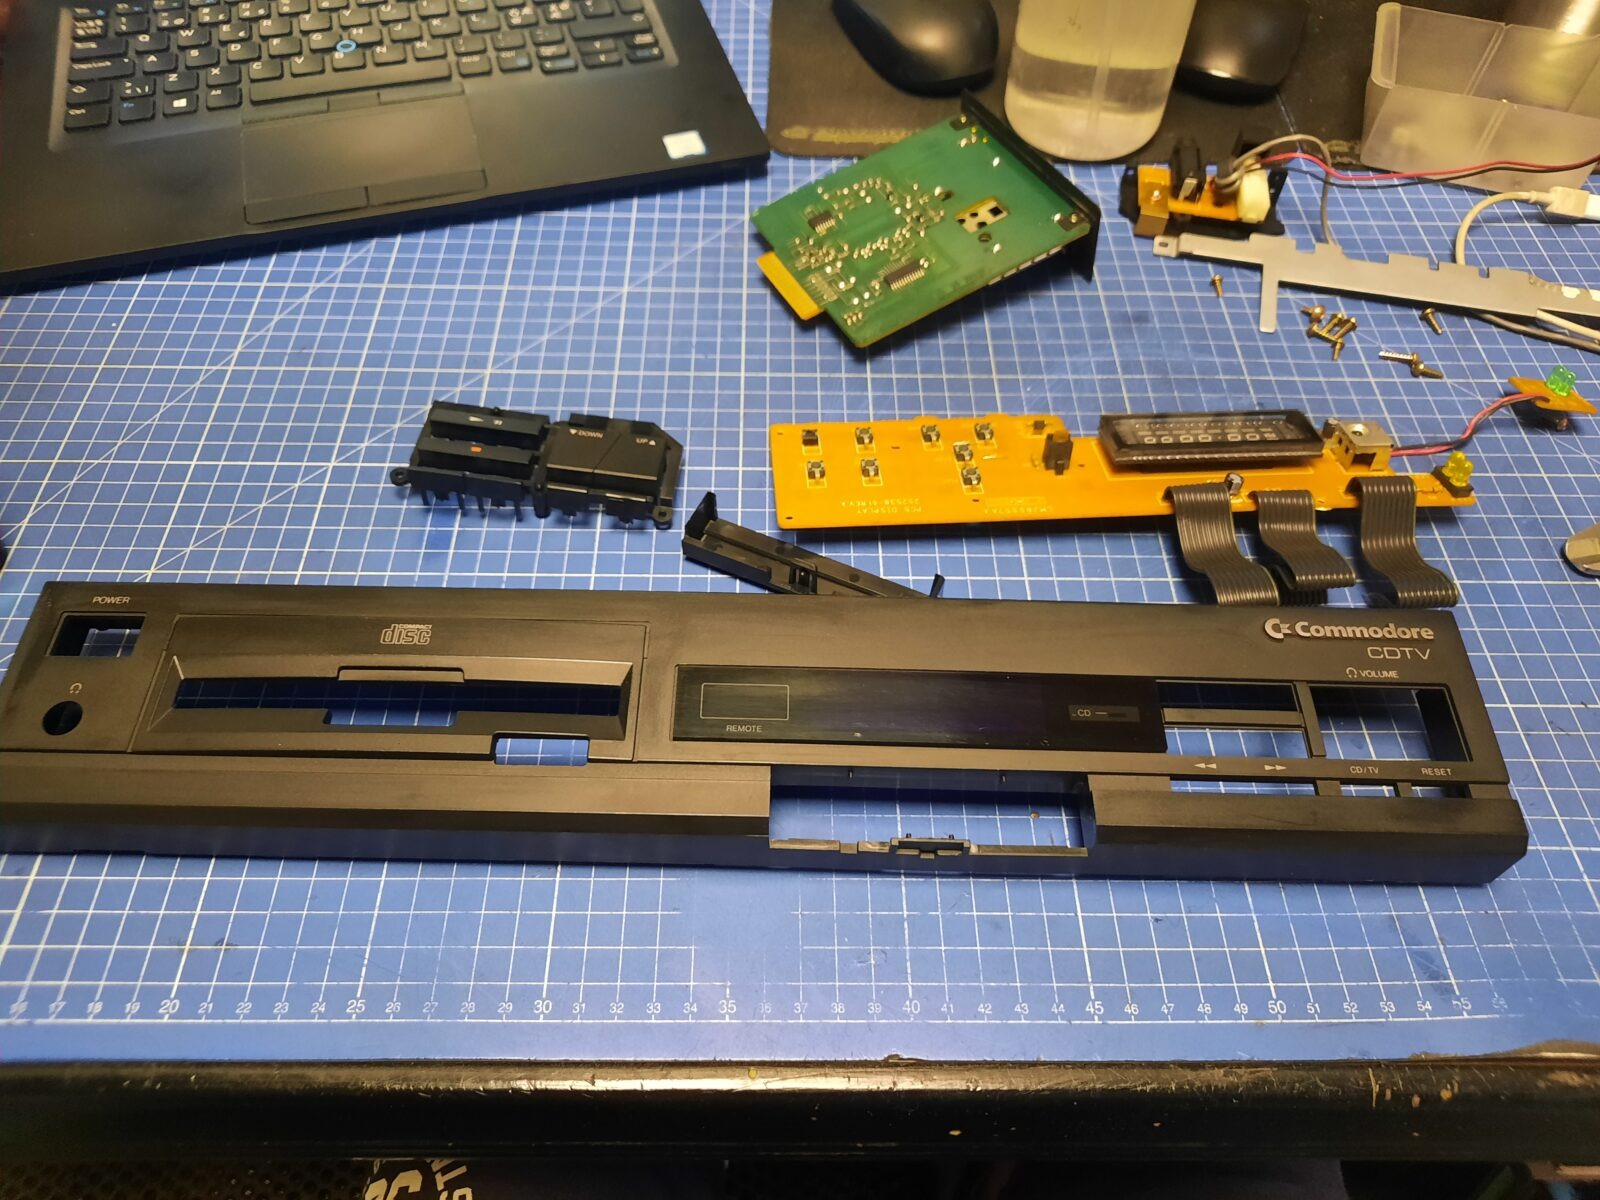
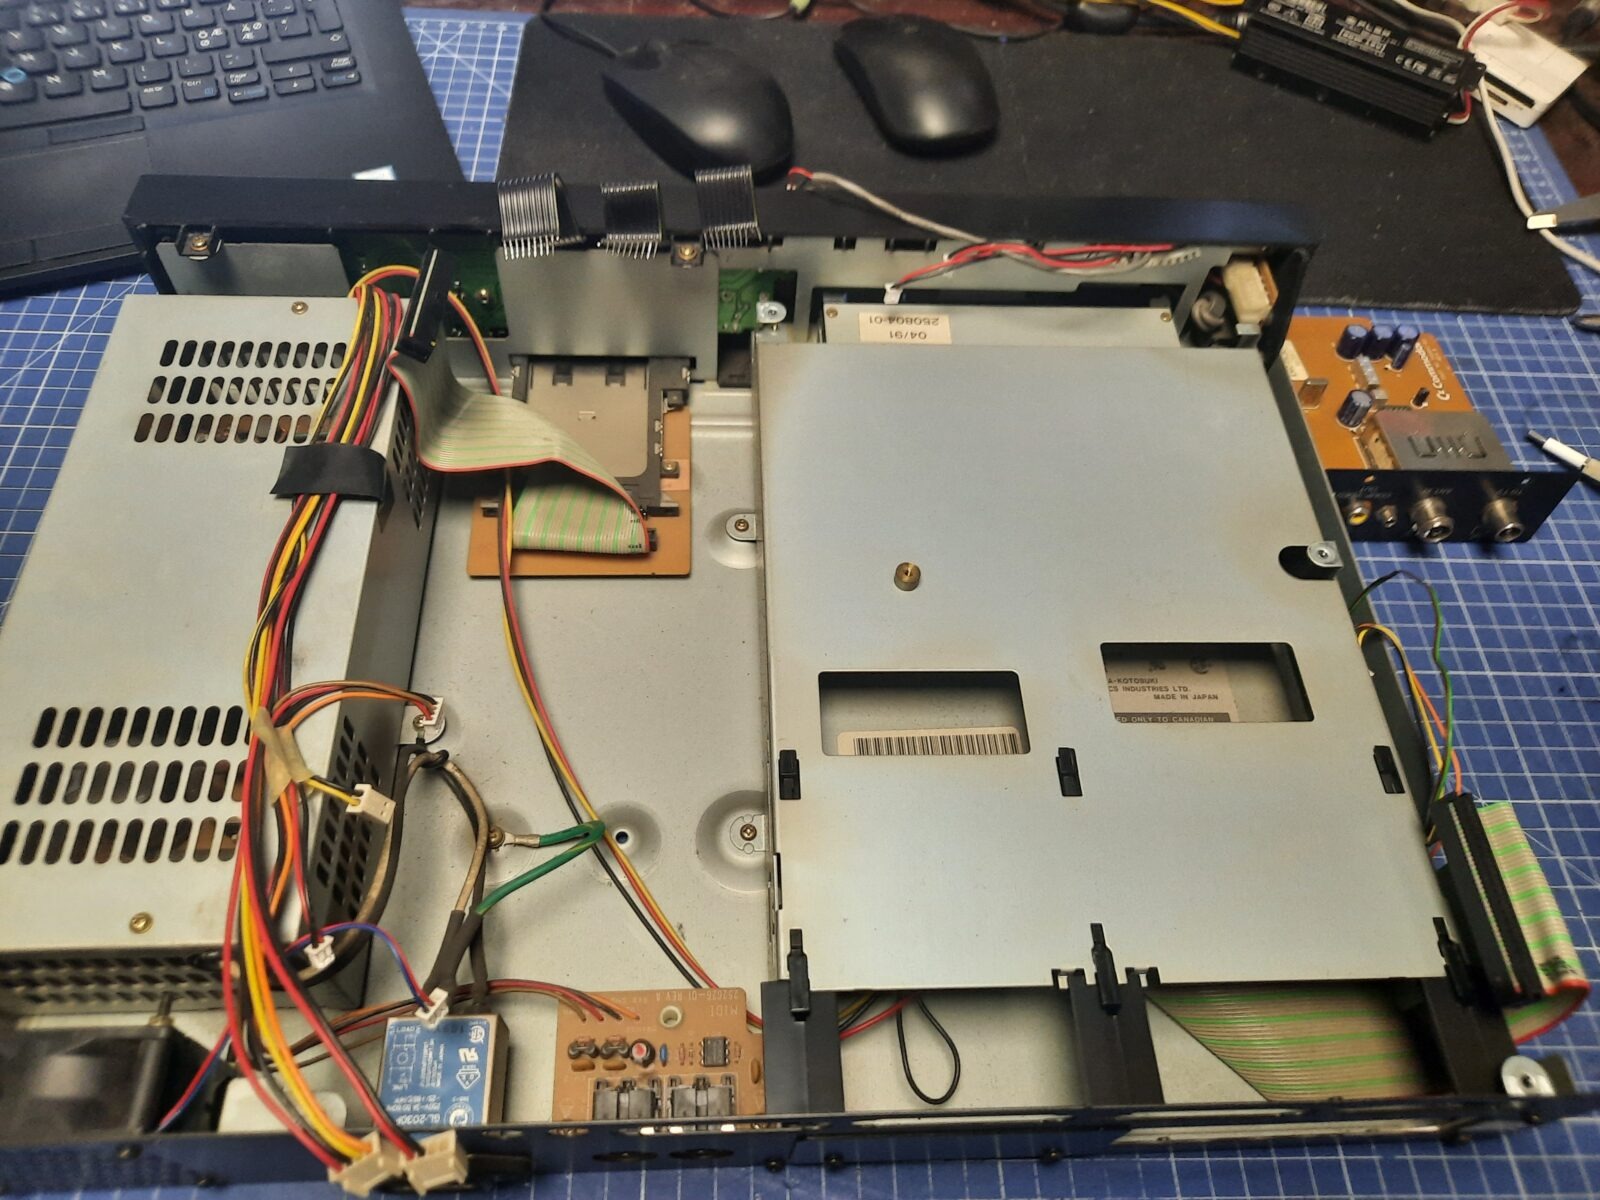
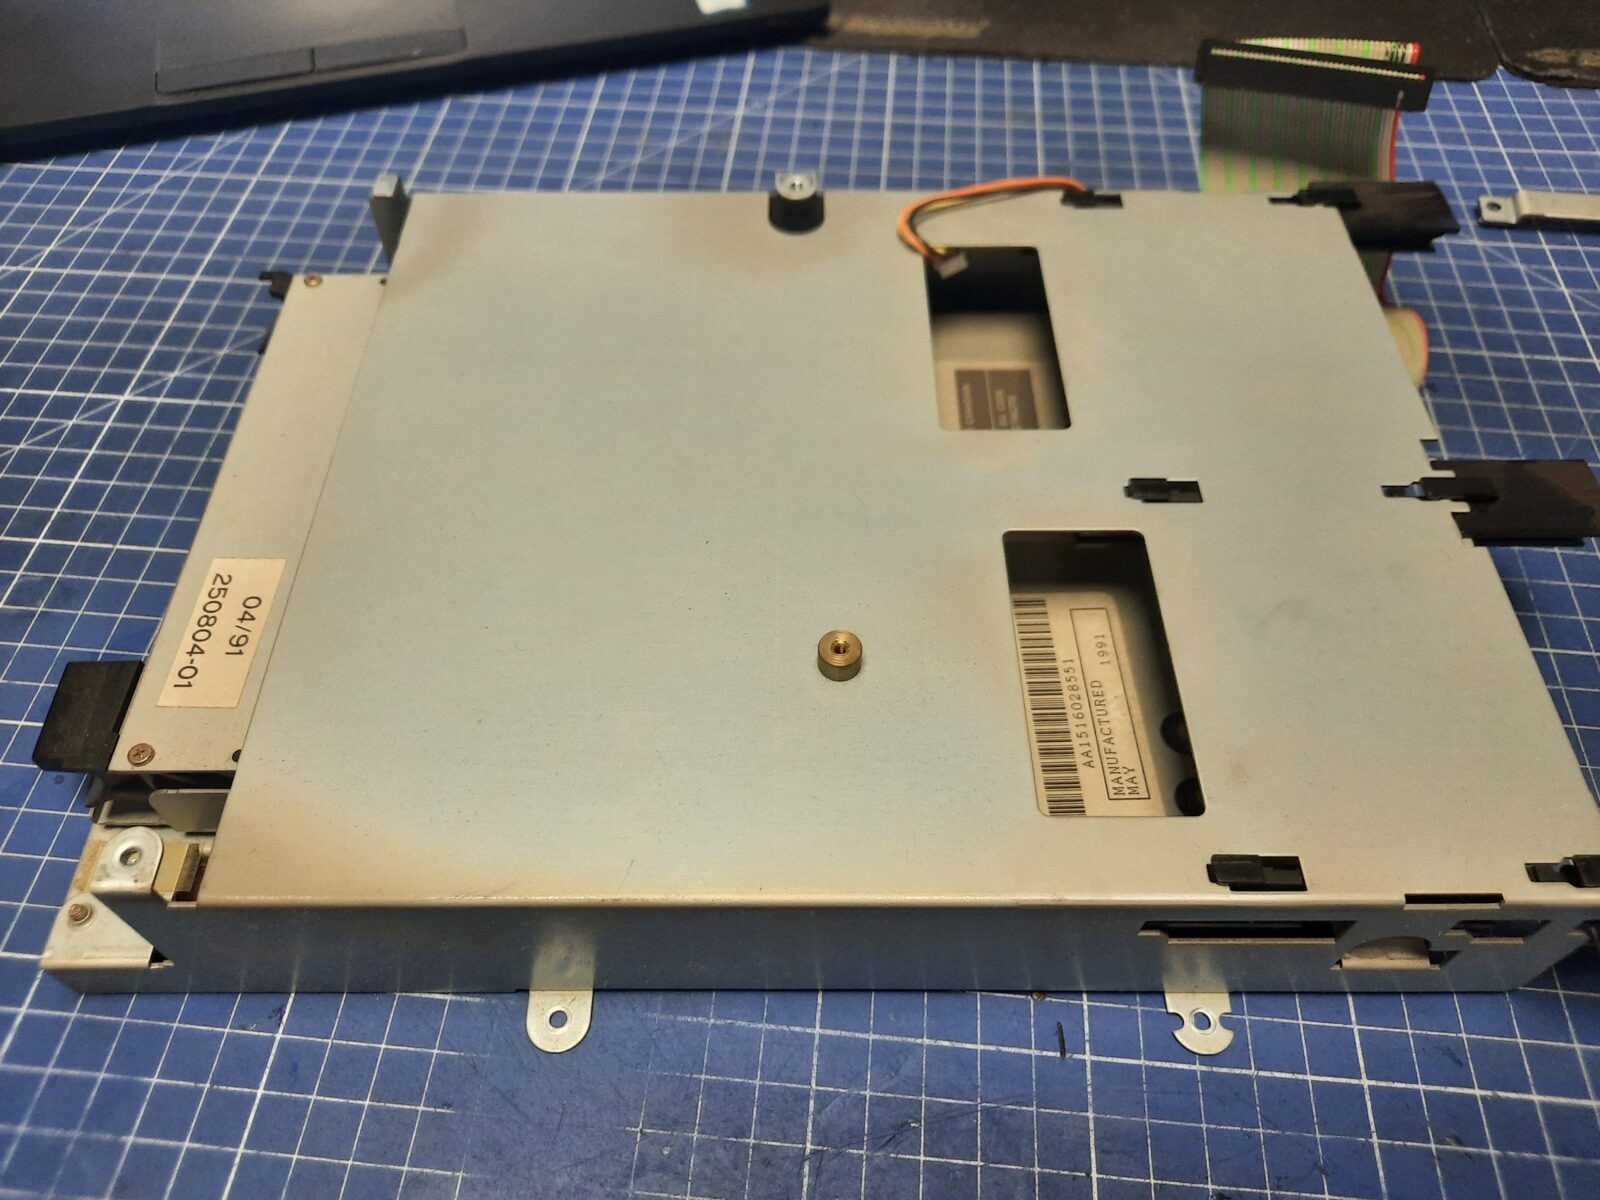
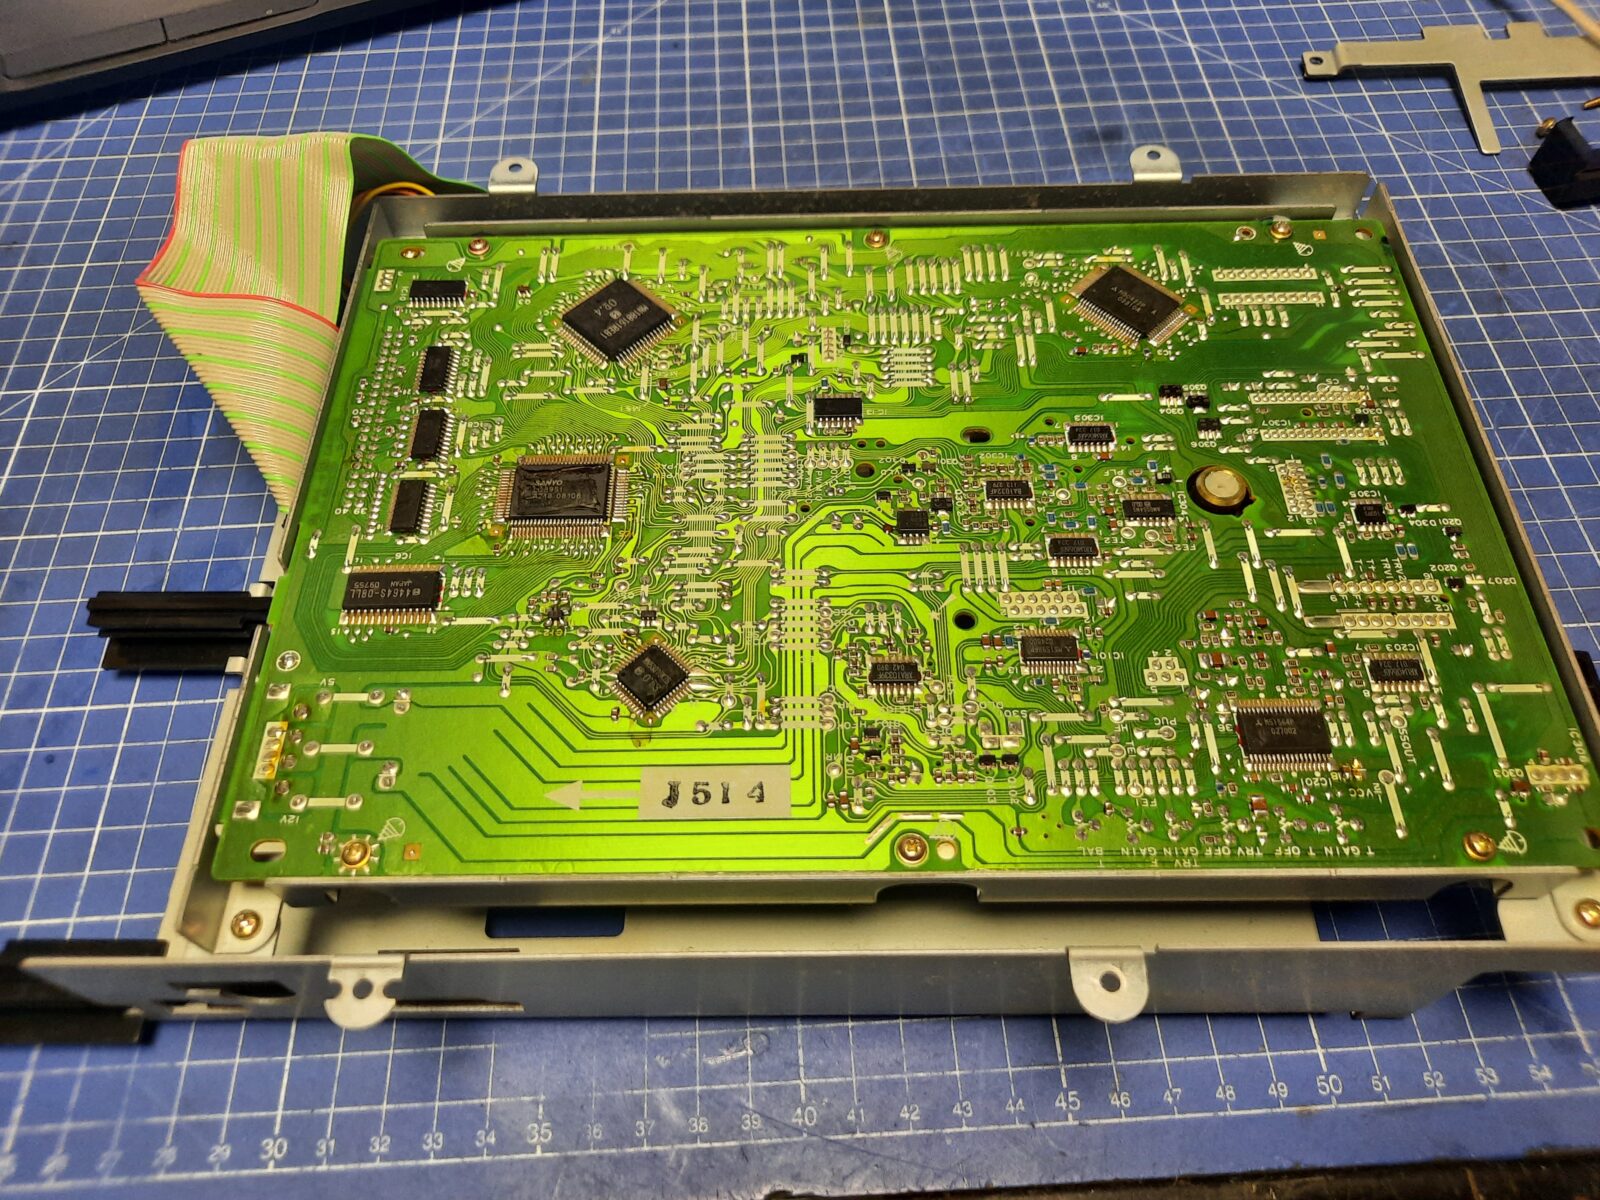
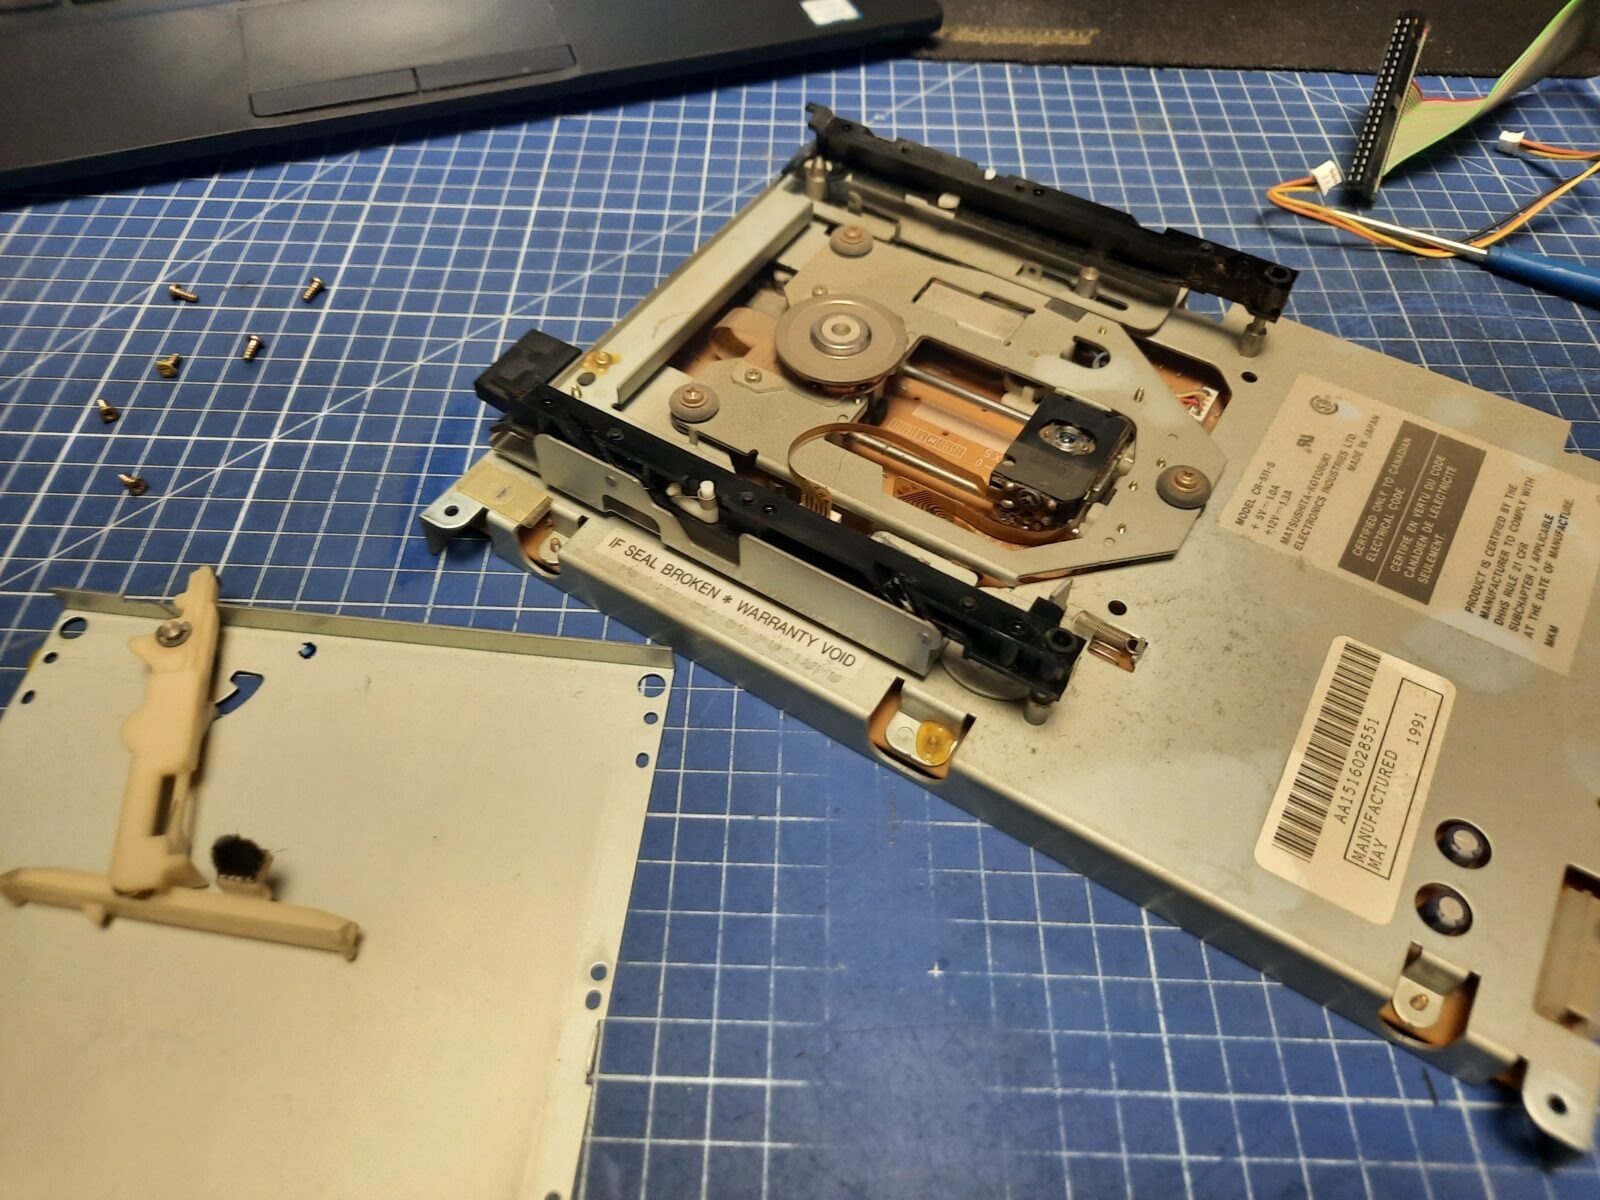
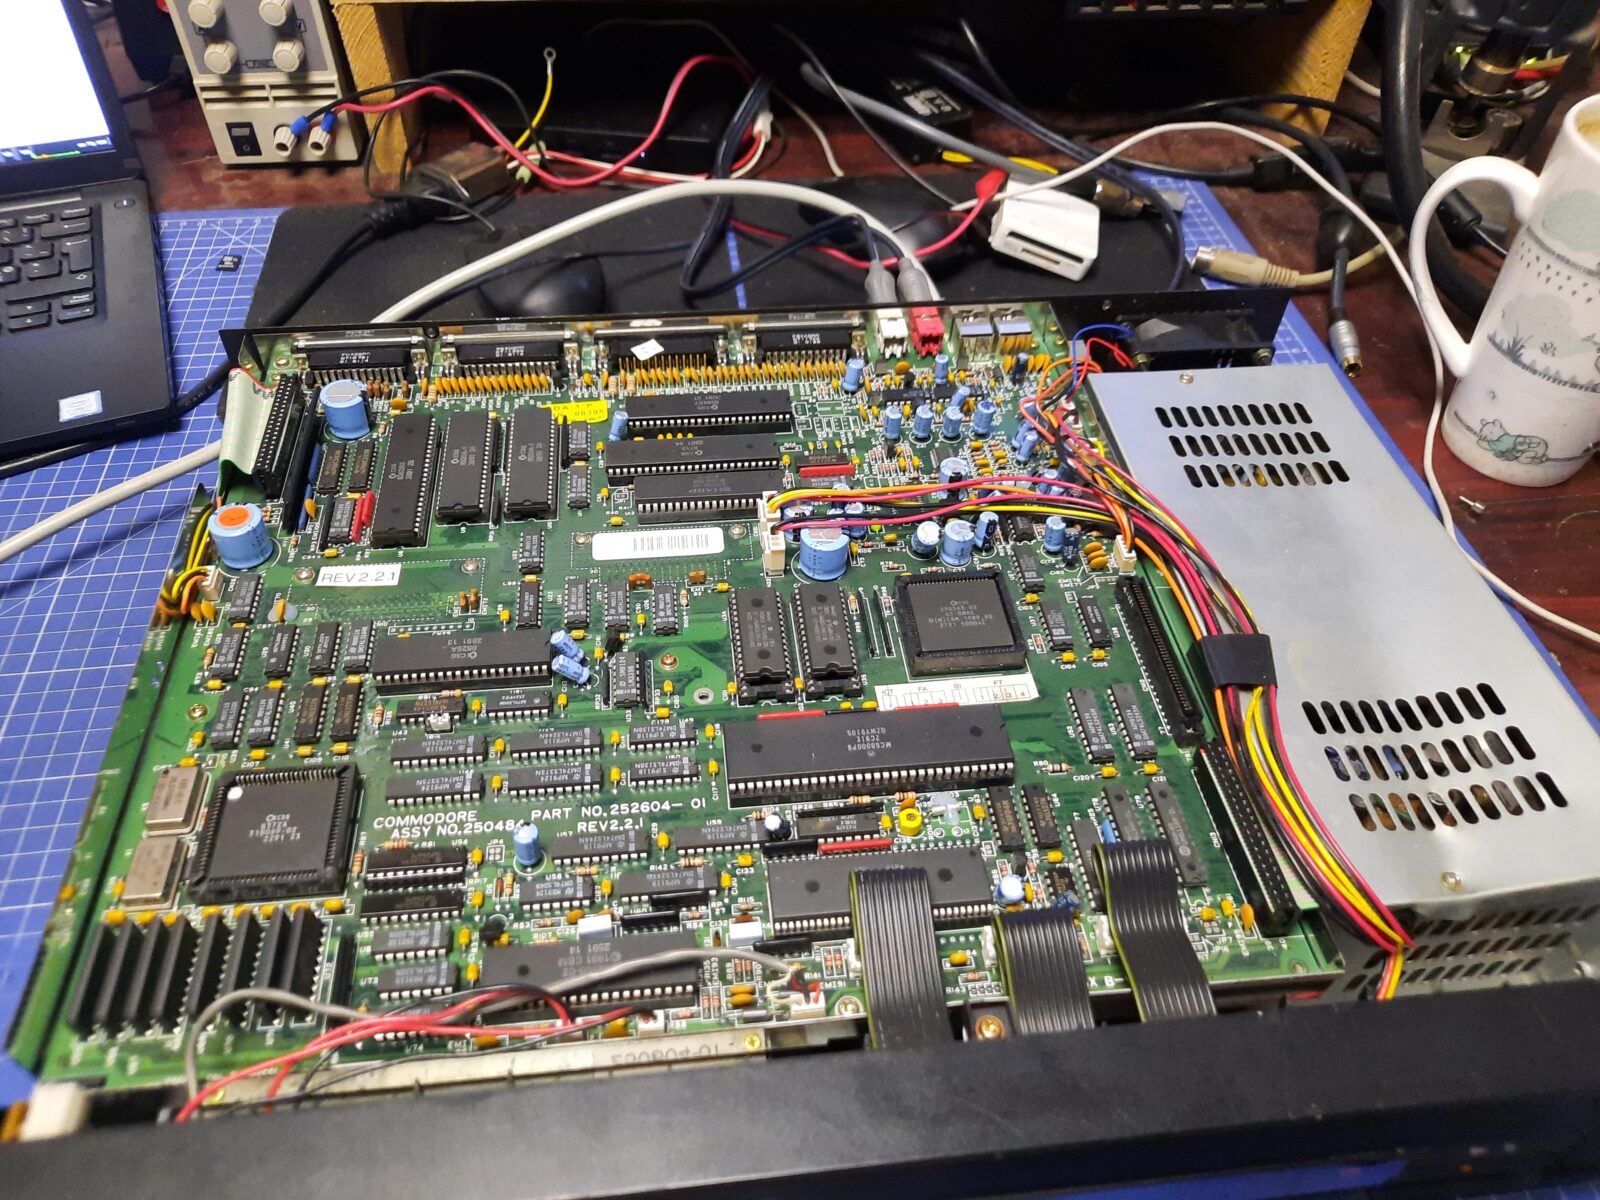
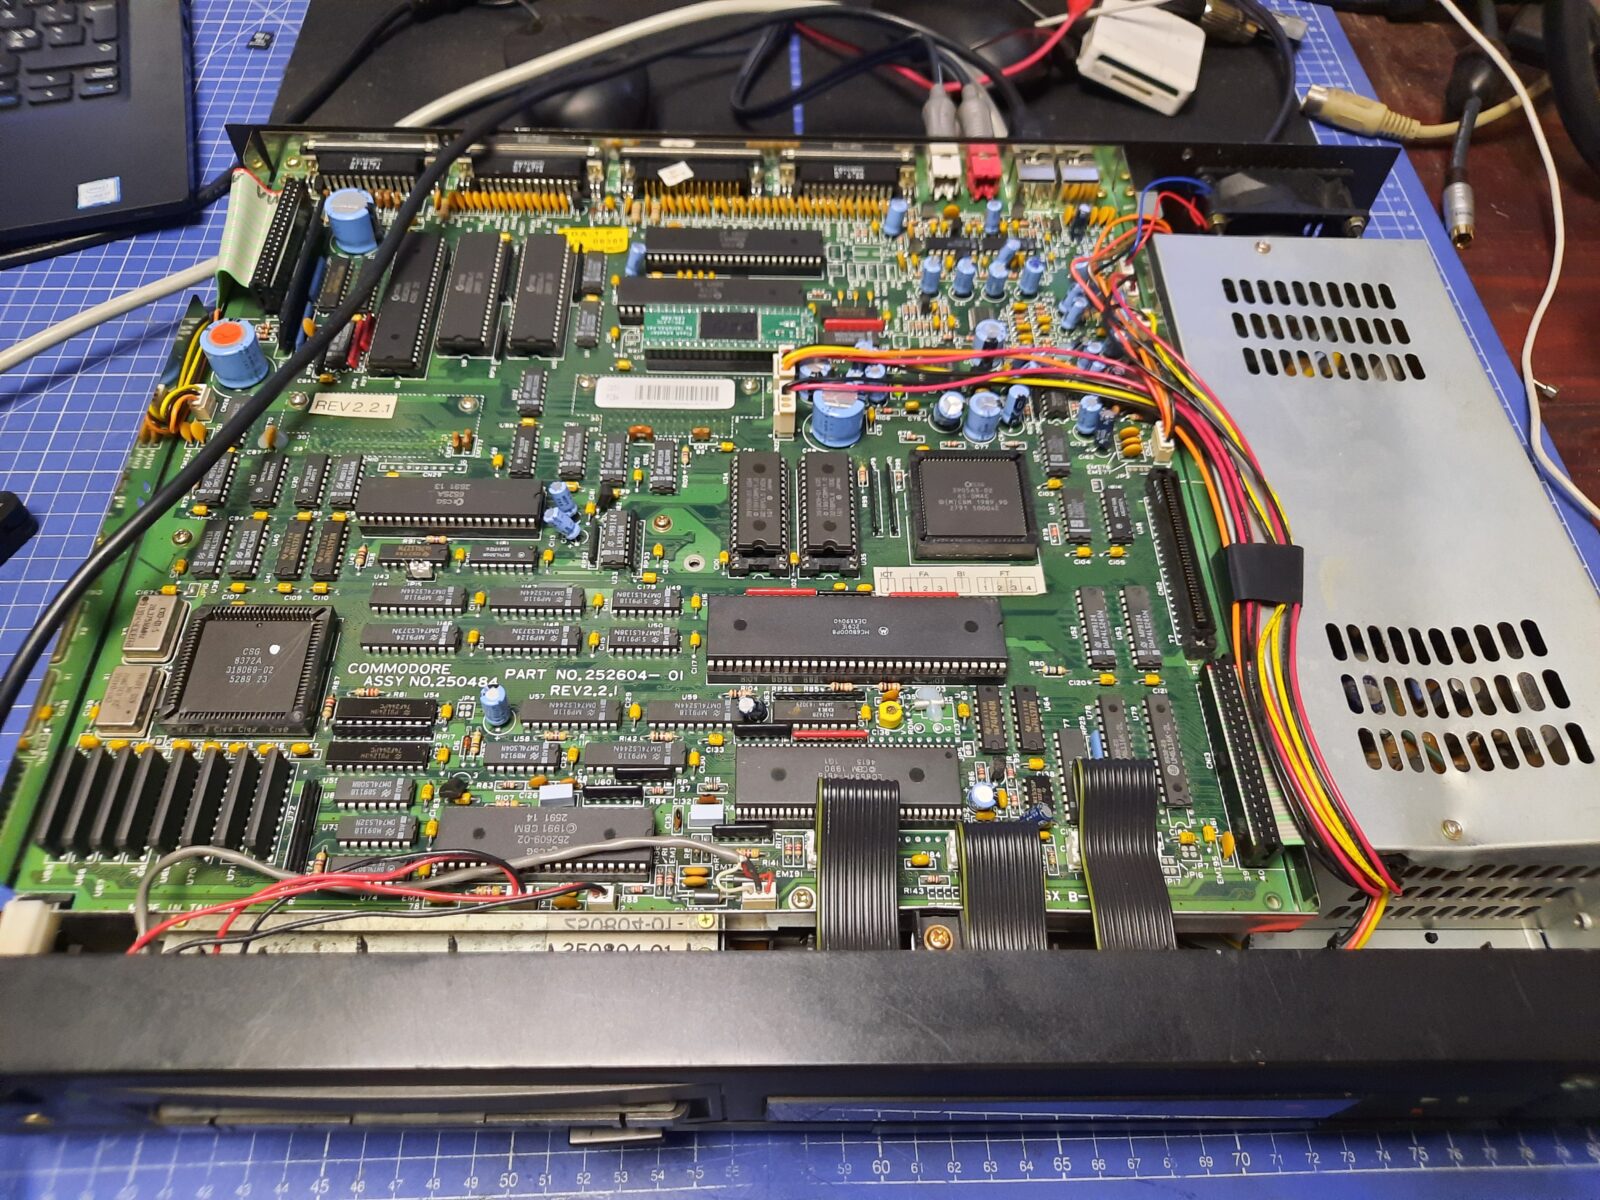
I’ve also cleaned and serviced the CD drive. The motherboard was also cleaned, then installed and the machine was ready 🙂
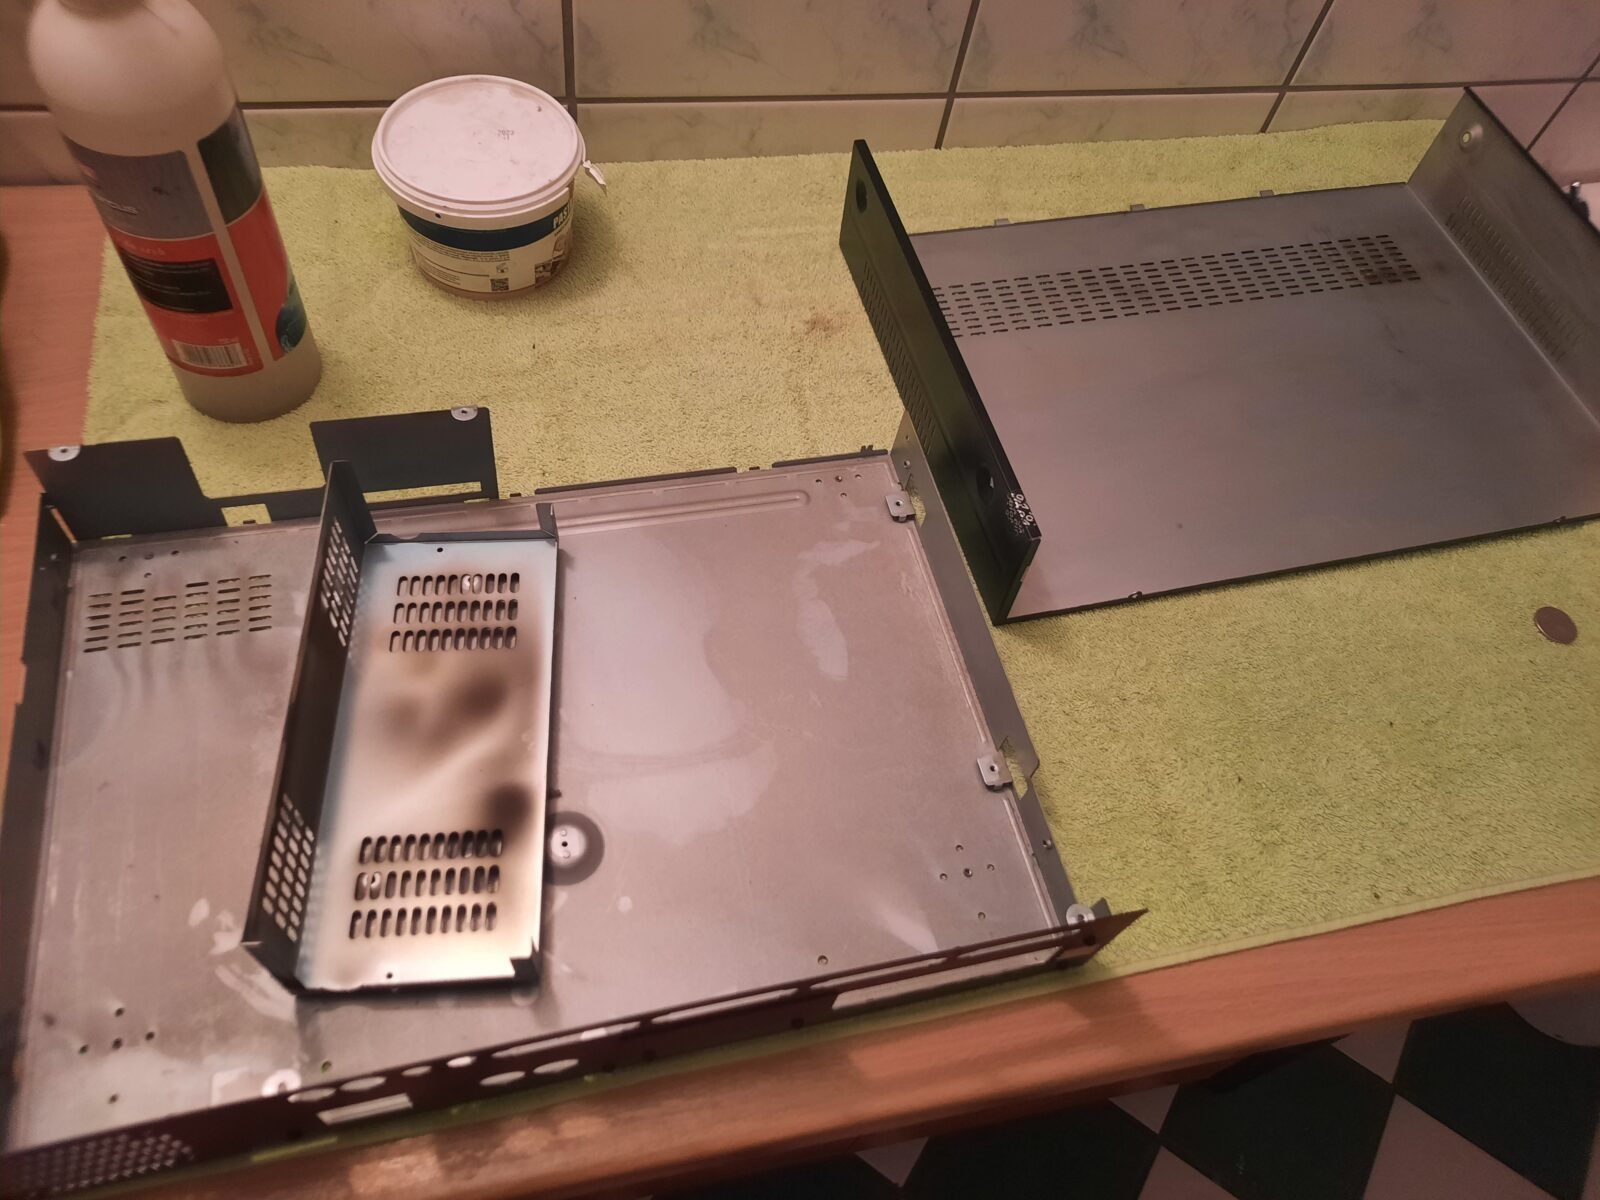
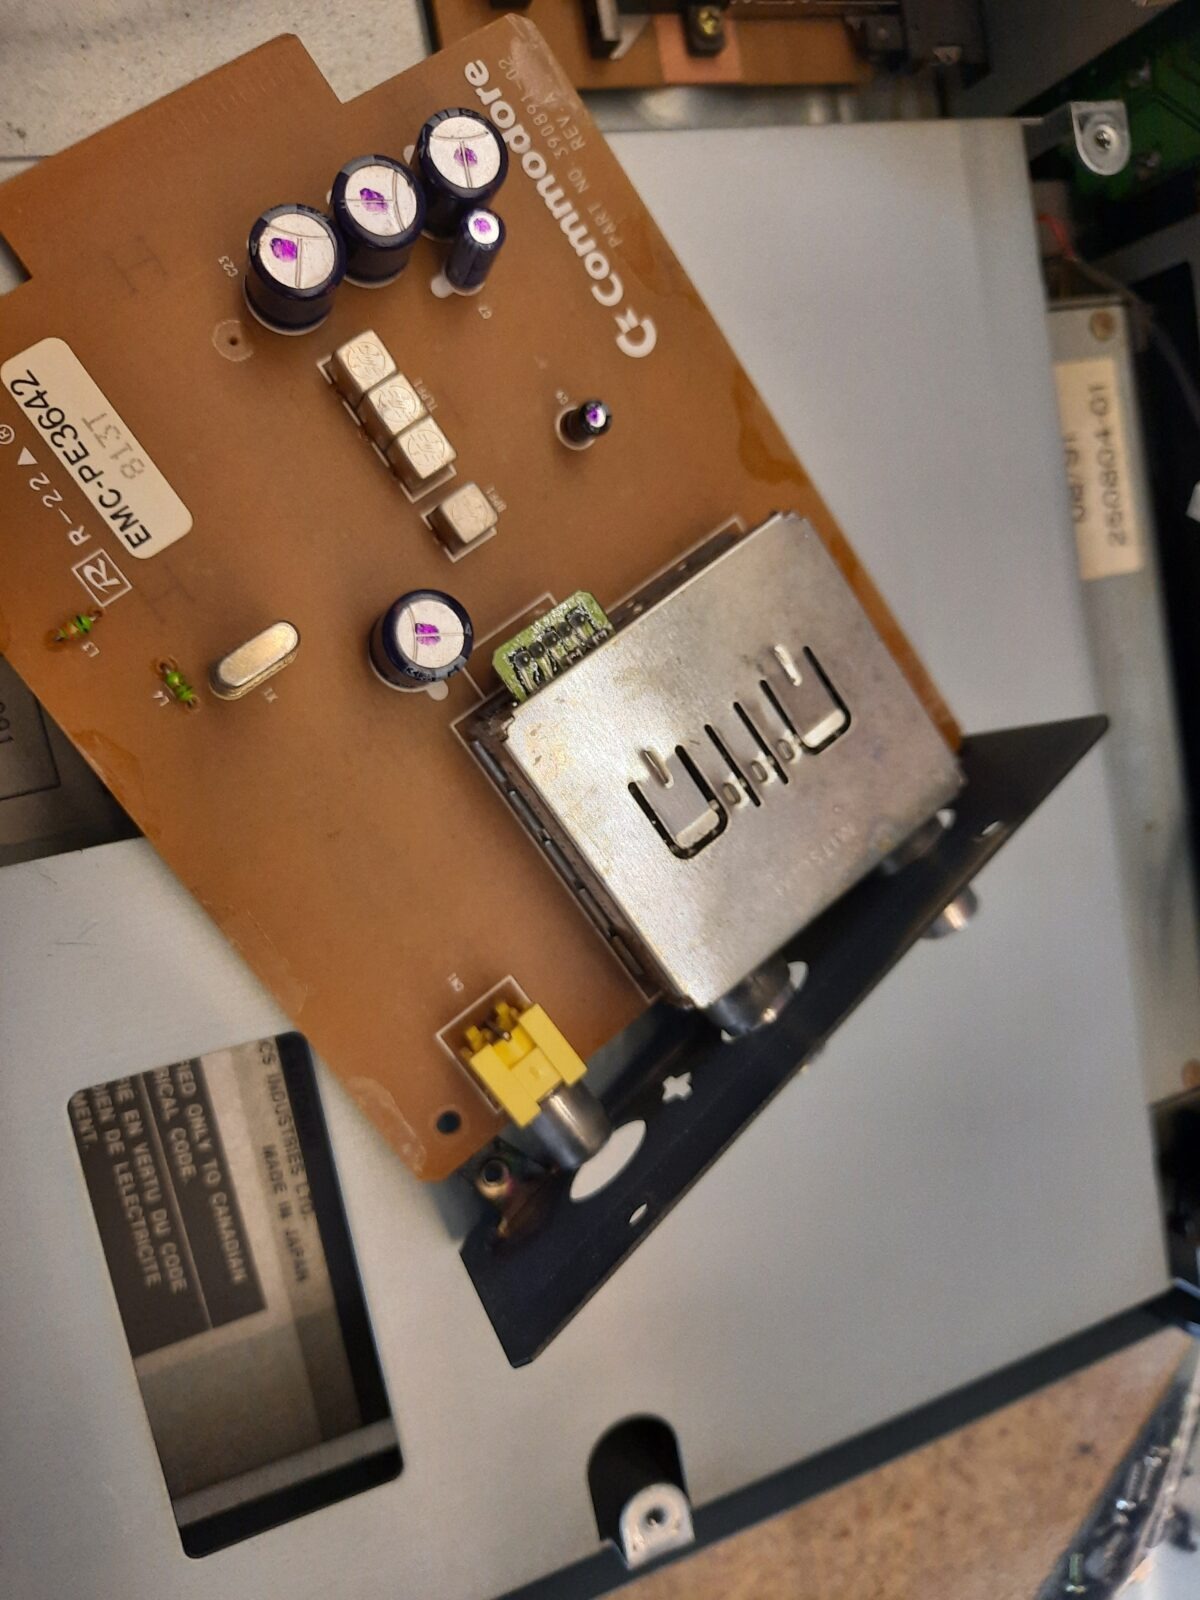
CDTV no.2
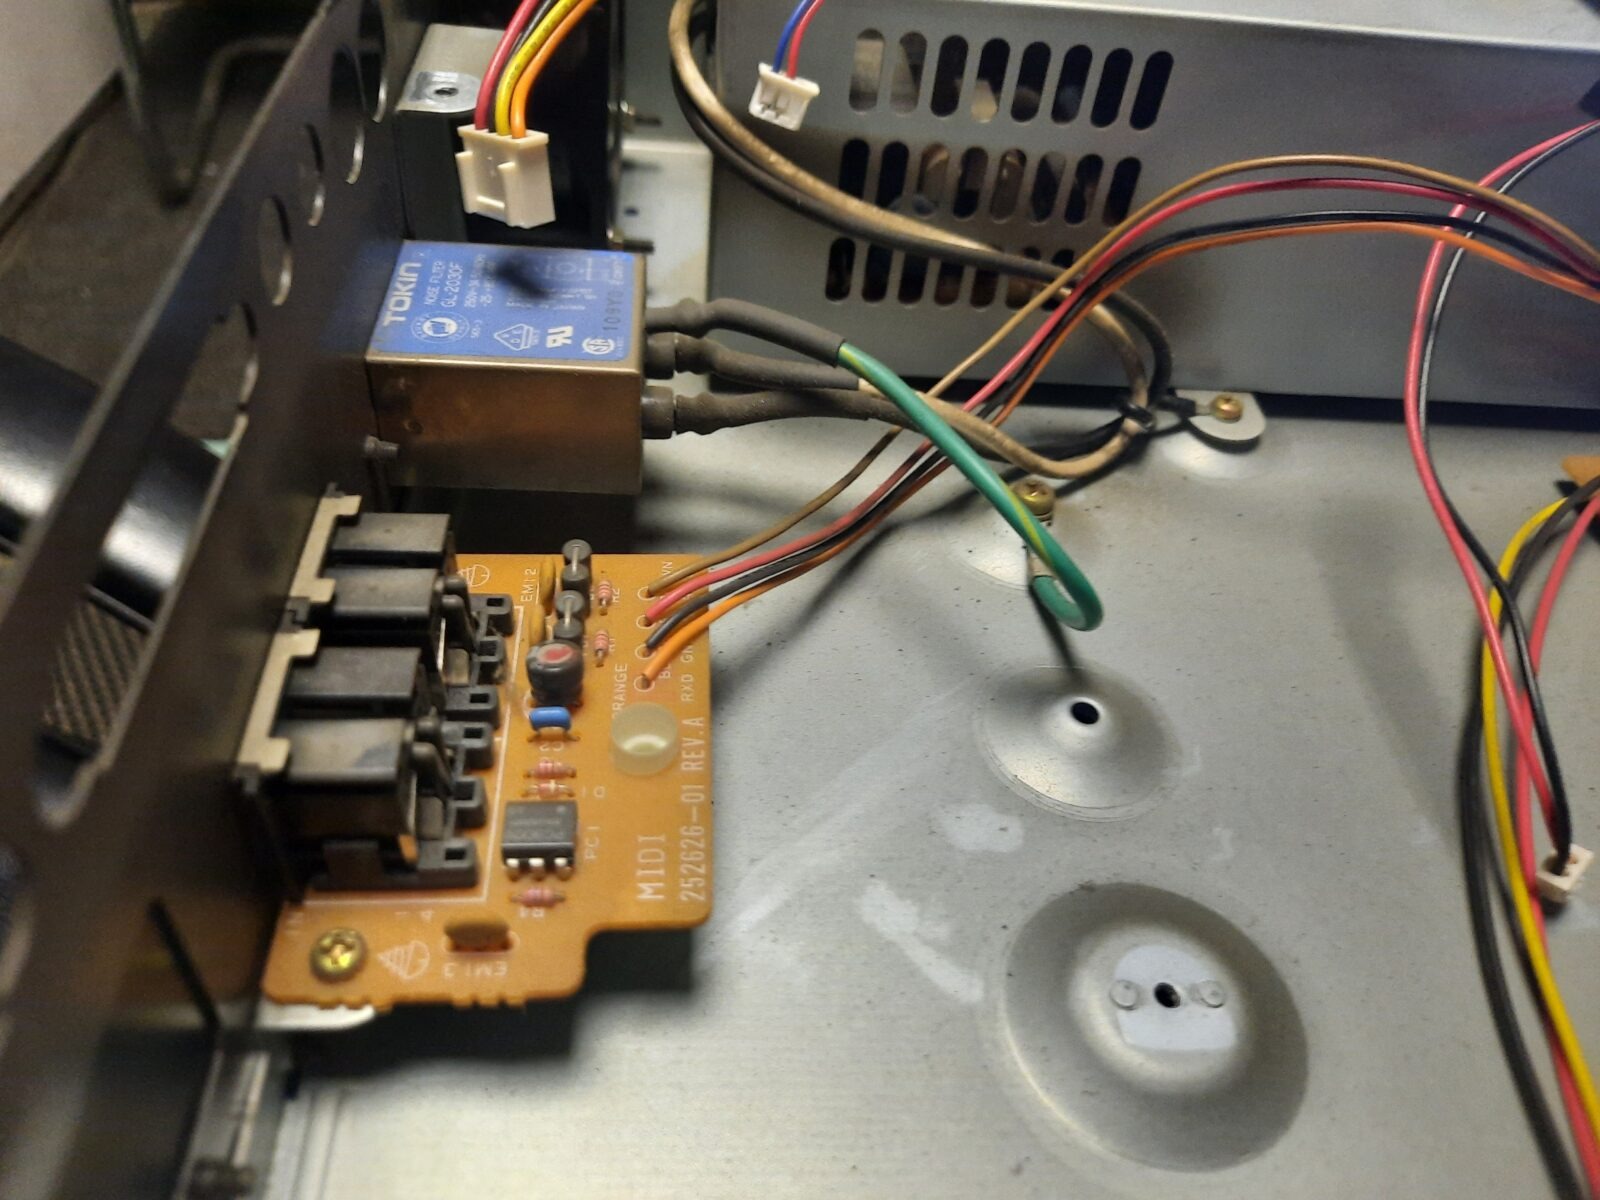
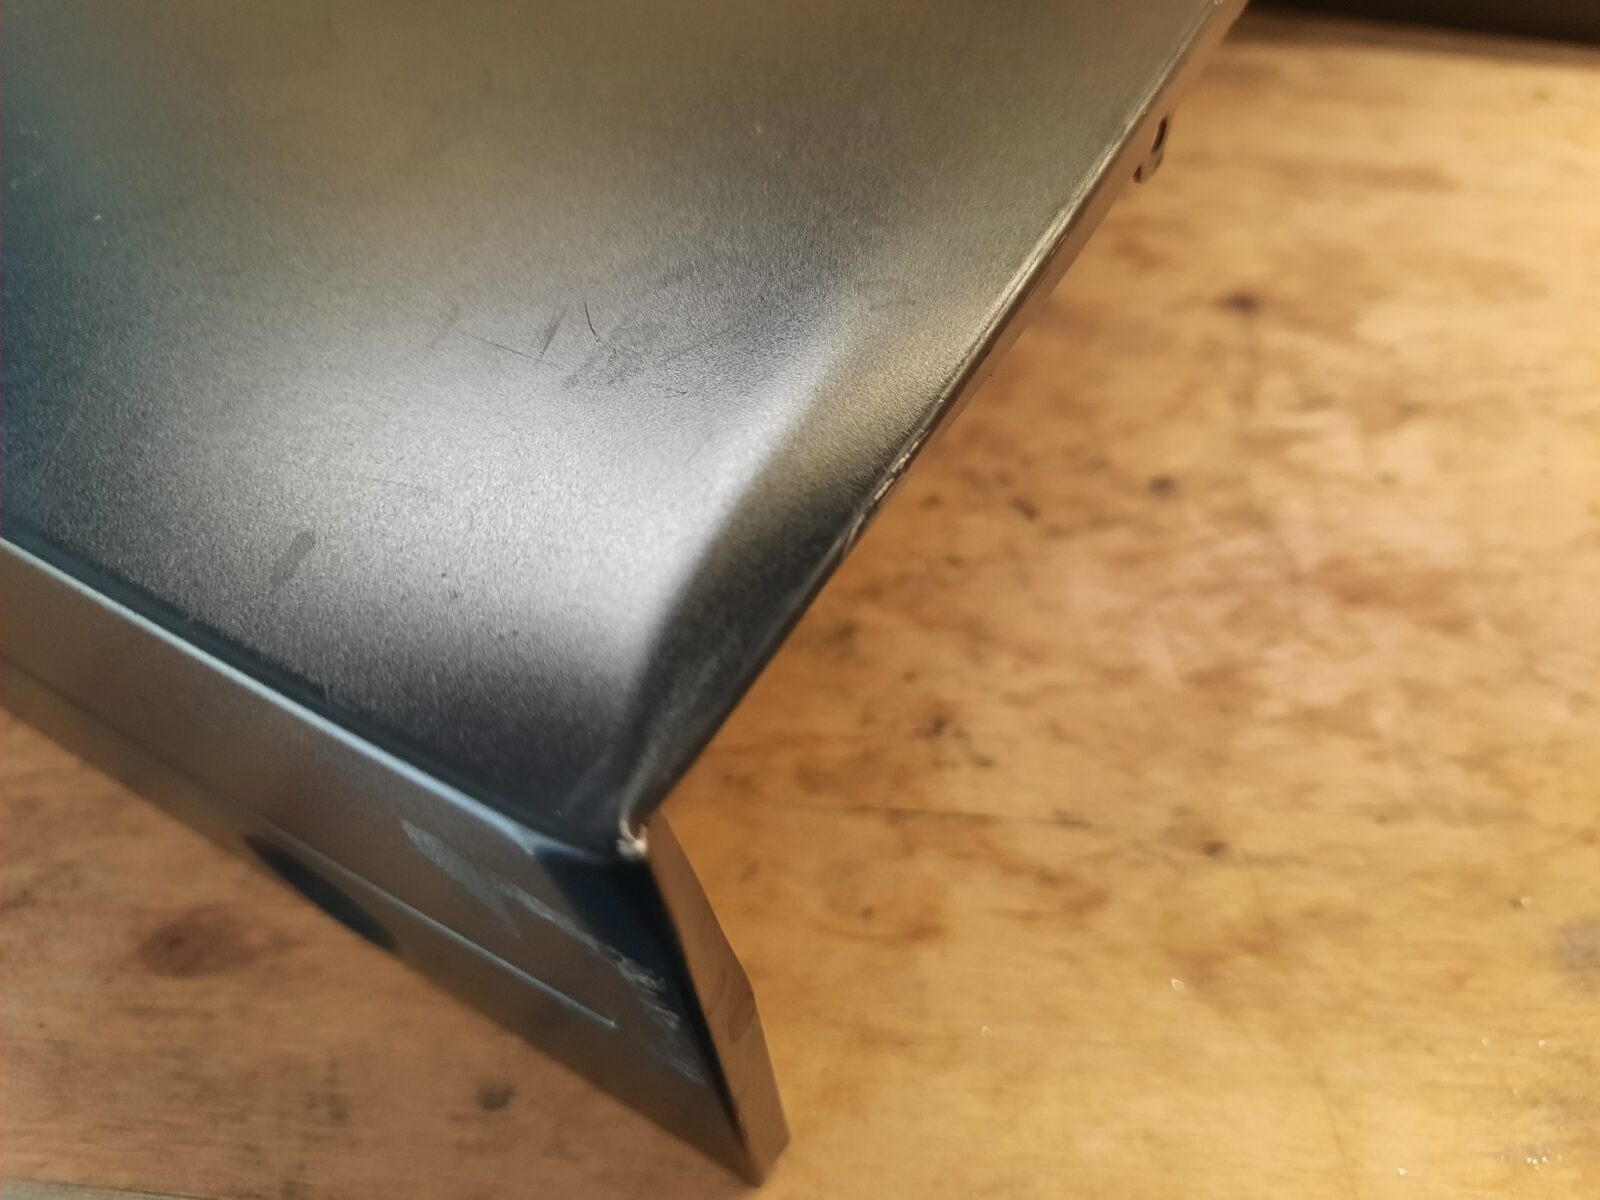
After opening it, I instantly knew what was wrong with it … missing CPU and all wires disconnected!
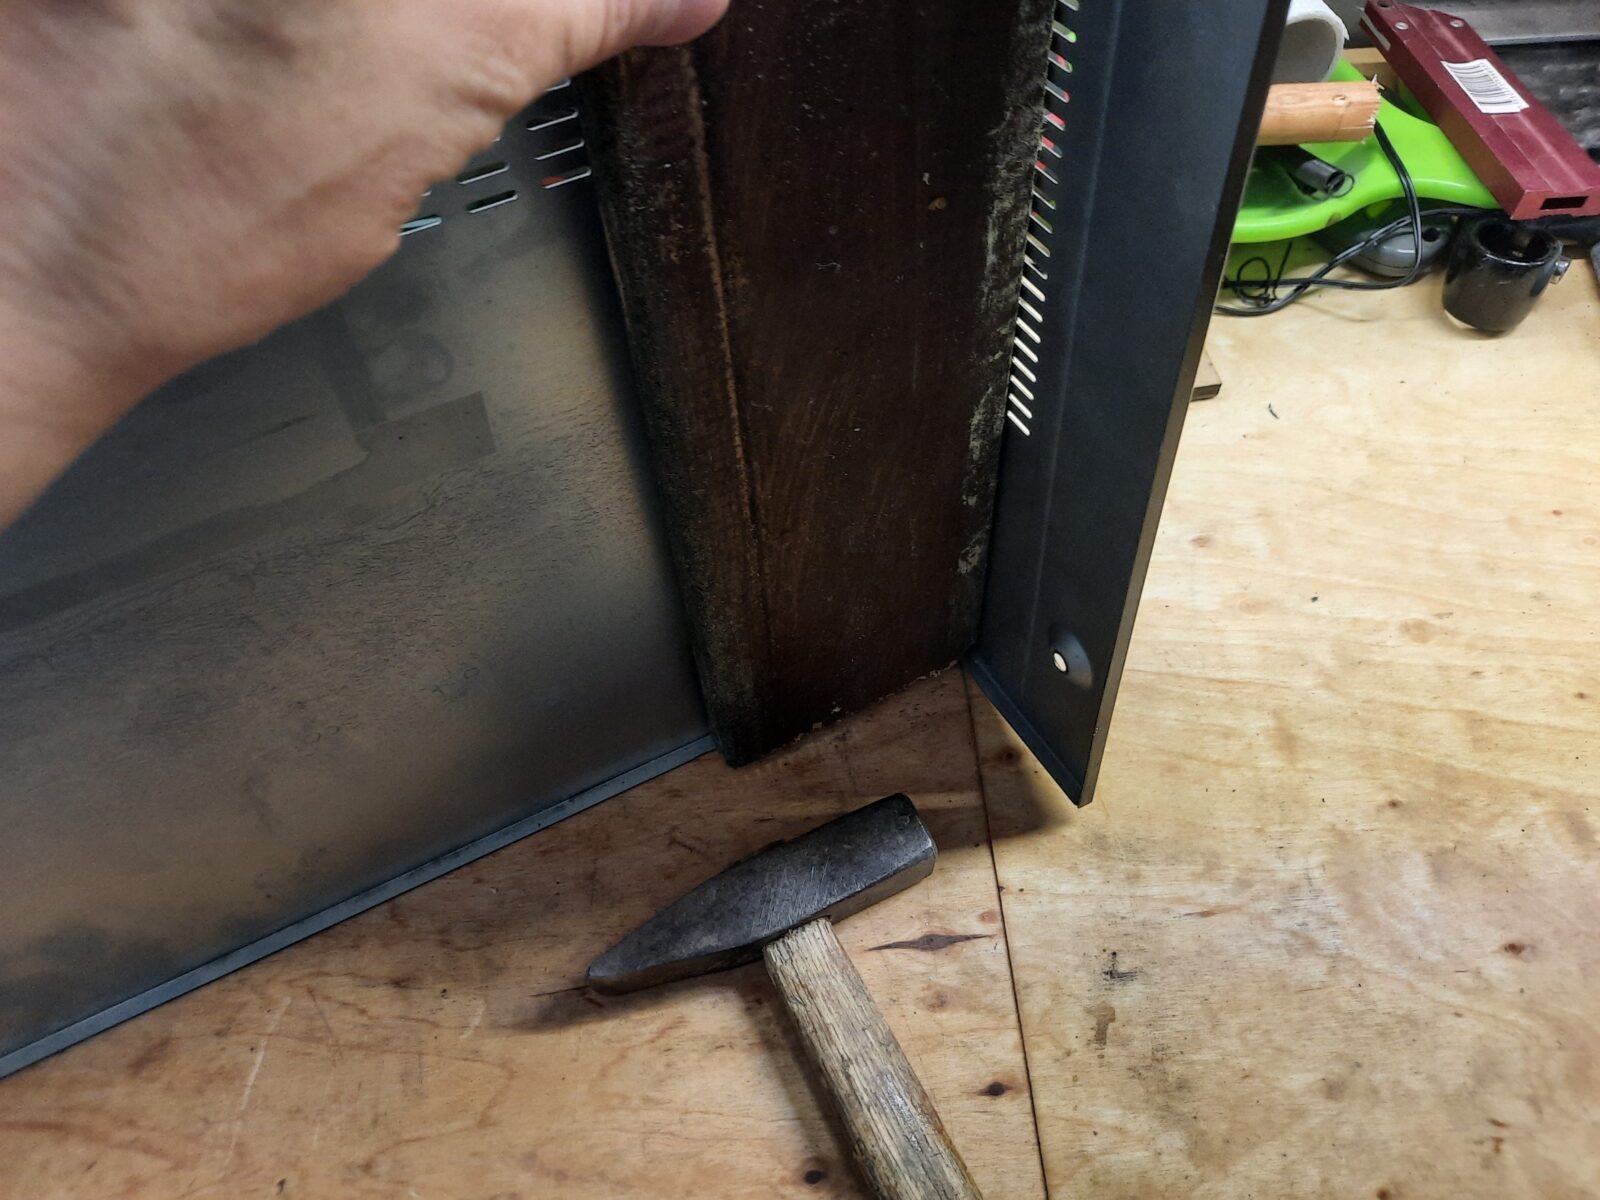
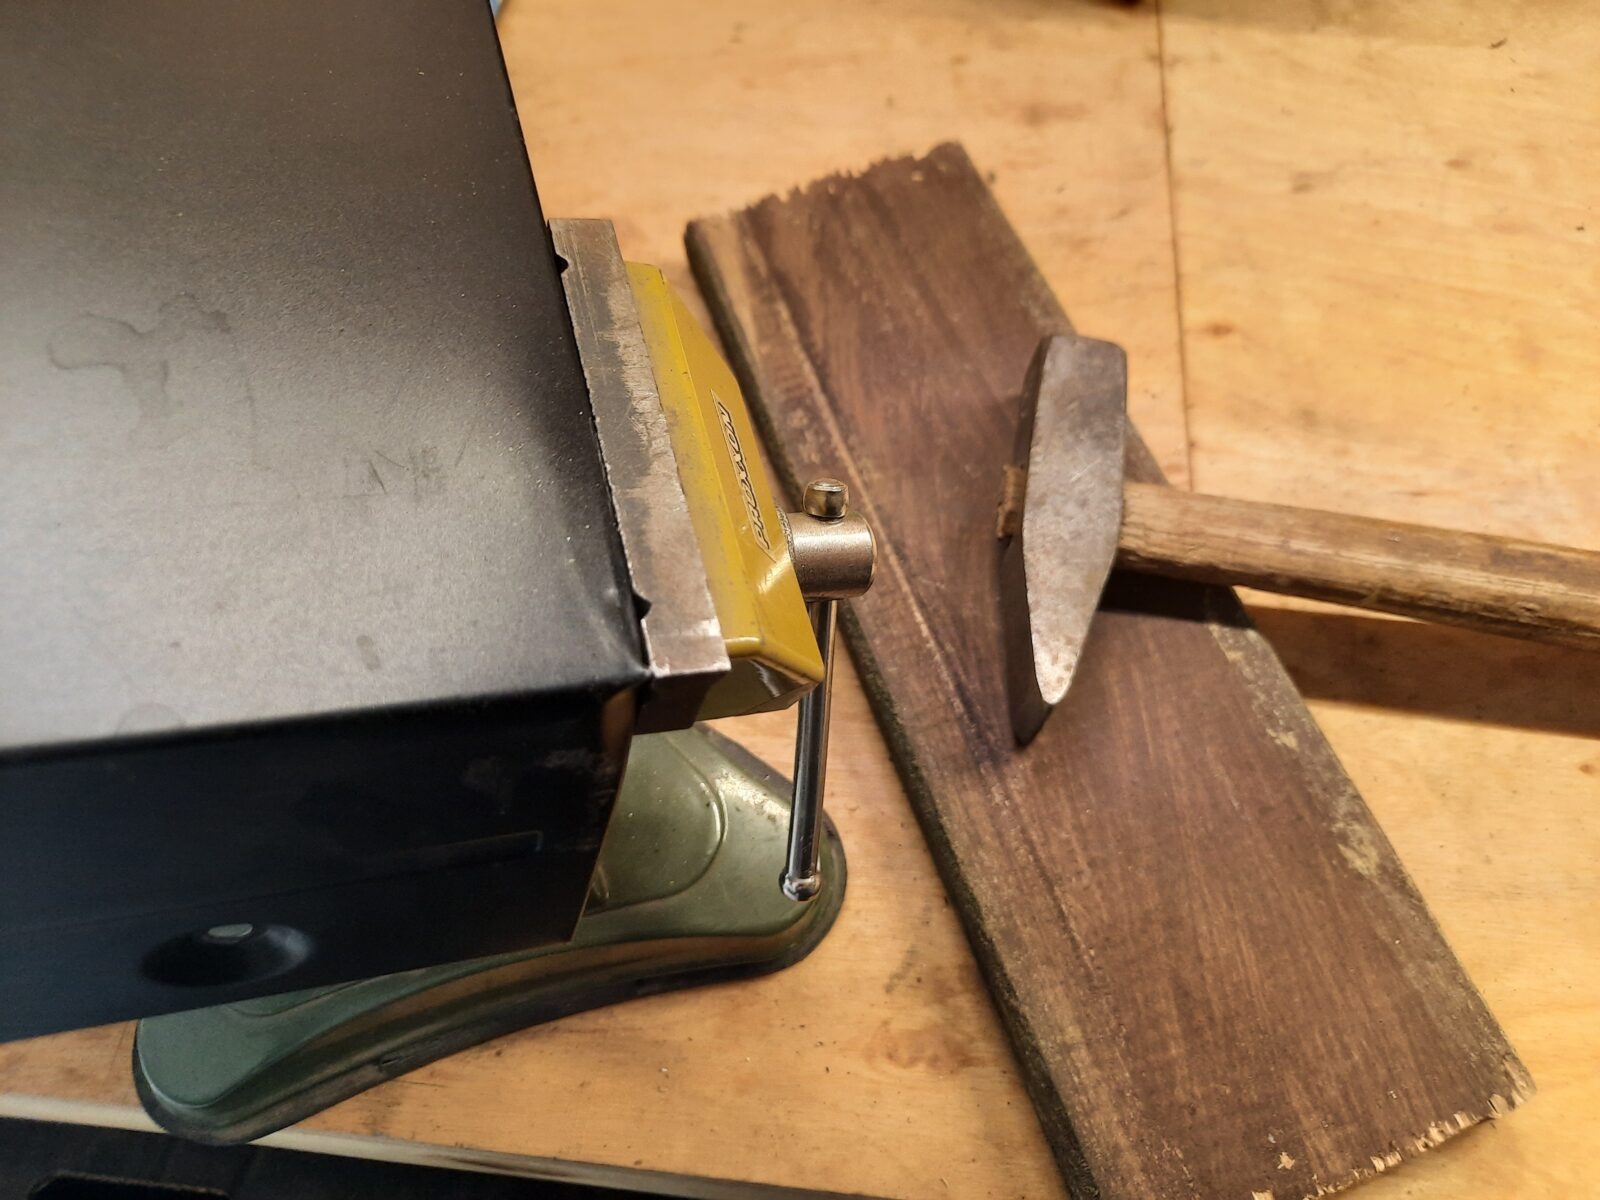
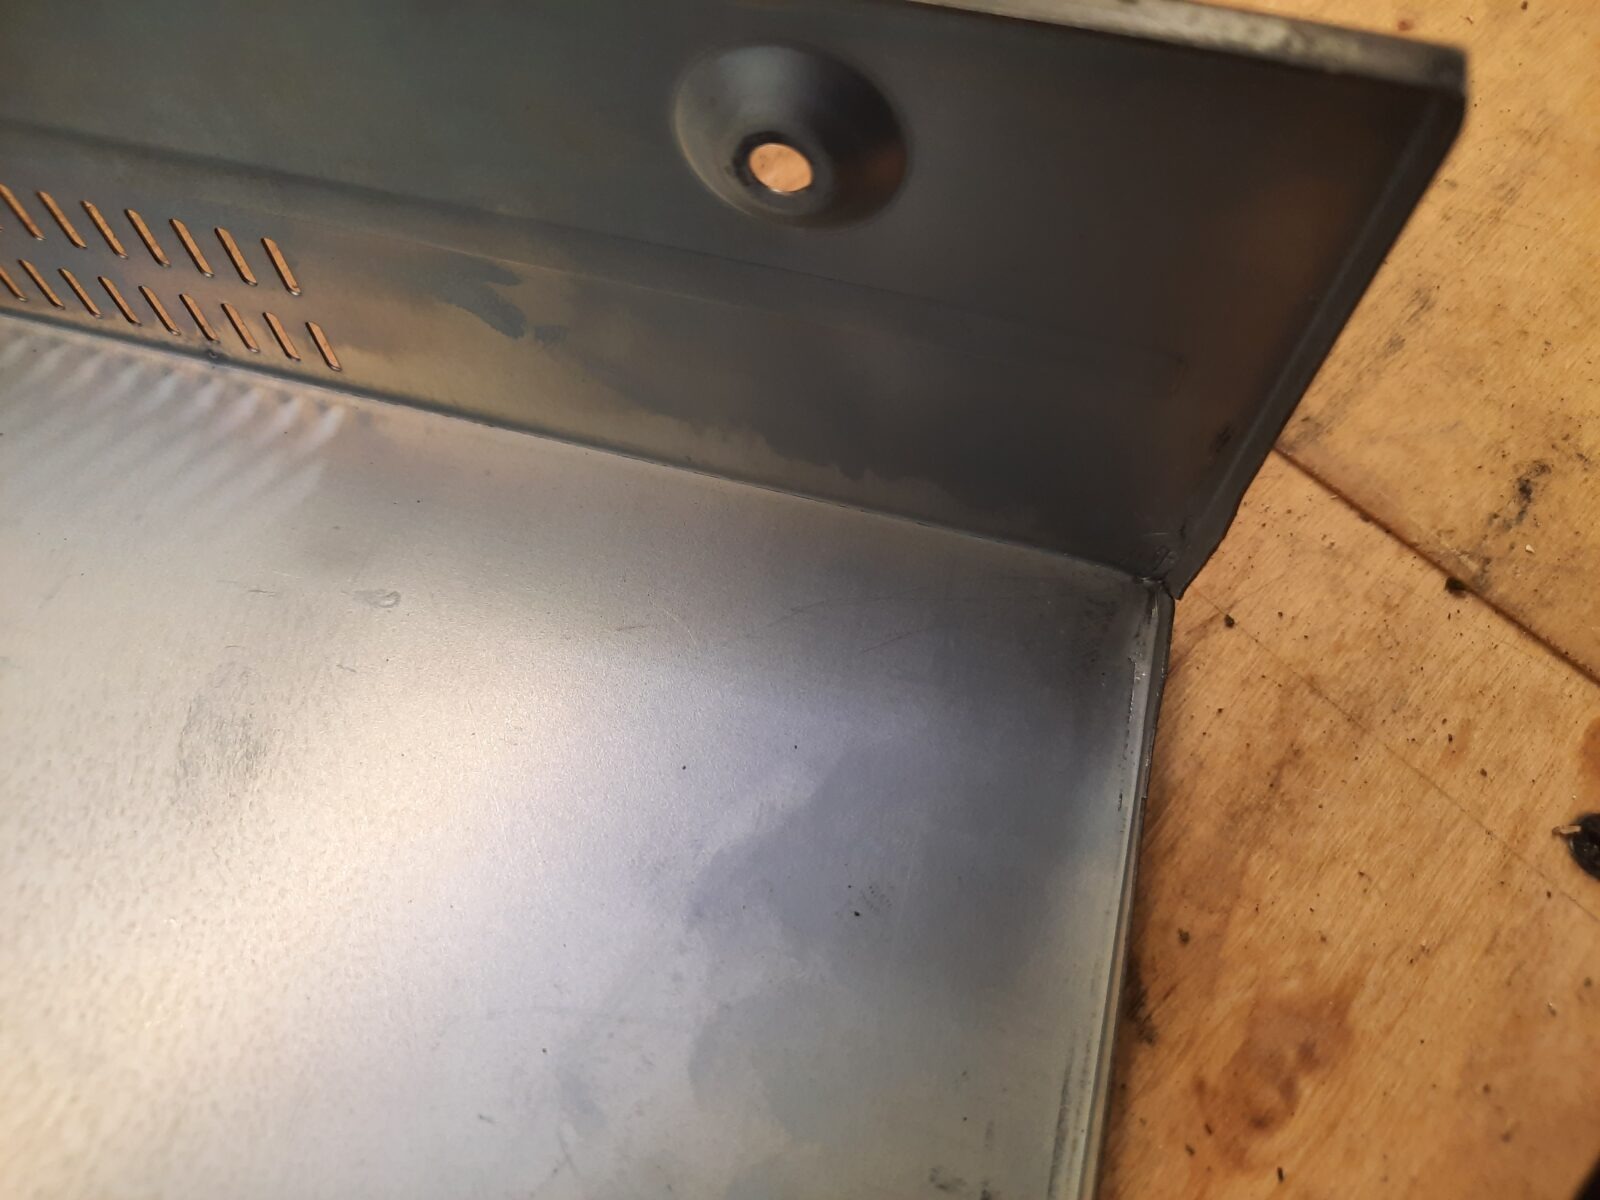
Plus, it was offset relative to the housing most probably due to the hard beating it took during transport.
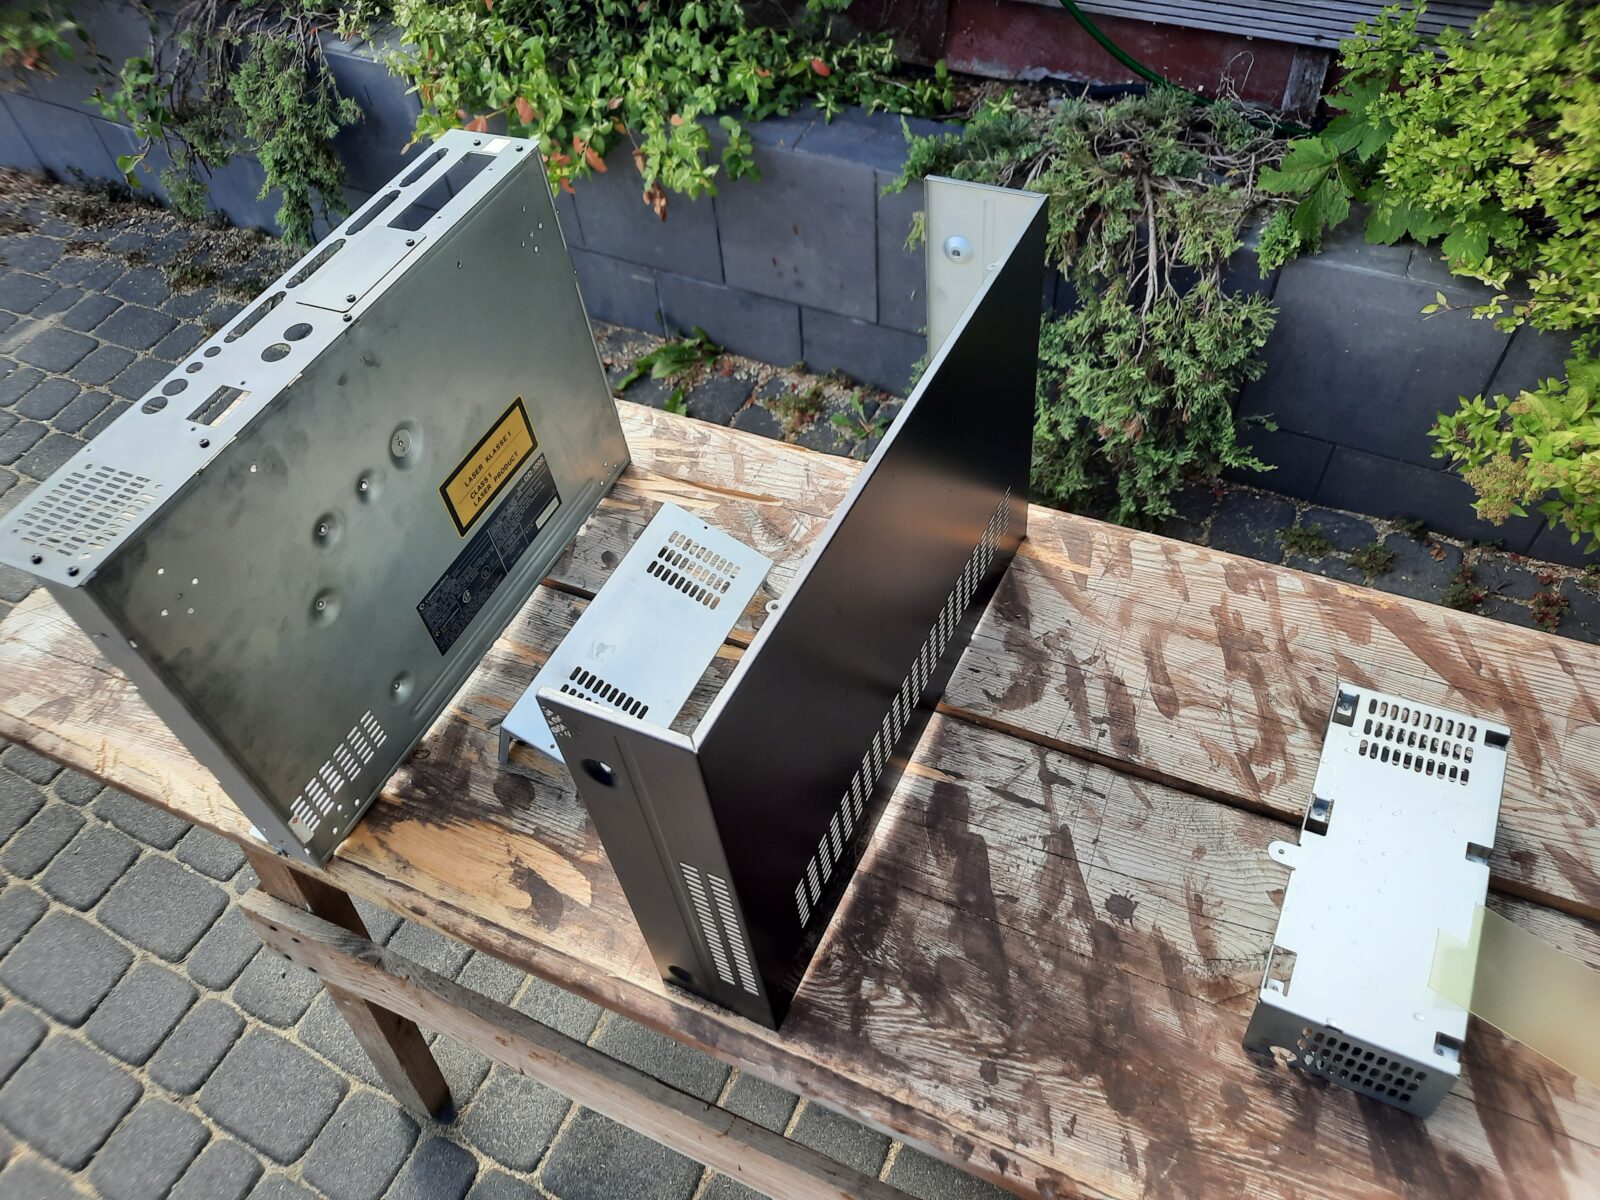
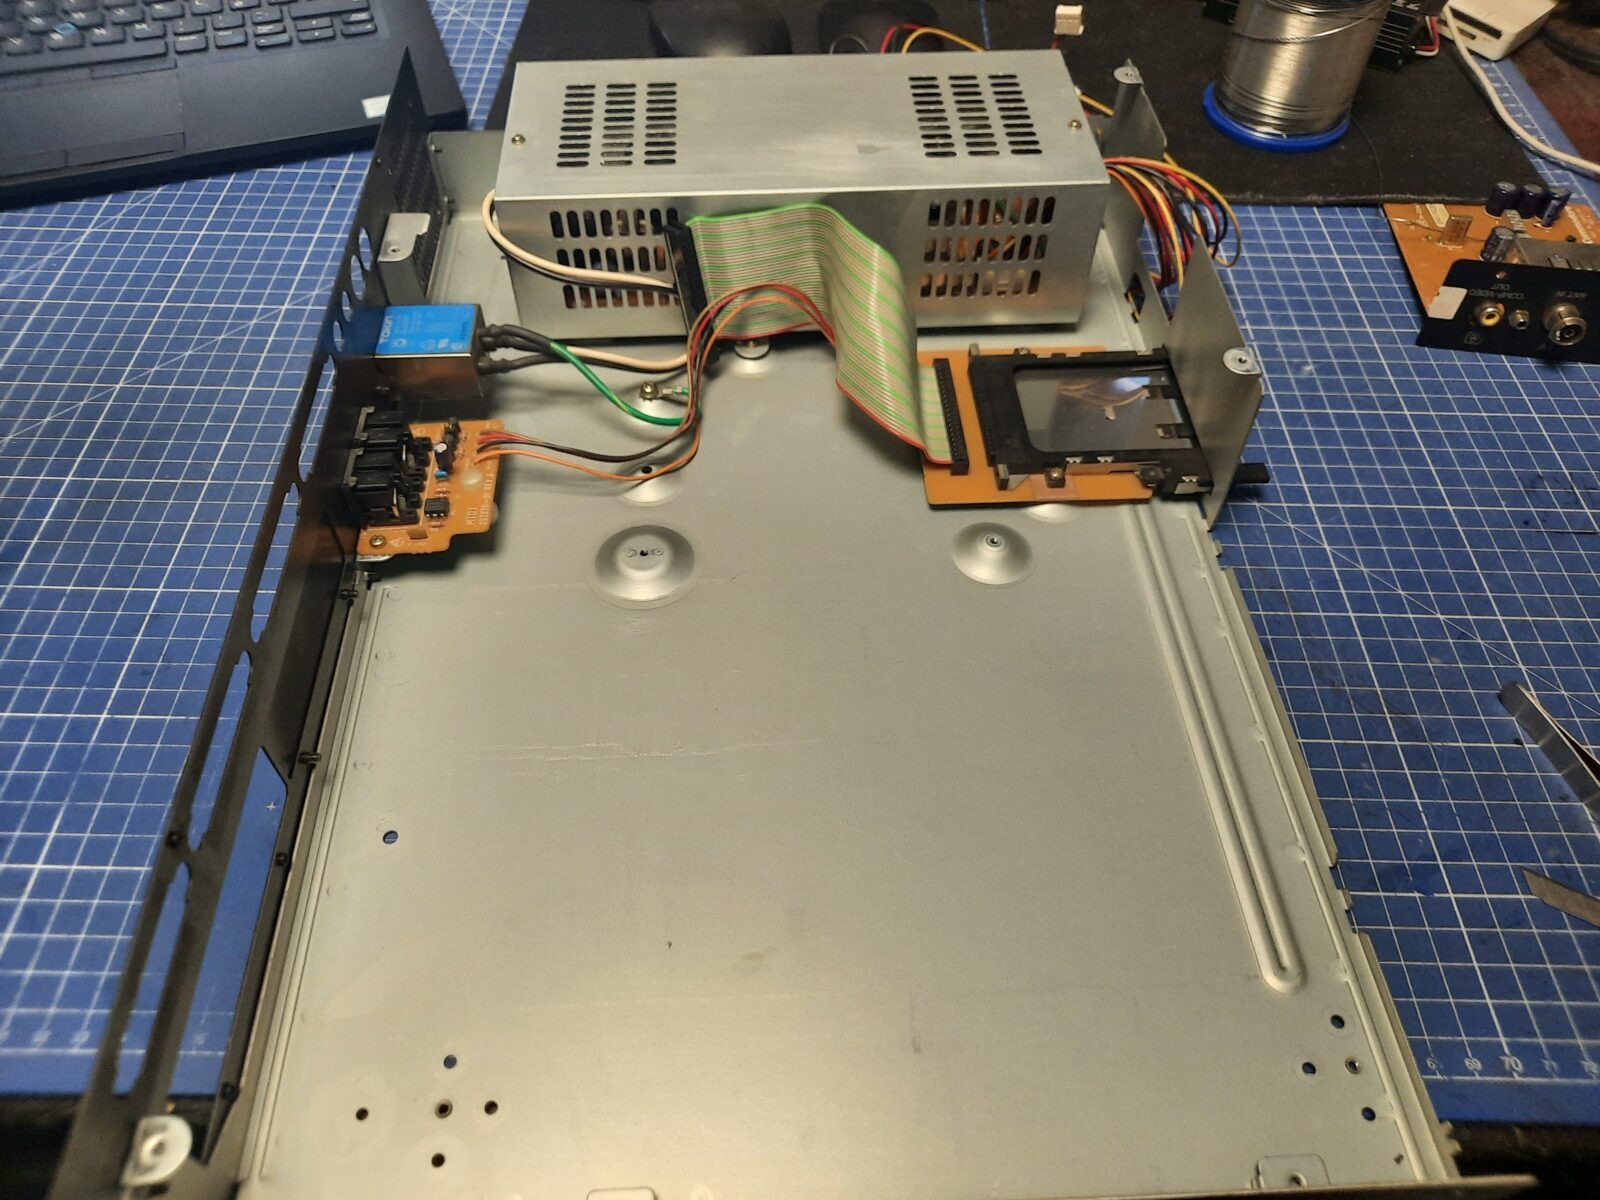
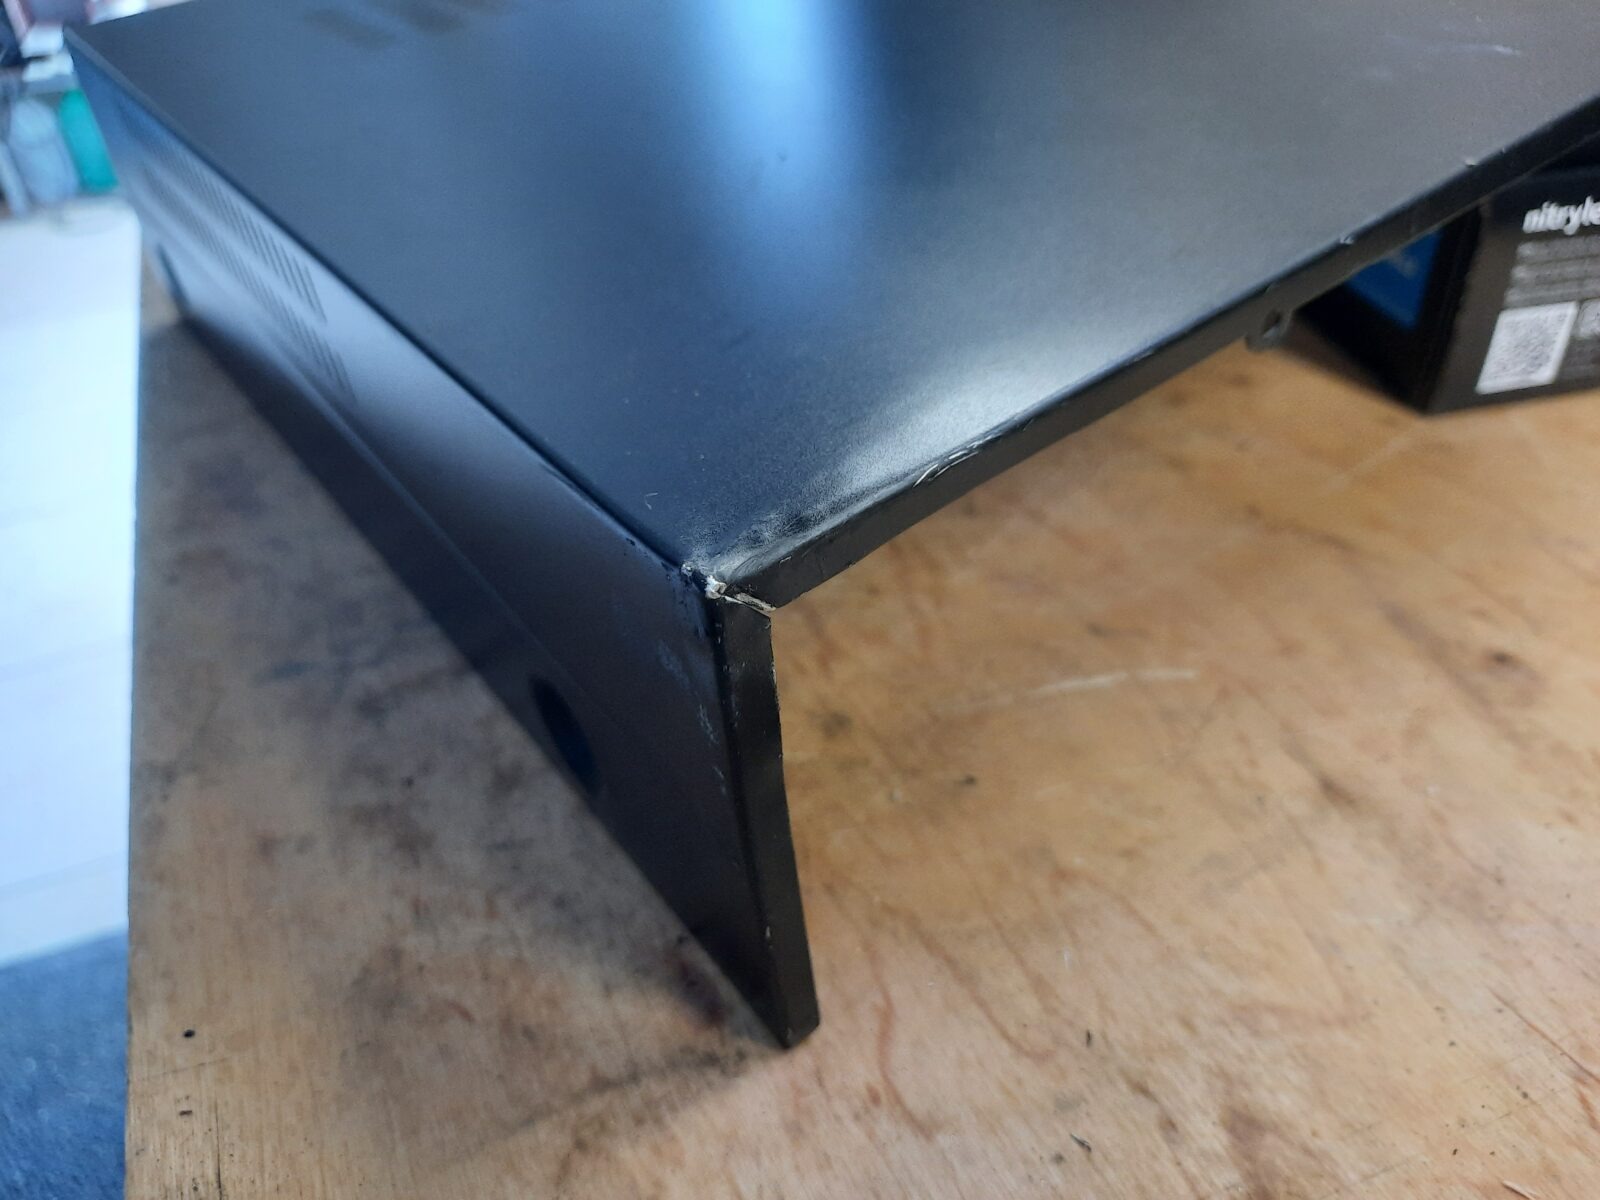
The job was the same as with CDTV no.1 with a few minor differences. I only had to install a CPU, connect everything, straighten the metal case, and add some resin-printed front panel buttons. Here is how it went.
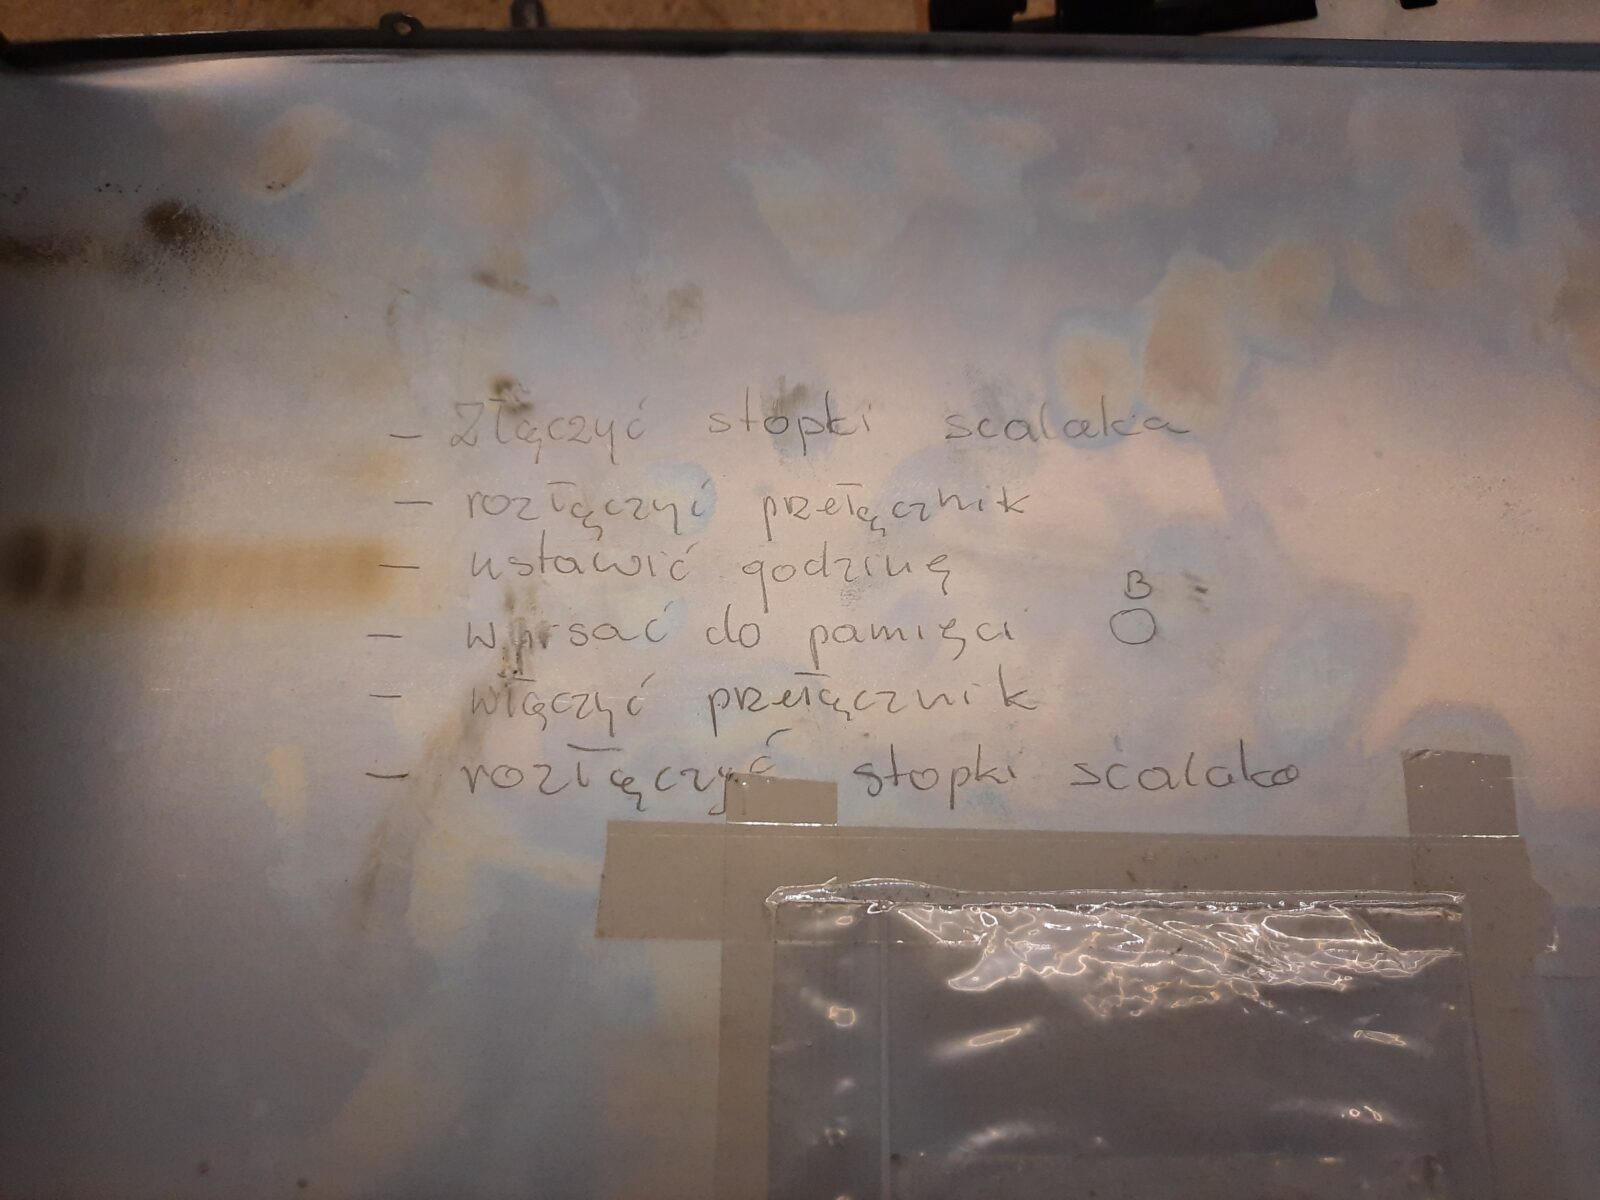
LOL, some handwritten instructions on the inside of a metal case.


CDTV no.3
This is the Amiga that Tomxx sent over for repairs. It just gave a black screen when powered on.
With the top case removed, it was obvious what was wrong with it — corrosion of AGNUS and PLCC socket.
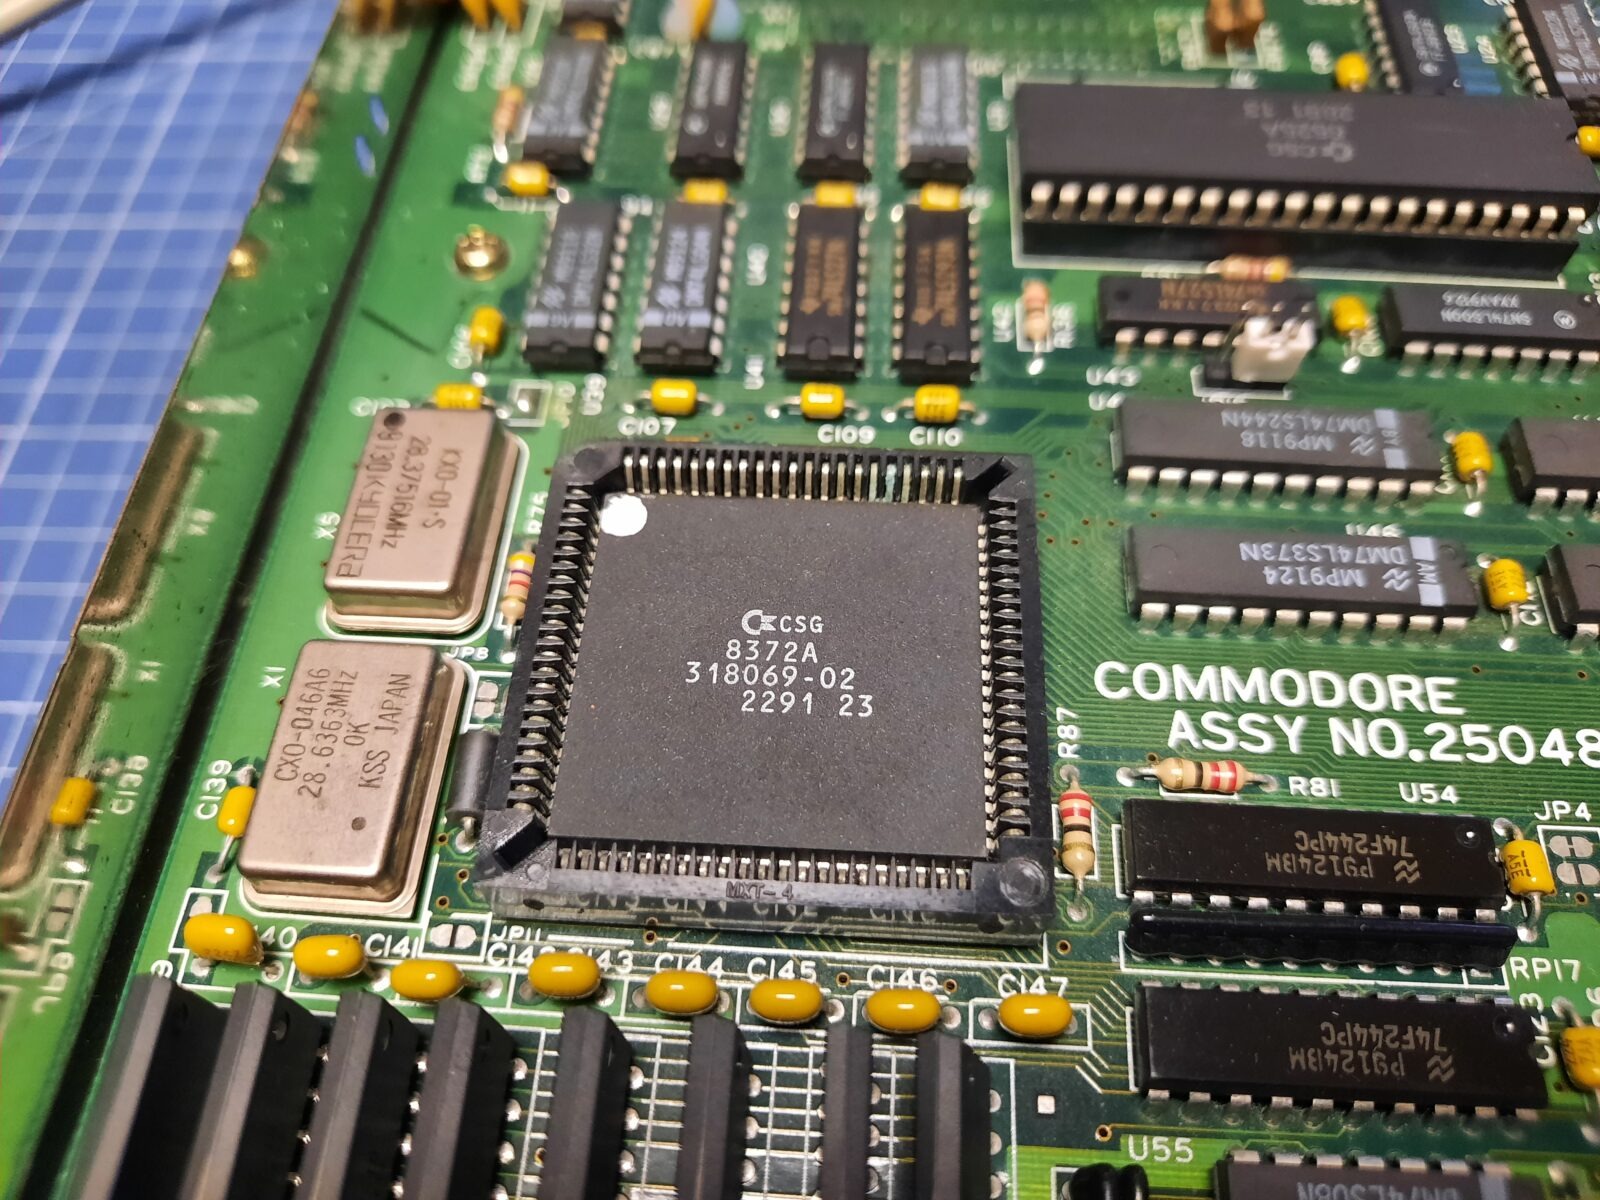
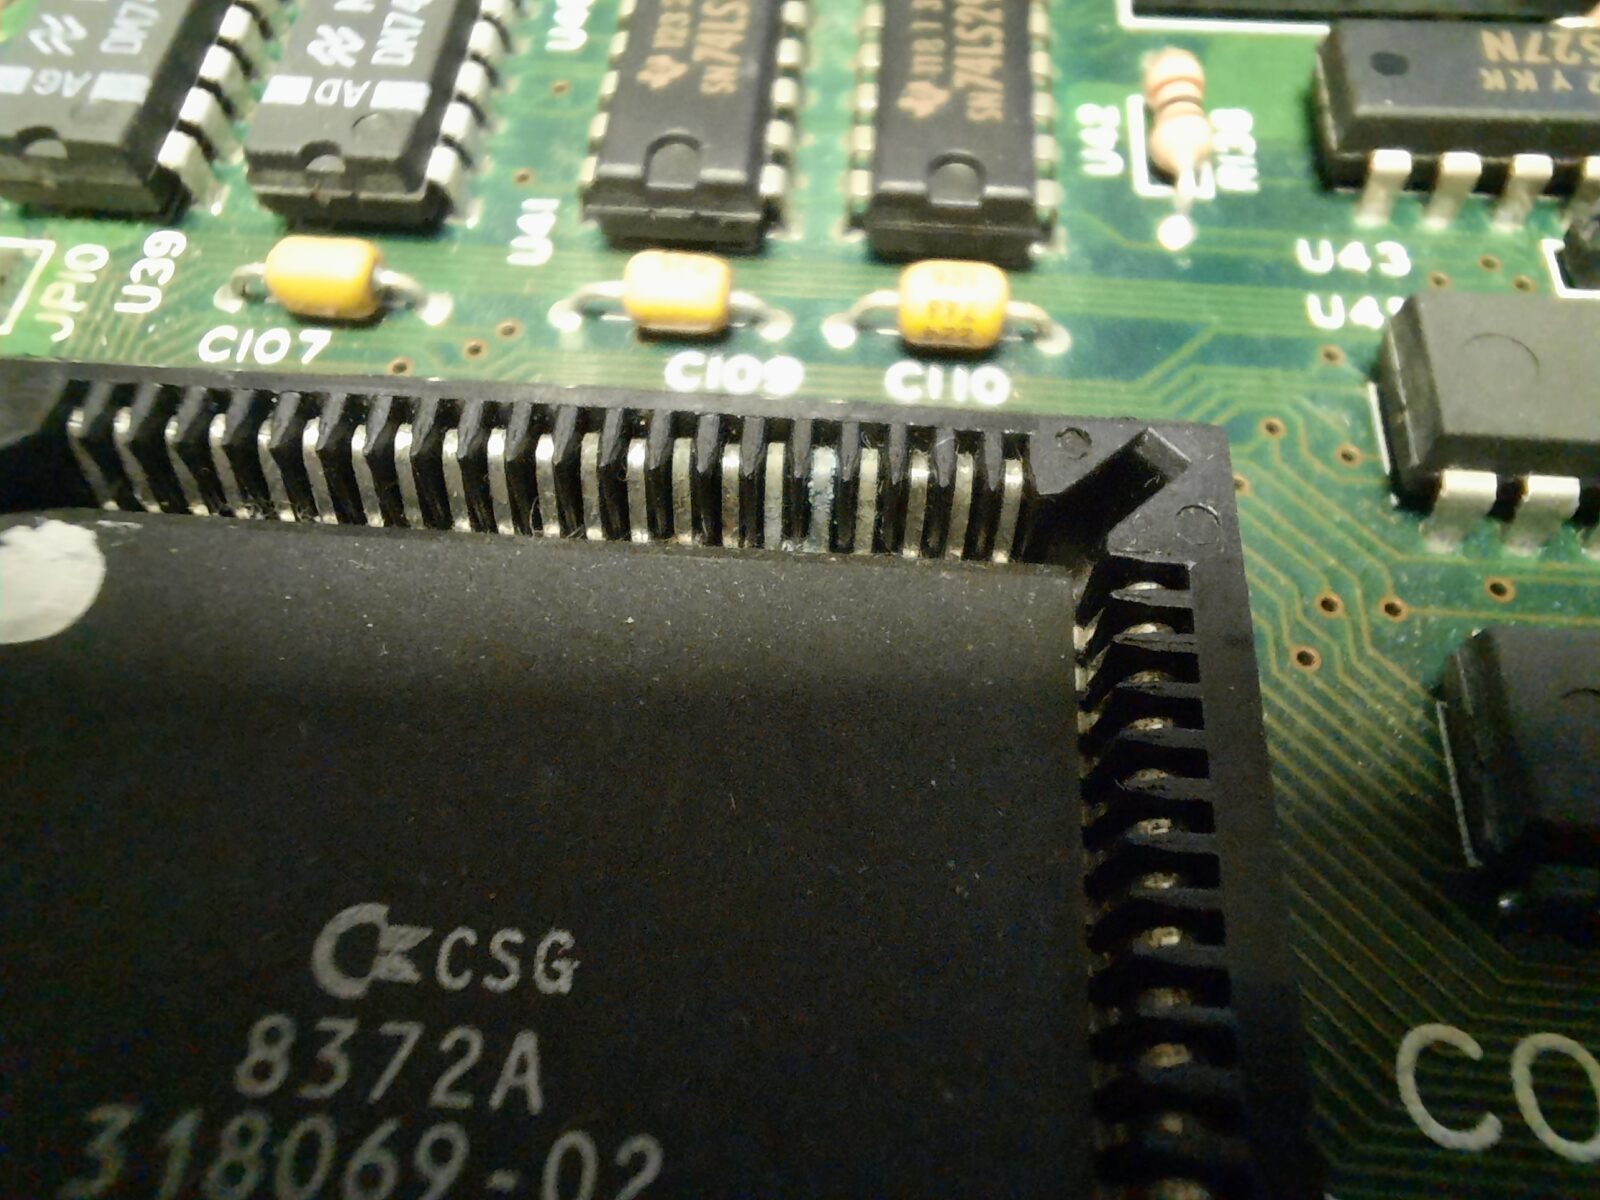
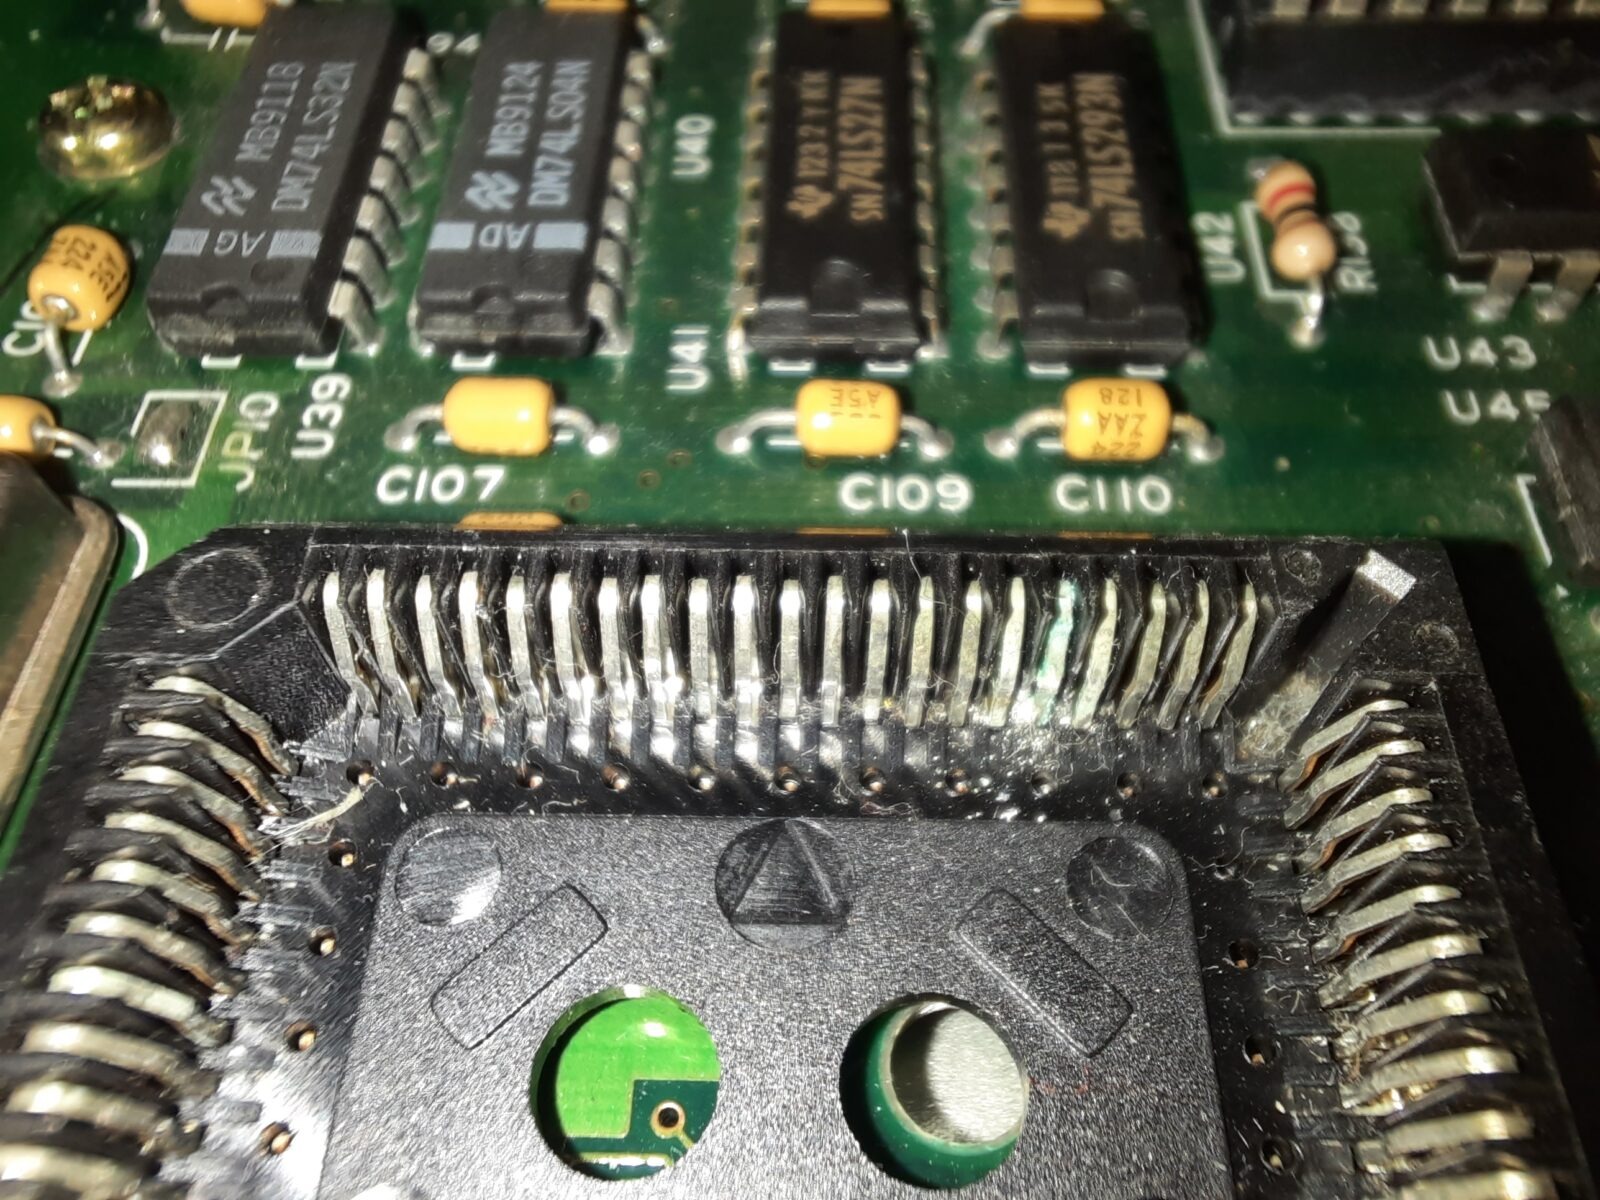
Unfortunately, AGNUS didn’t survive and had to be replaced. After a while, CDTV was ready and working 🙂
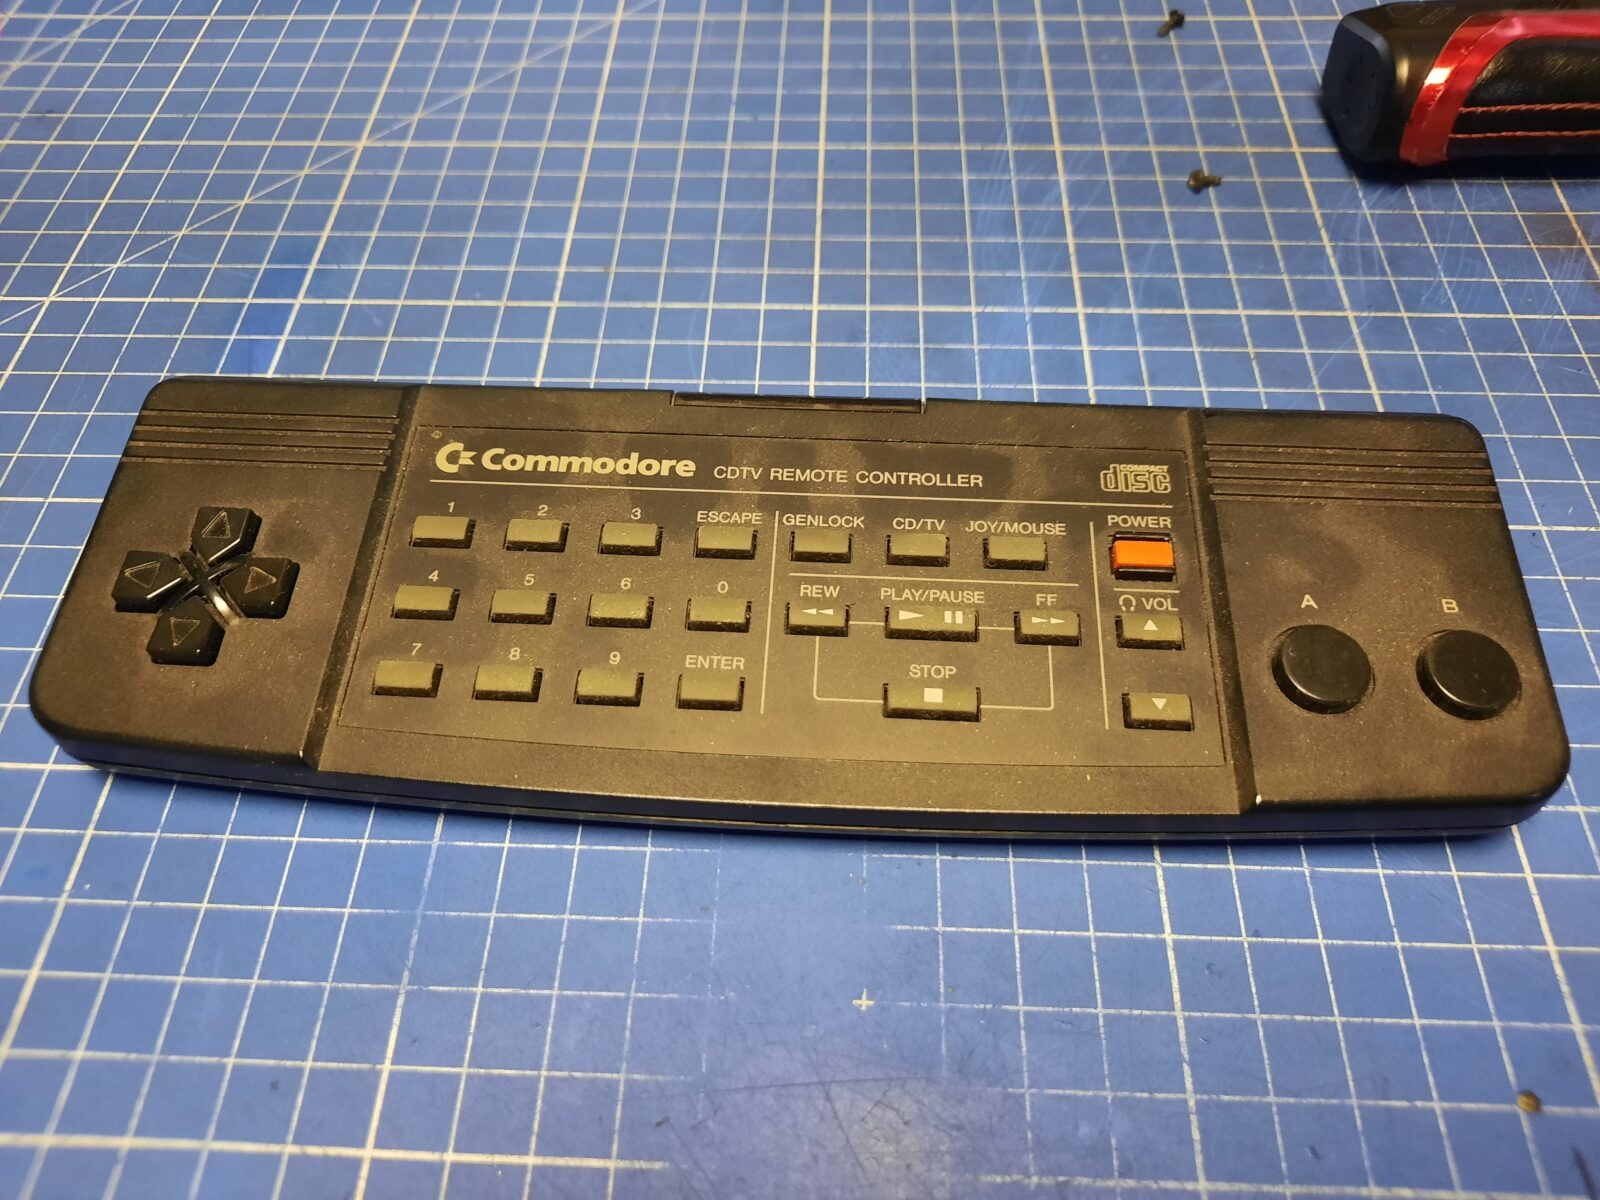
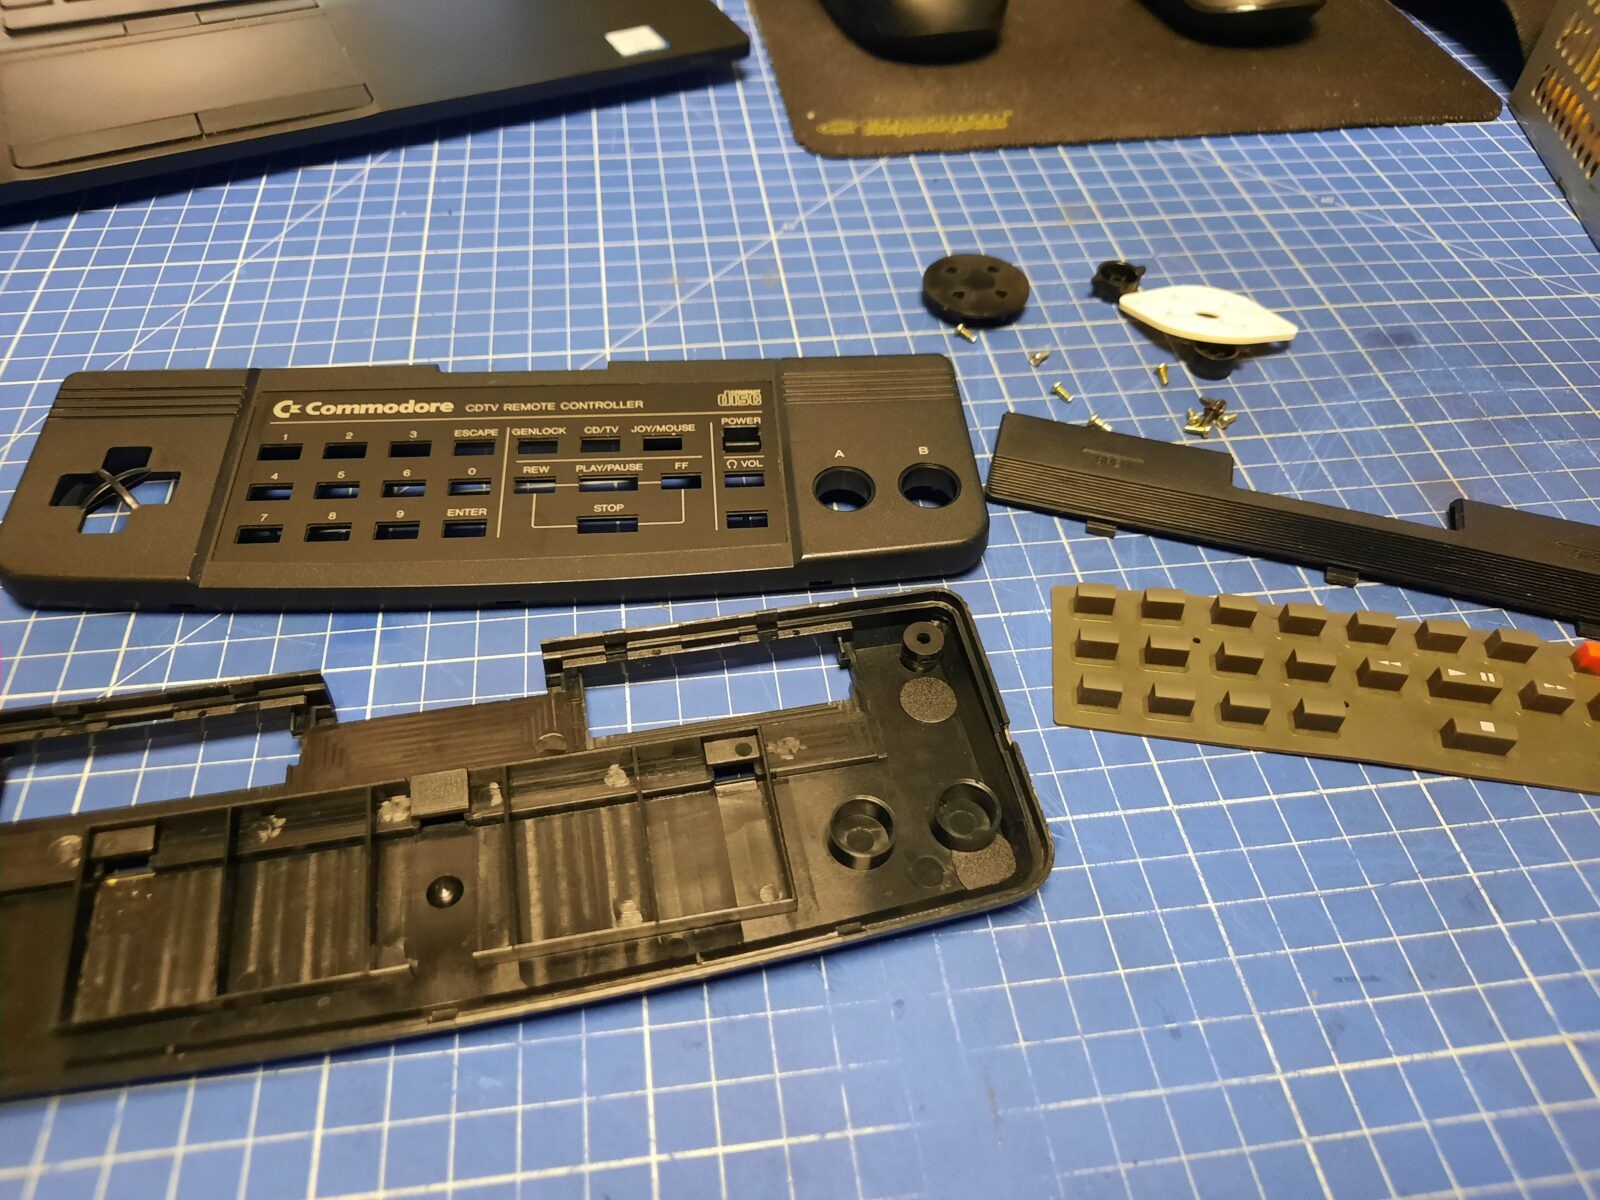
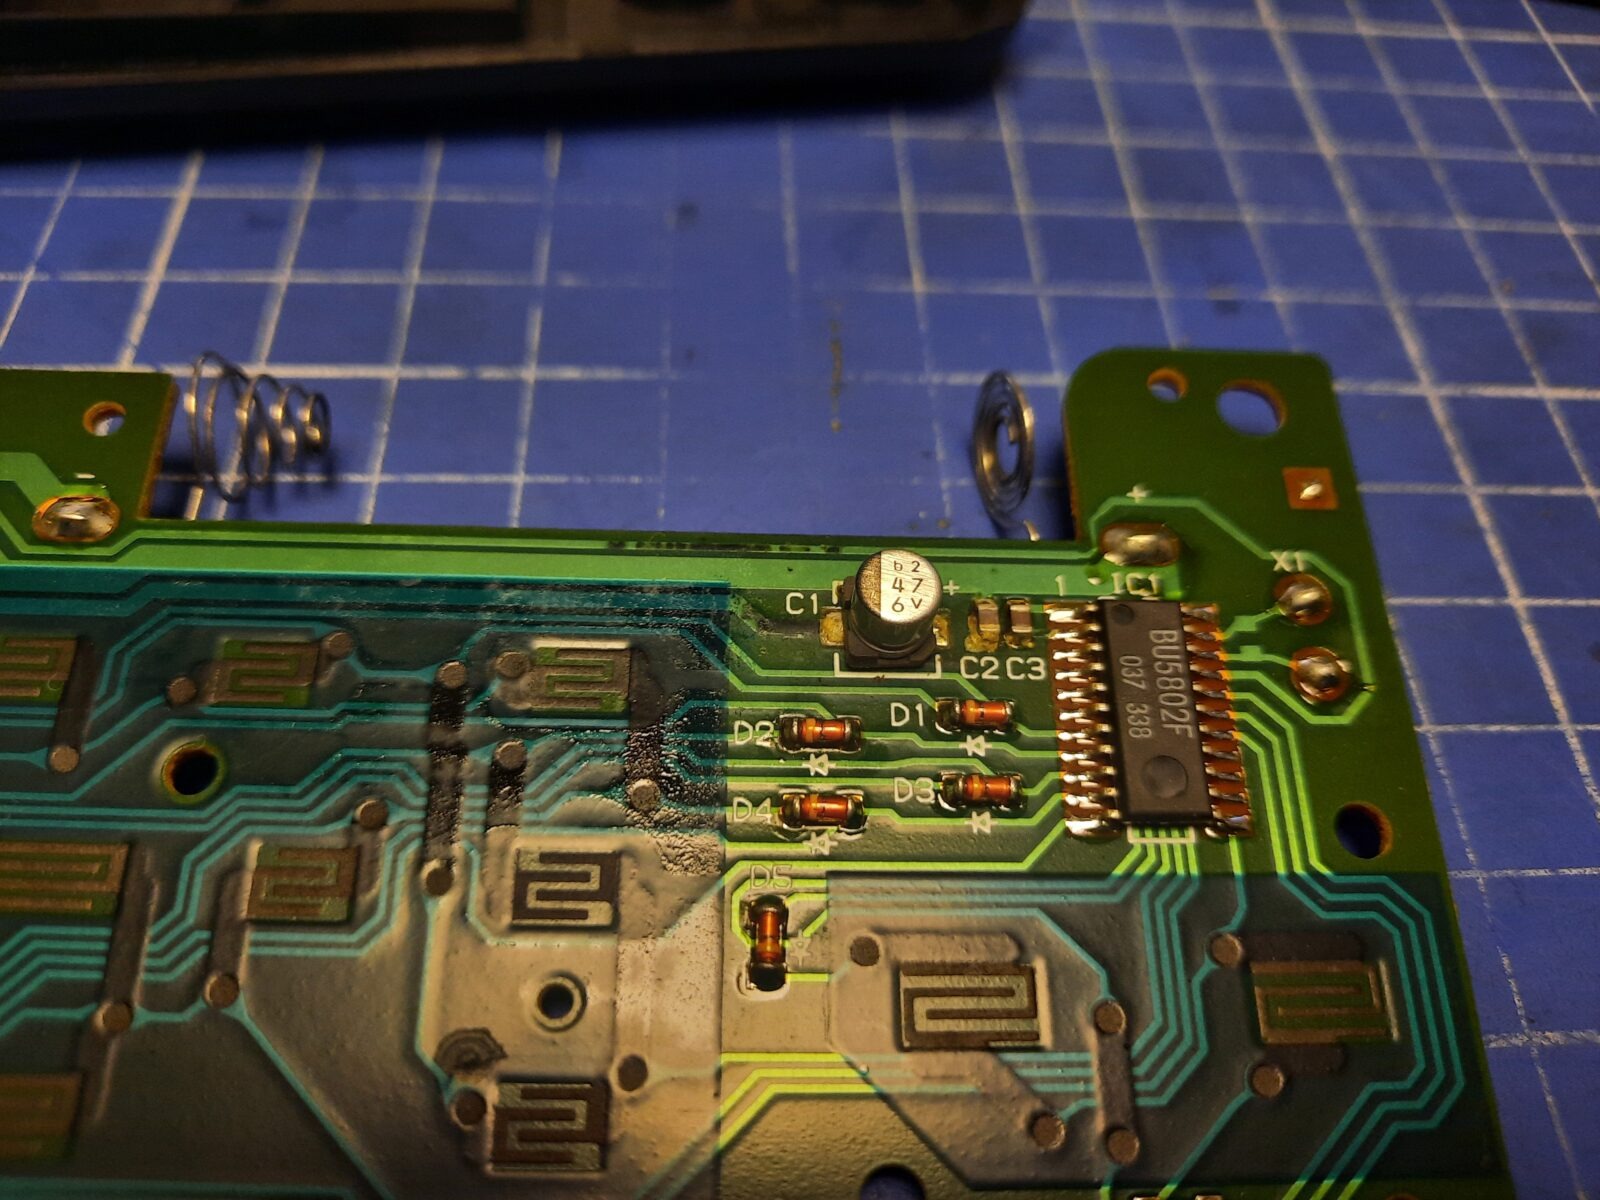
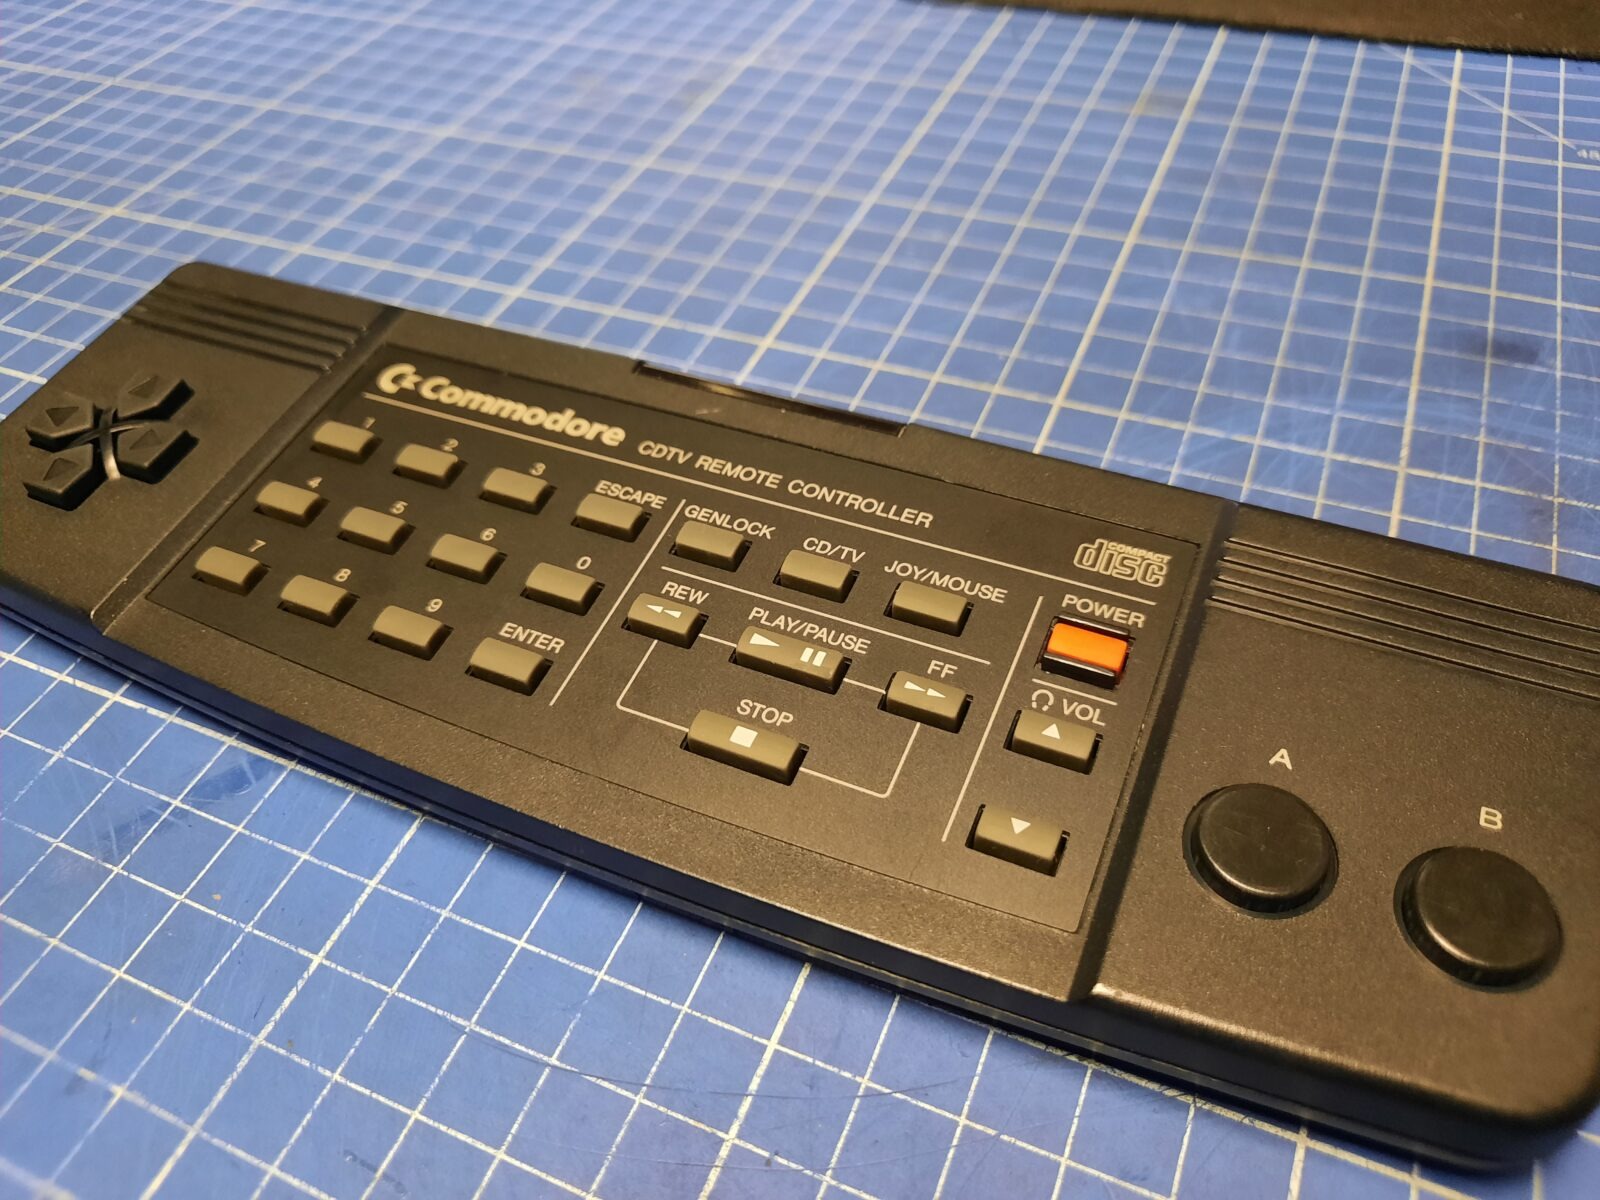
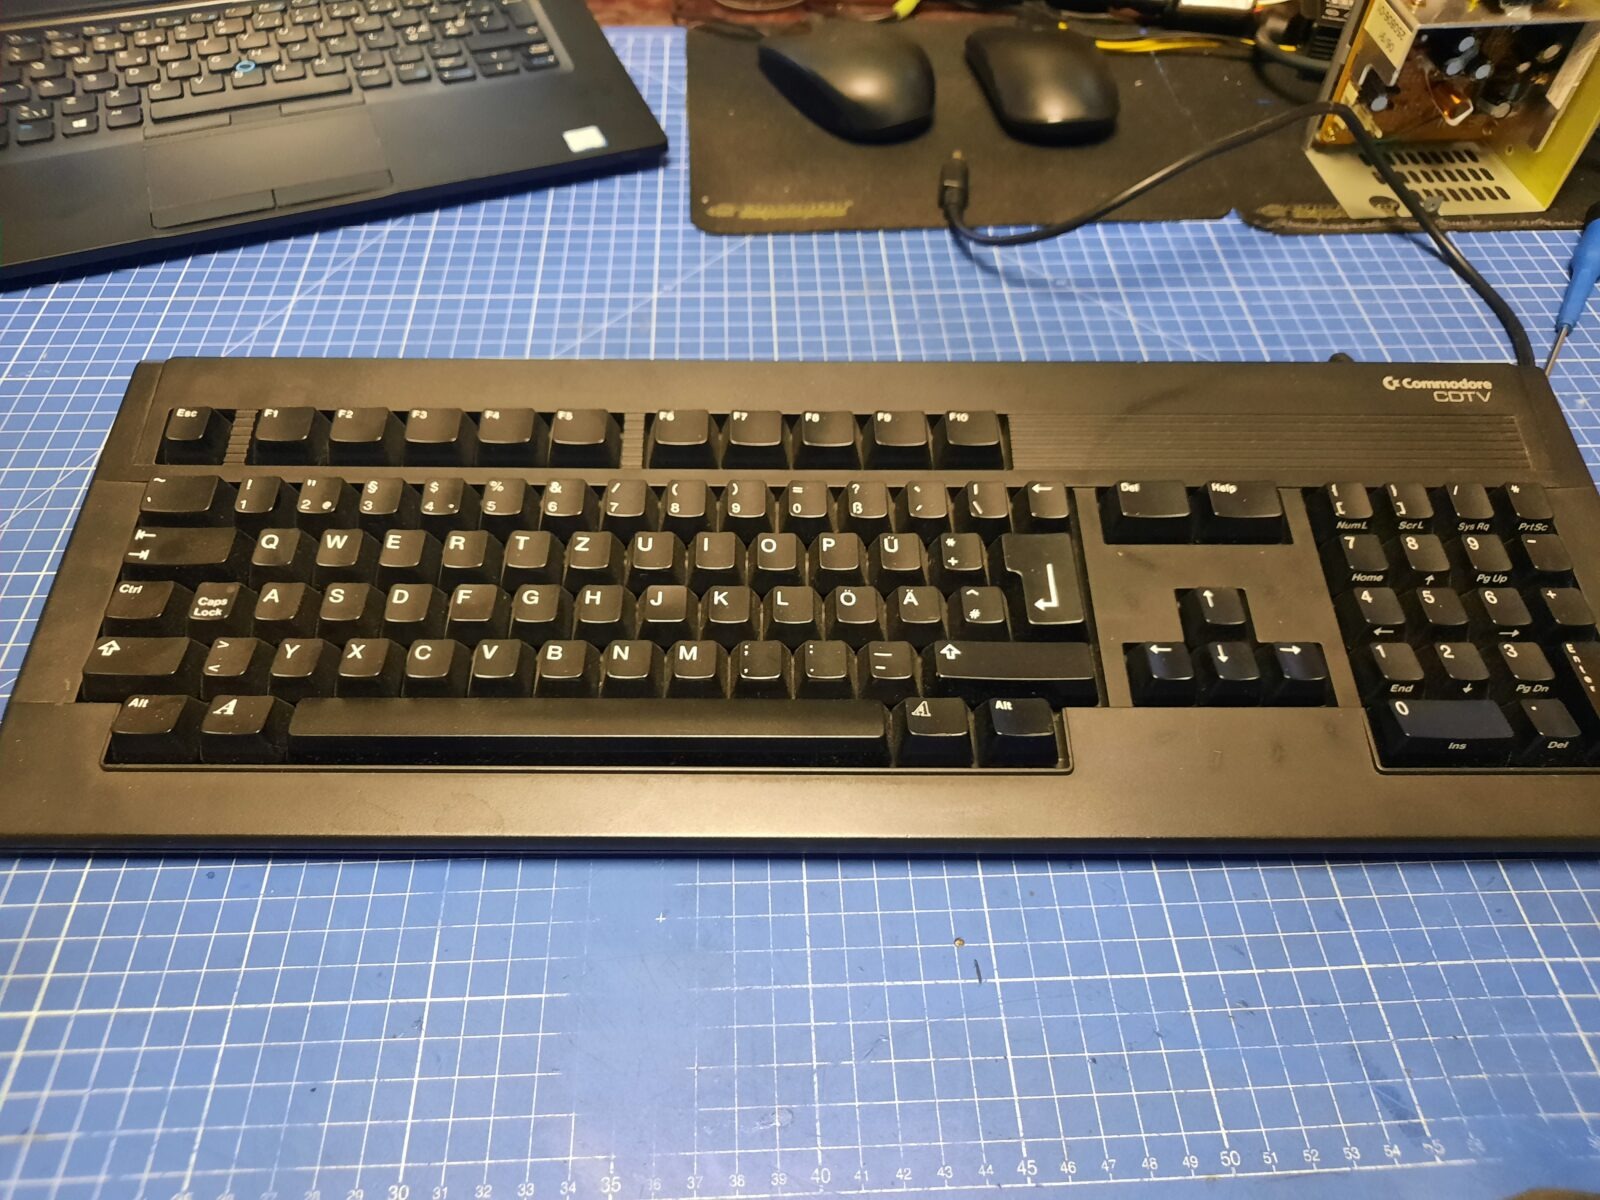
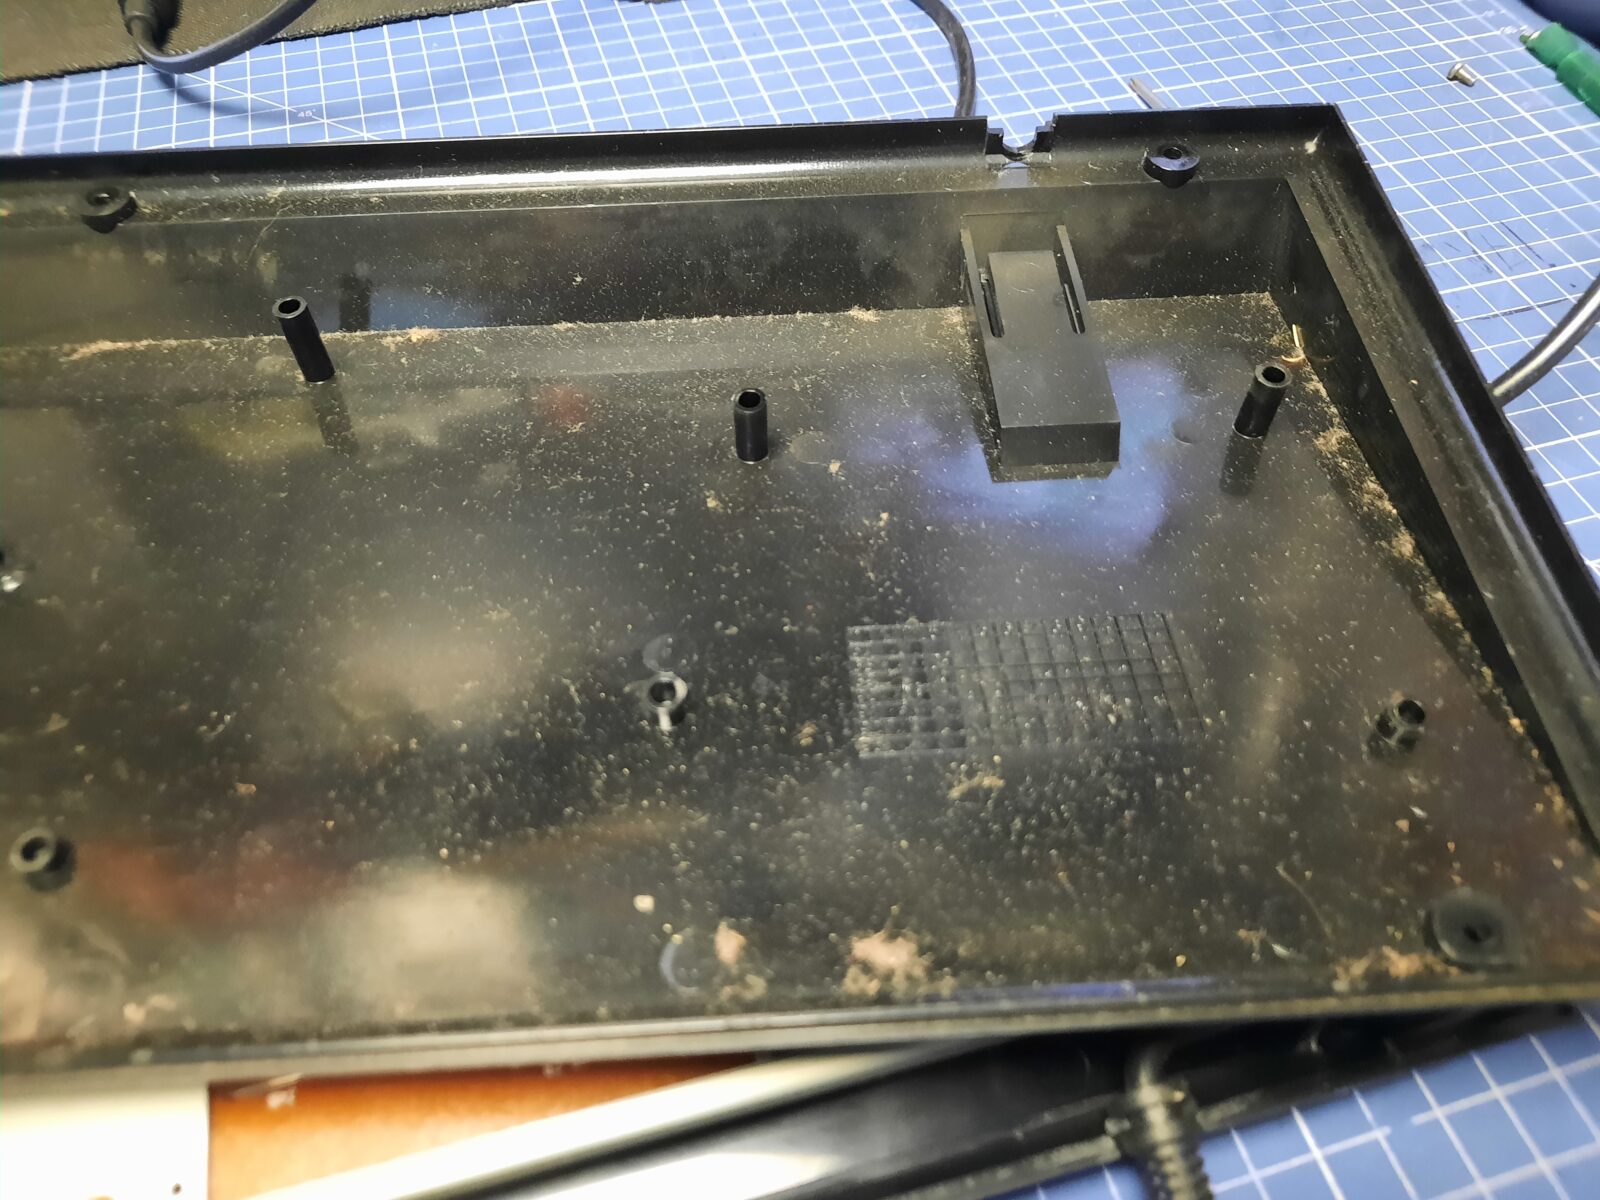
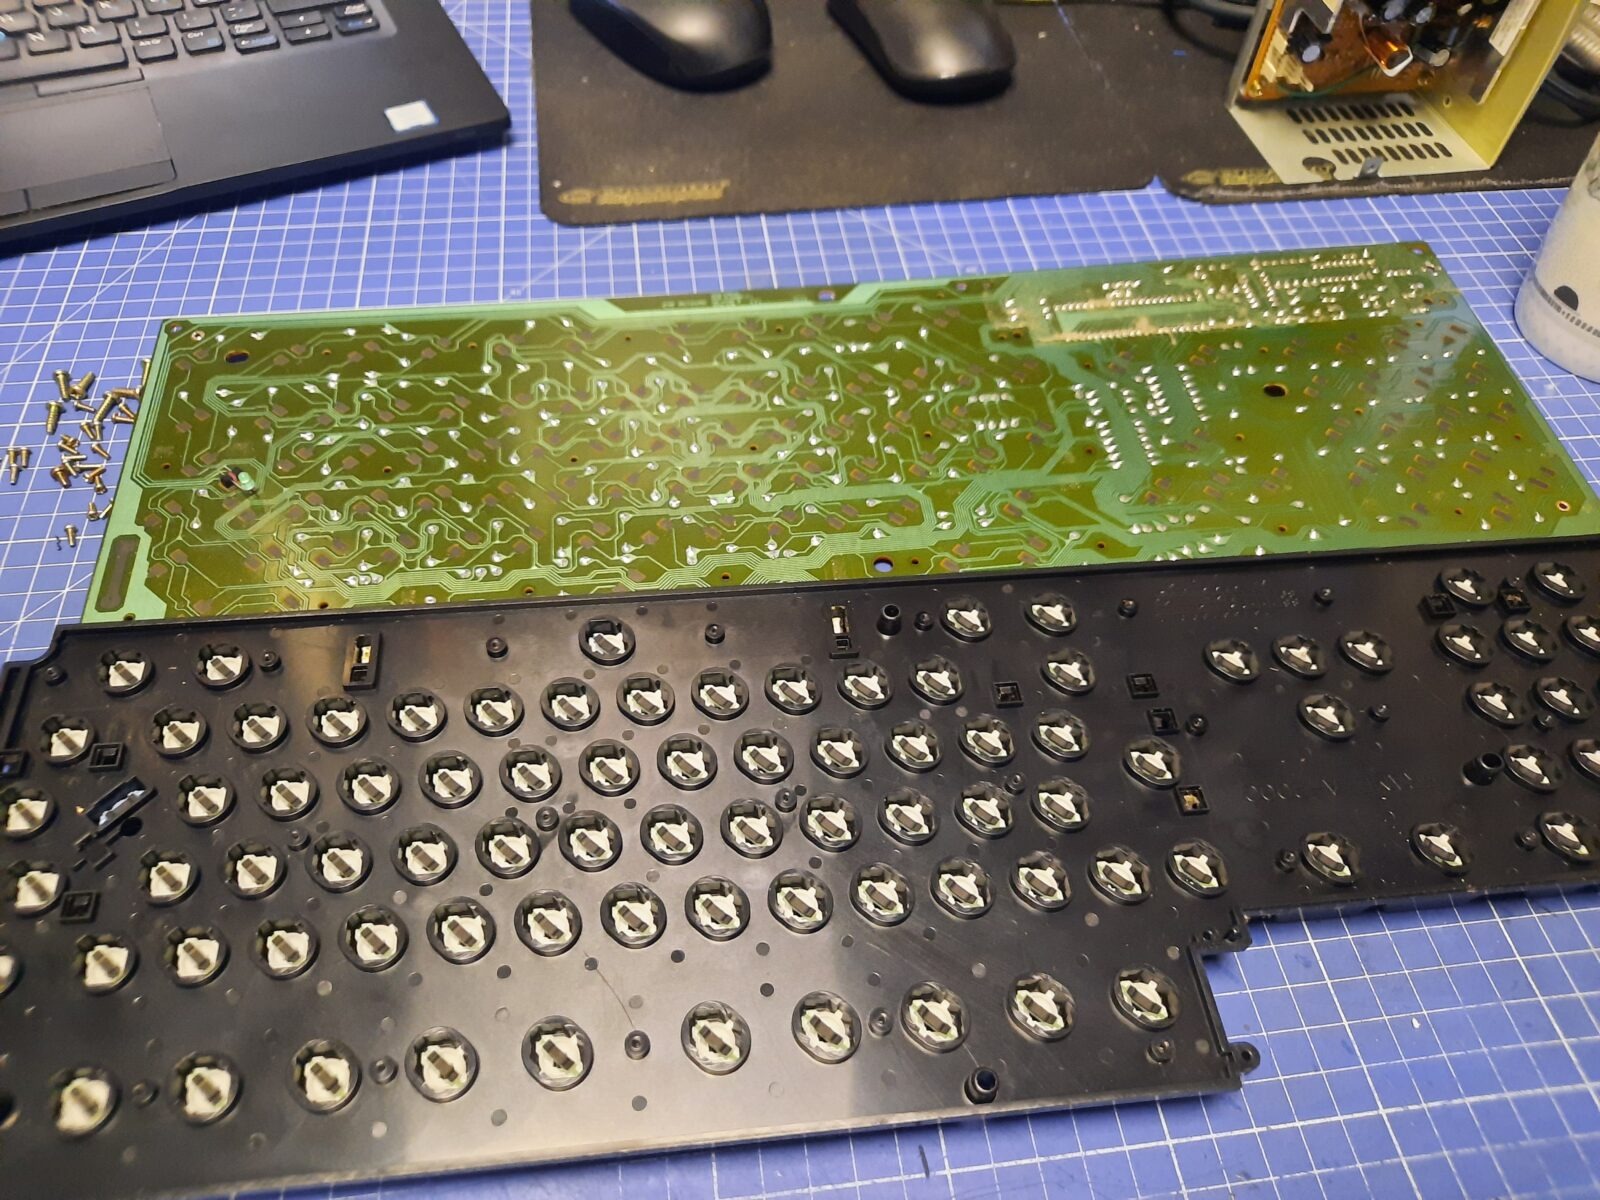
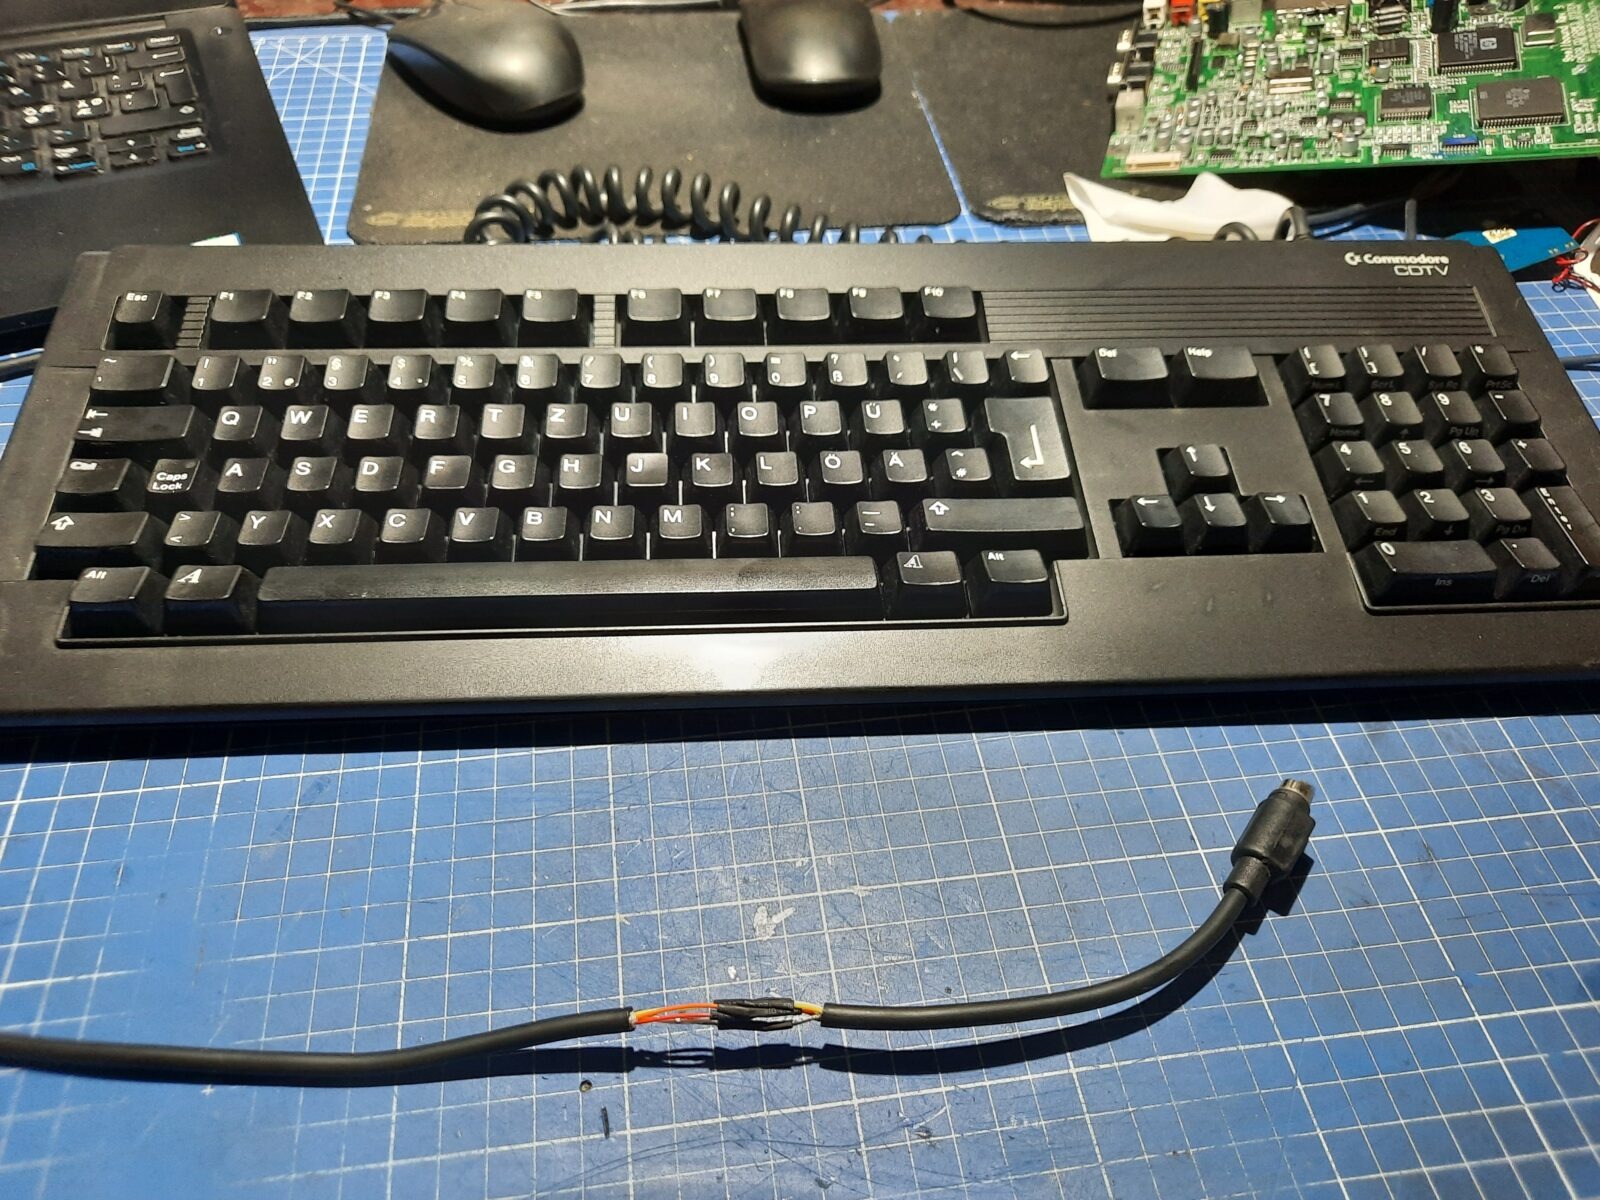
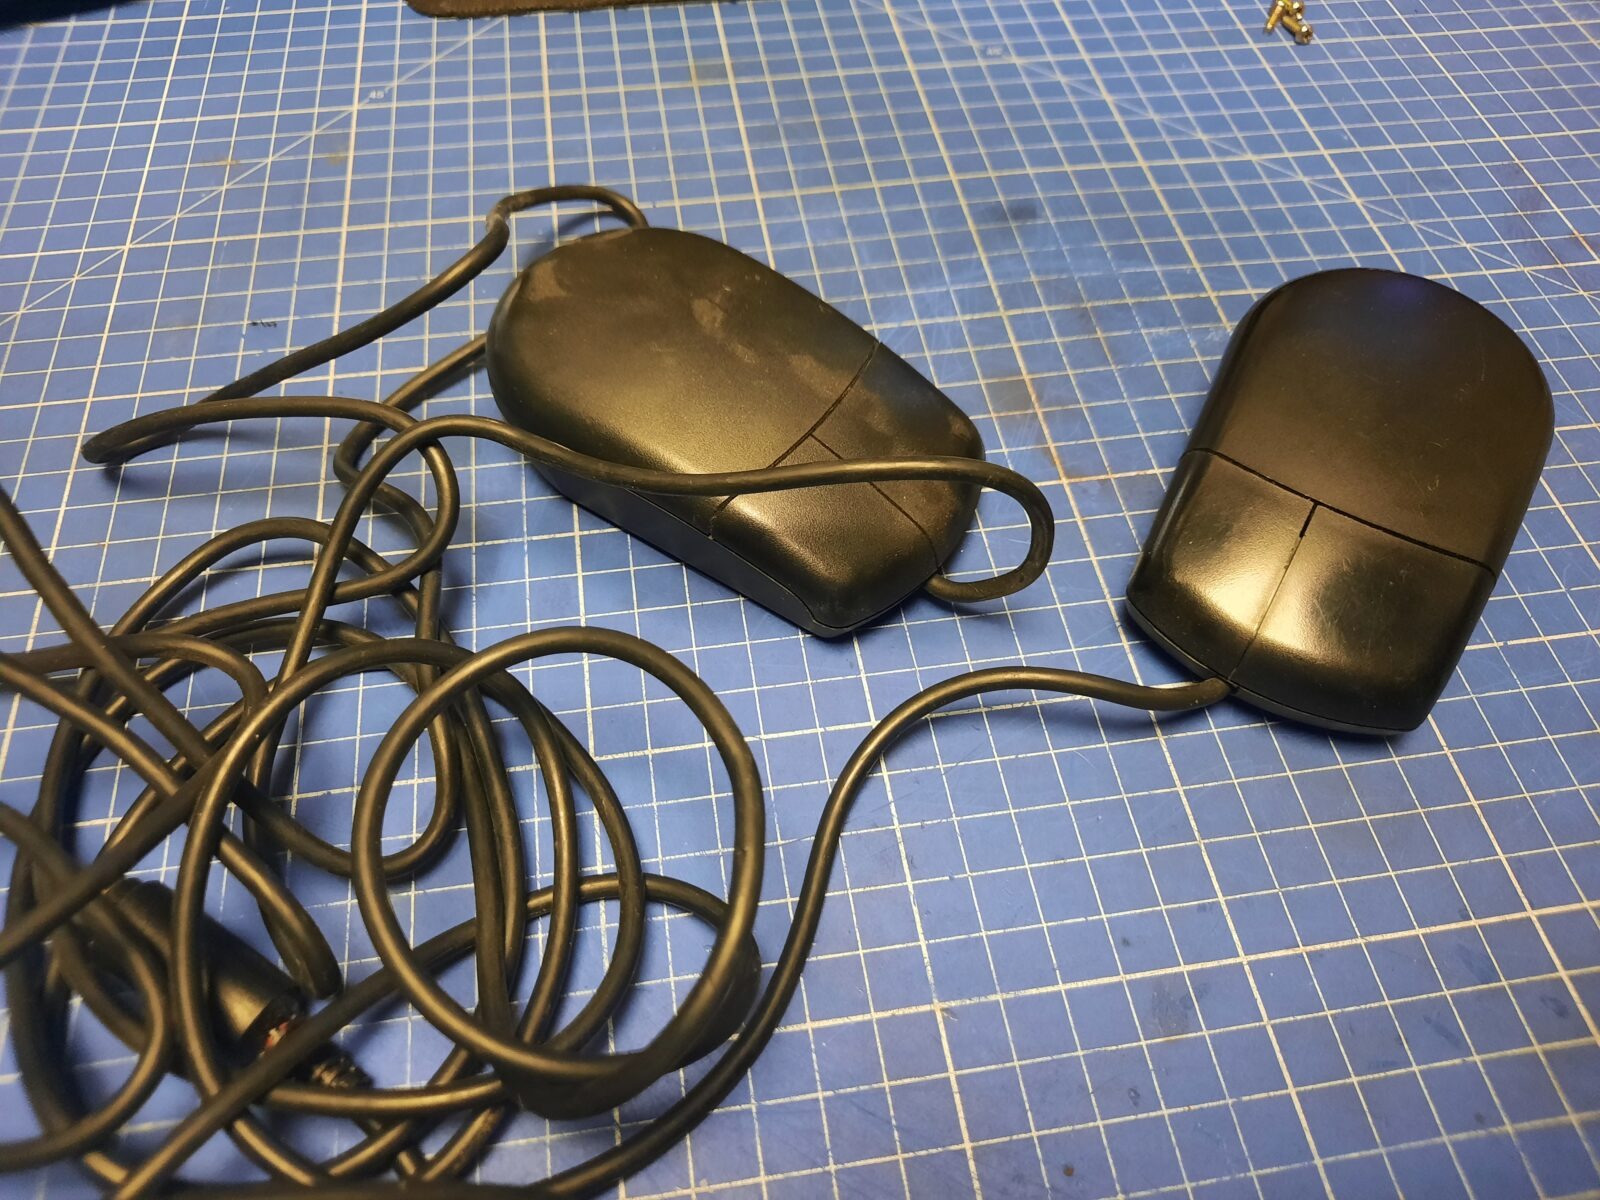
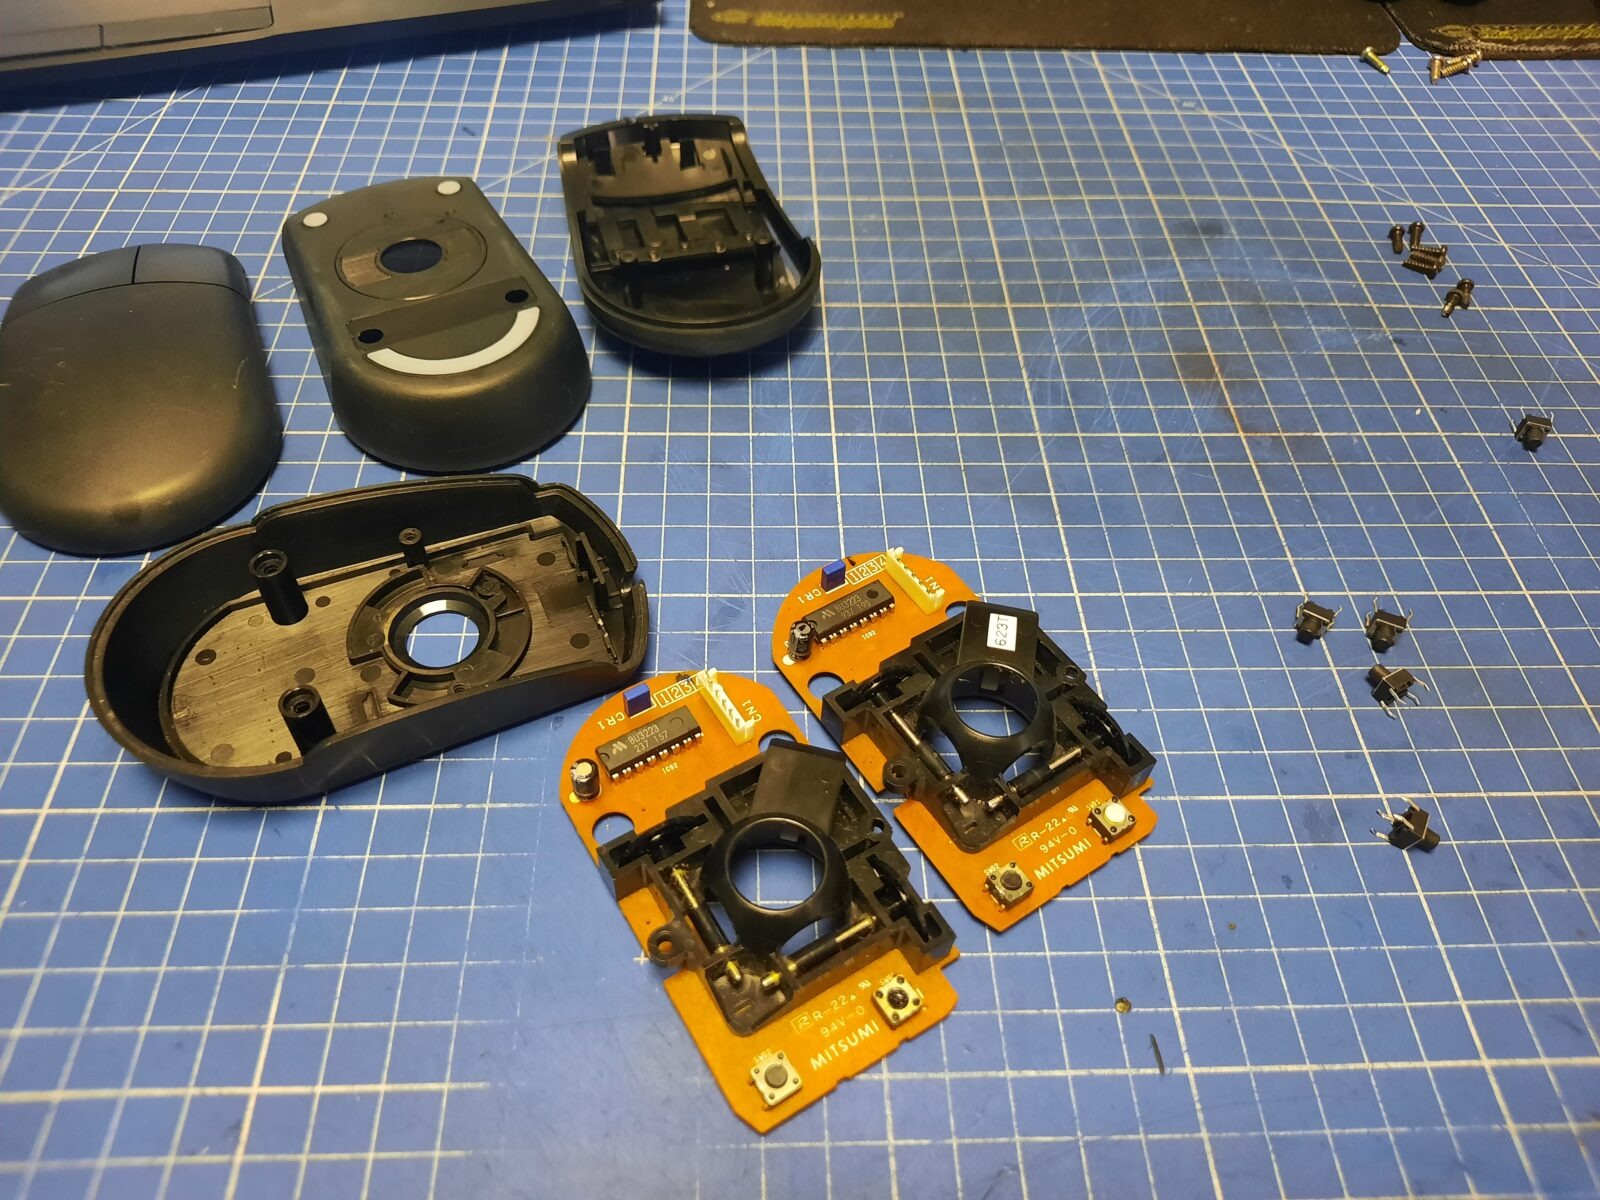
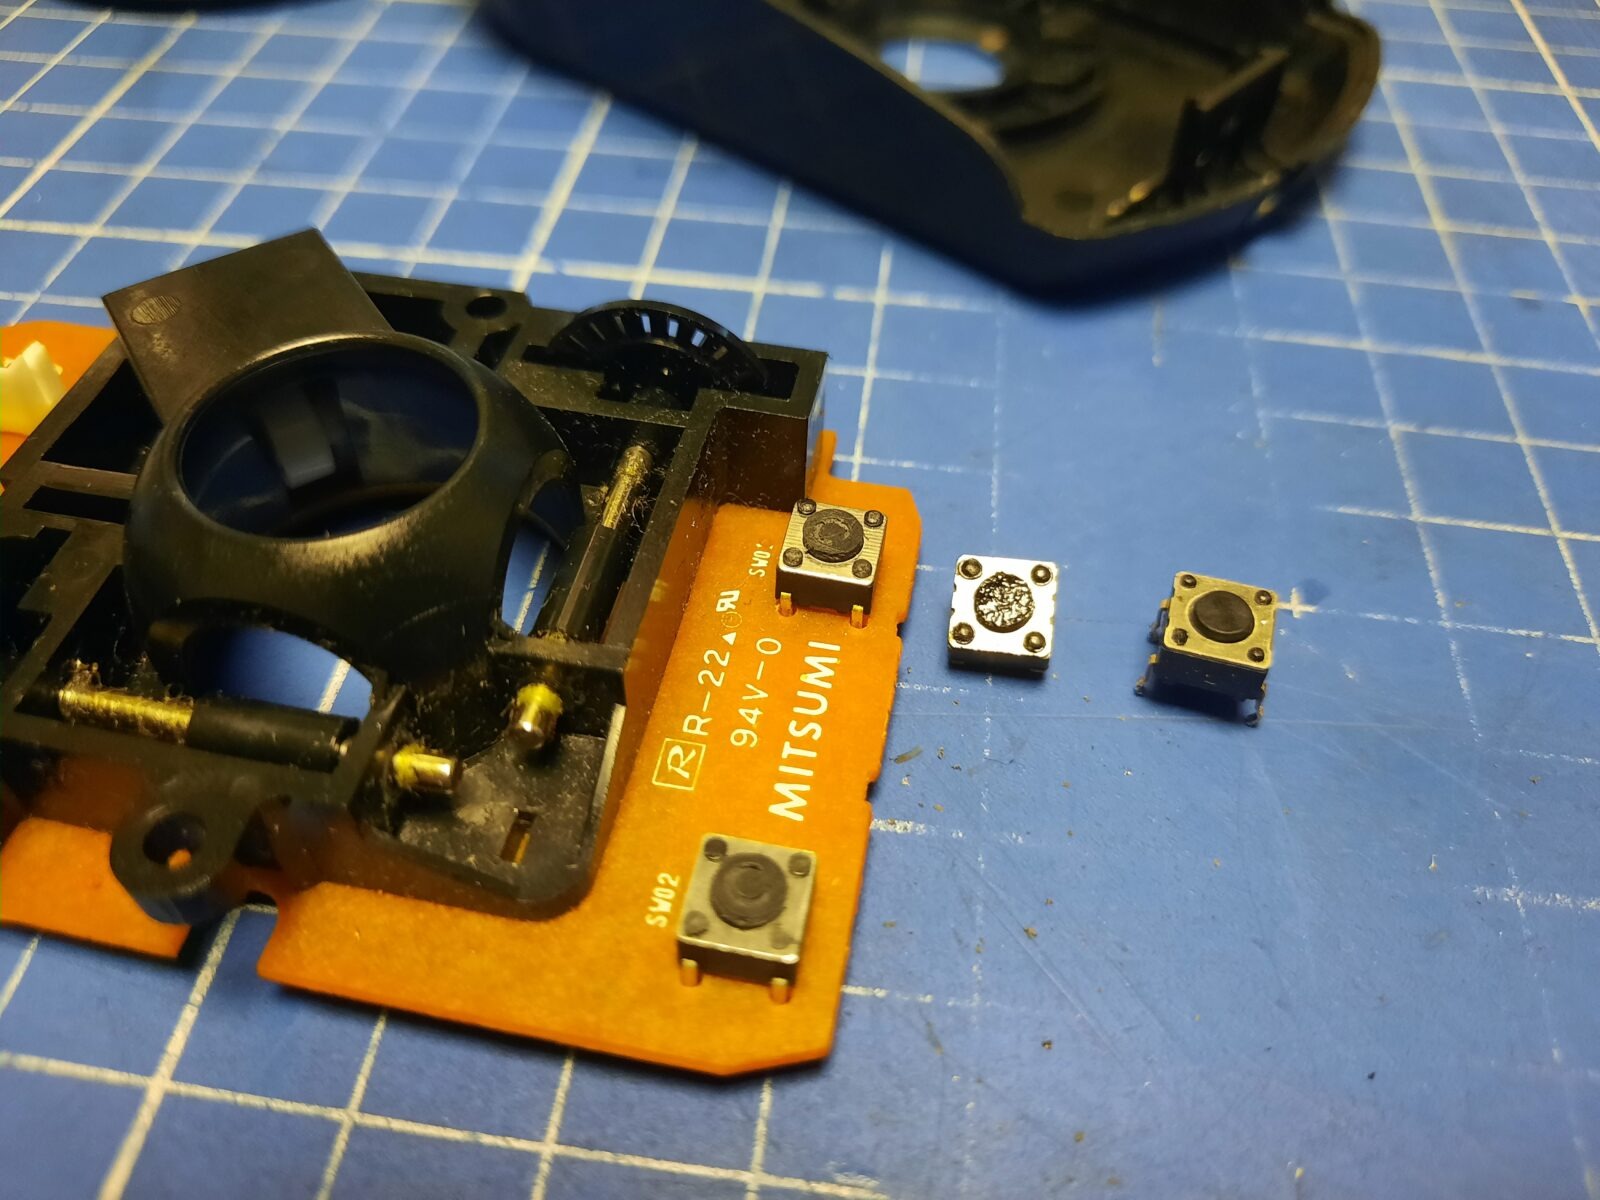
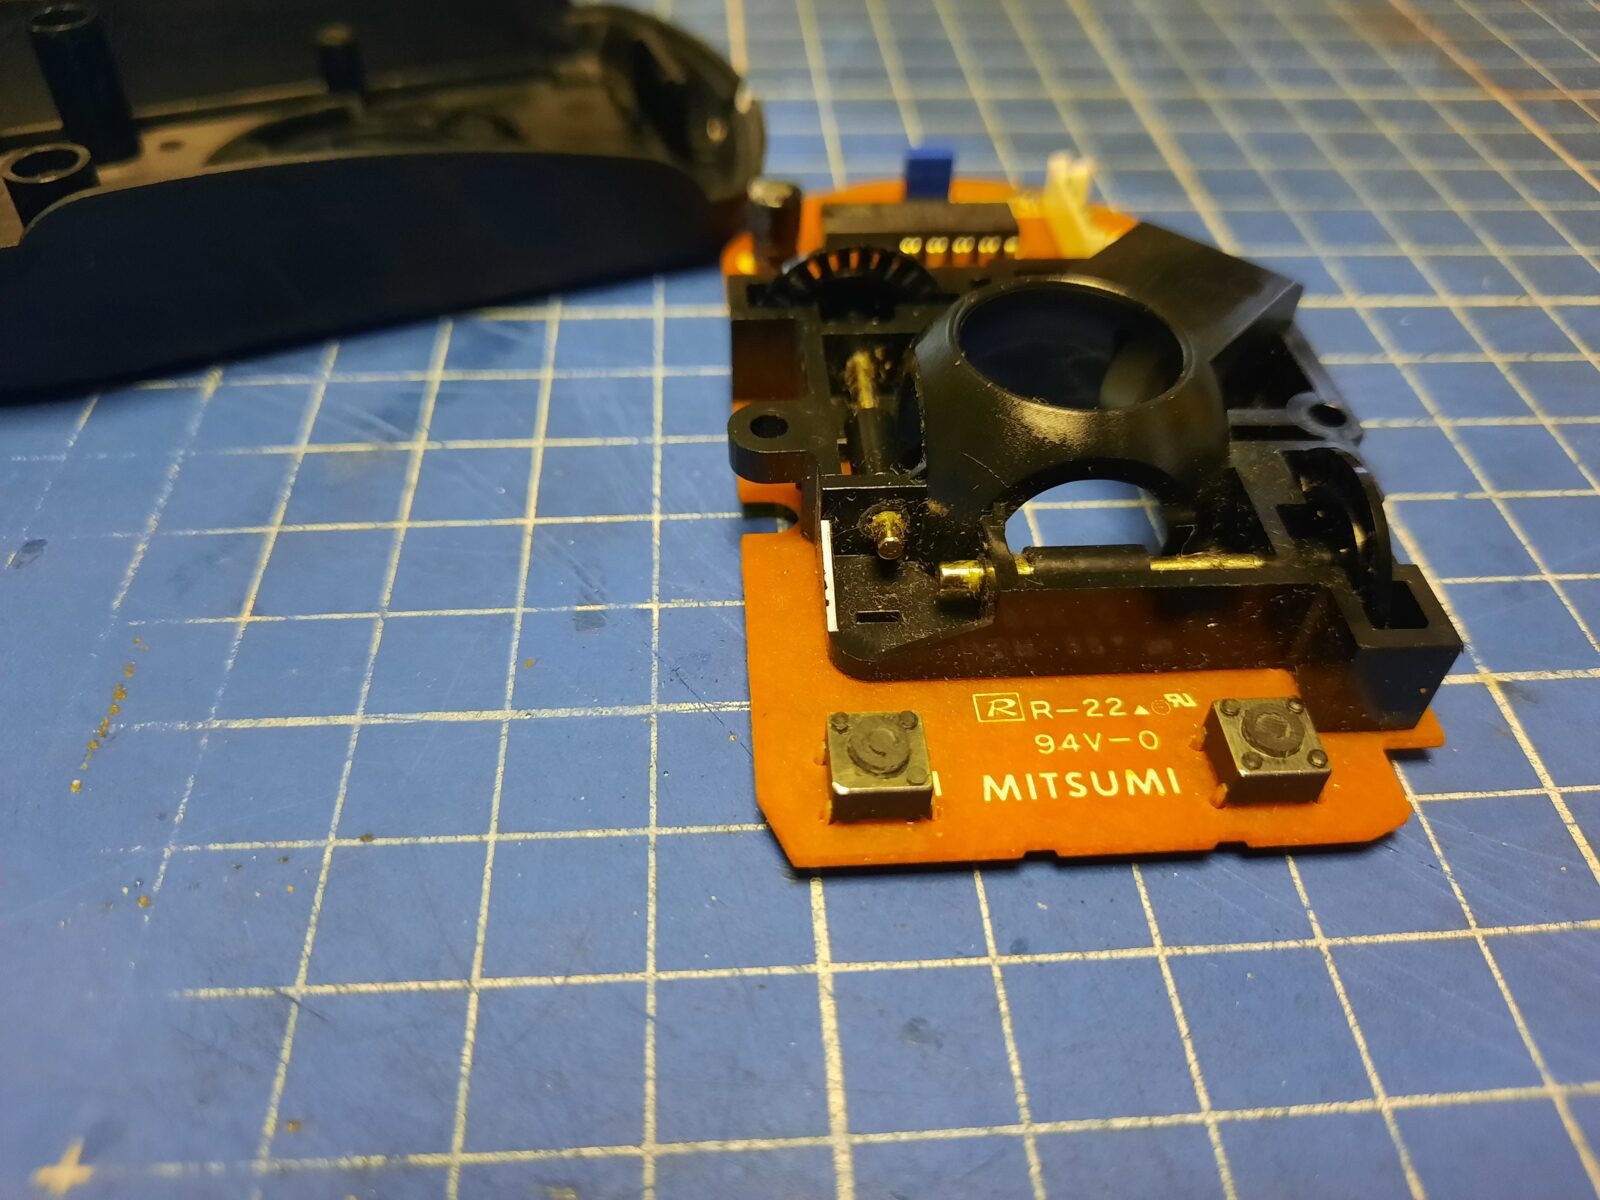
PAD, keyboard, and mice
I also had to address dirty accessories. The PAD and keyboard were disassembled and cleaned.
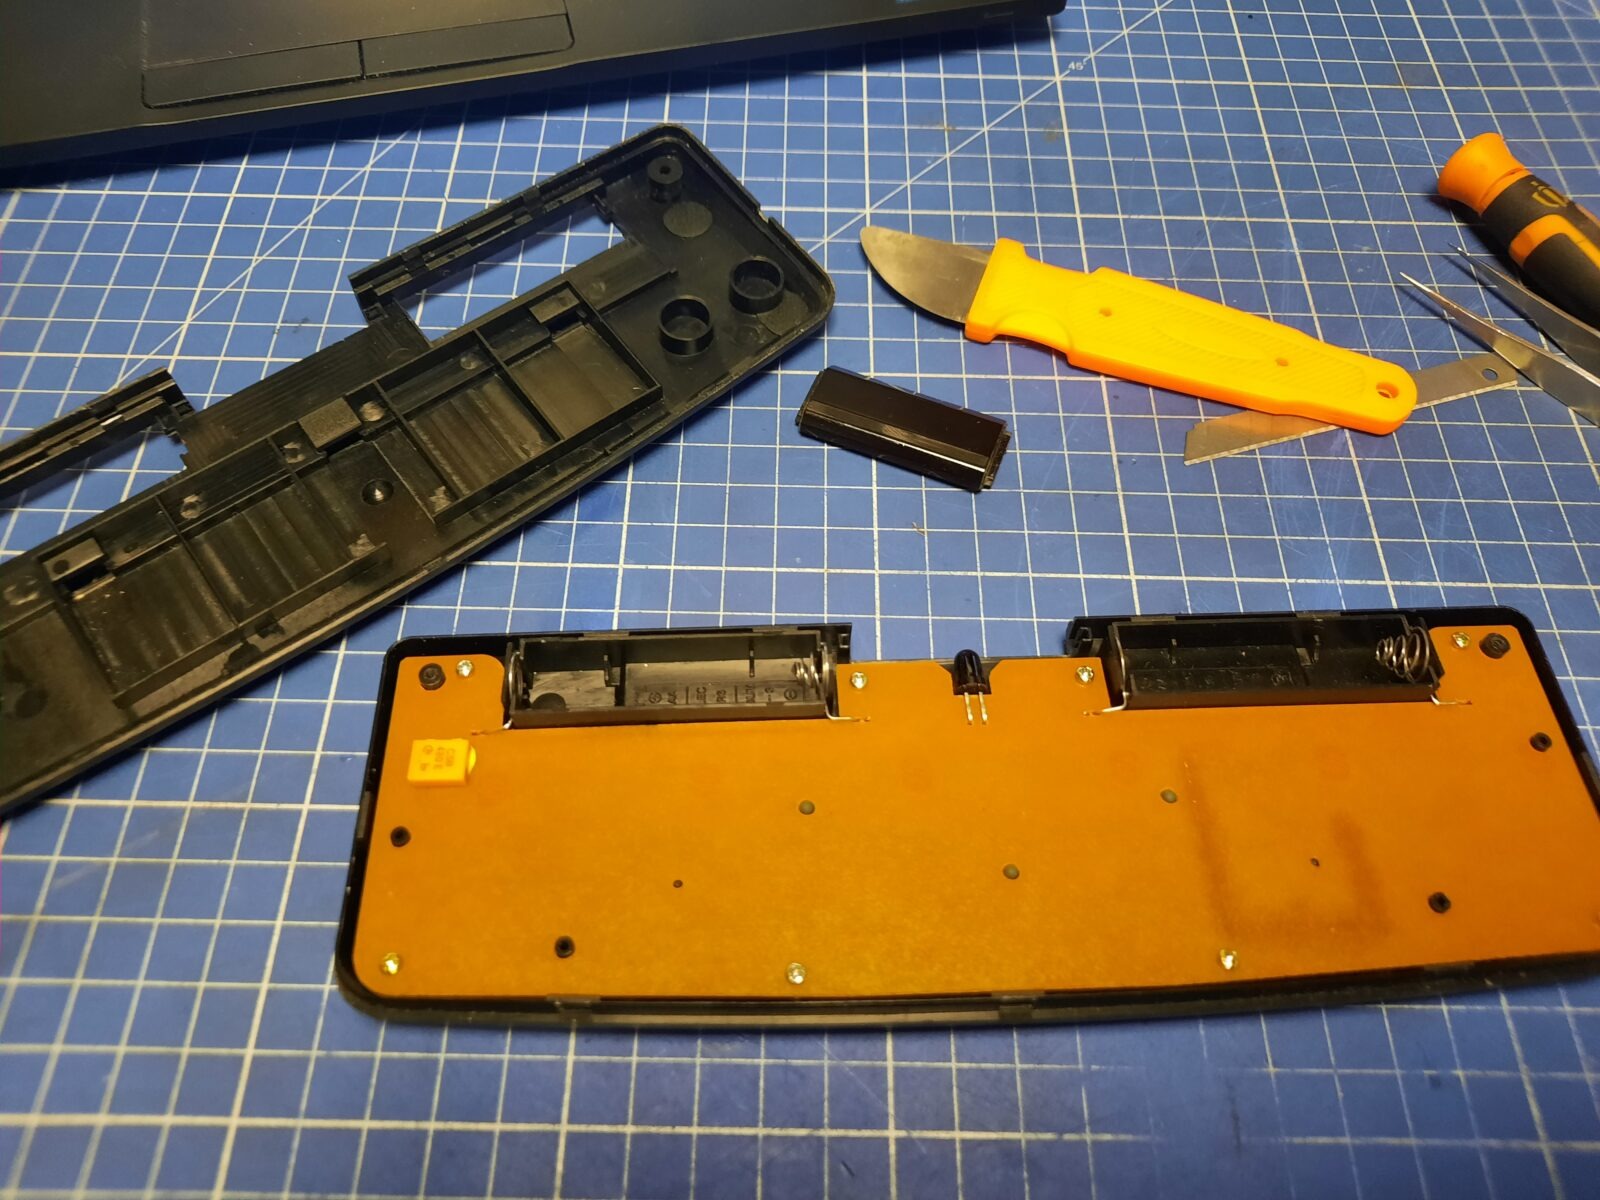
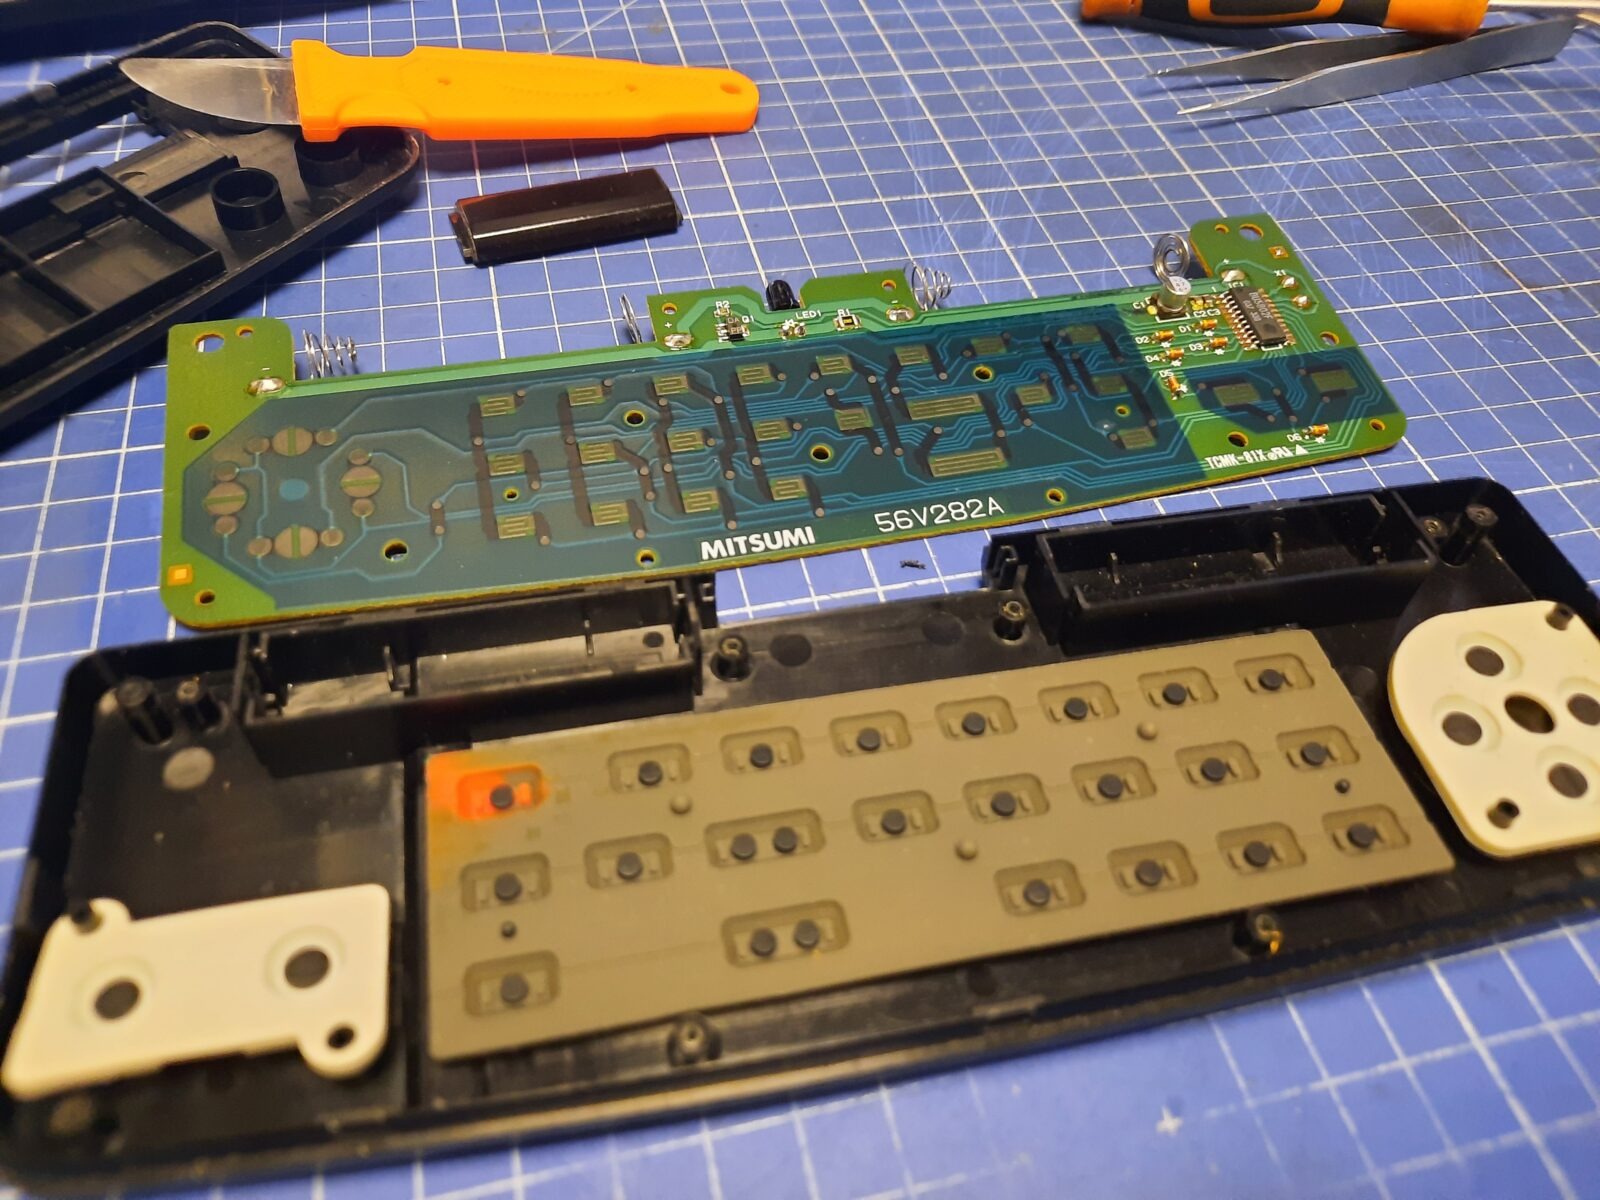
I also had to replace a dead capacitor on a PCB.
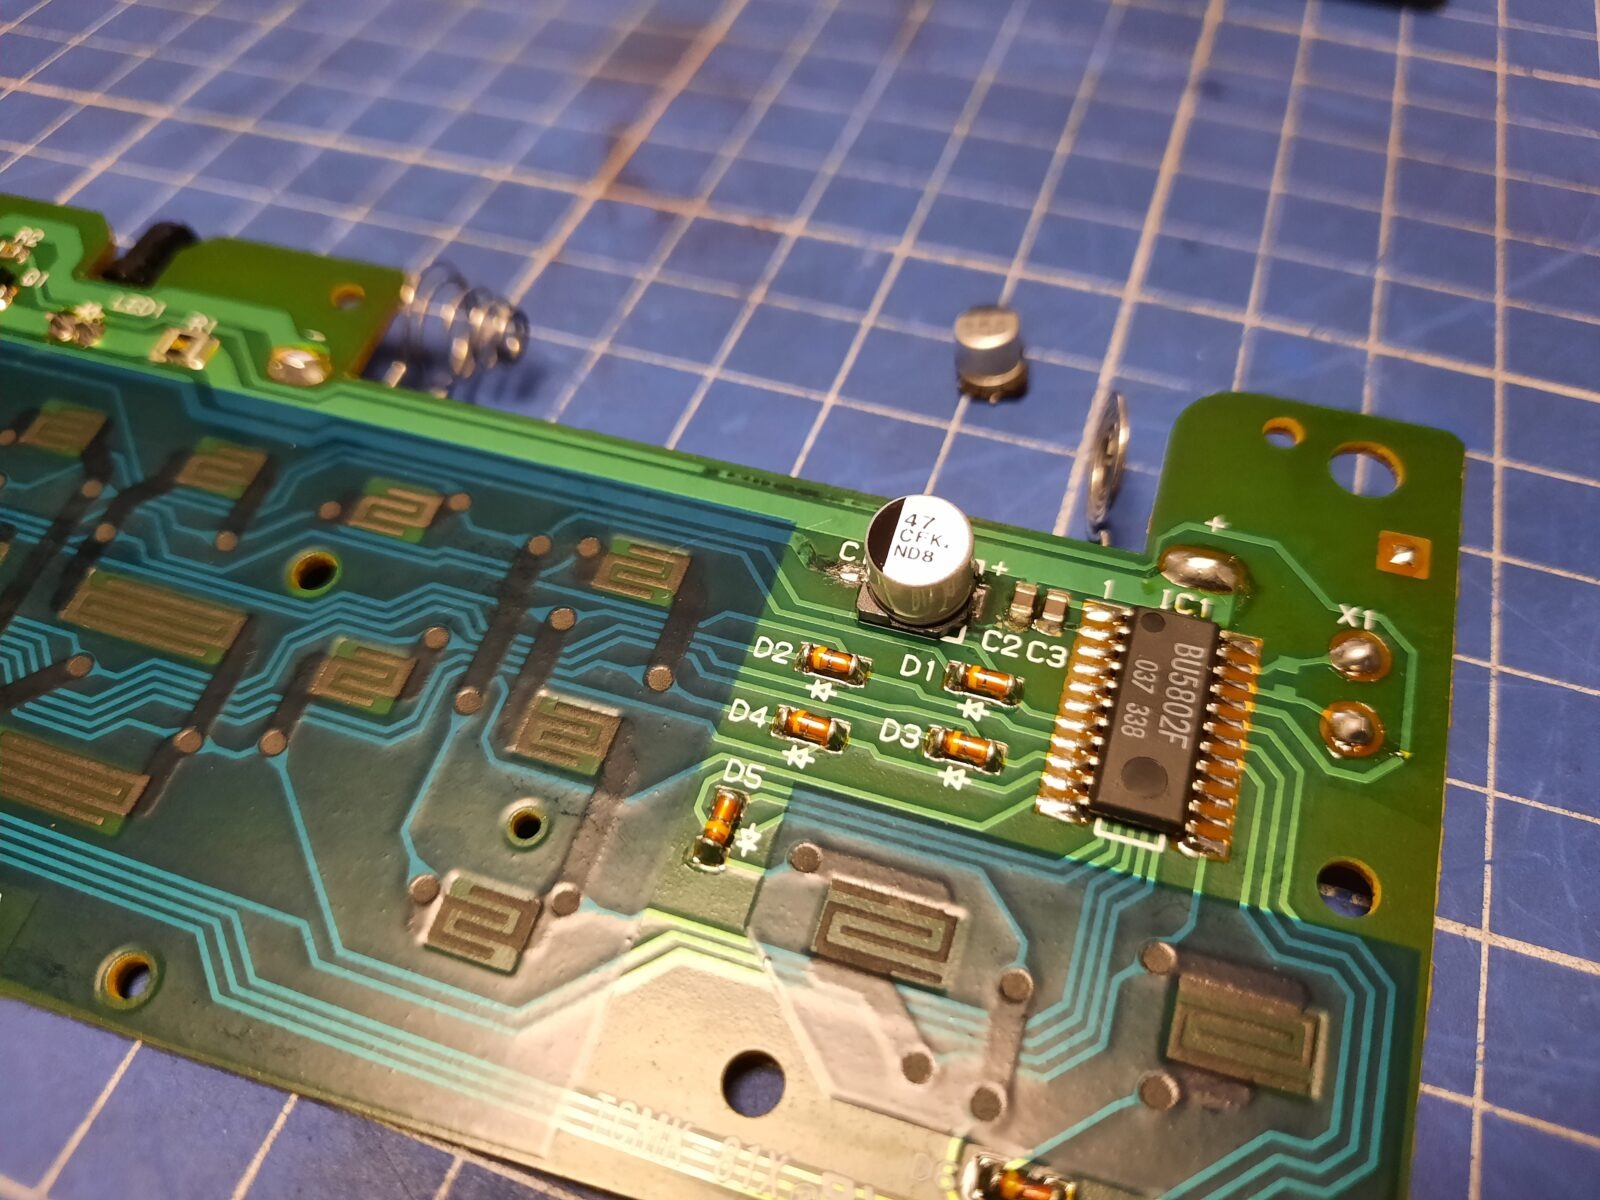
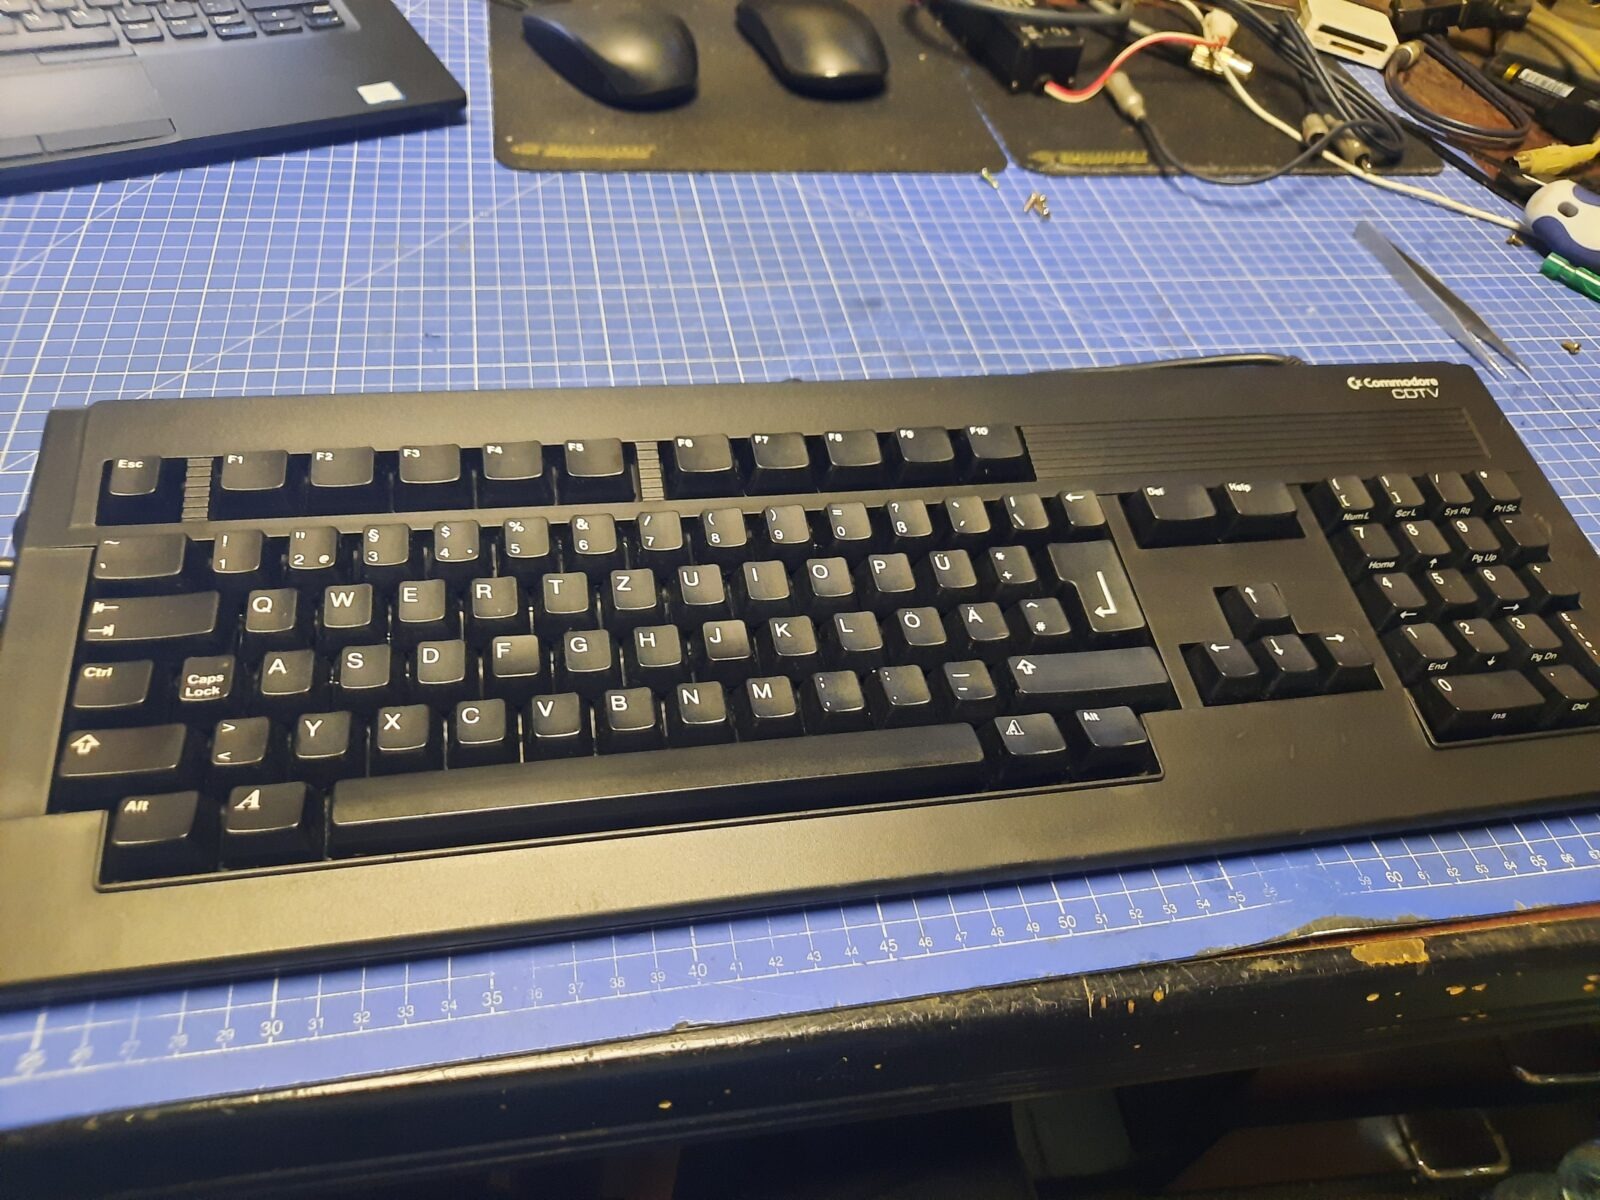
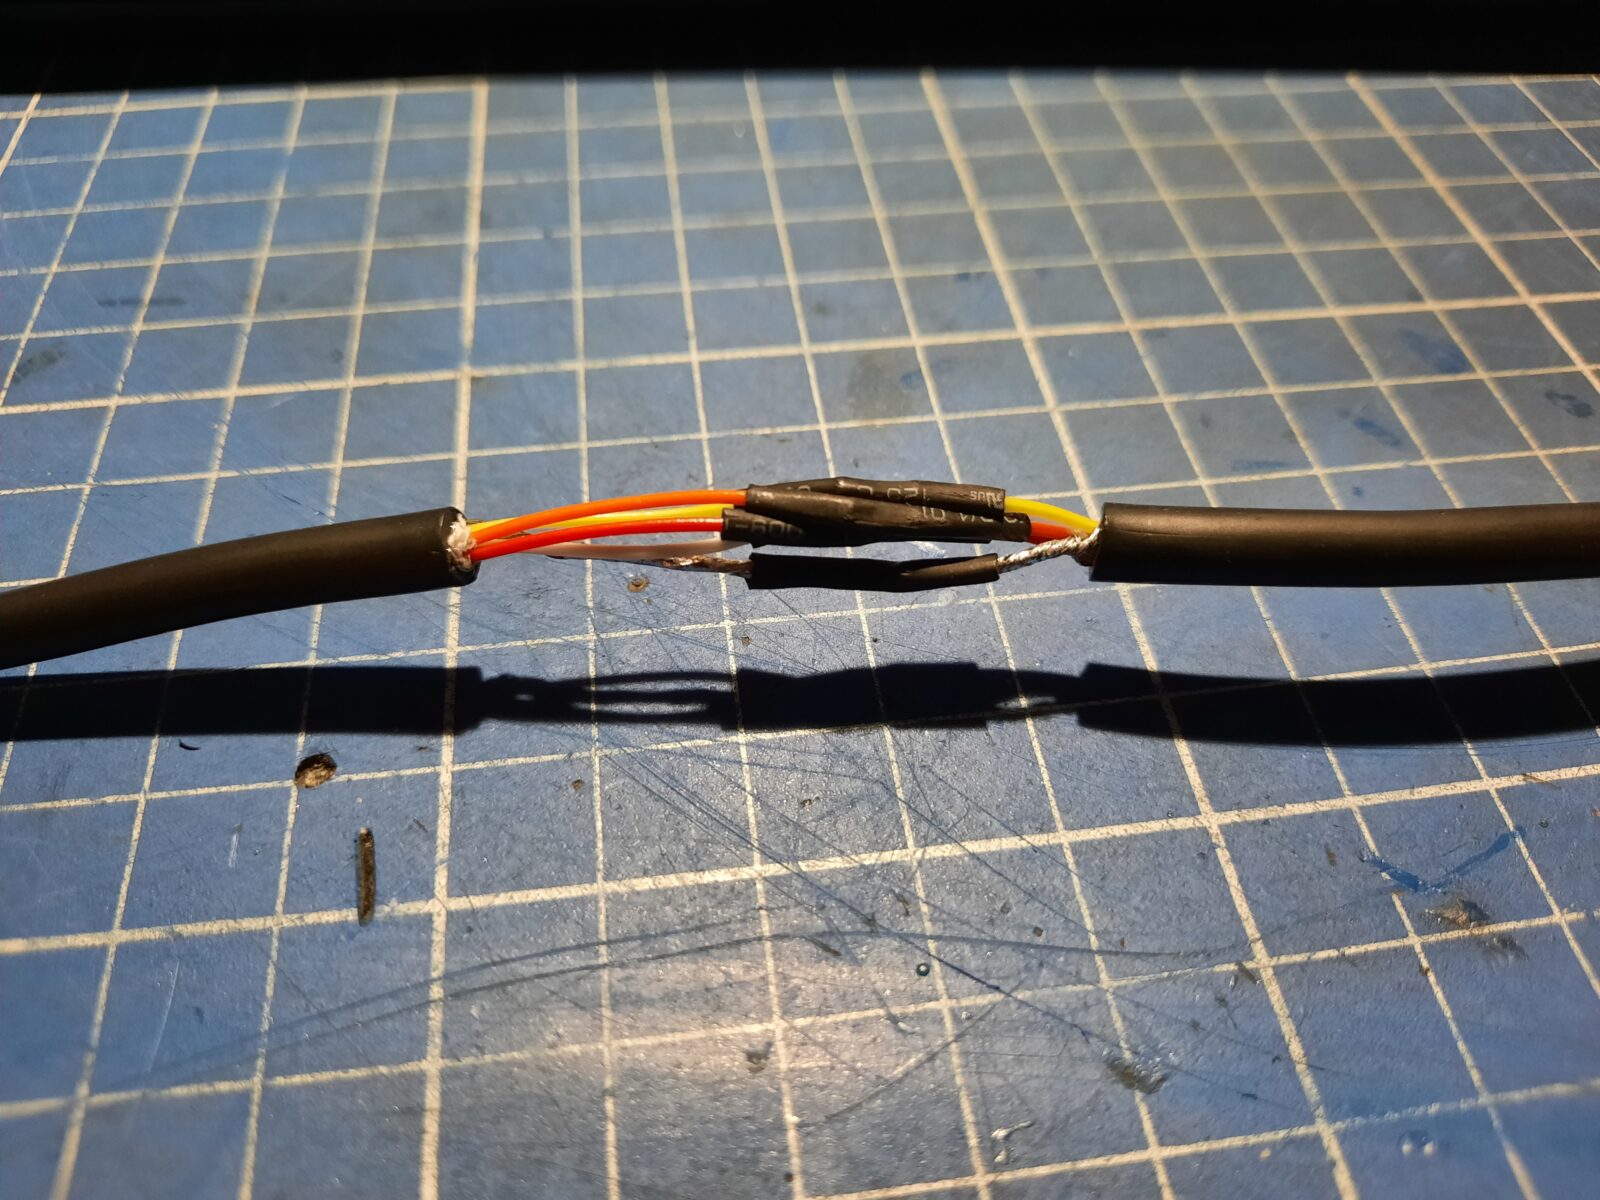
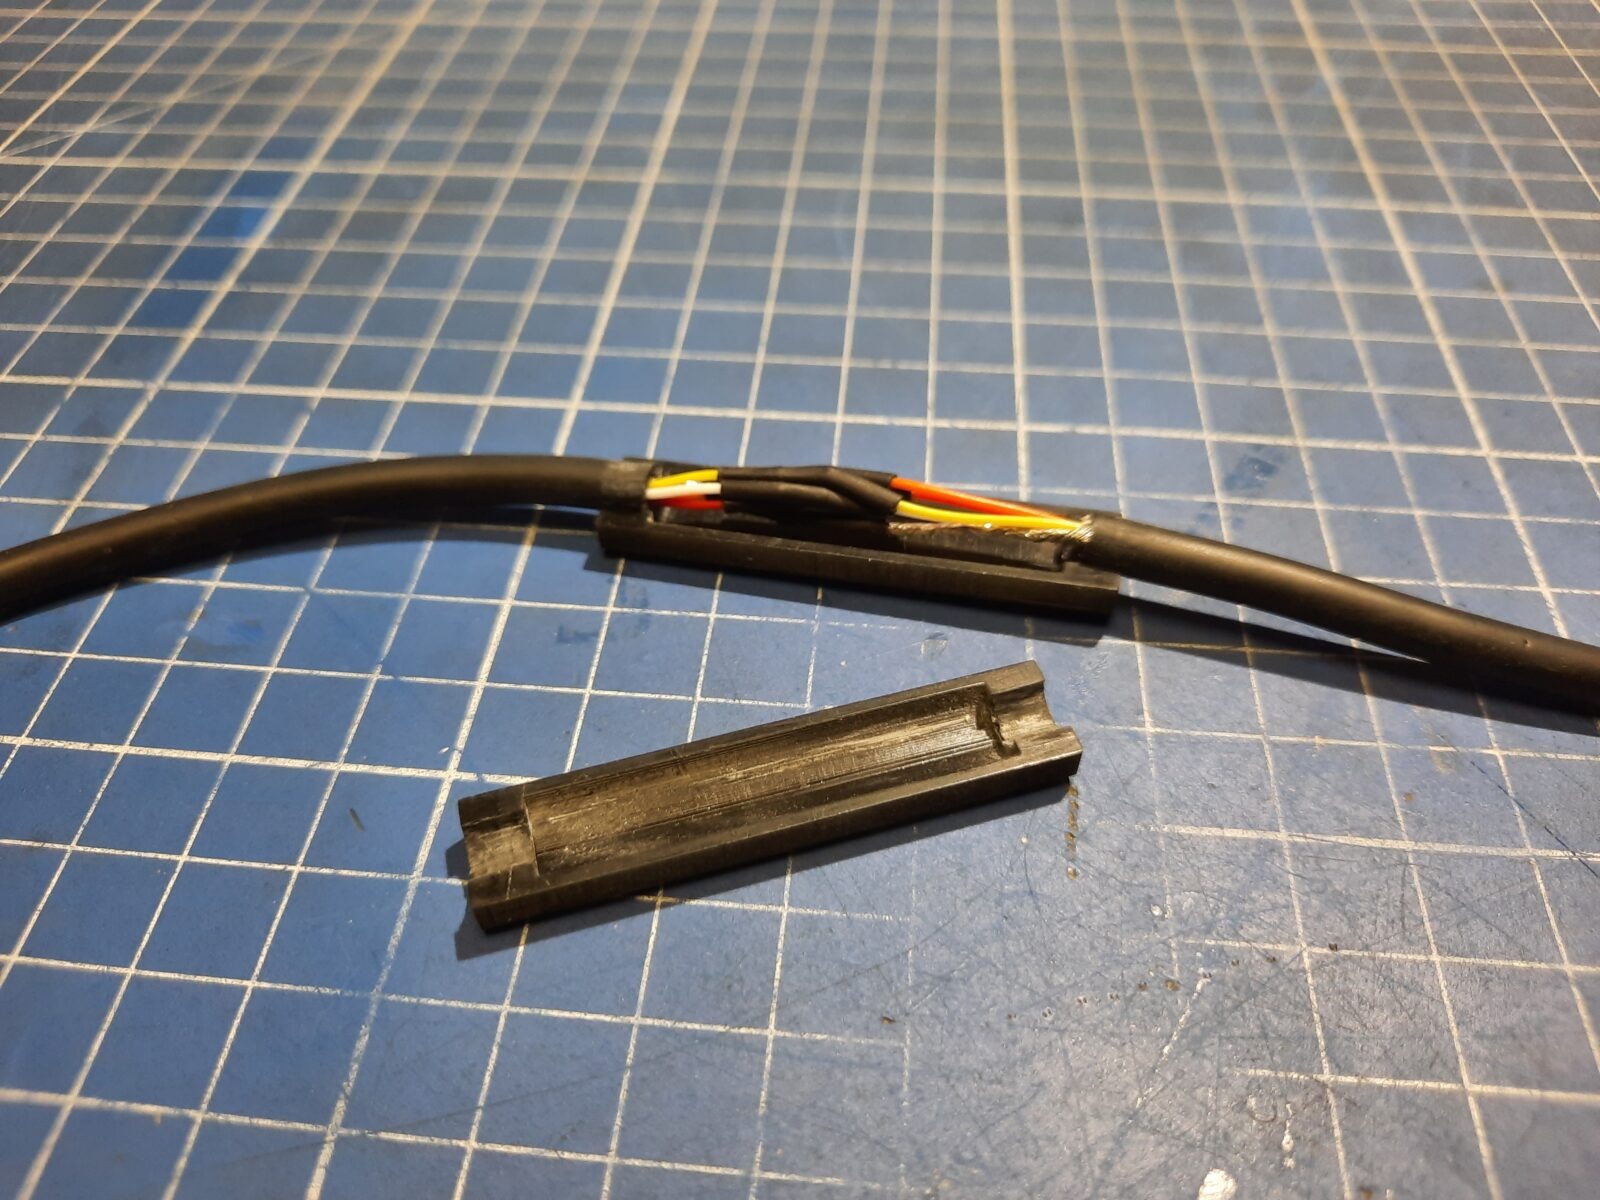
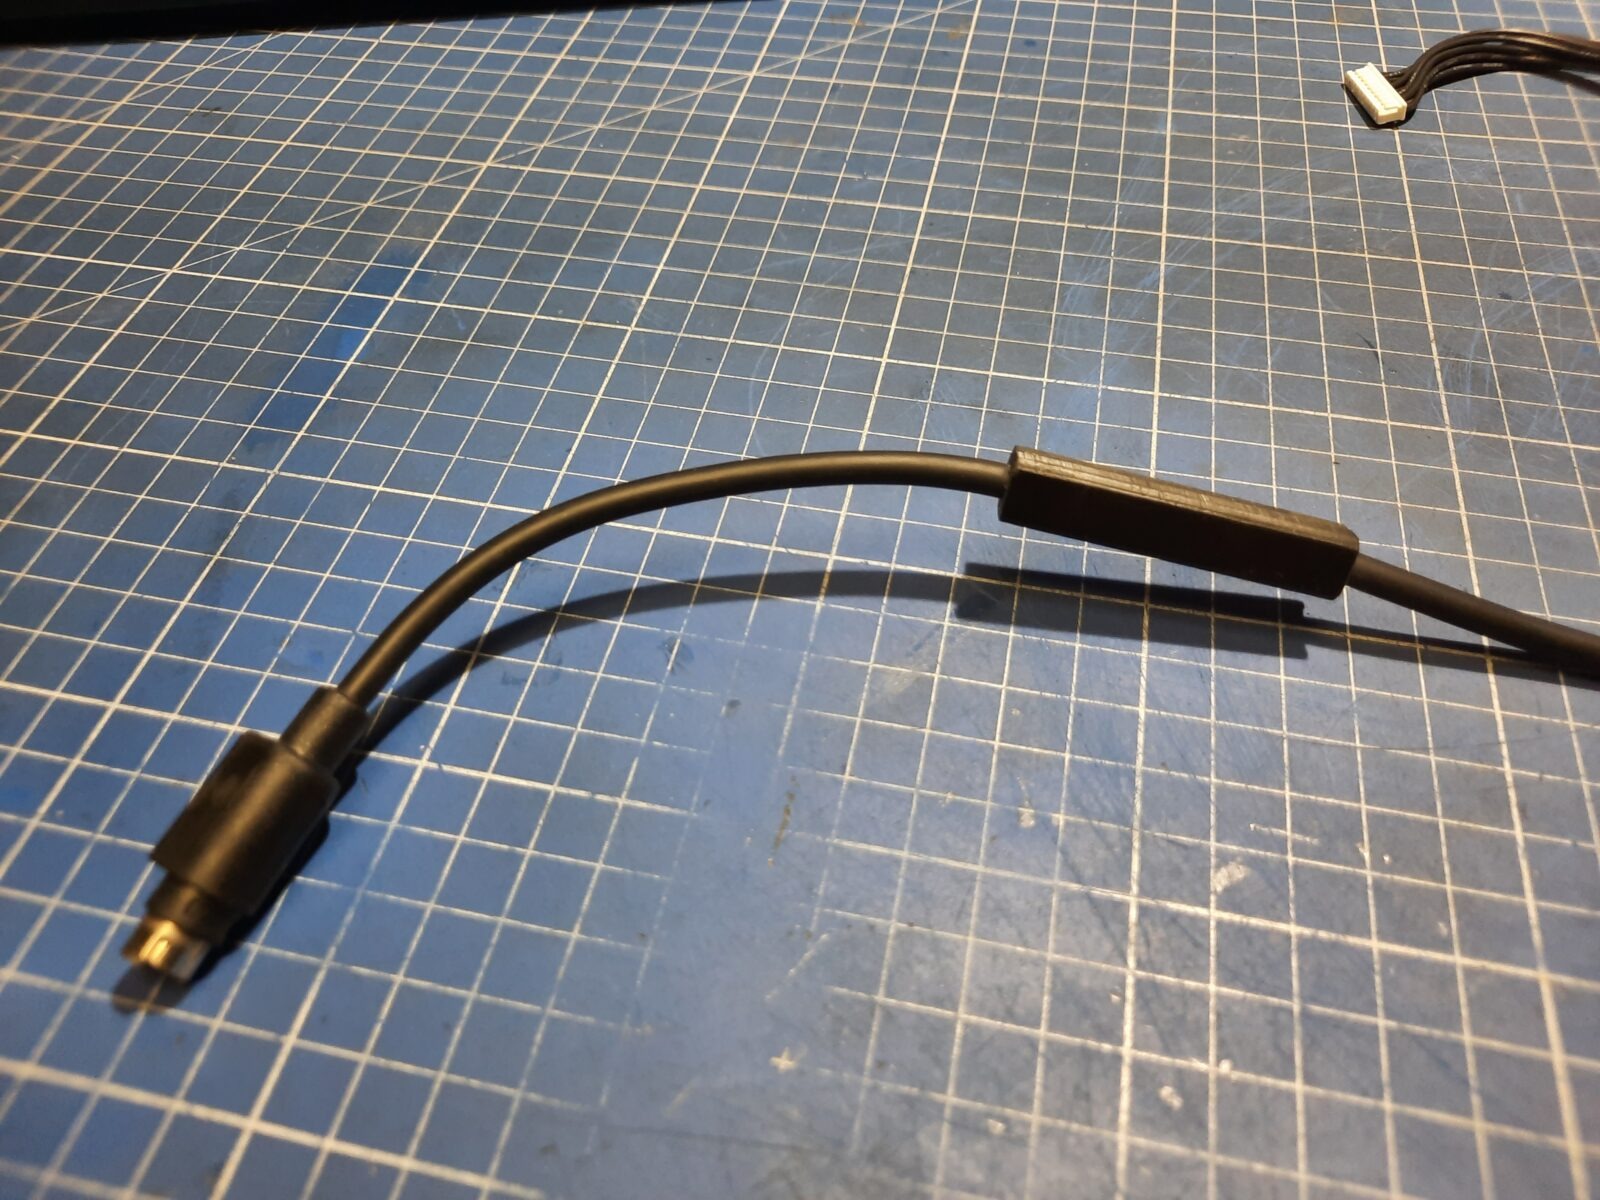
Unfortunately, after assembly, it didn’t go through tests successfully. A bit of tinkering and I had it fixed. Broken wires …
Since it looked ugly, I’ve designed and 3D printed a nice cover for it. STL files at the bottom of the post.
Mice, apart from standard SPA also needed TACT switches replacement.

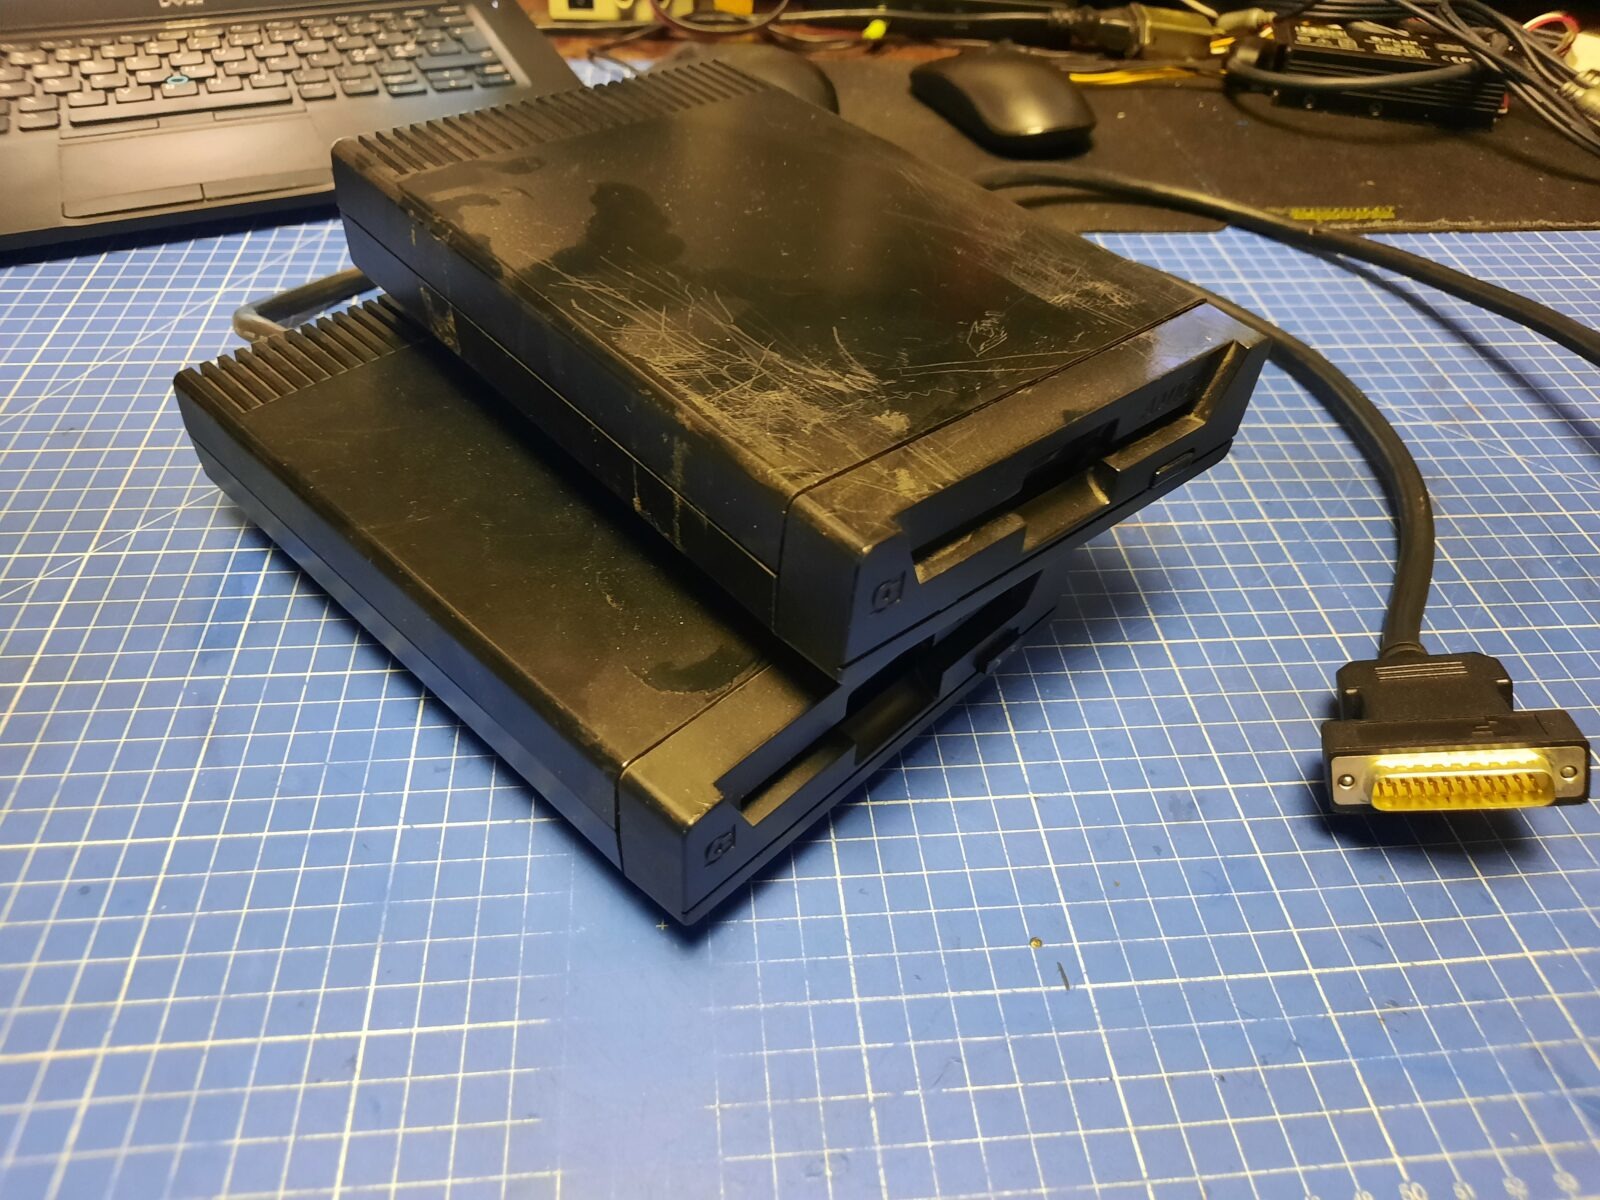
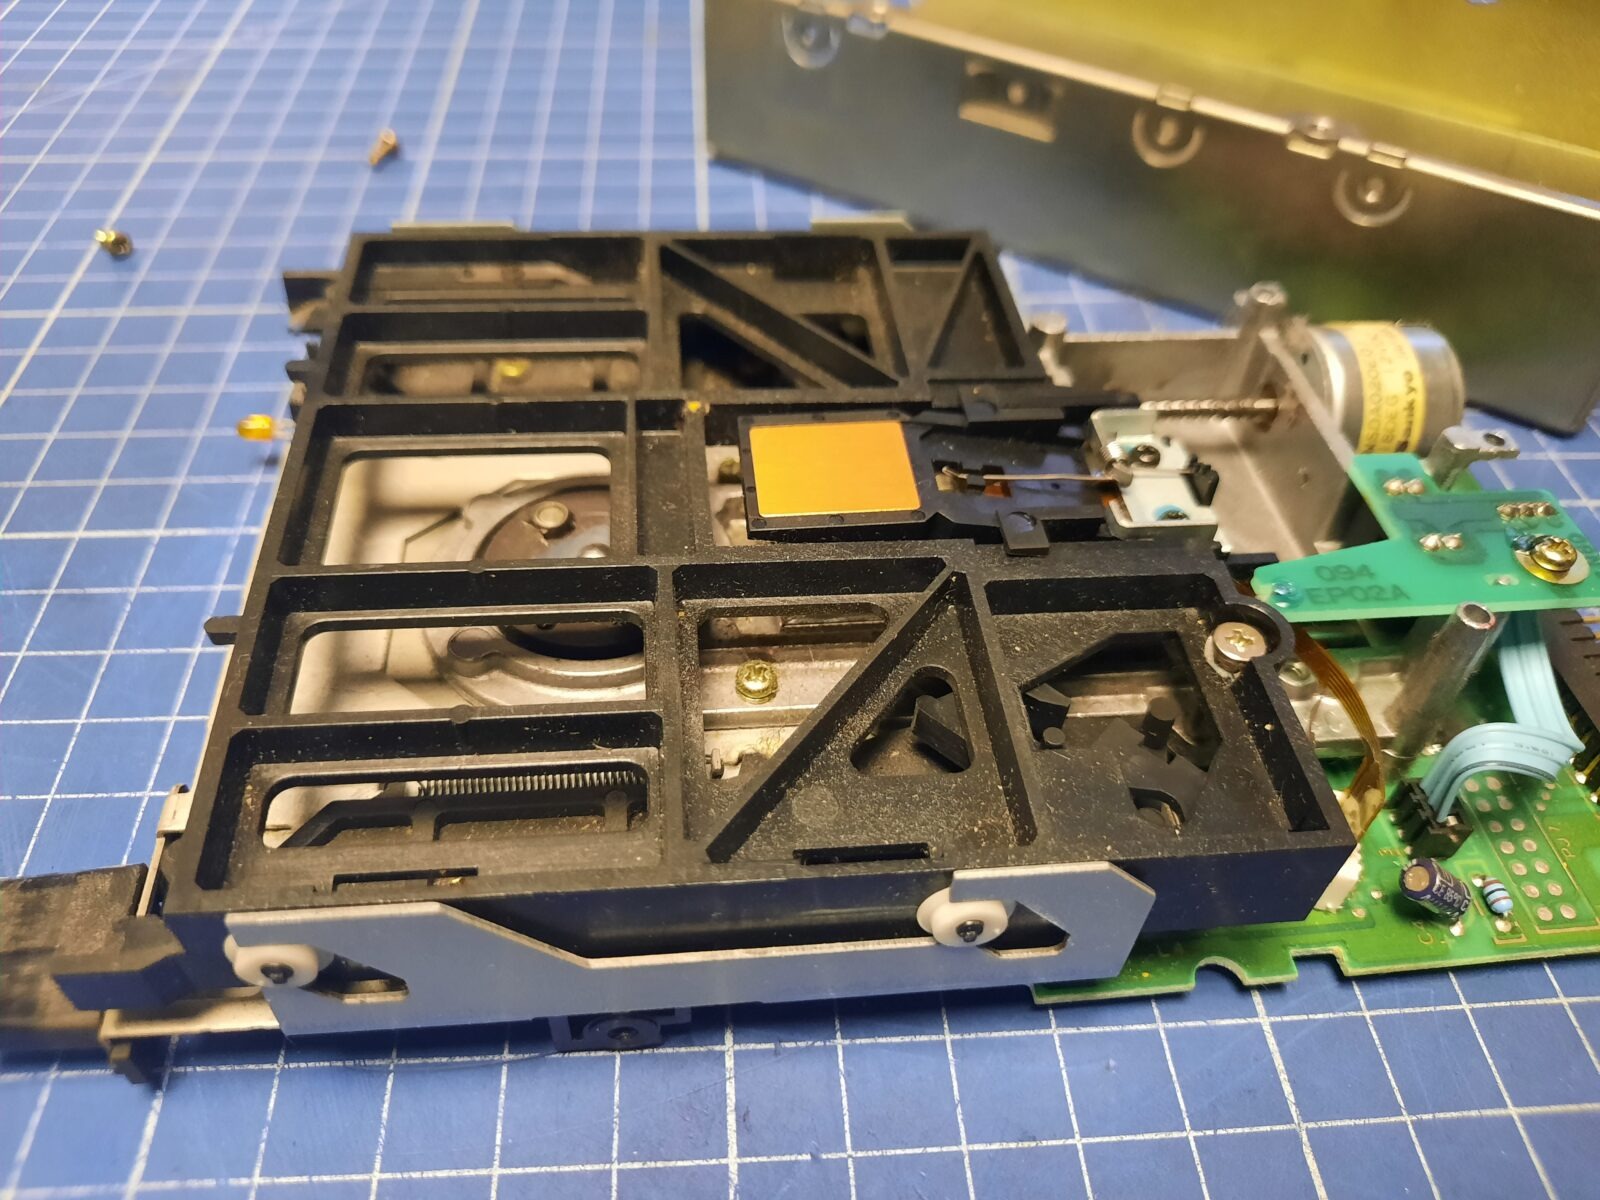
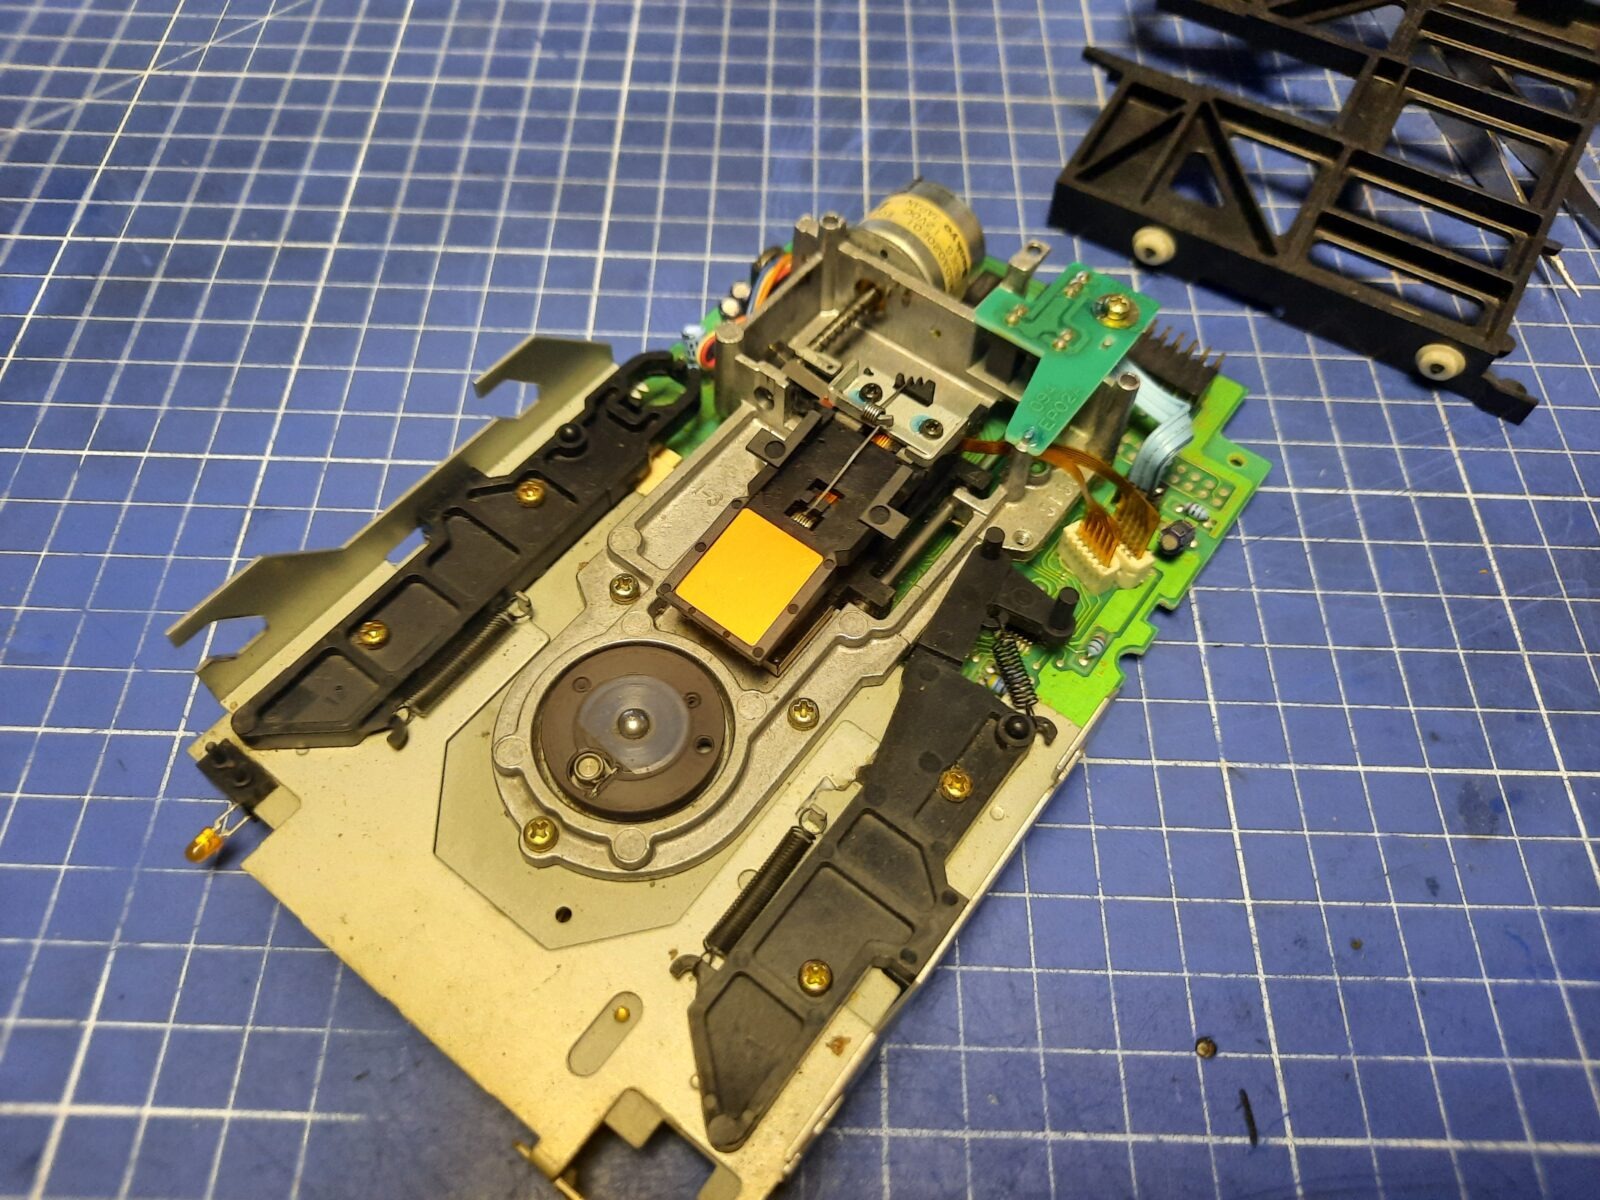
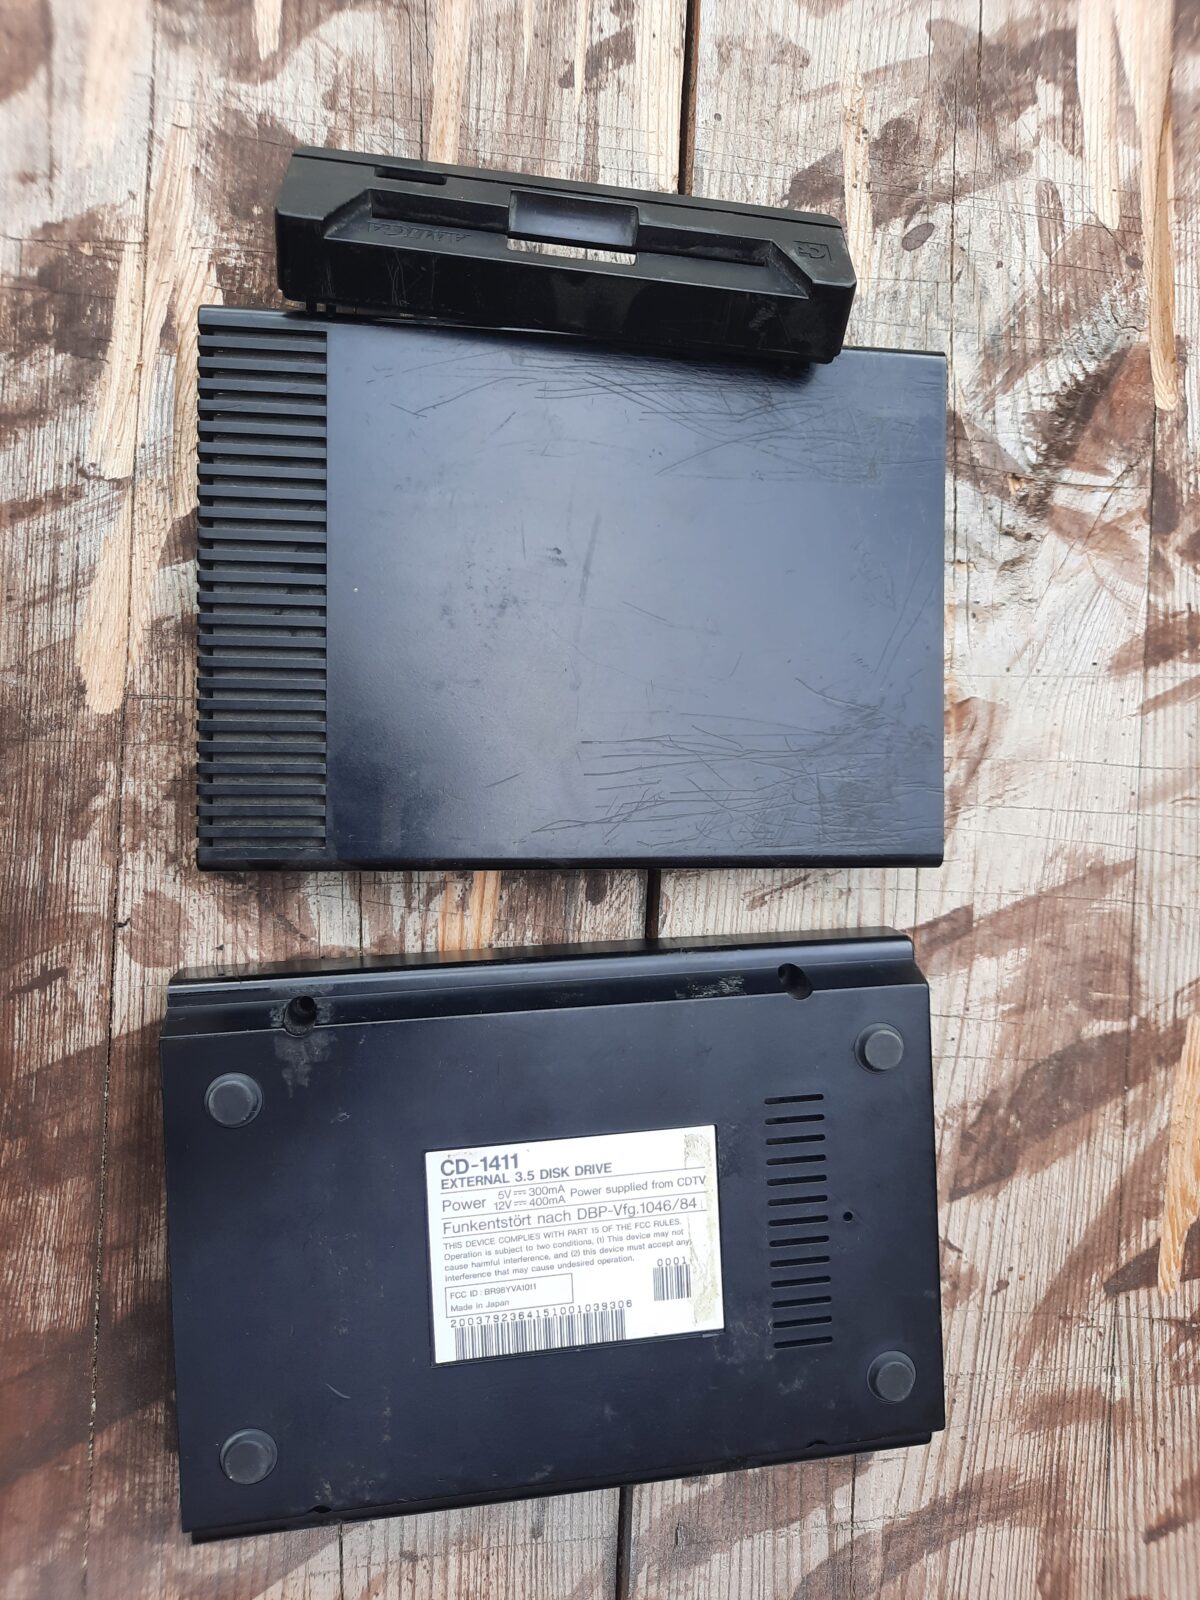
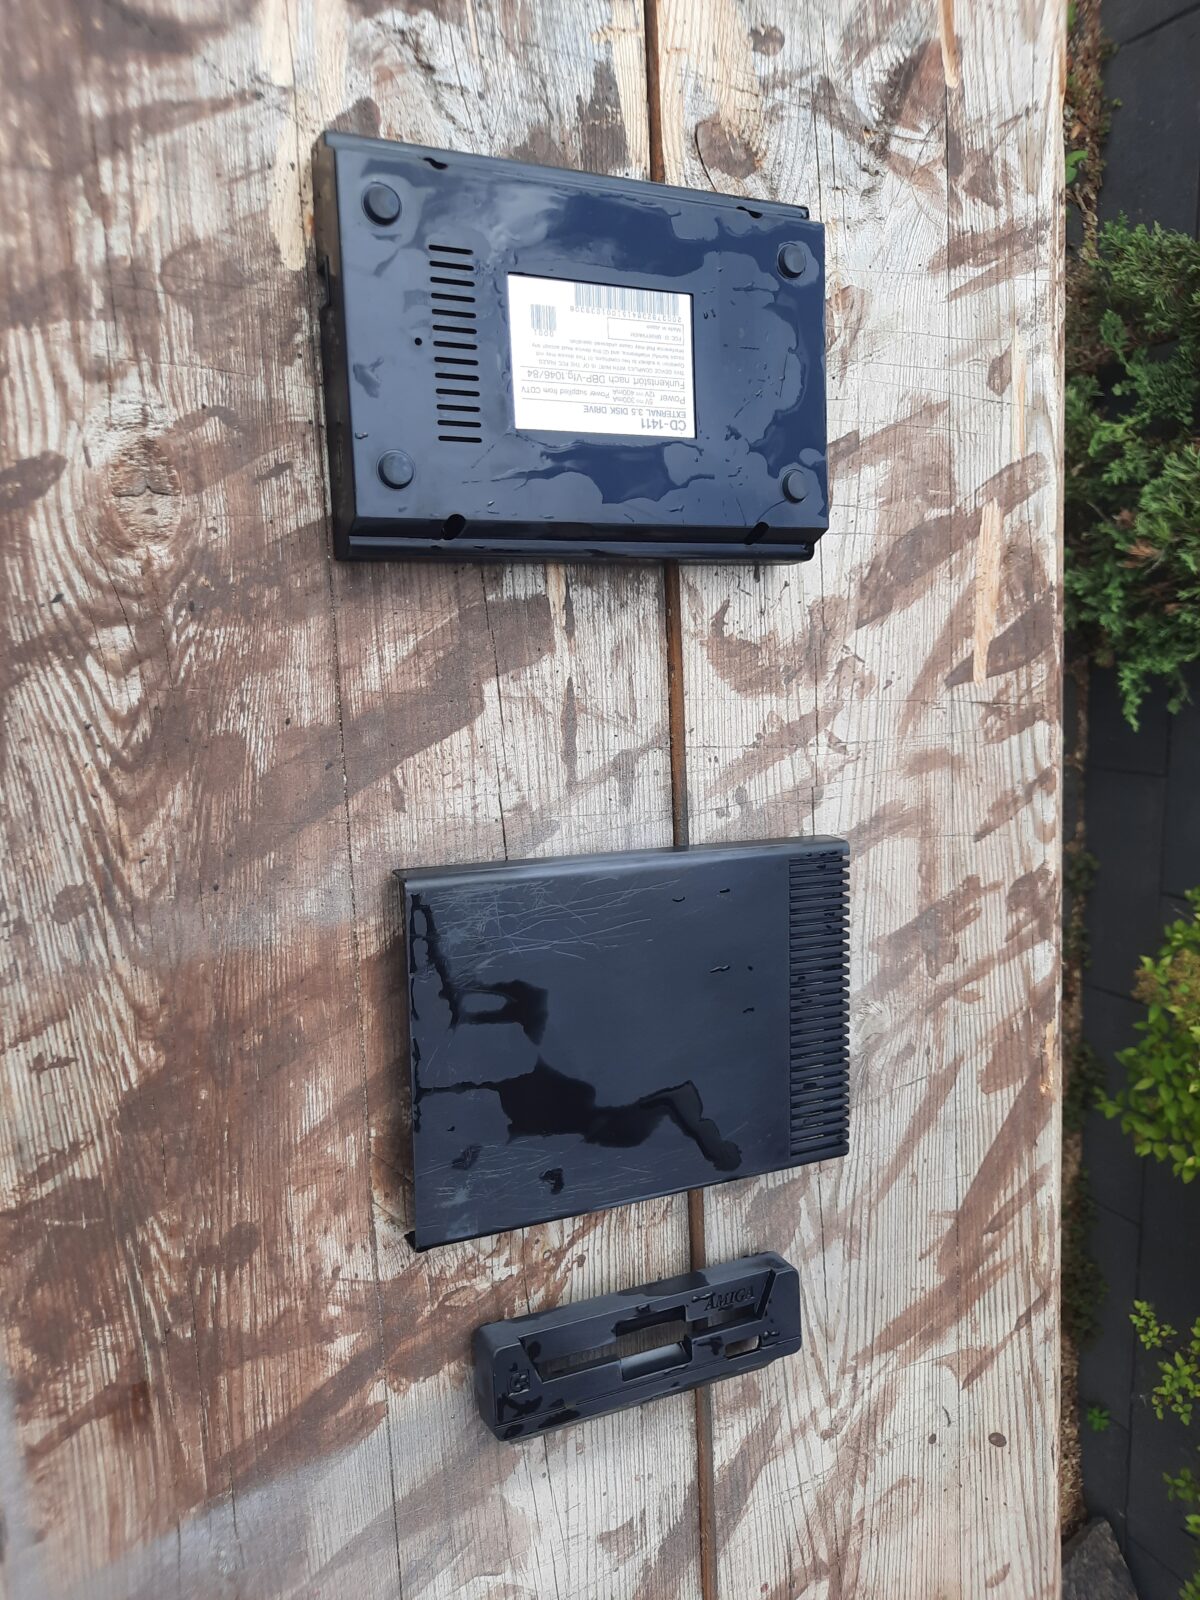
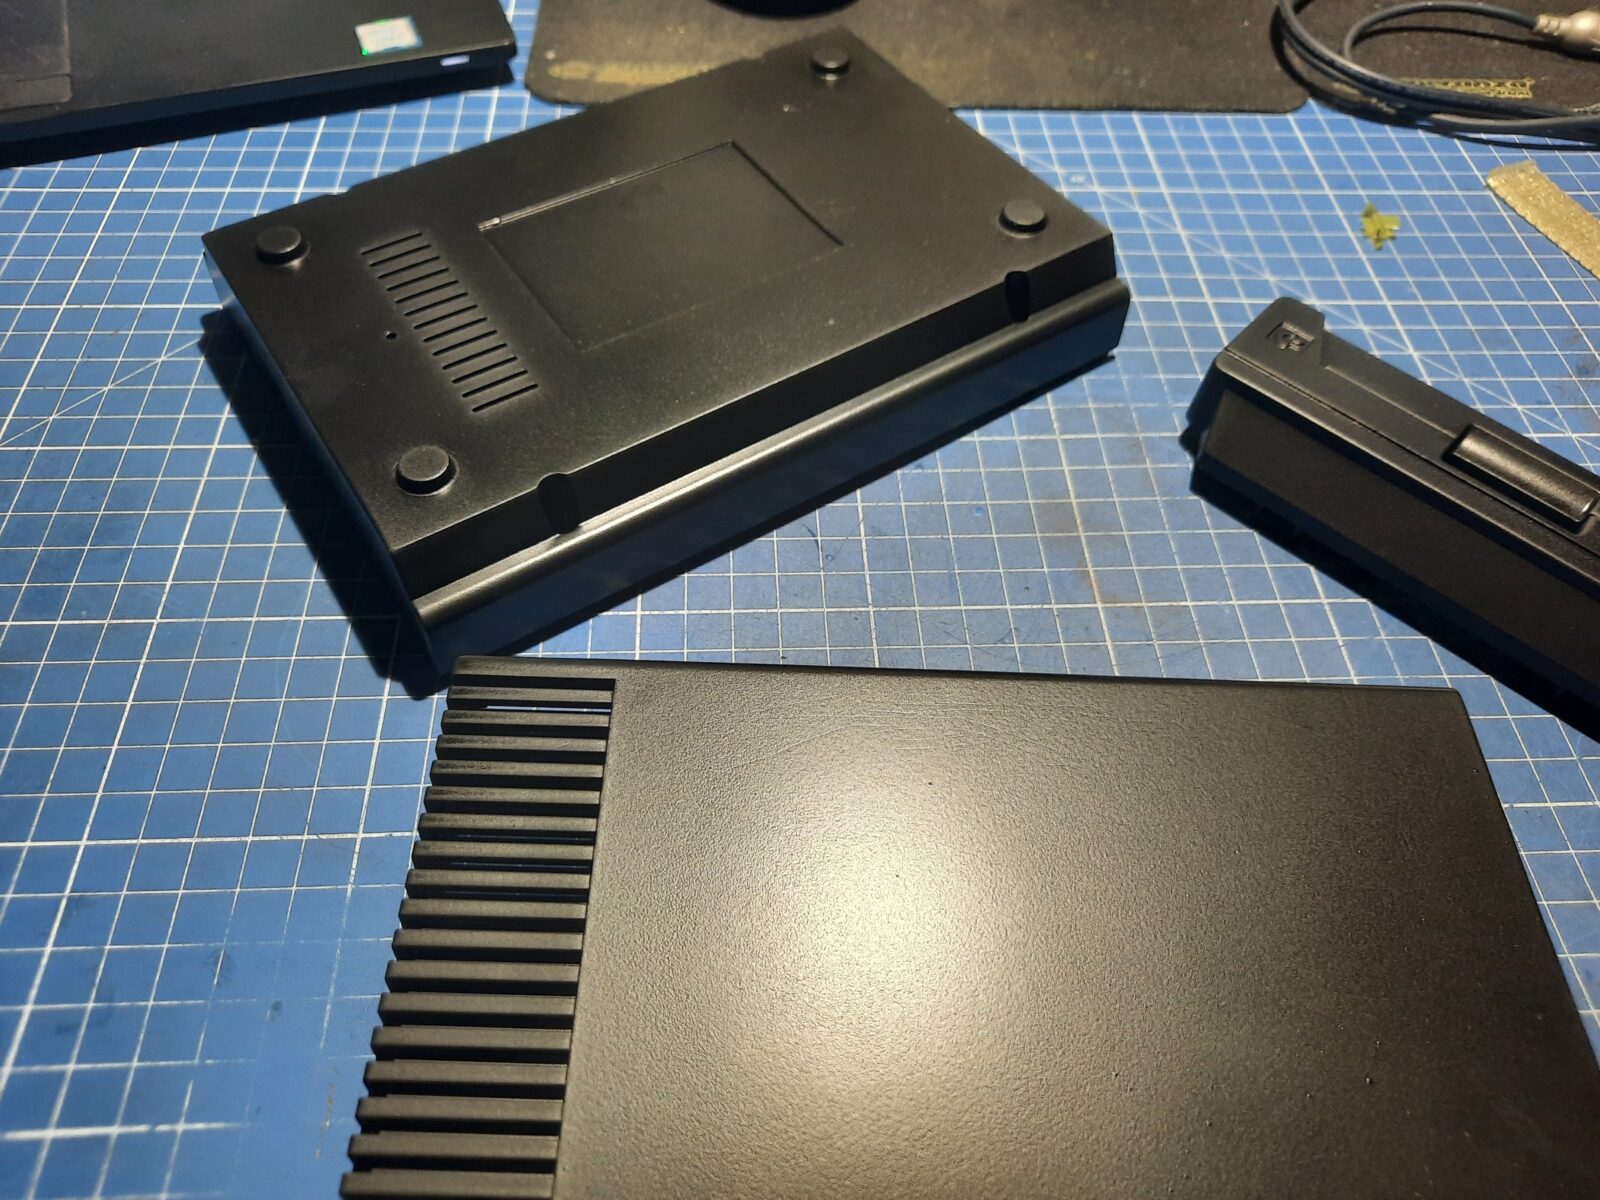
External floppy drives
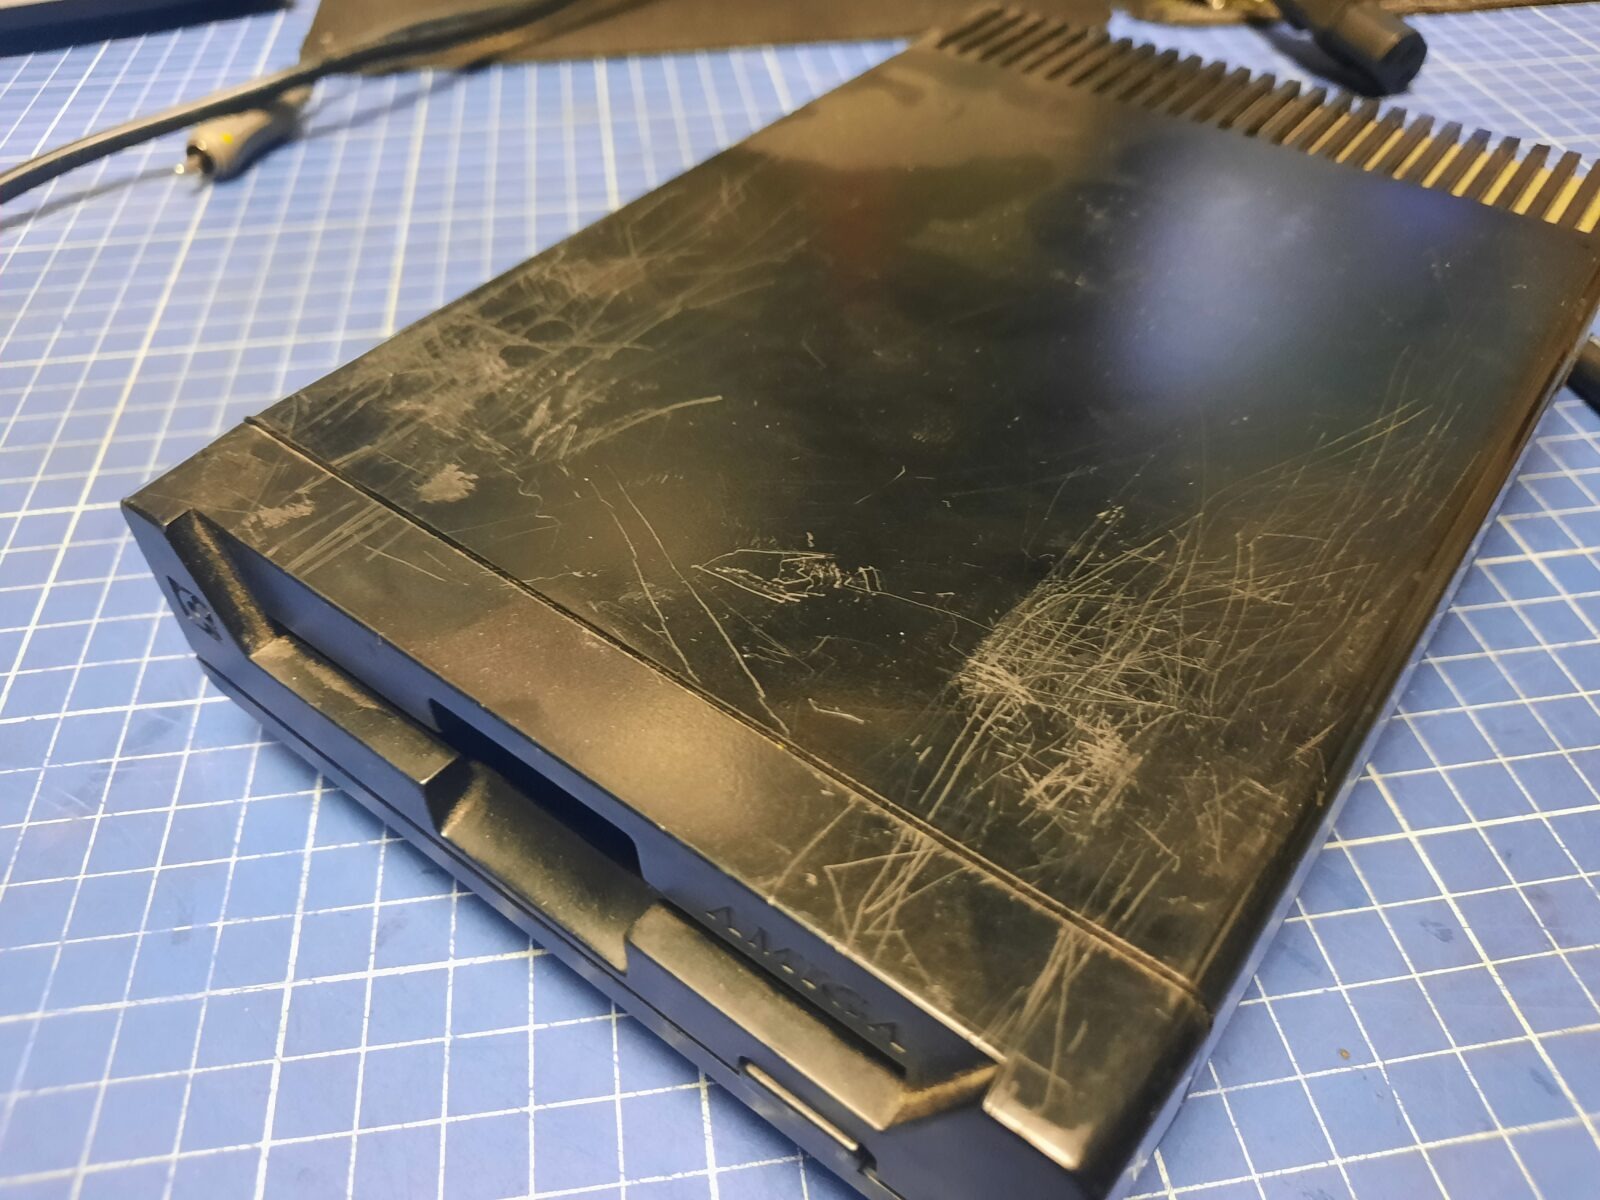
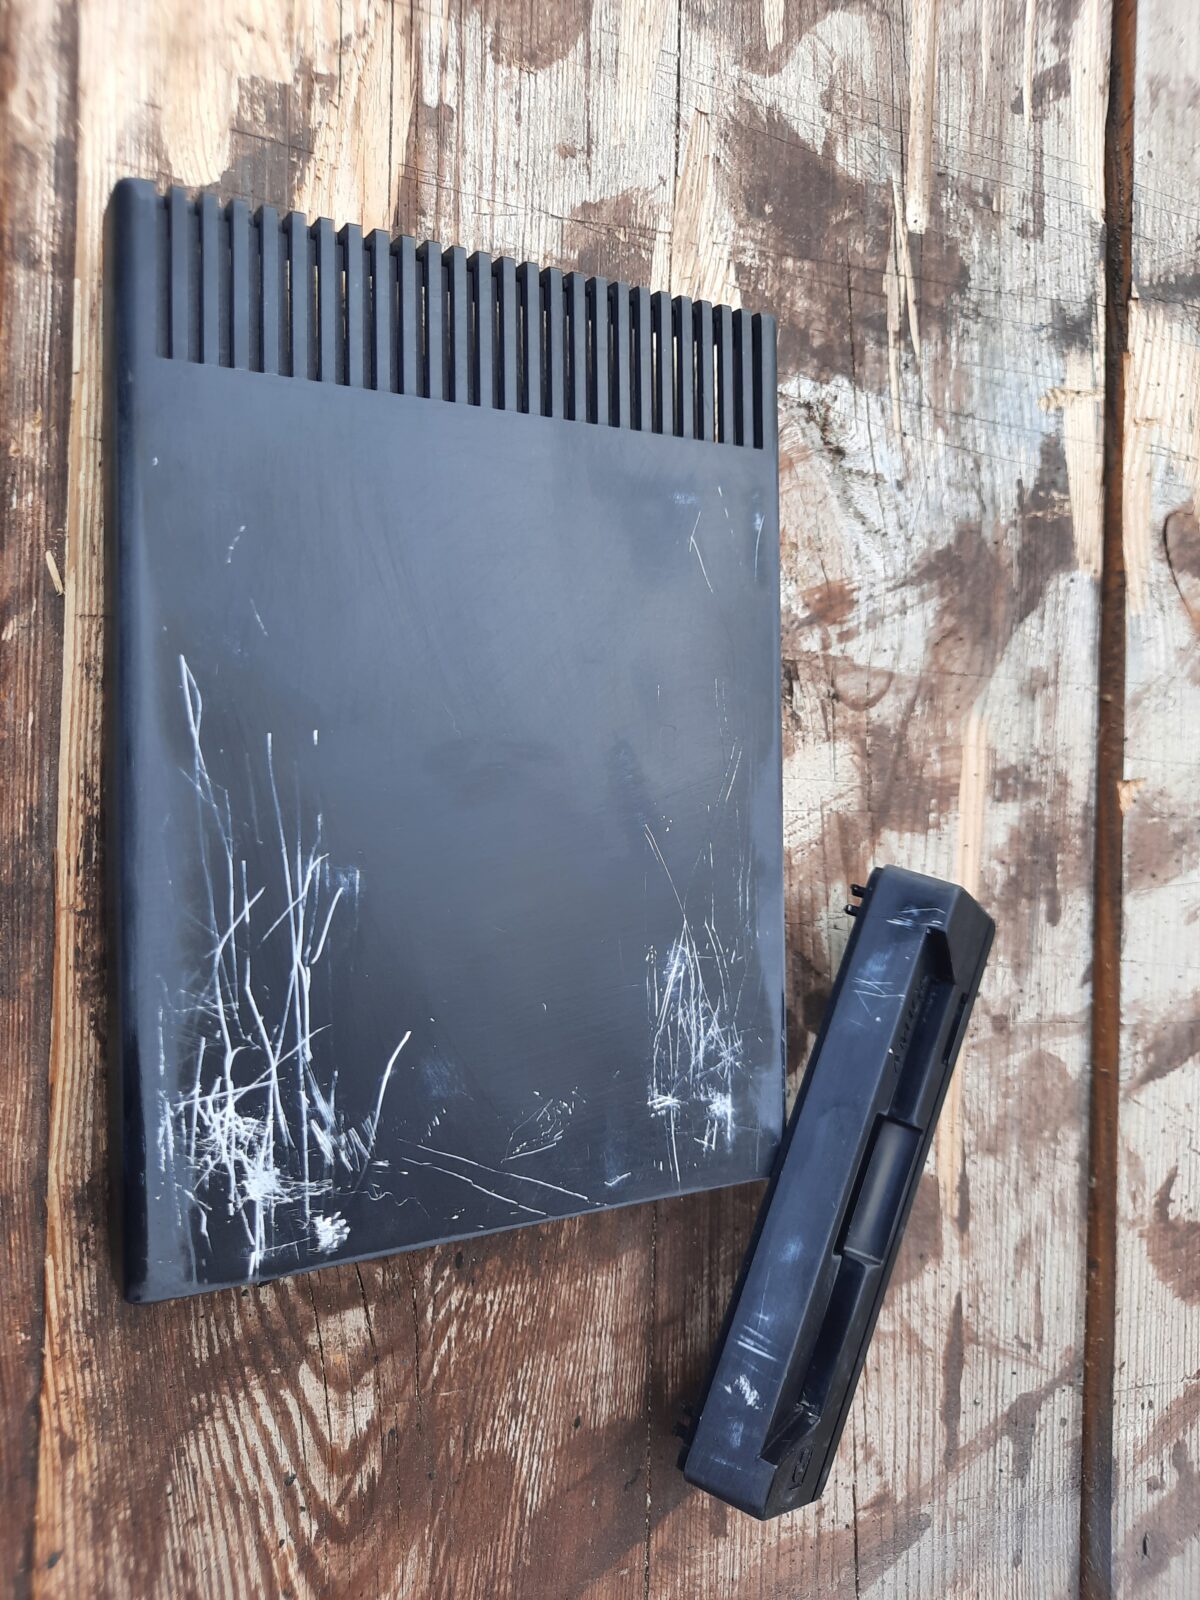
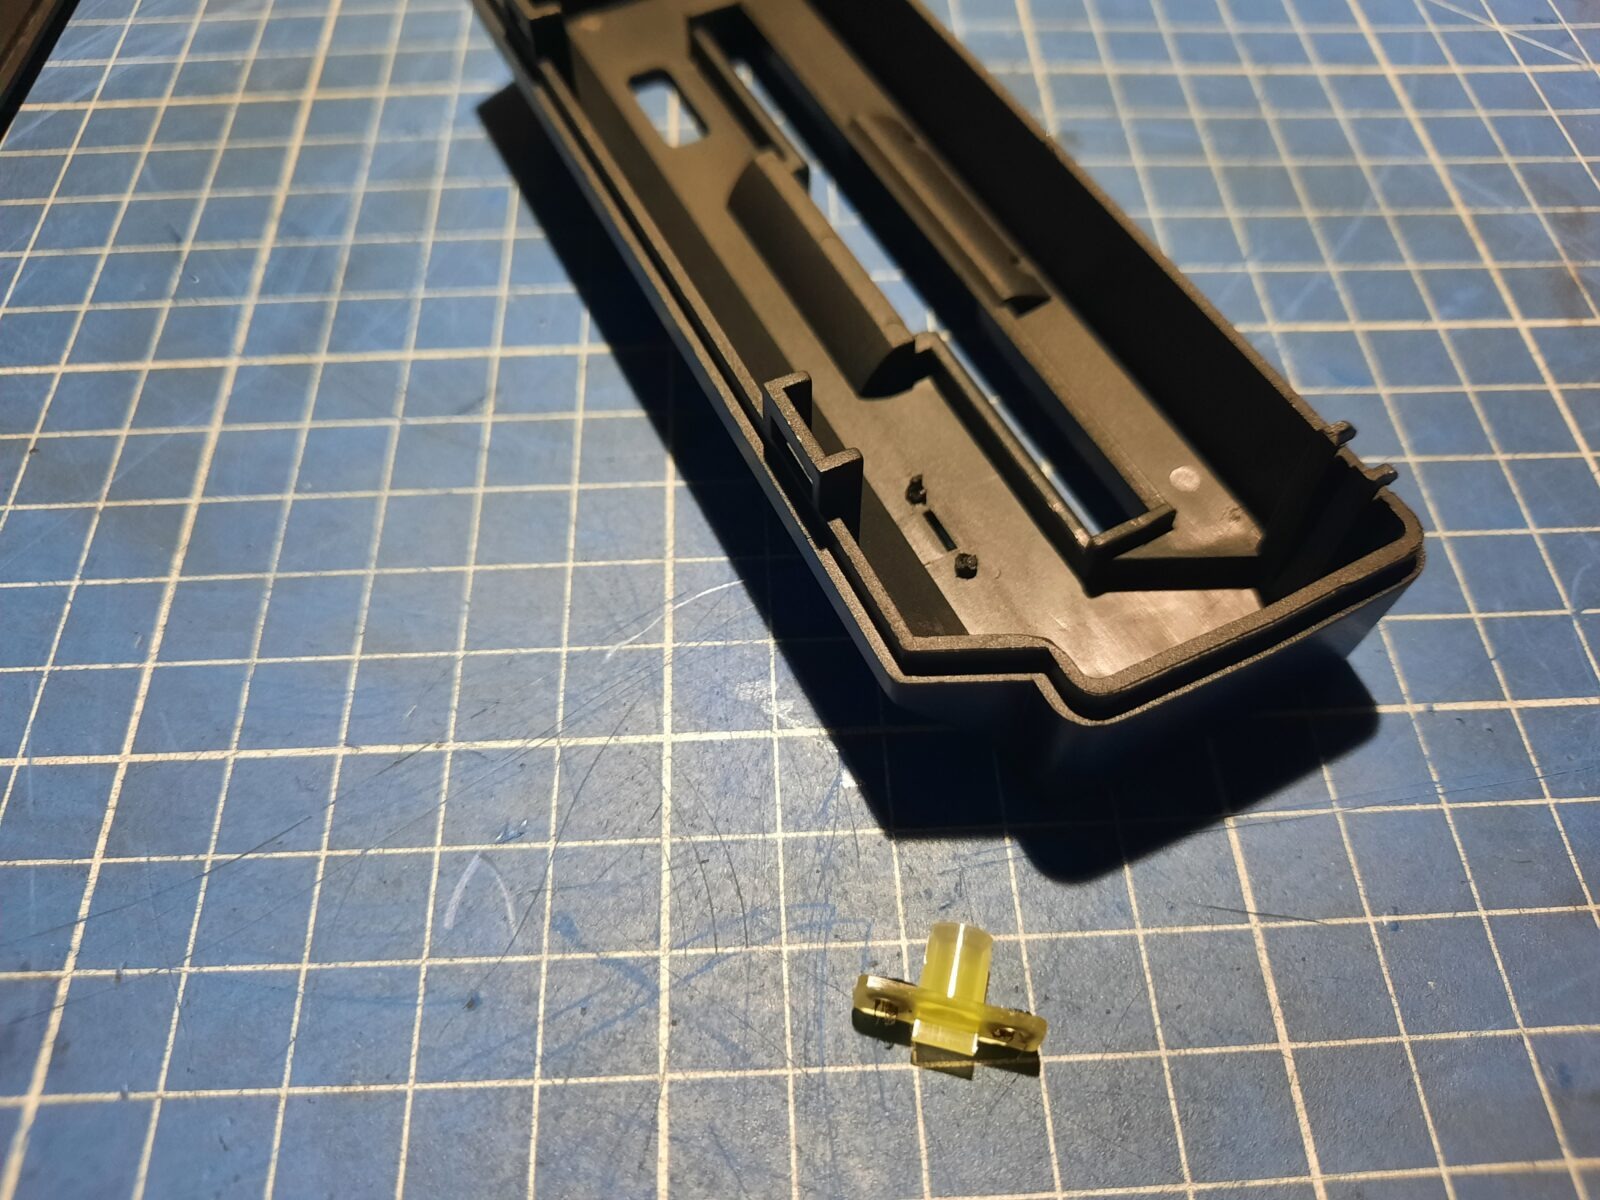
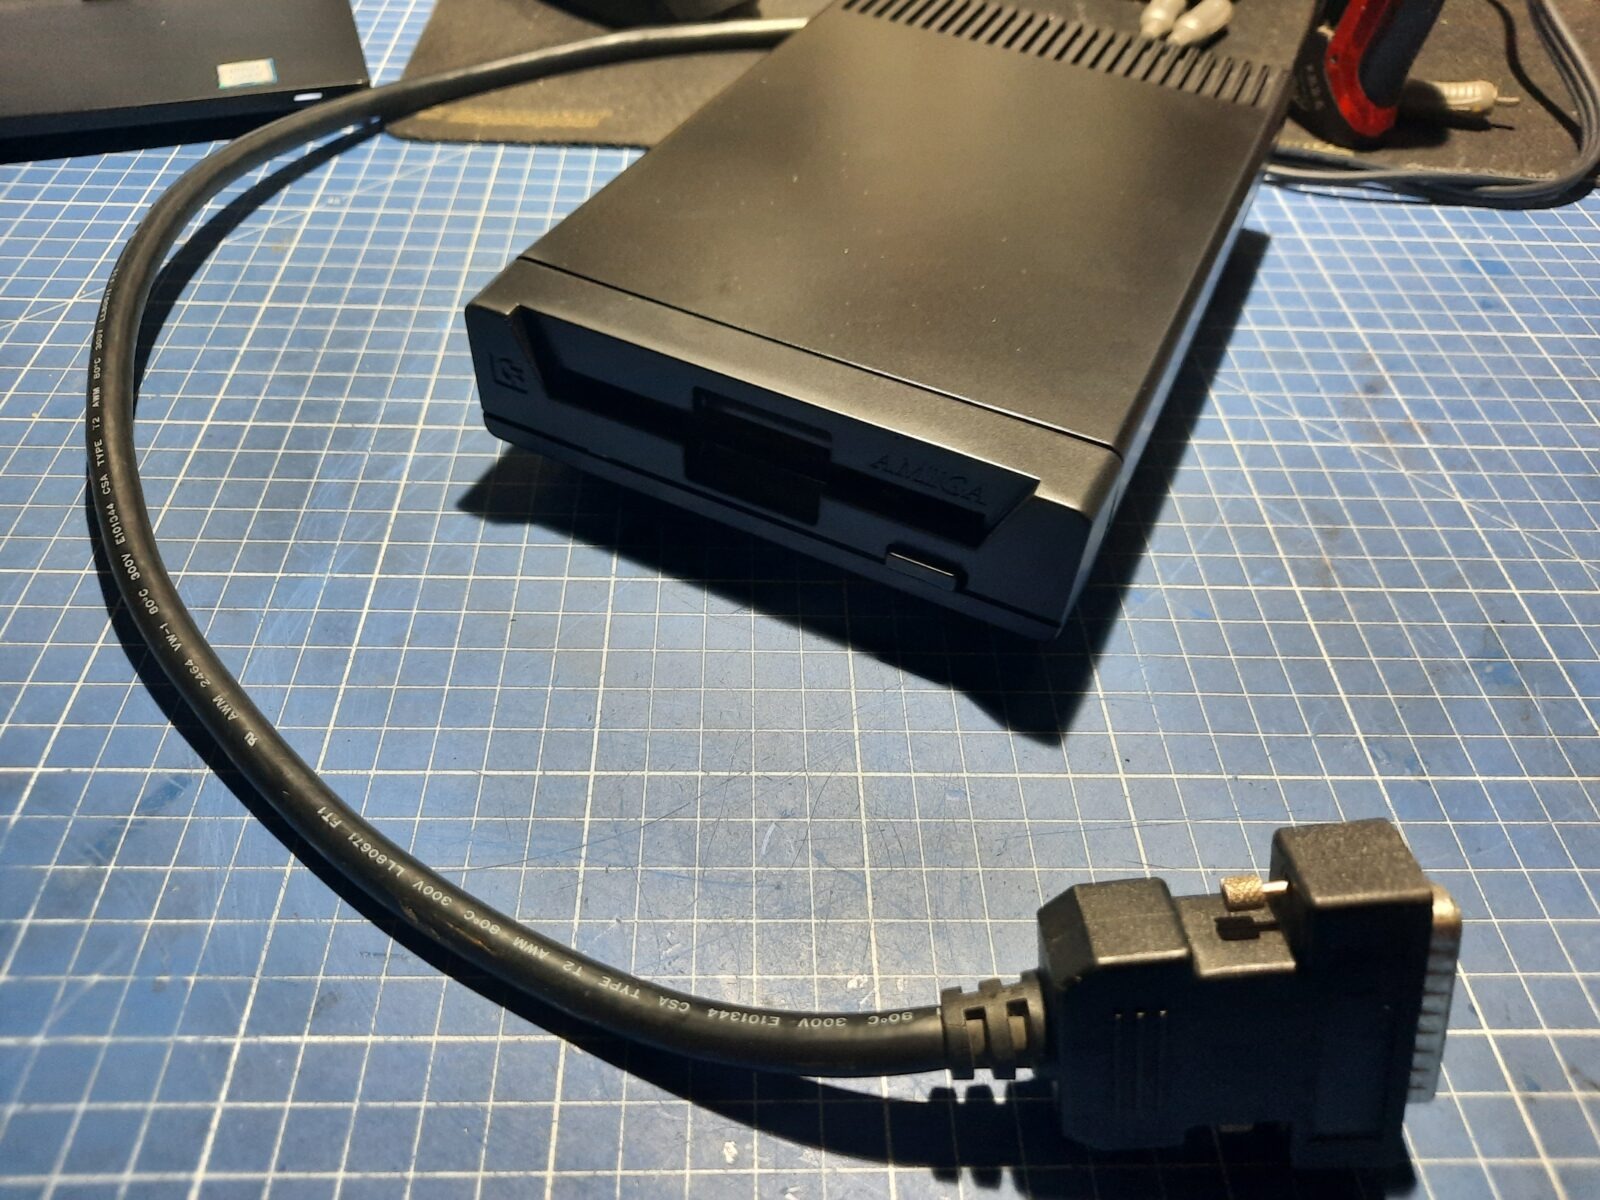
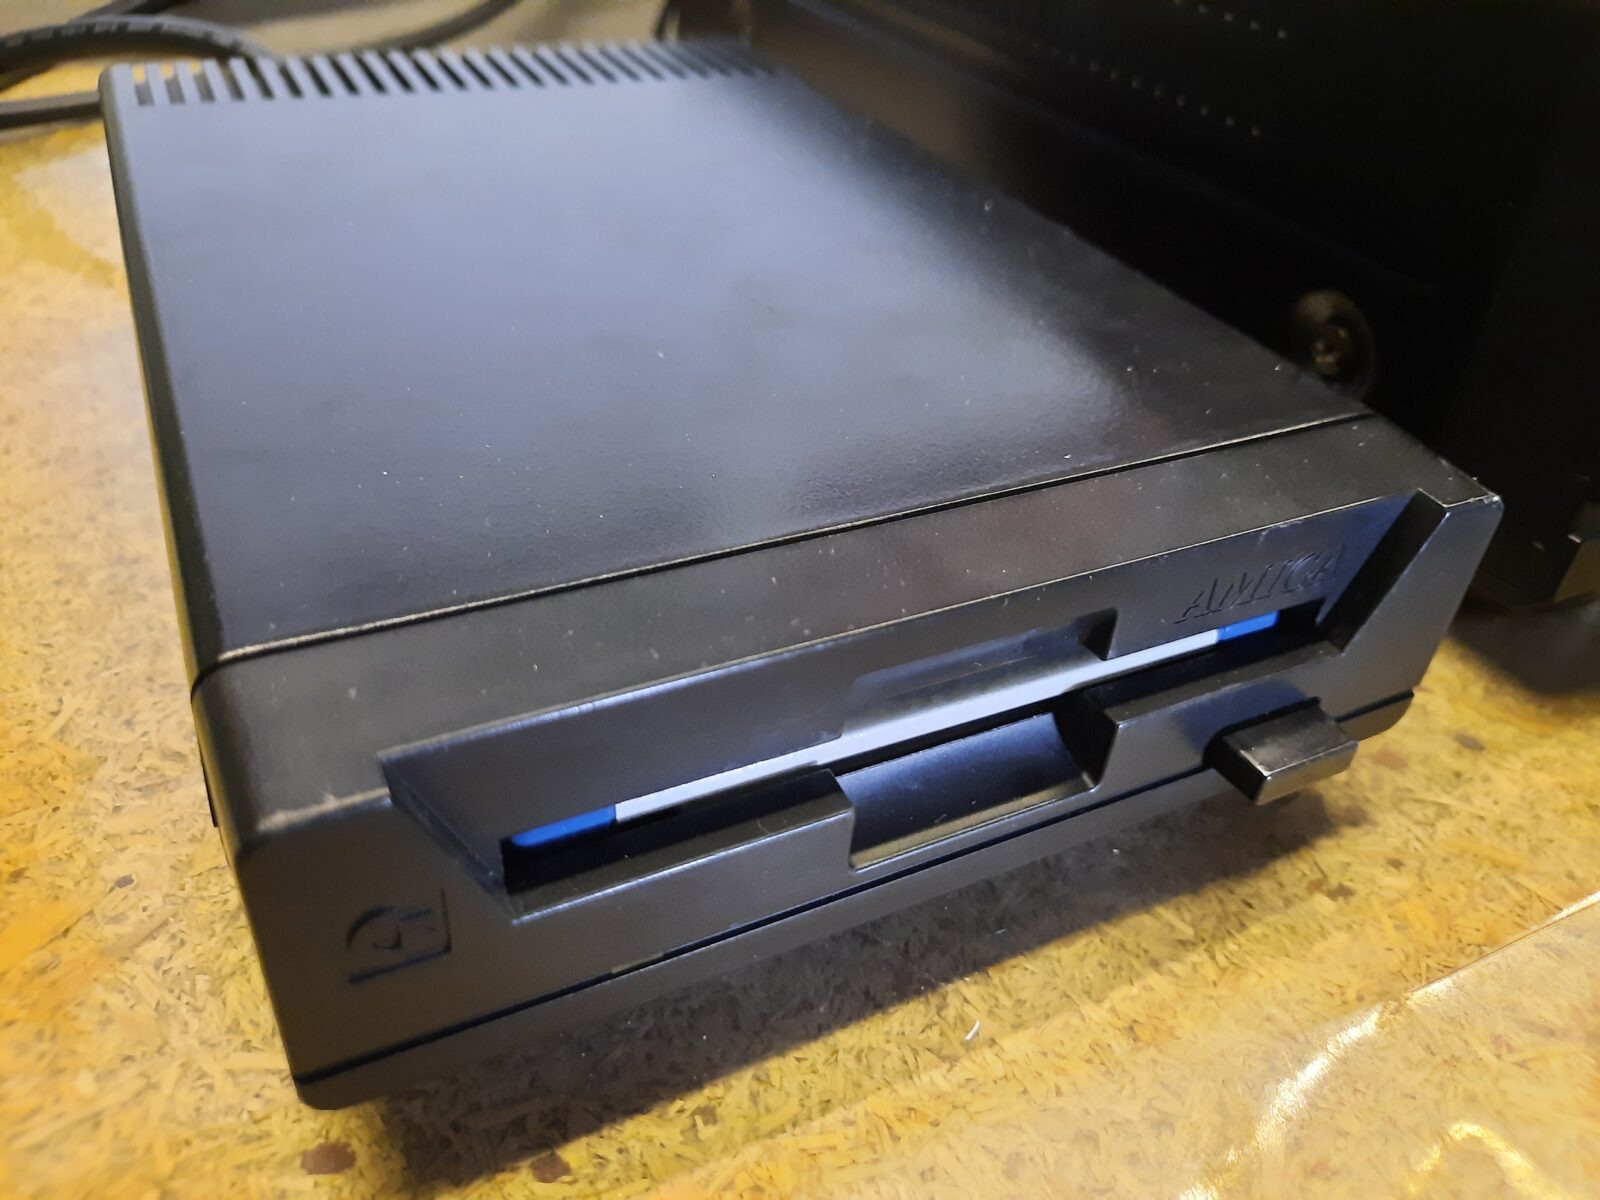
To finish fixing both CDTV sets, I had to sort out floppy drives. Both were working but needed cleaning and lubrication. Also, one of the cases was covered in scratches so I had to address that too by filling those scratches with putty and painting the case. Here is how the whole job was done.
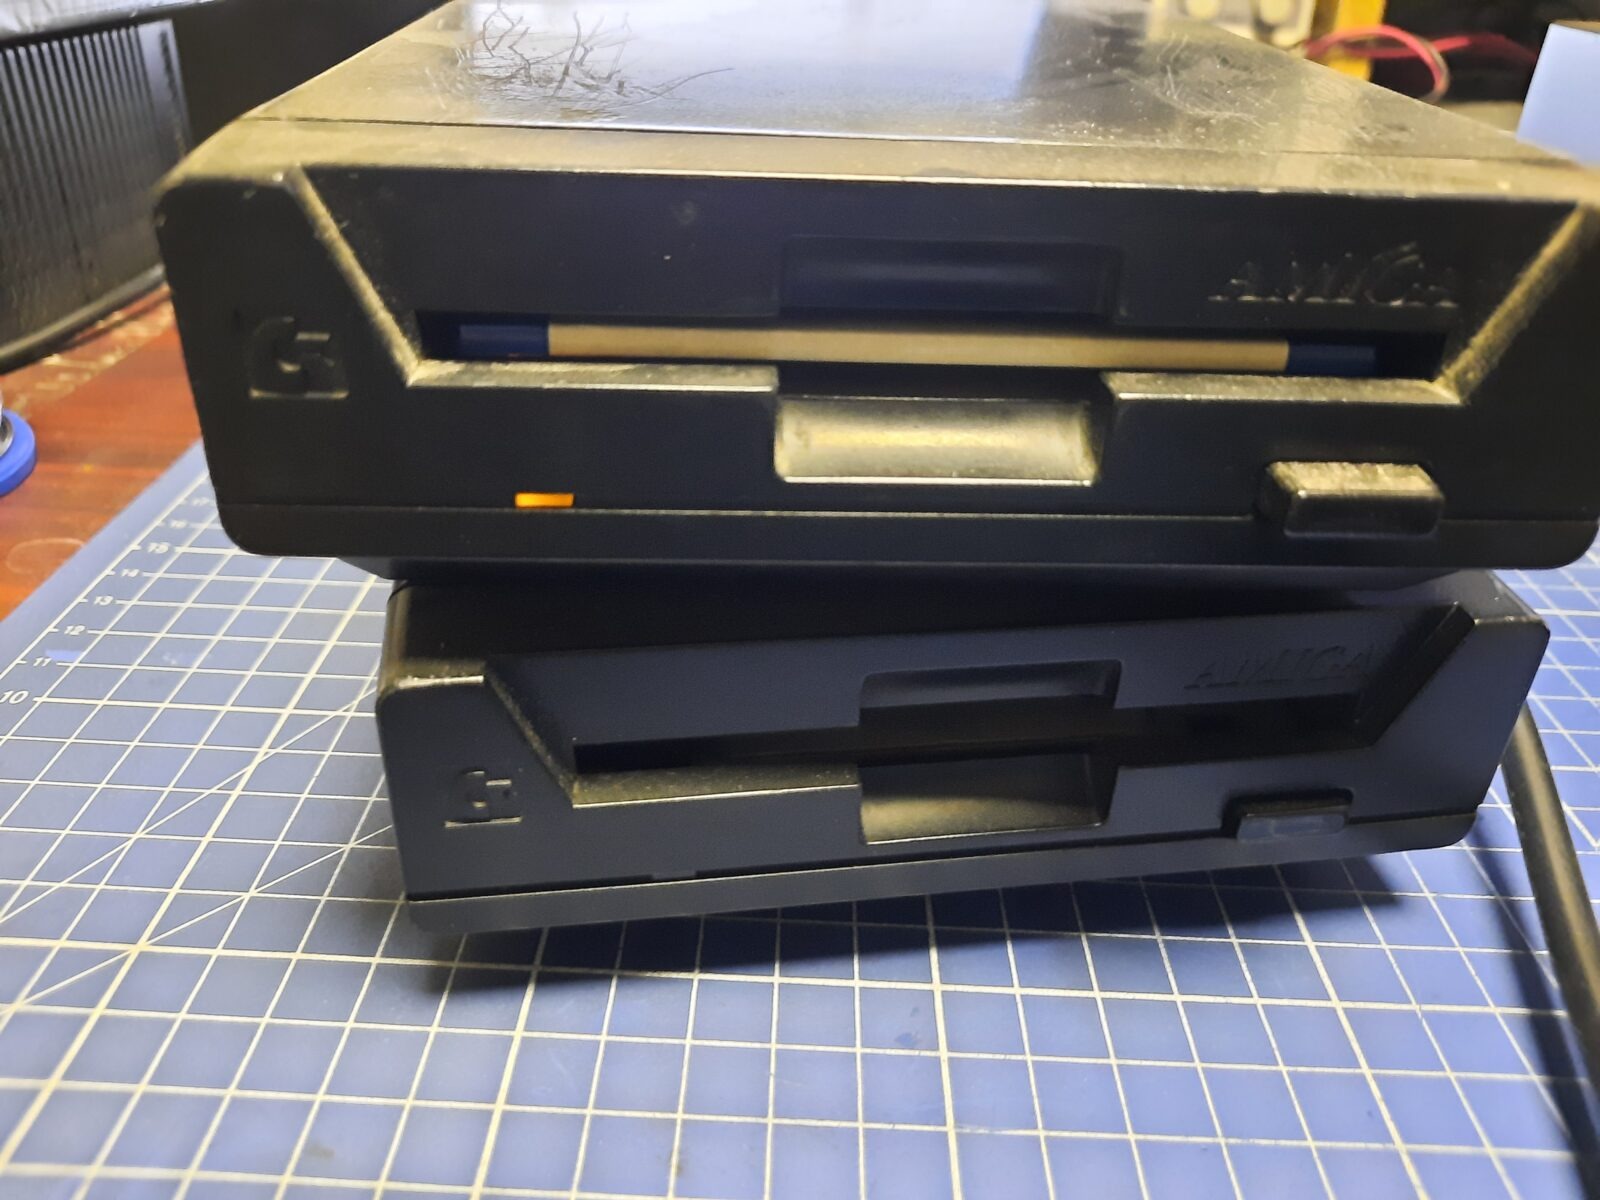
The first one is ready.
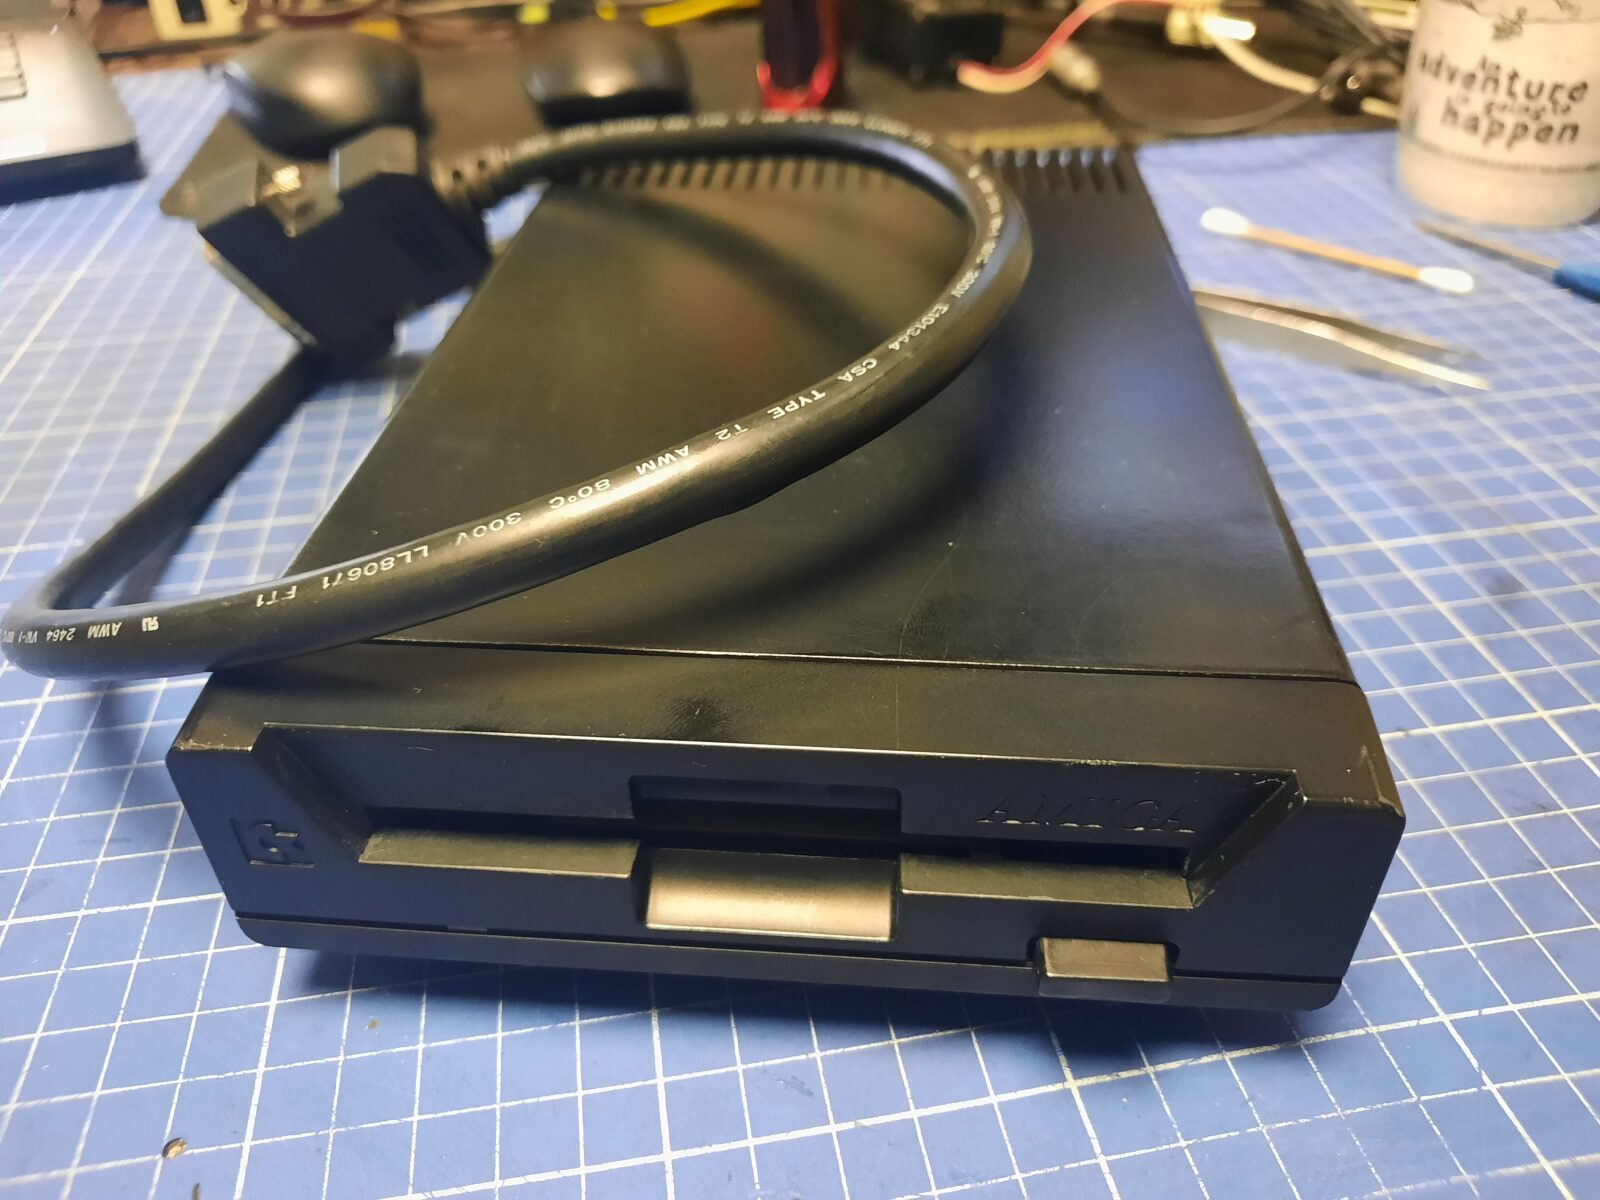
Now, the scratched one 🙂
… and the second drive is ready too 🙂
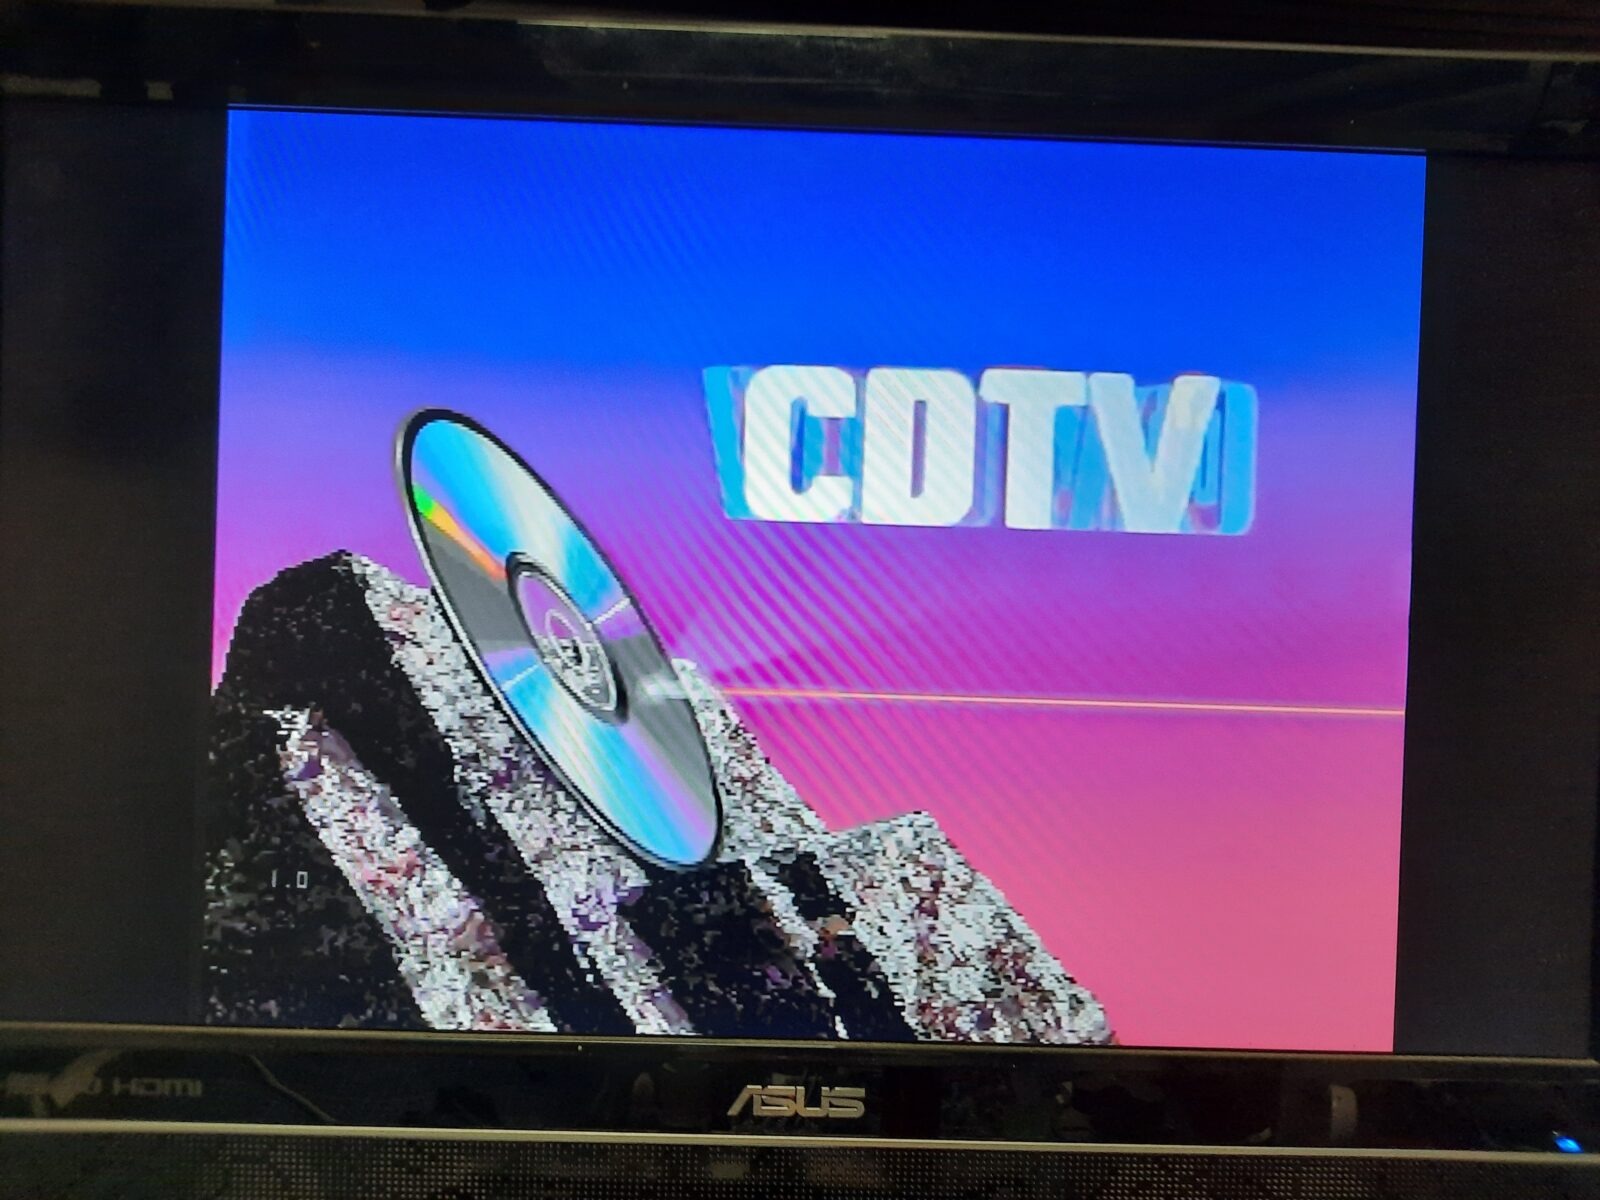
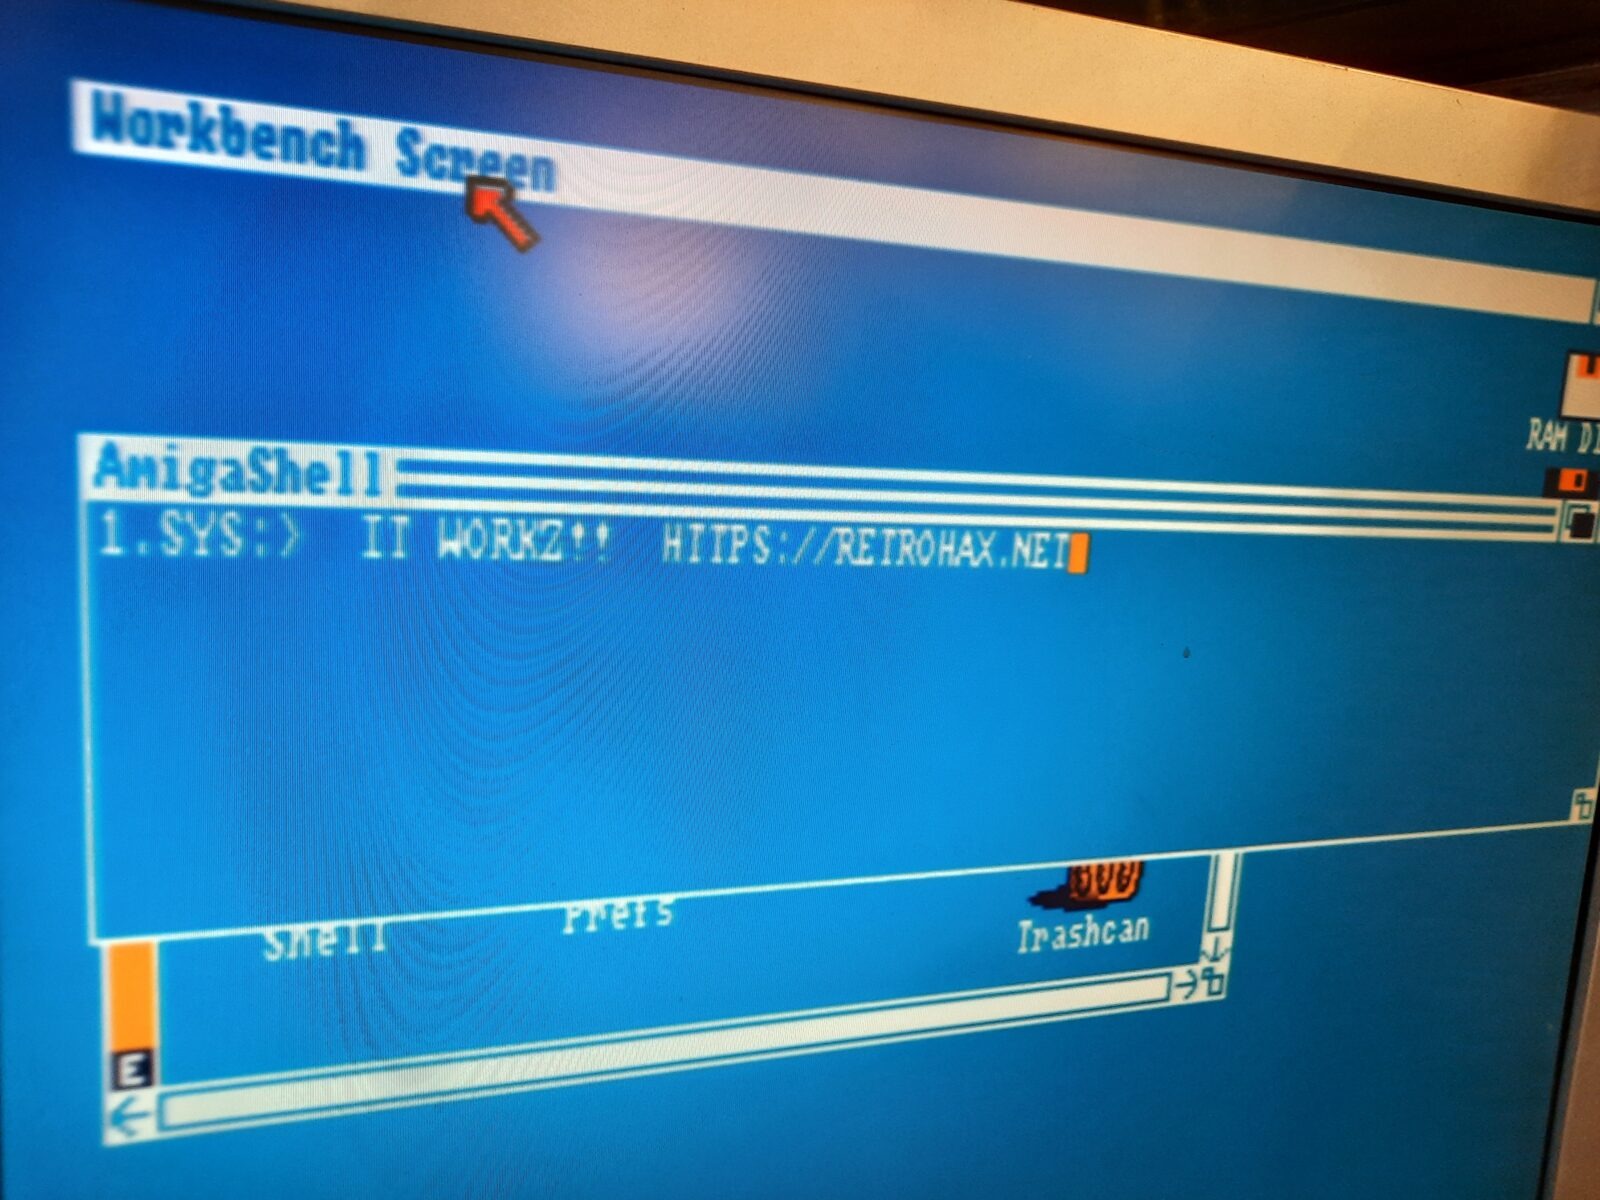
This is it. All three Amiga CDTVs were fixed. I’ve shipped the third unit back to Tomxx. Now you can safely watch an Amiga demo!
STL FILES
Outro
Please support my work by spreading the word about my work or simply commenting here or on my Facebook, Twitter, Reddit, and other social media platforms.
If you want to get the retro gear I manufacture or hardware modules, please visit shop -> https://retrohax.net/shop/ Don’t bother with a shop anymore. I am closing it. More on this, in future posts.
I have one of these CDTV’s in pretty much new condition – all working – just missing the mouse and floppy drive. I purchased brand new the wireless remote many years ago and stashed it all away. I cannot believe how rare the black floppy drive is today and I really want one lol!
Excellent job on the restorations!!!
Thank you sir and good luck finding a floppy drive! these are indeed rare these days.
The enthusiasm is catchy! Well done on a top effort. My CDTV won’t read discs and no-one in Tasmania to repair it it seems. Thanks for keeping Amiga alive.
Thank you for good words Sir!
Another PCB p0rn session with 3 black beauties, well done! =)
Thank you sir! 😀