Hey artists and art enthusiasts! Here at Artlex, we always do our best to offer you new and fun drawing tutorials; however, this time, we’ve come up with a more challenging one, so… are you up for a challenge?
In this tutorial, we’re going to learn how to draw a realistic fish. Although it’s going to be a bit of a journey, we promise it will be worth it.
Drawing animals can be tough, but with some practice and a bit of patience, you can create something truly amazing.
So, grab your pencil and paper, and let’s get started.
What you’ll learn:
- How to Draw a Fish
- How to Shade a Fish
Materials needed:
– A piece of paper
– A 2H graphite pencil
– A 4B and 8B graphite pencils
– A blending stump
– A soft brush
– A kneaded eraser
– A Tombow Mono Zero 2.3mm
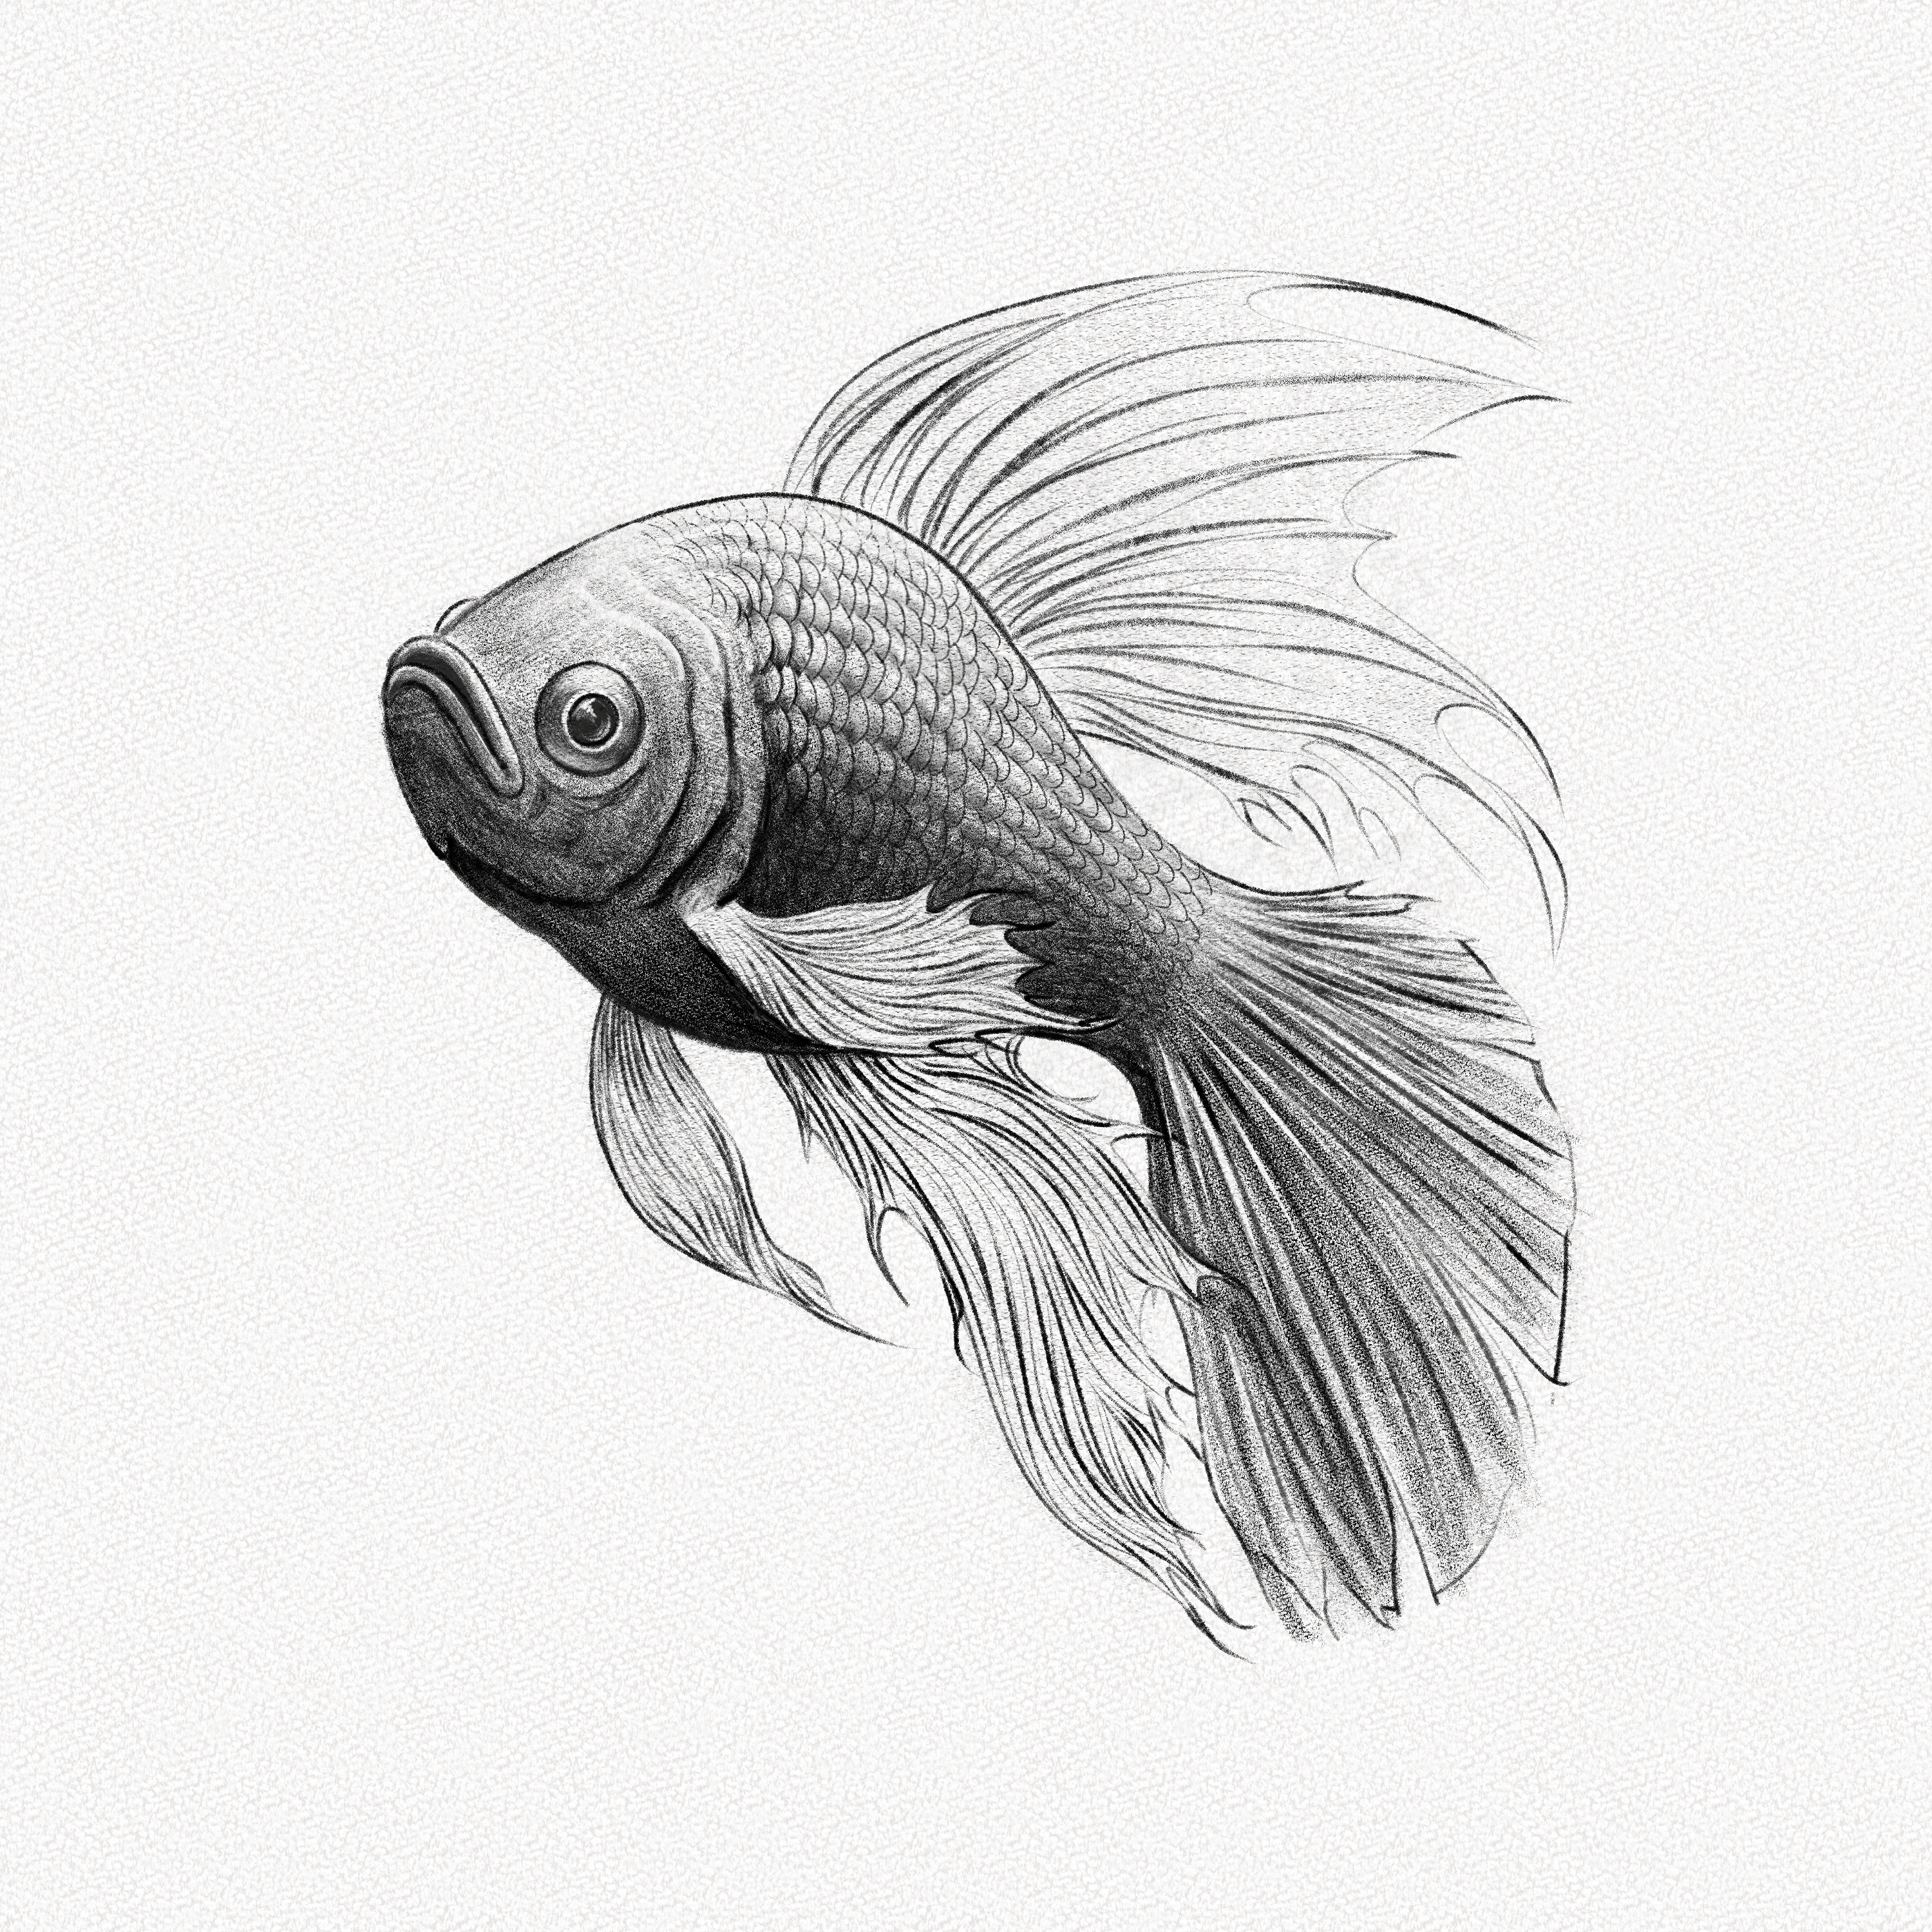
This is the Fish you’re going to draw:
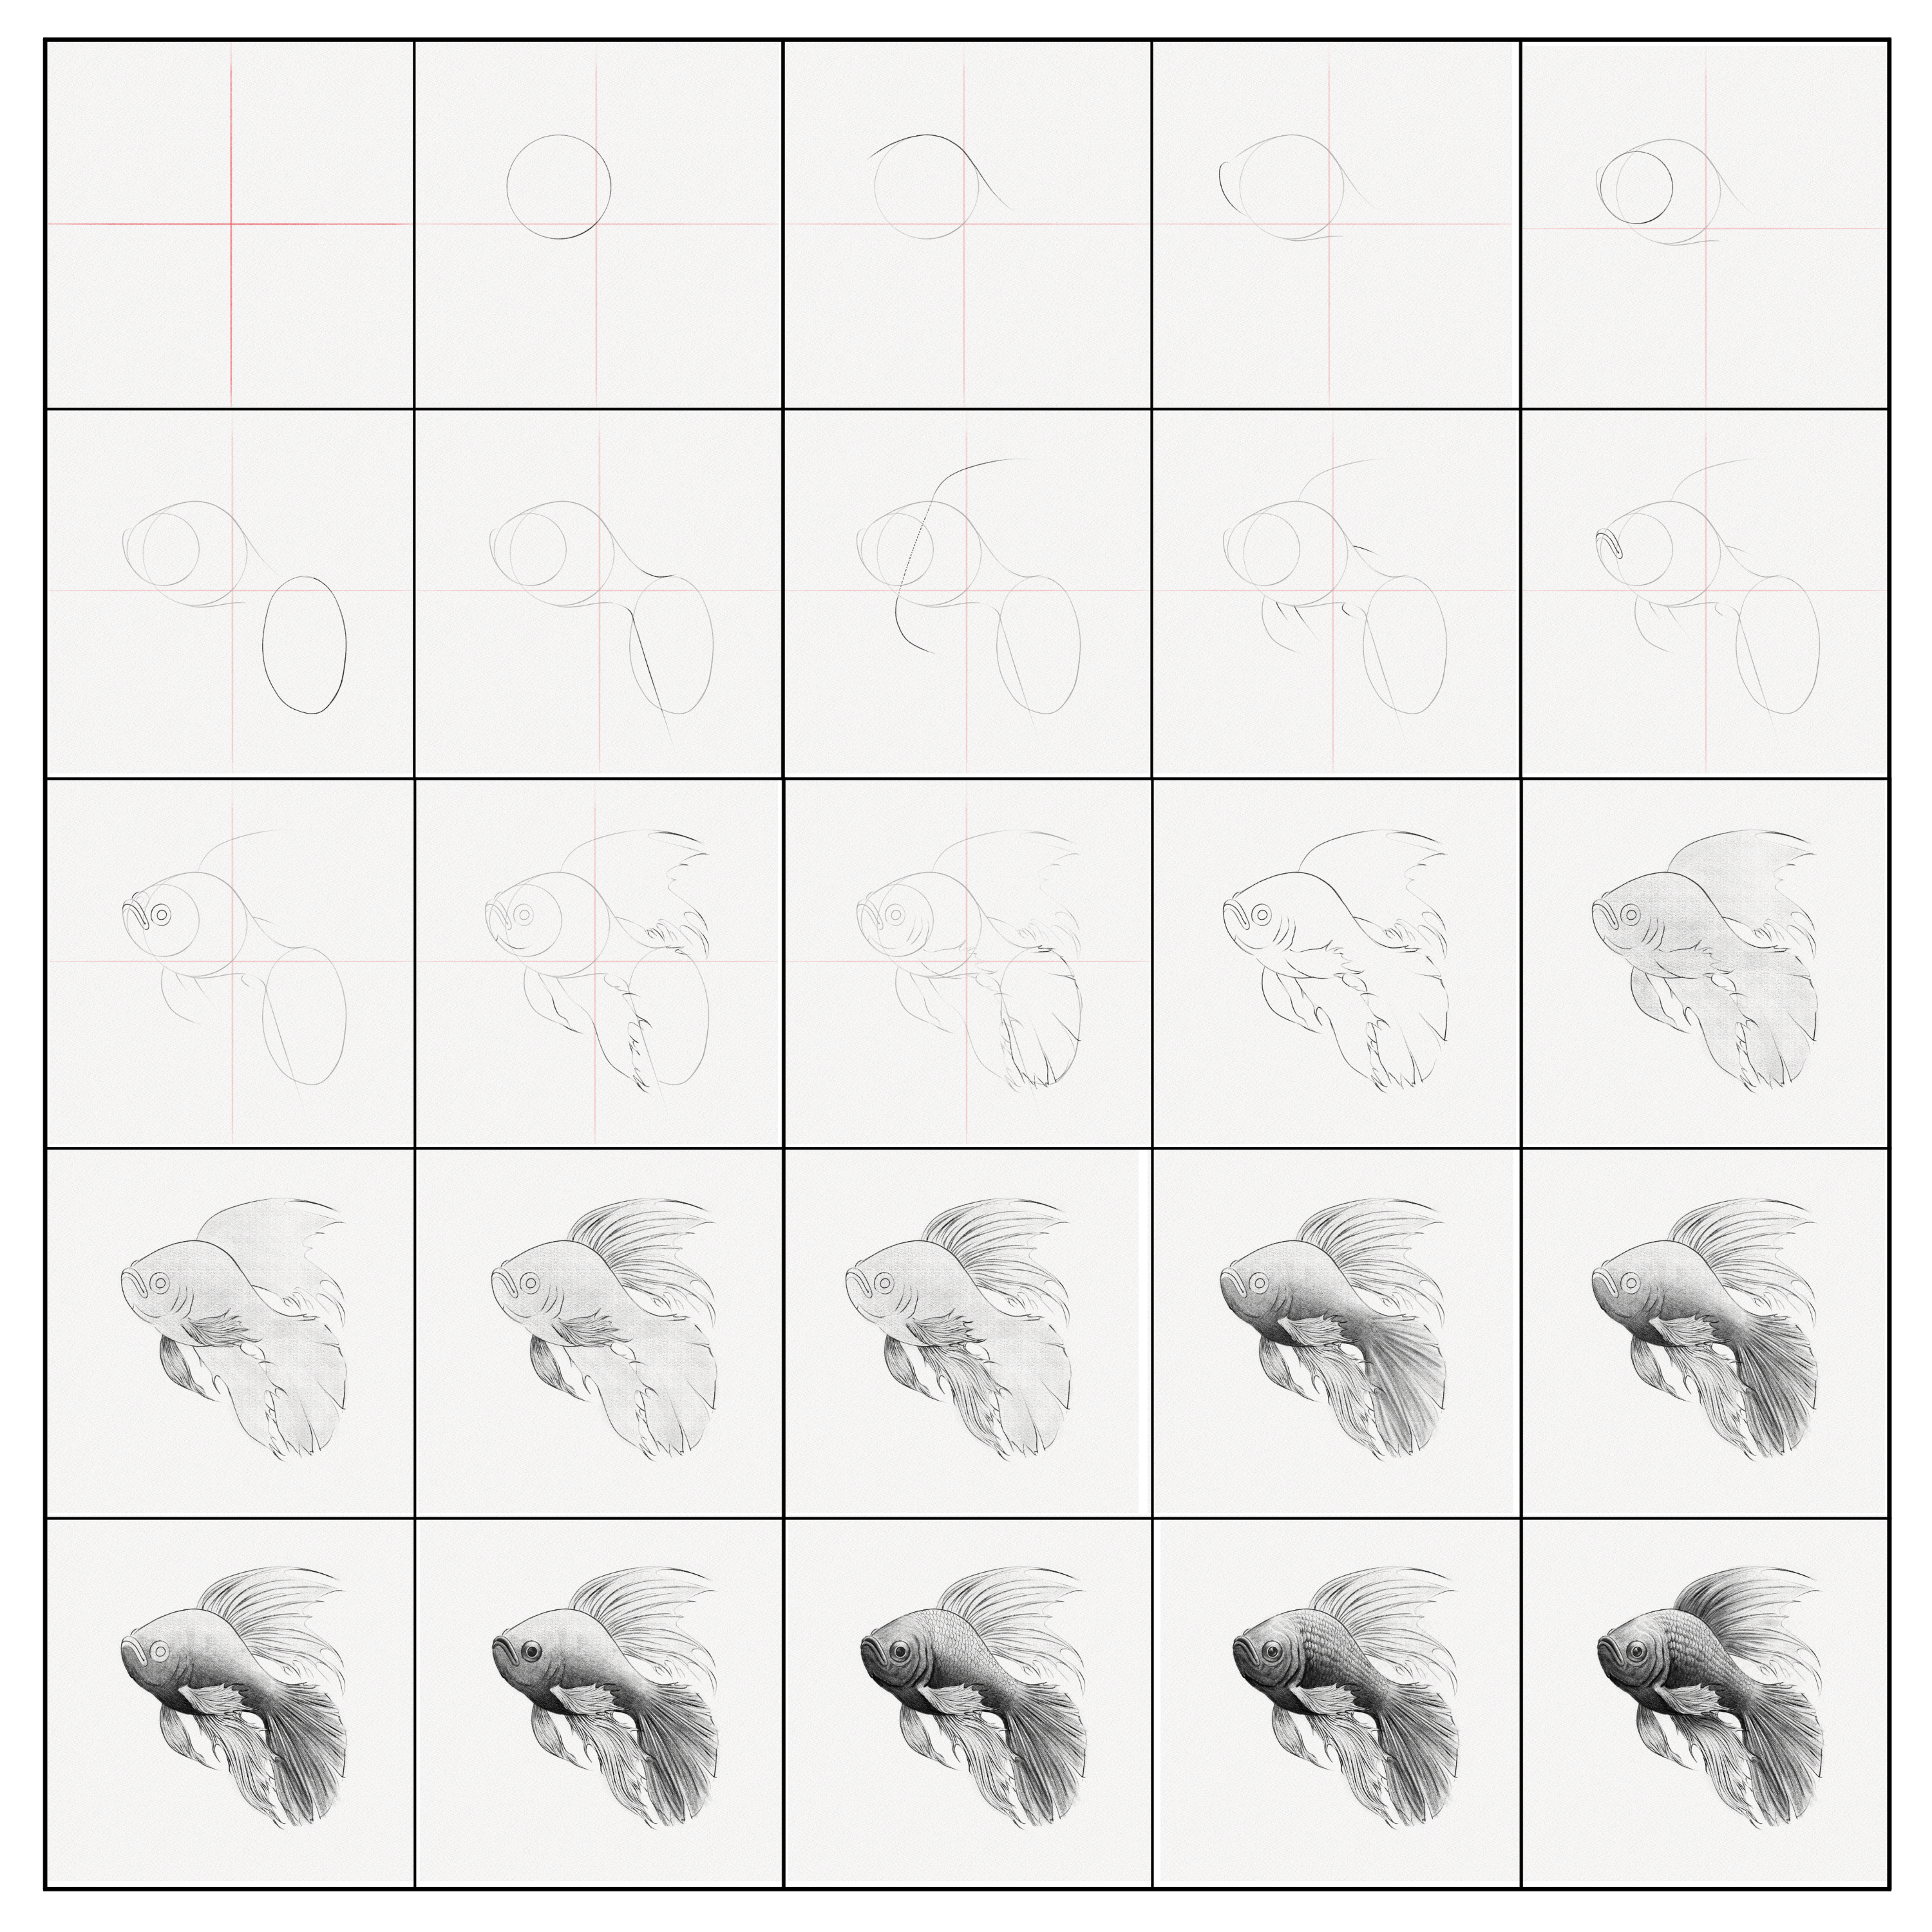
And these are all the steps we’ll walk you through:
Section 1.- How to Draw a Fish
We’re going to start with the basic shapes and proportions of the fish. This part is all about getting the foundation right, so take your time and don’t worry if it takes a few tries to get it right.
Use your 2H pencil since most of what we’ll do here will be structure and guidelines that will be erased later.
Step 1: Split your canvas into four parts
Using your 2H pencil, draw two straight lines, splitting your canvas into four equal parts.
Step 2: Draw a circle
Draw a circle in the upper-left part of your canvas.
Step 3: Draw a line
Following the shape of the circle, draw a curved line of the length you want your fish to have.
Step 4: Draw another line
Starting from the base of our circle, draw a smaller line for the base of the fish’s body.
Step 5: Draw an elongated C-like shape
Draw a C-like shape to mark the mouth of the fish.
Step 6: Draw another circle
Following the curve of the line you drew in the previous step, draw a smaller circle. This will indicate the position and size of your fish’s head.
Step 7: Draw and ellipse
In the lower-right part of your canvas, draw an ellipse. This will be the tail of our fish. 
Step 8: Join the tail to the body
Draw two curved lines to join the tail to the body, making the lower line longer since a fish’s tail is not always round.
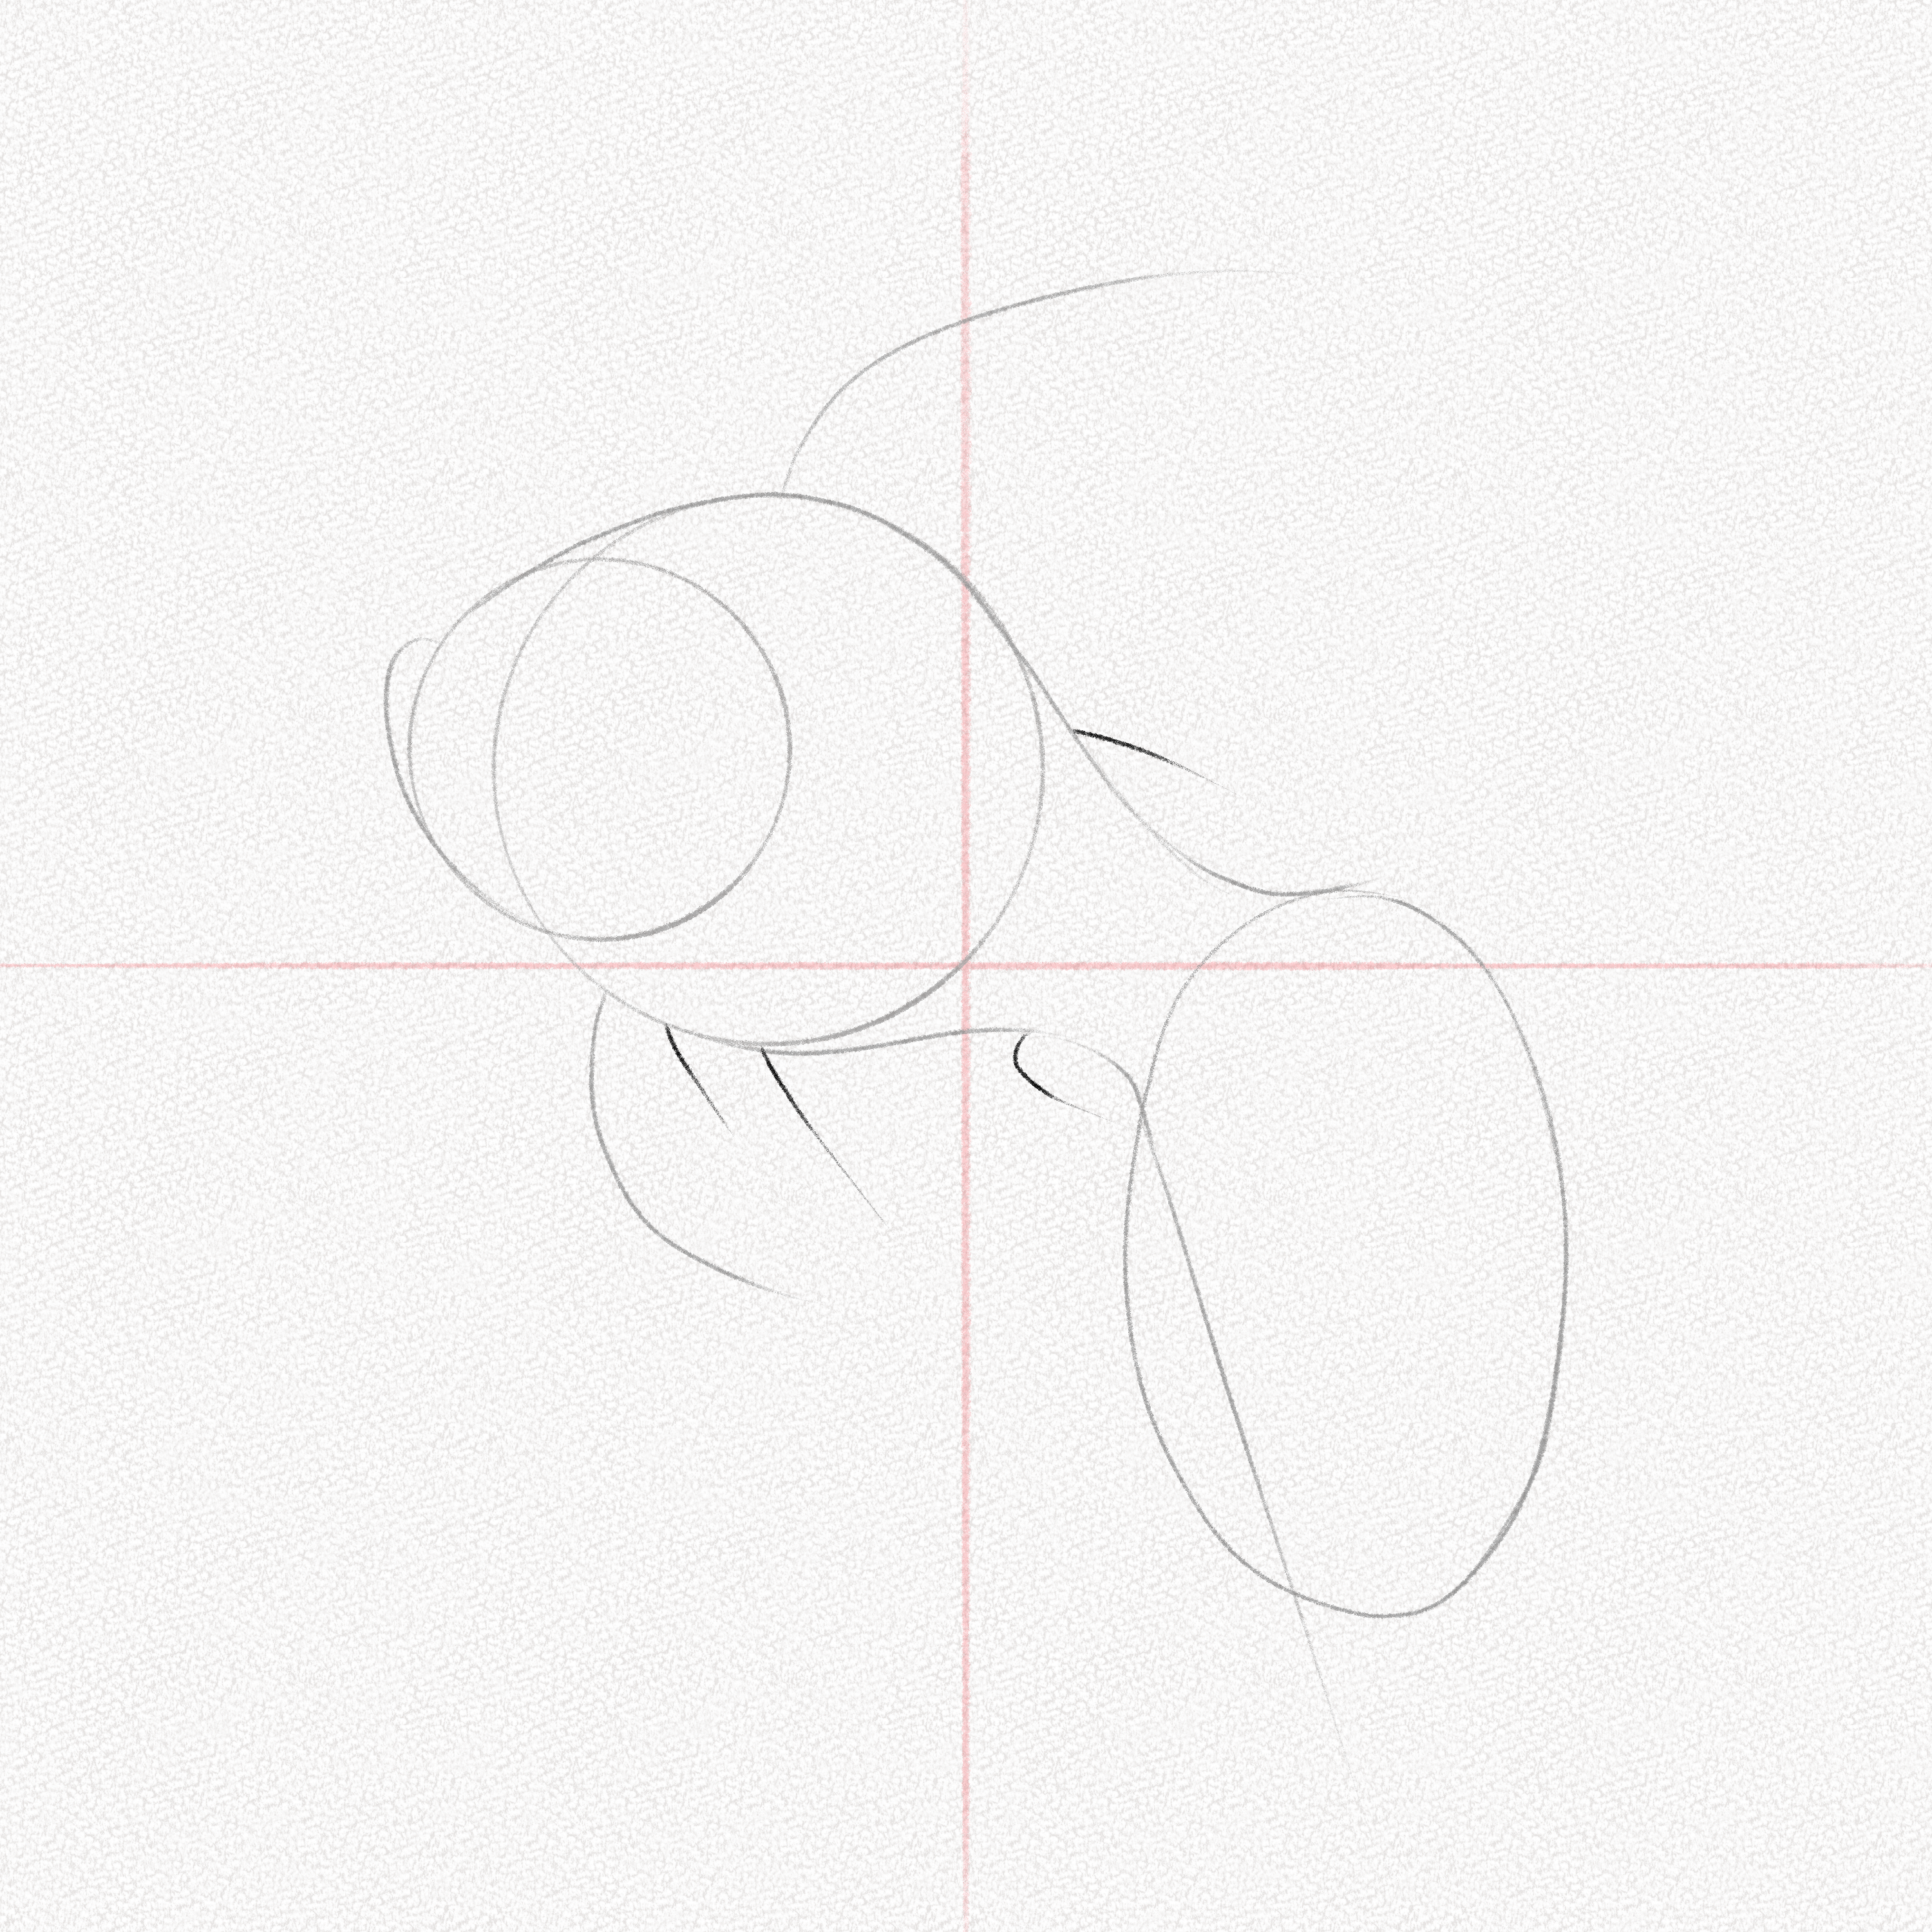
Step 9: Draw the upper and right fin
Using two curved lines, draw the upper fin and the right fin. Remember that the upper and lower fins will always be larger than the right and left ones.
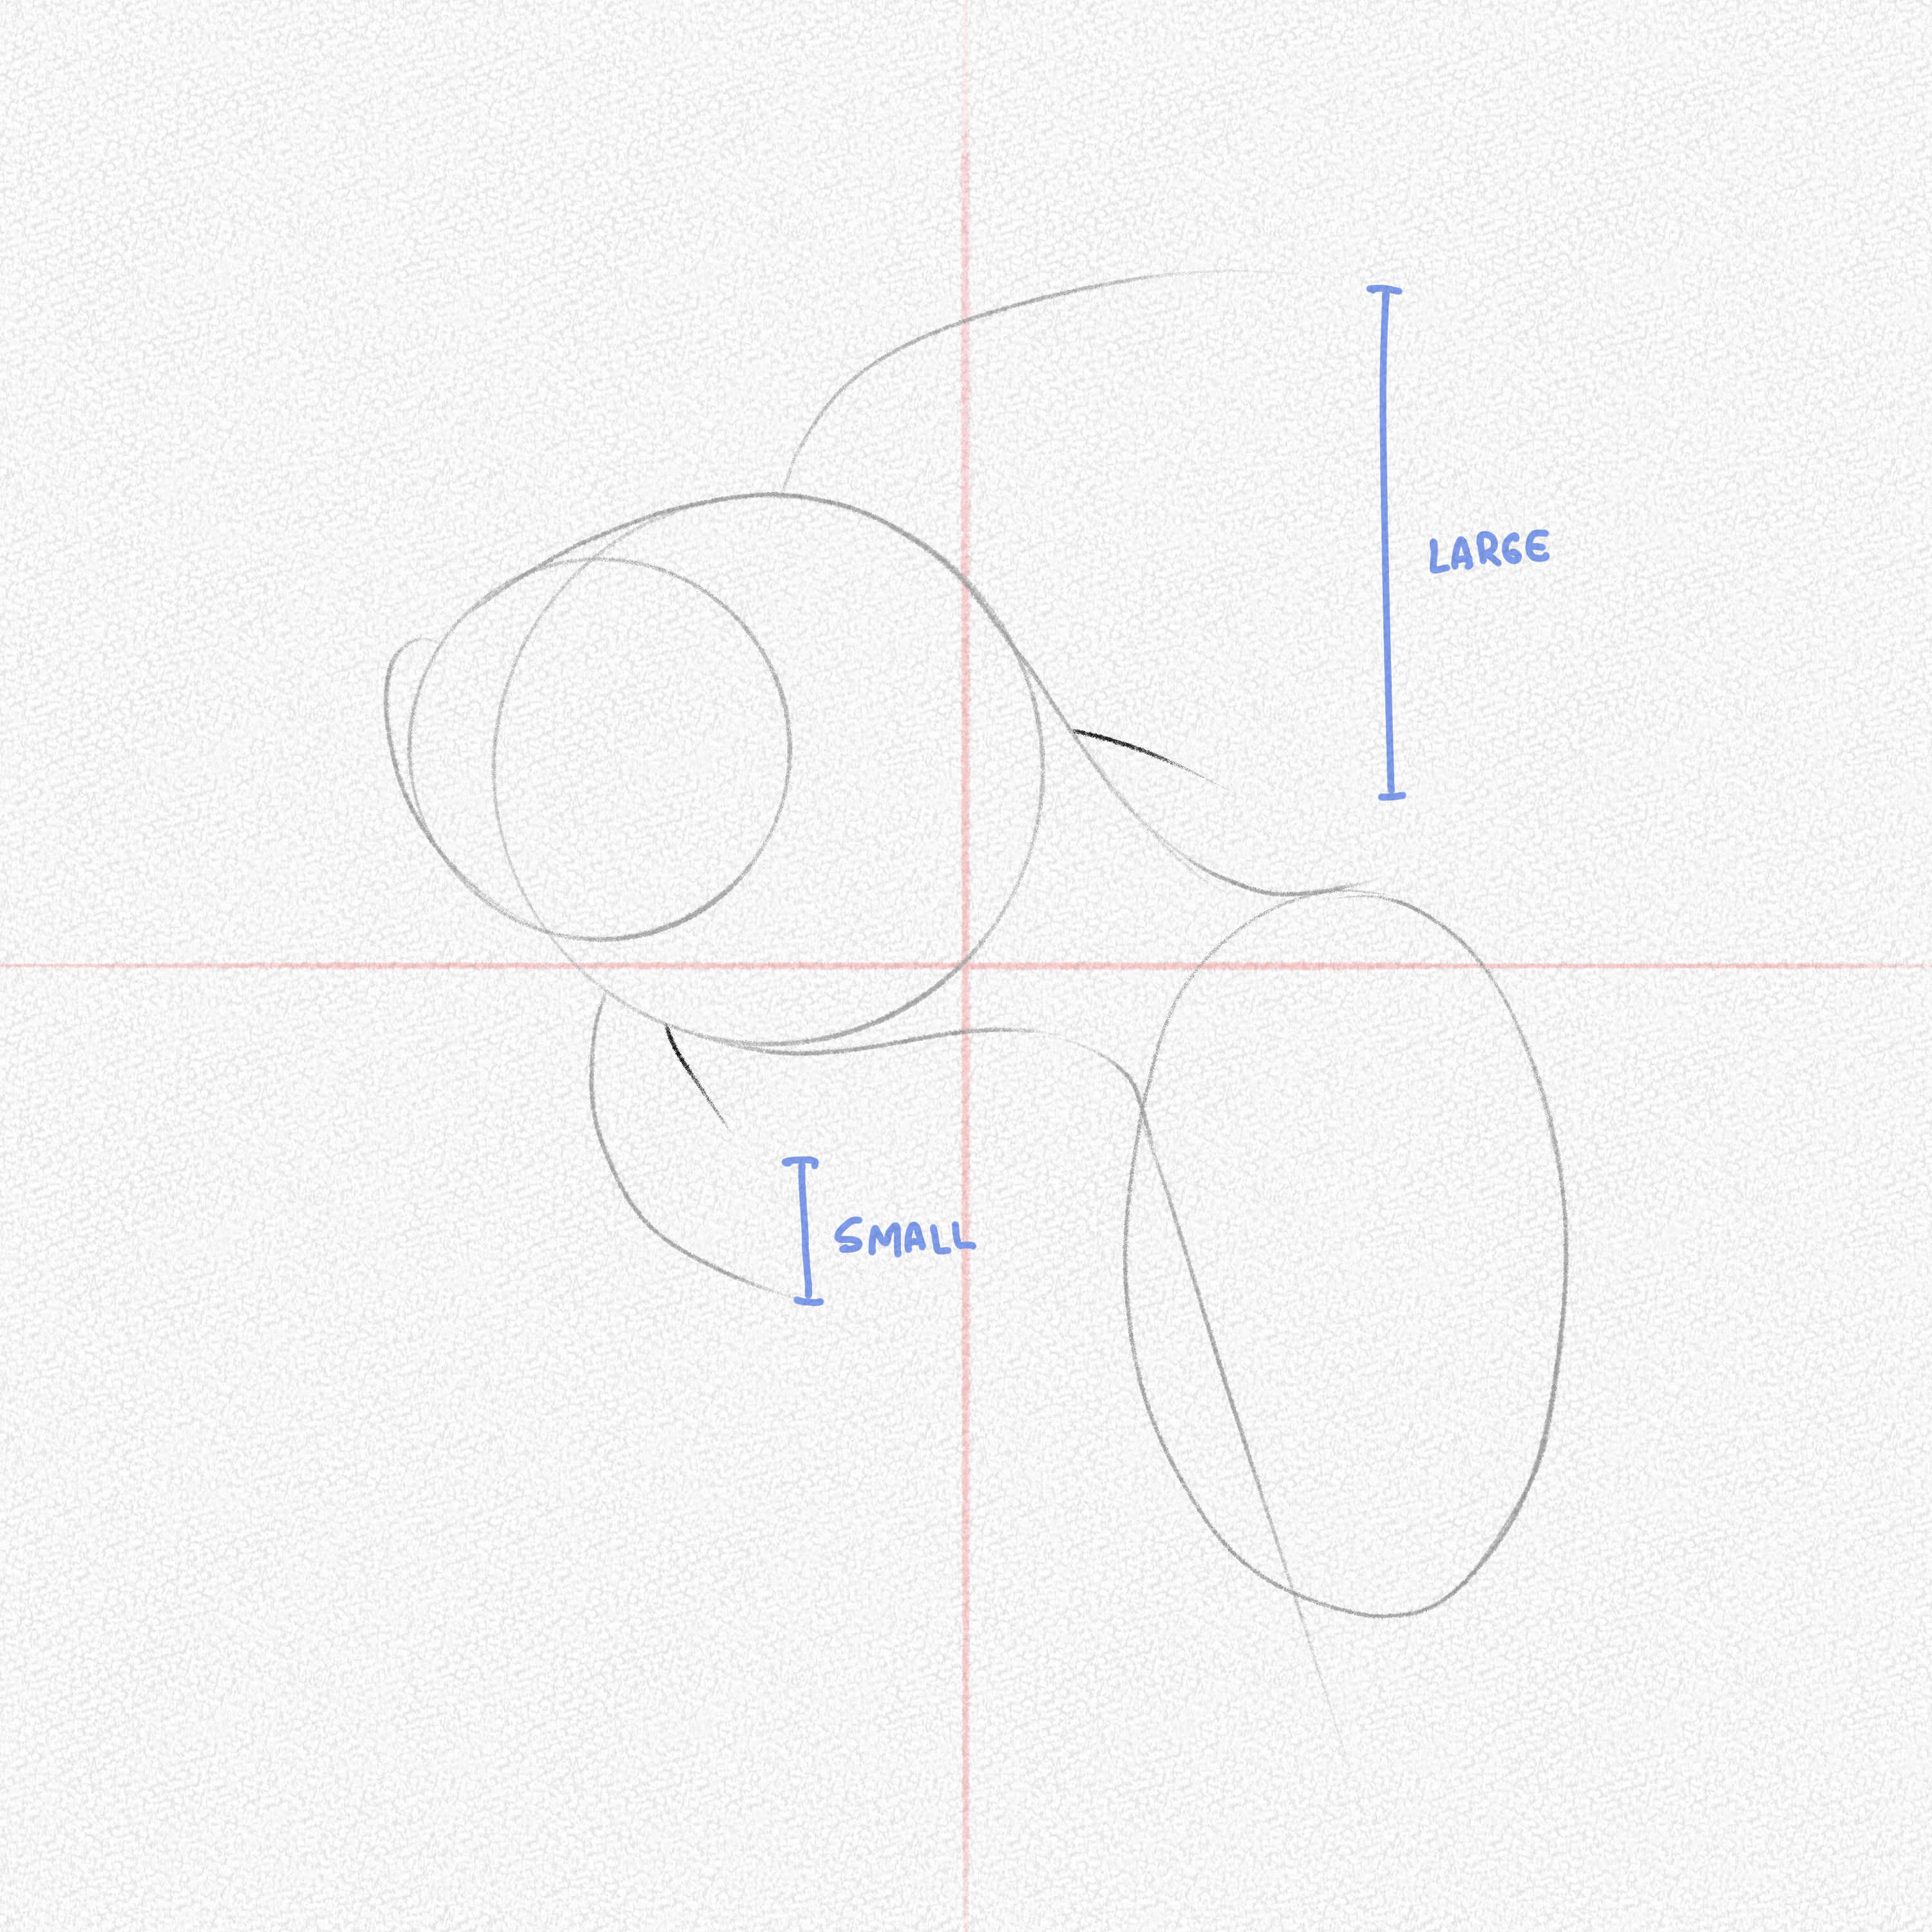
Step 10: Draw the lower fin
Mark the position and size of the lower fin using two lines; remember, the lower fin is slightly smaller than the upper one but is still larger than the ones on the sides of the fish.
Step 11: Draw the fish’s mouth
Following the curve made in Step 5, draw the fish’s mouth as shown in the diagram.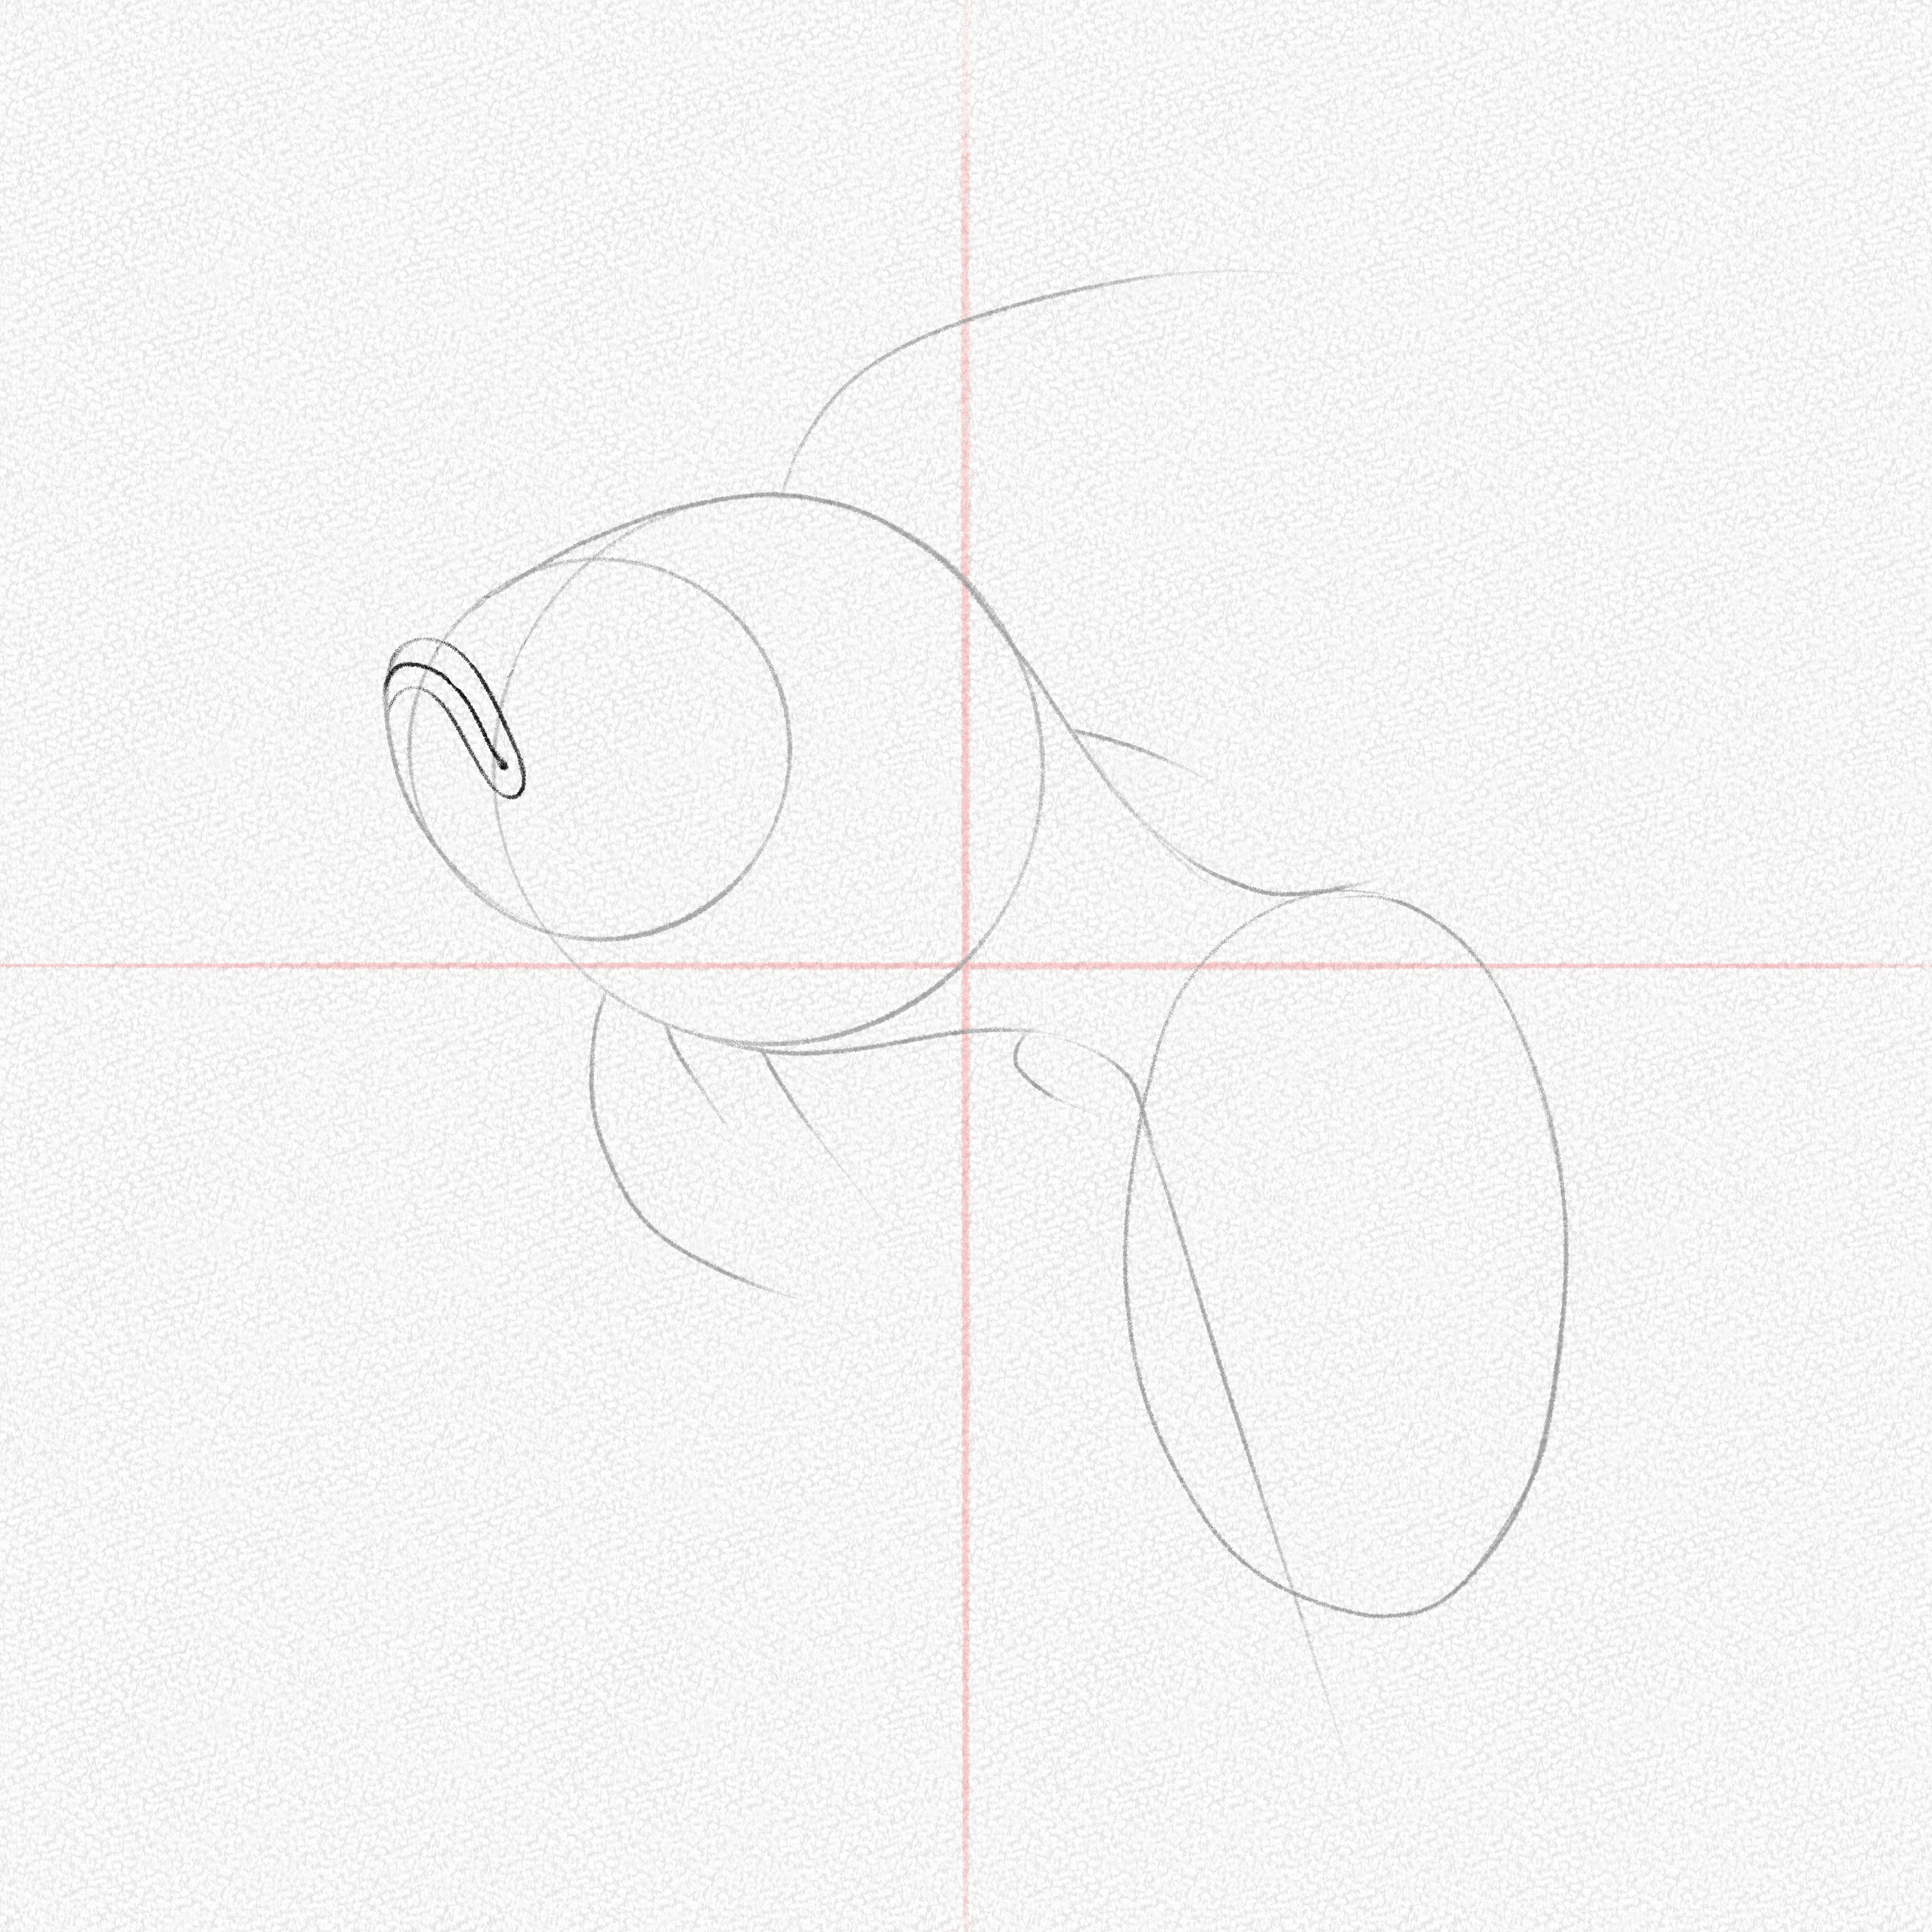
Step 12: Draw the eyes
Using two small circles, draw the fish’s eyes. Remember also to draw the visible overlapping part of the right eye.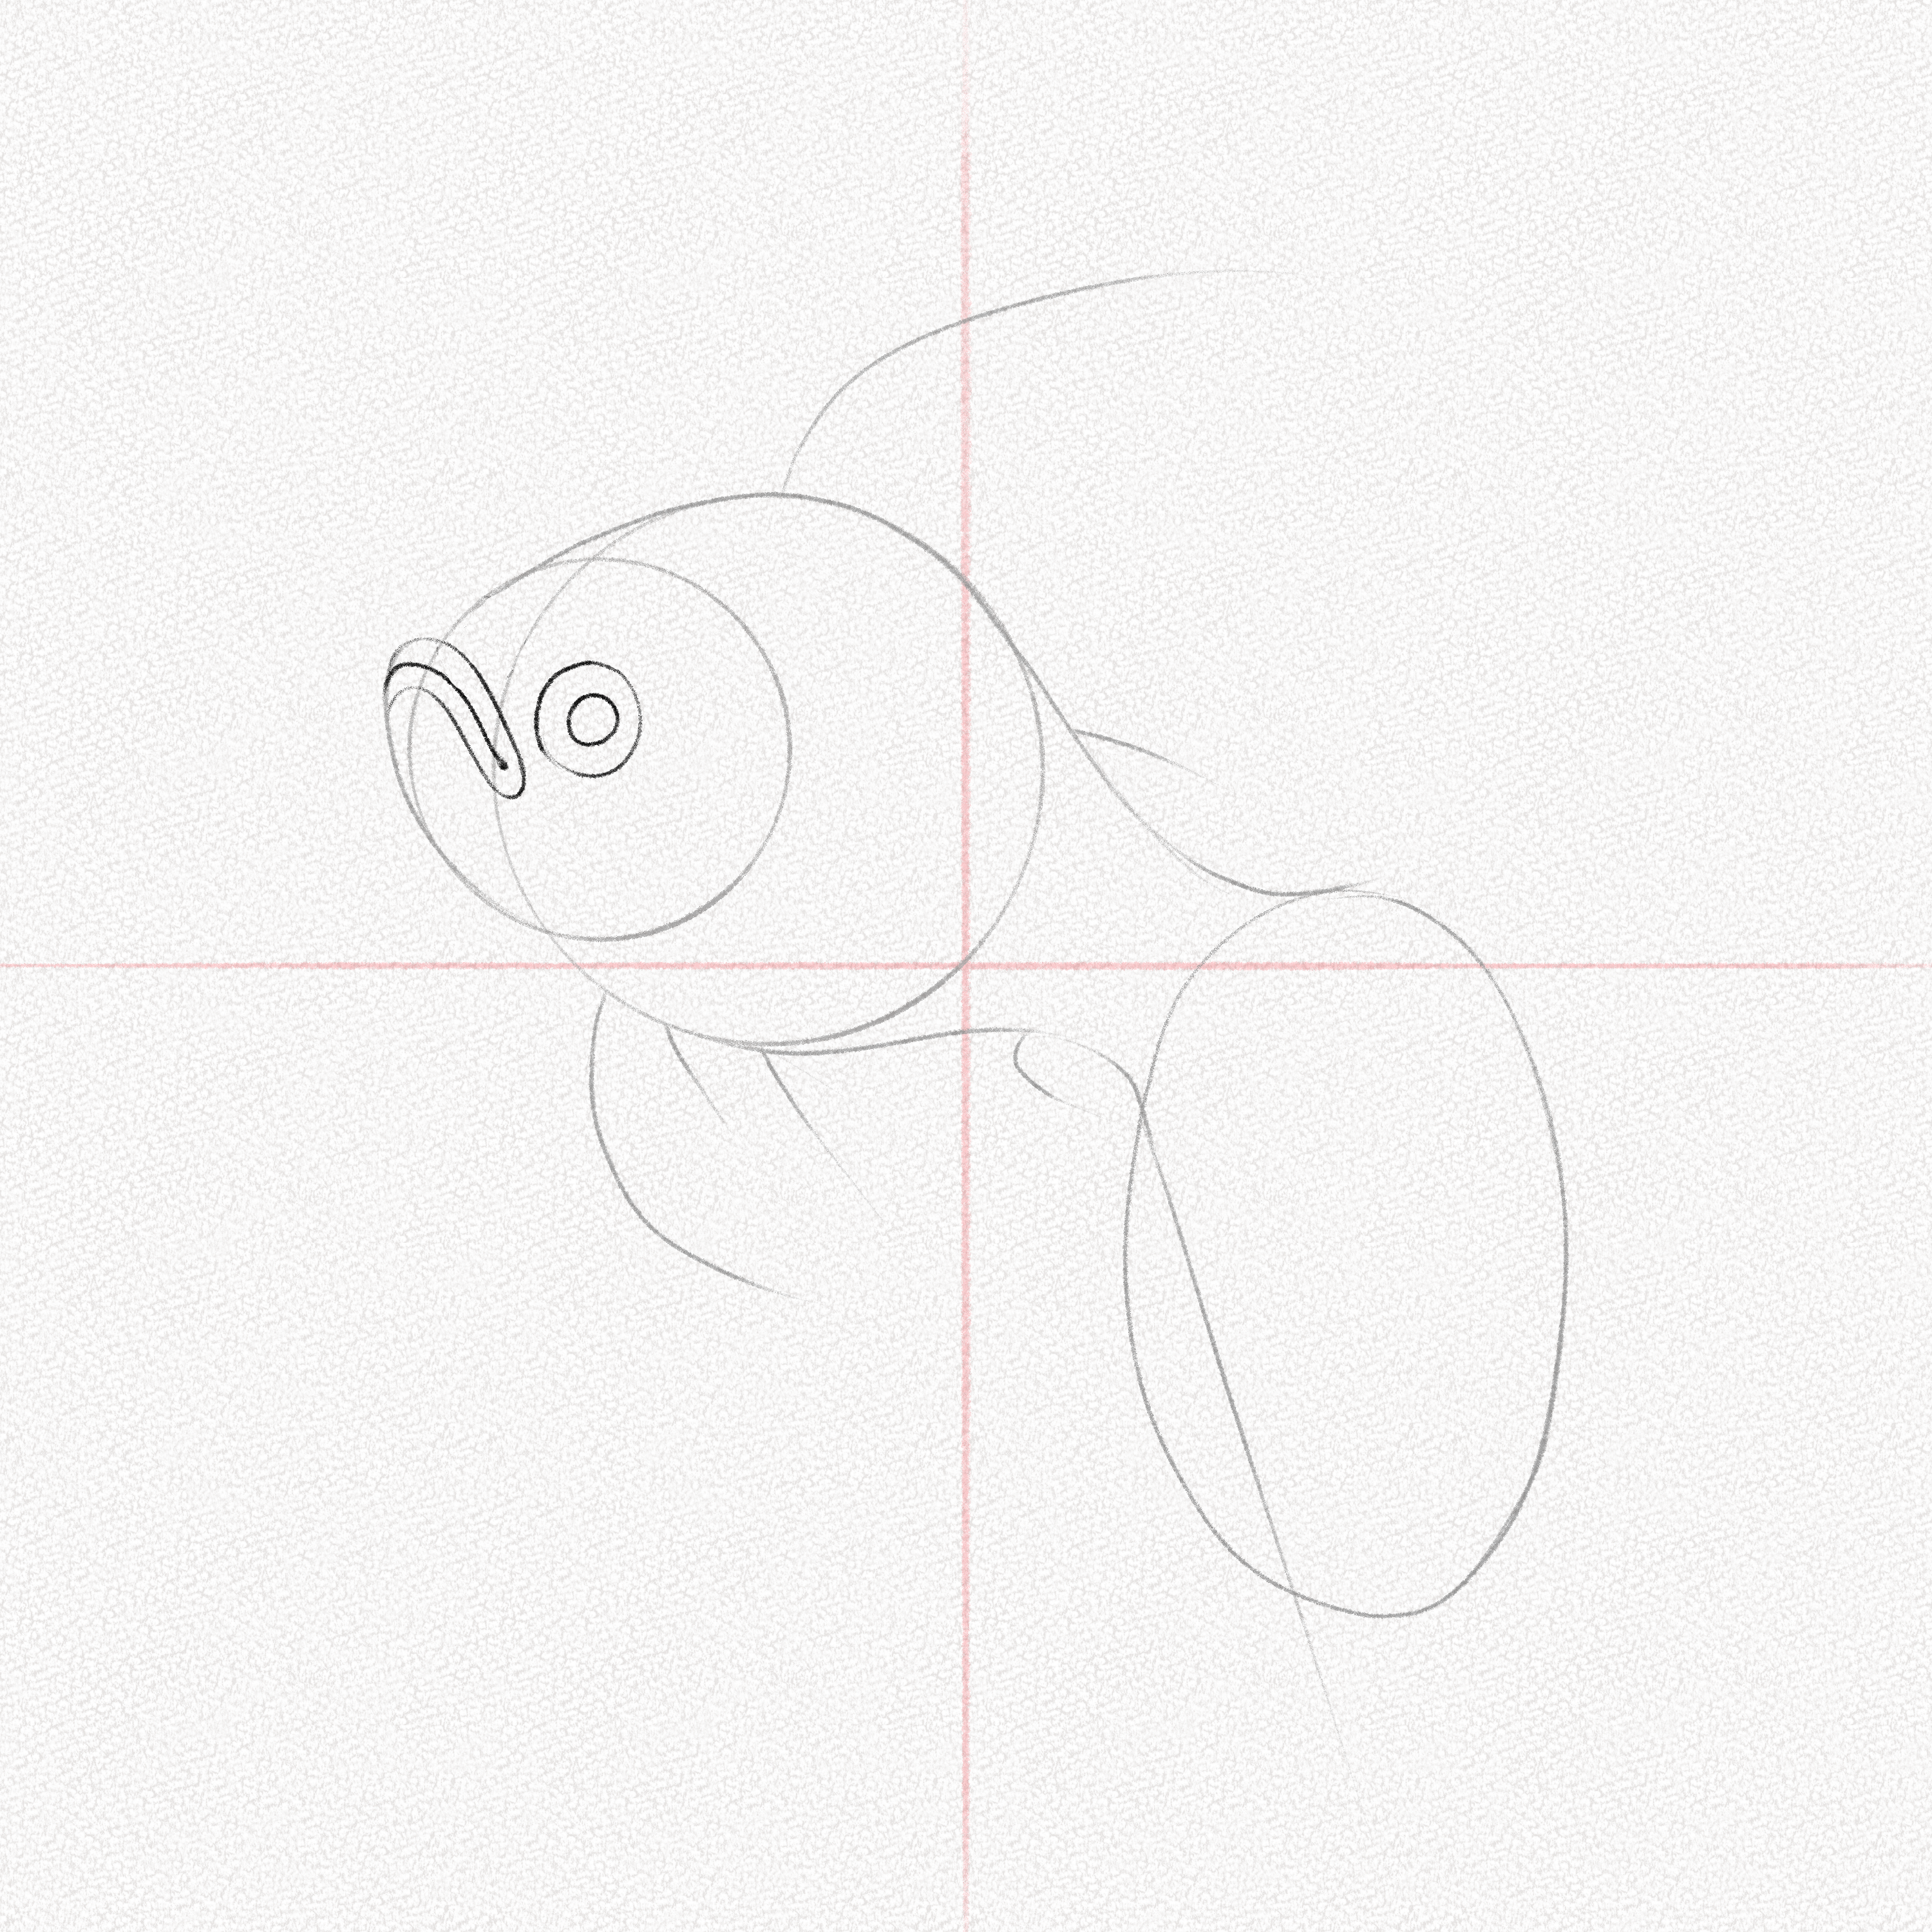
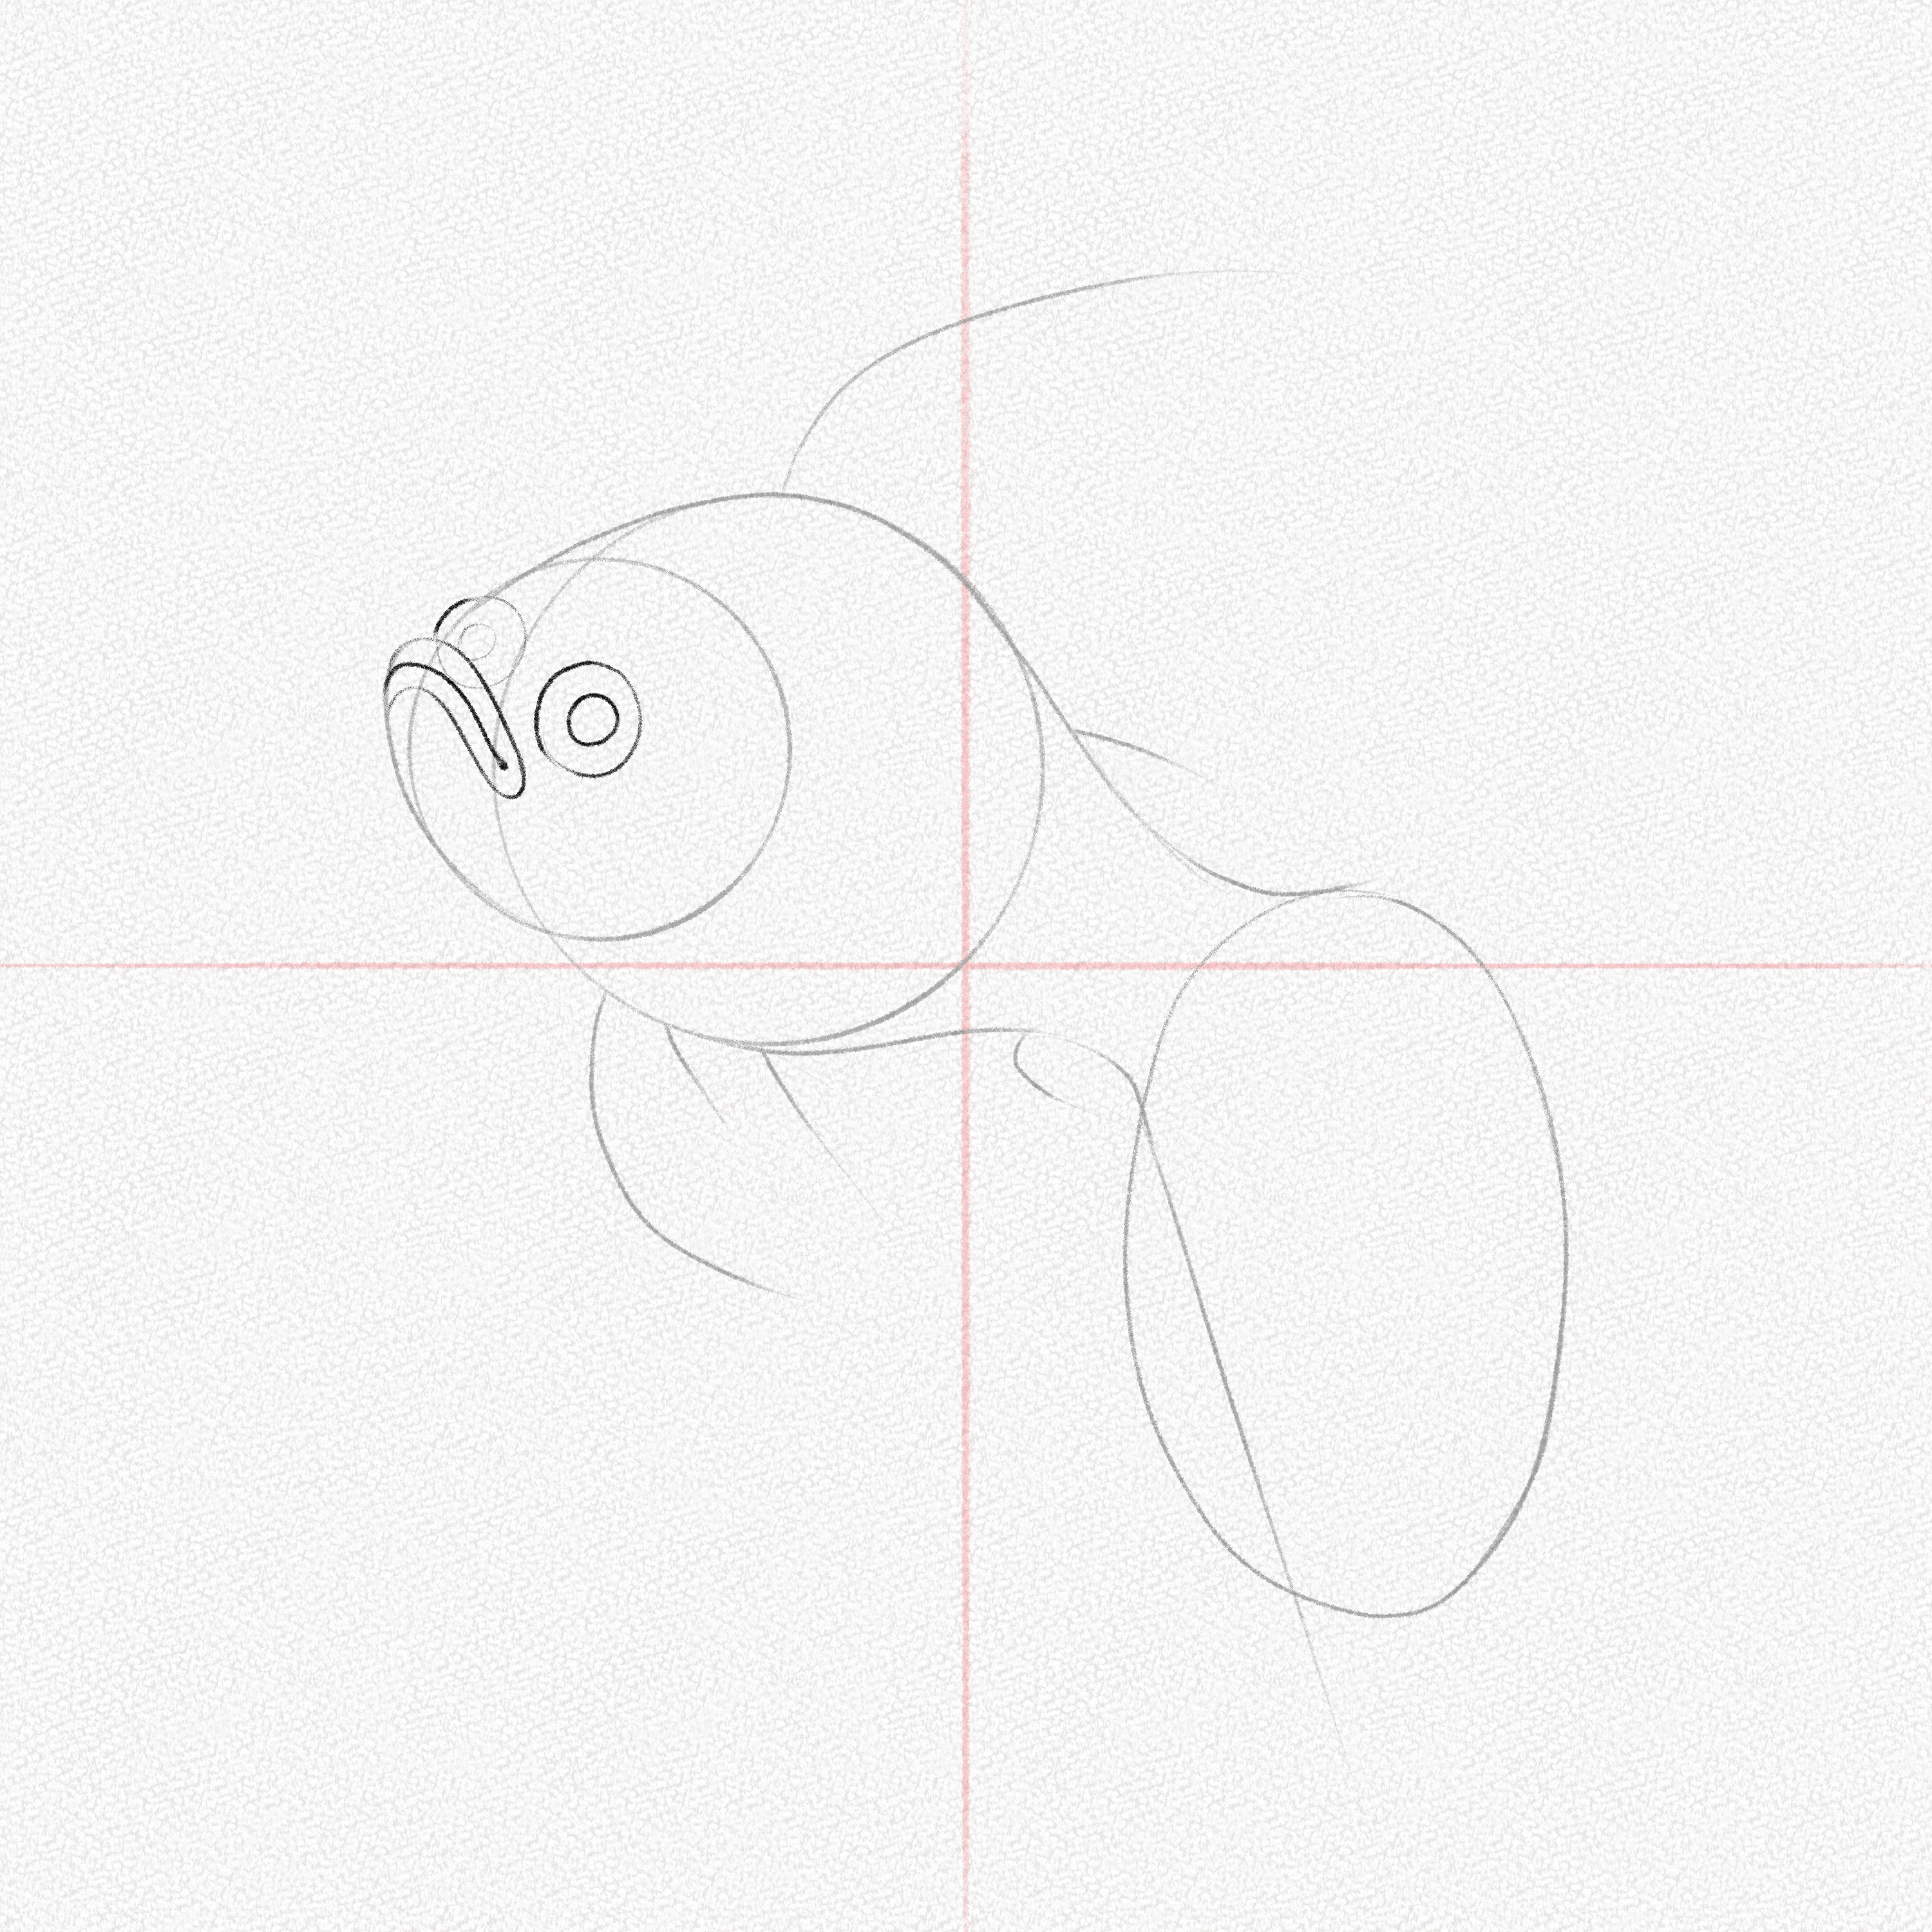
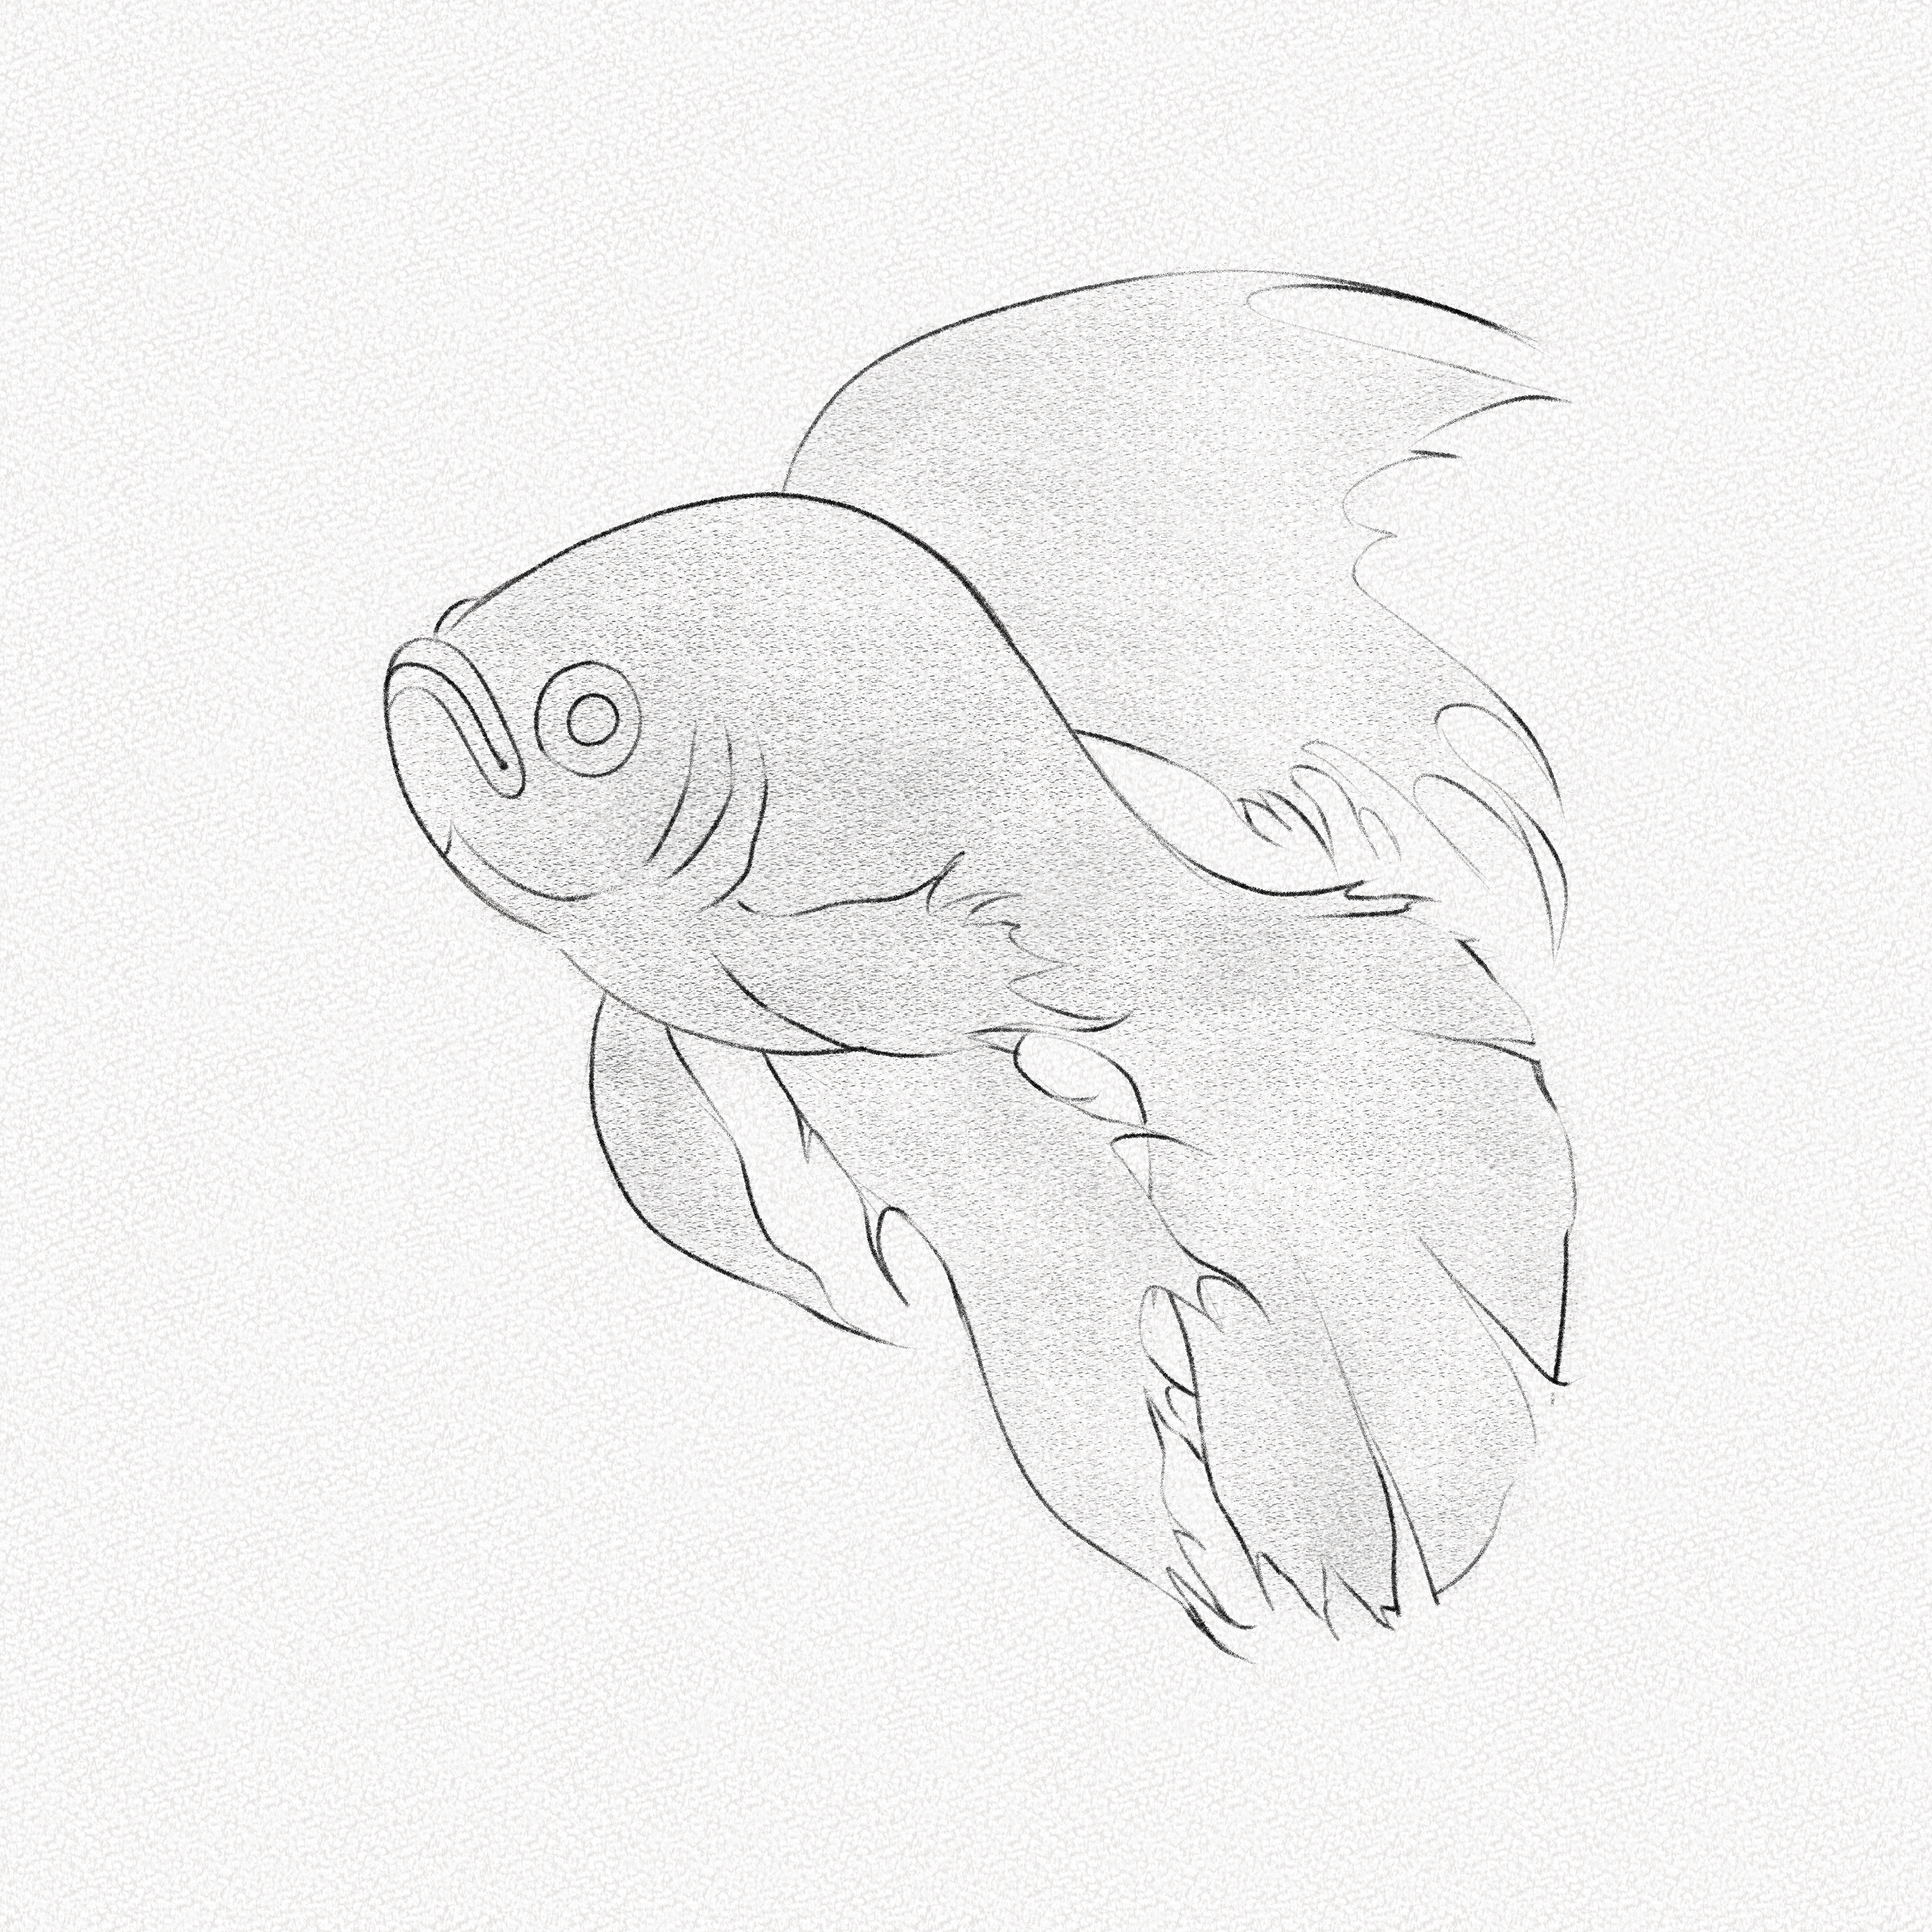
Step 13: Complete the fins
Complete the fins using organic shapes; since the fish is affected by water, the fins will be pointing toward the opposite side the fish is swimming towards. 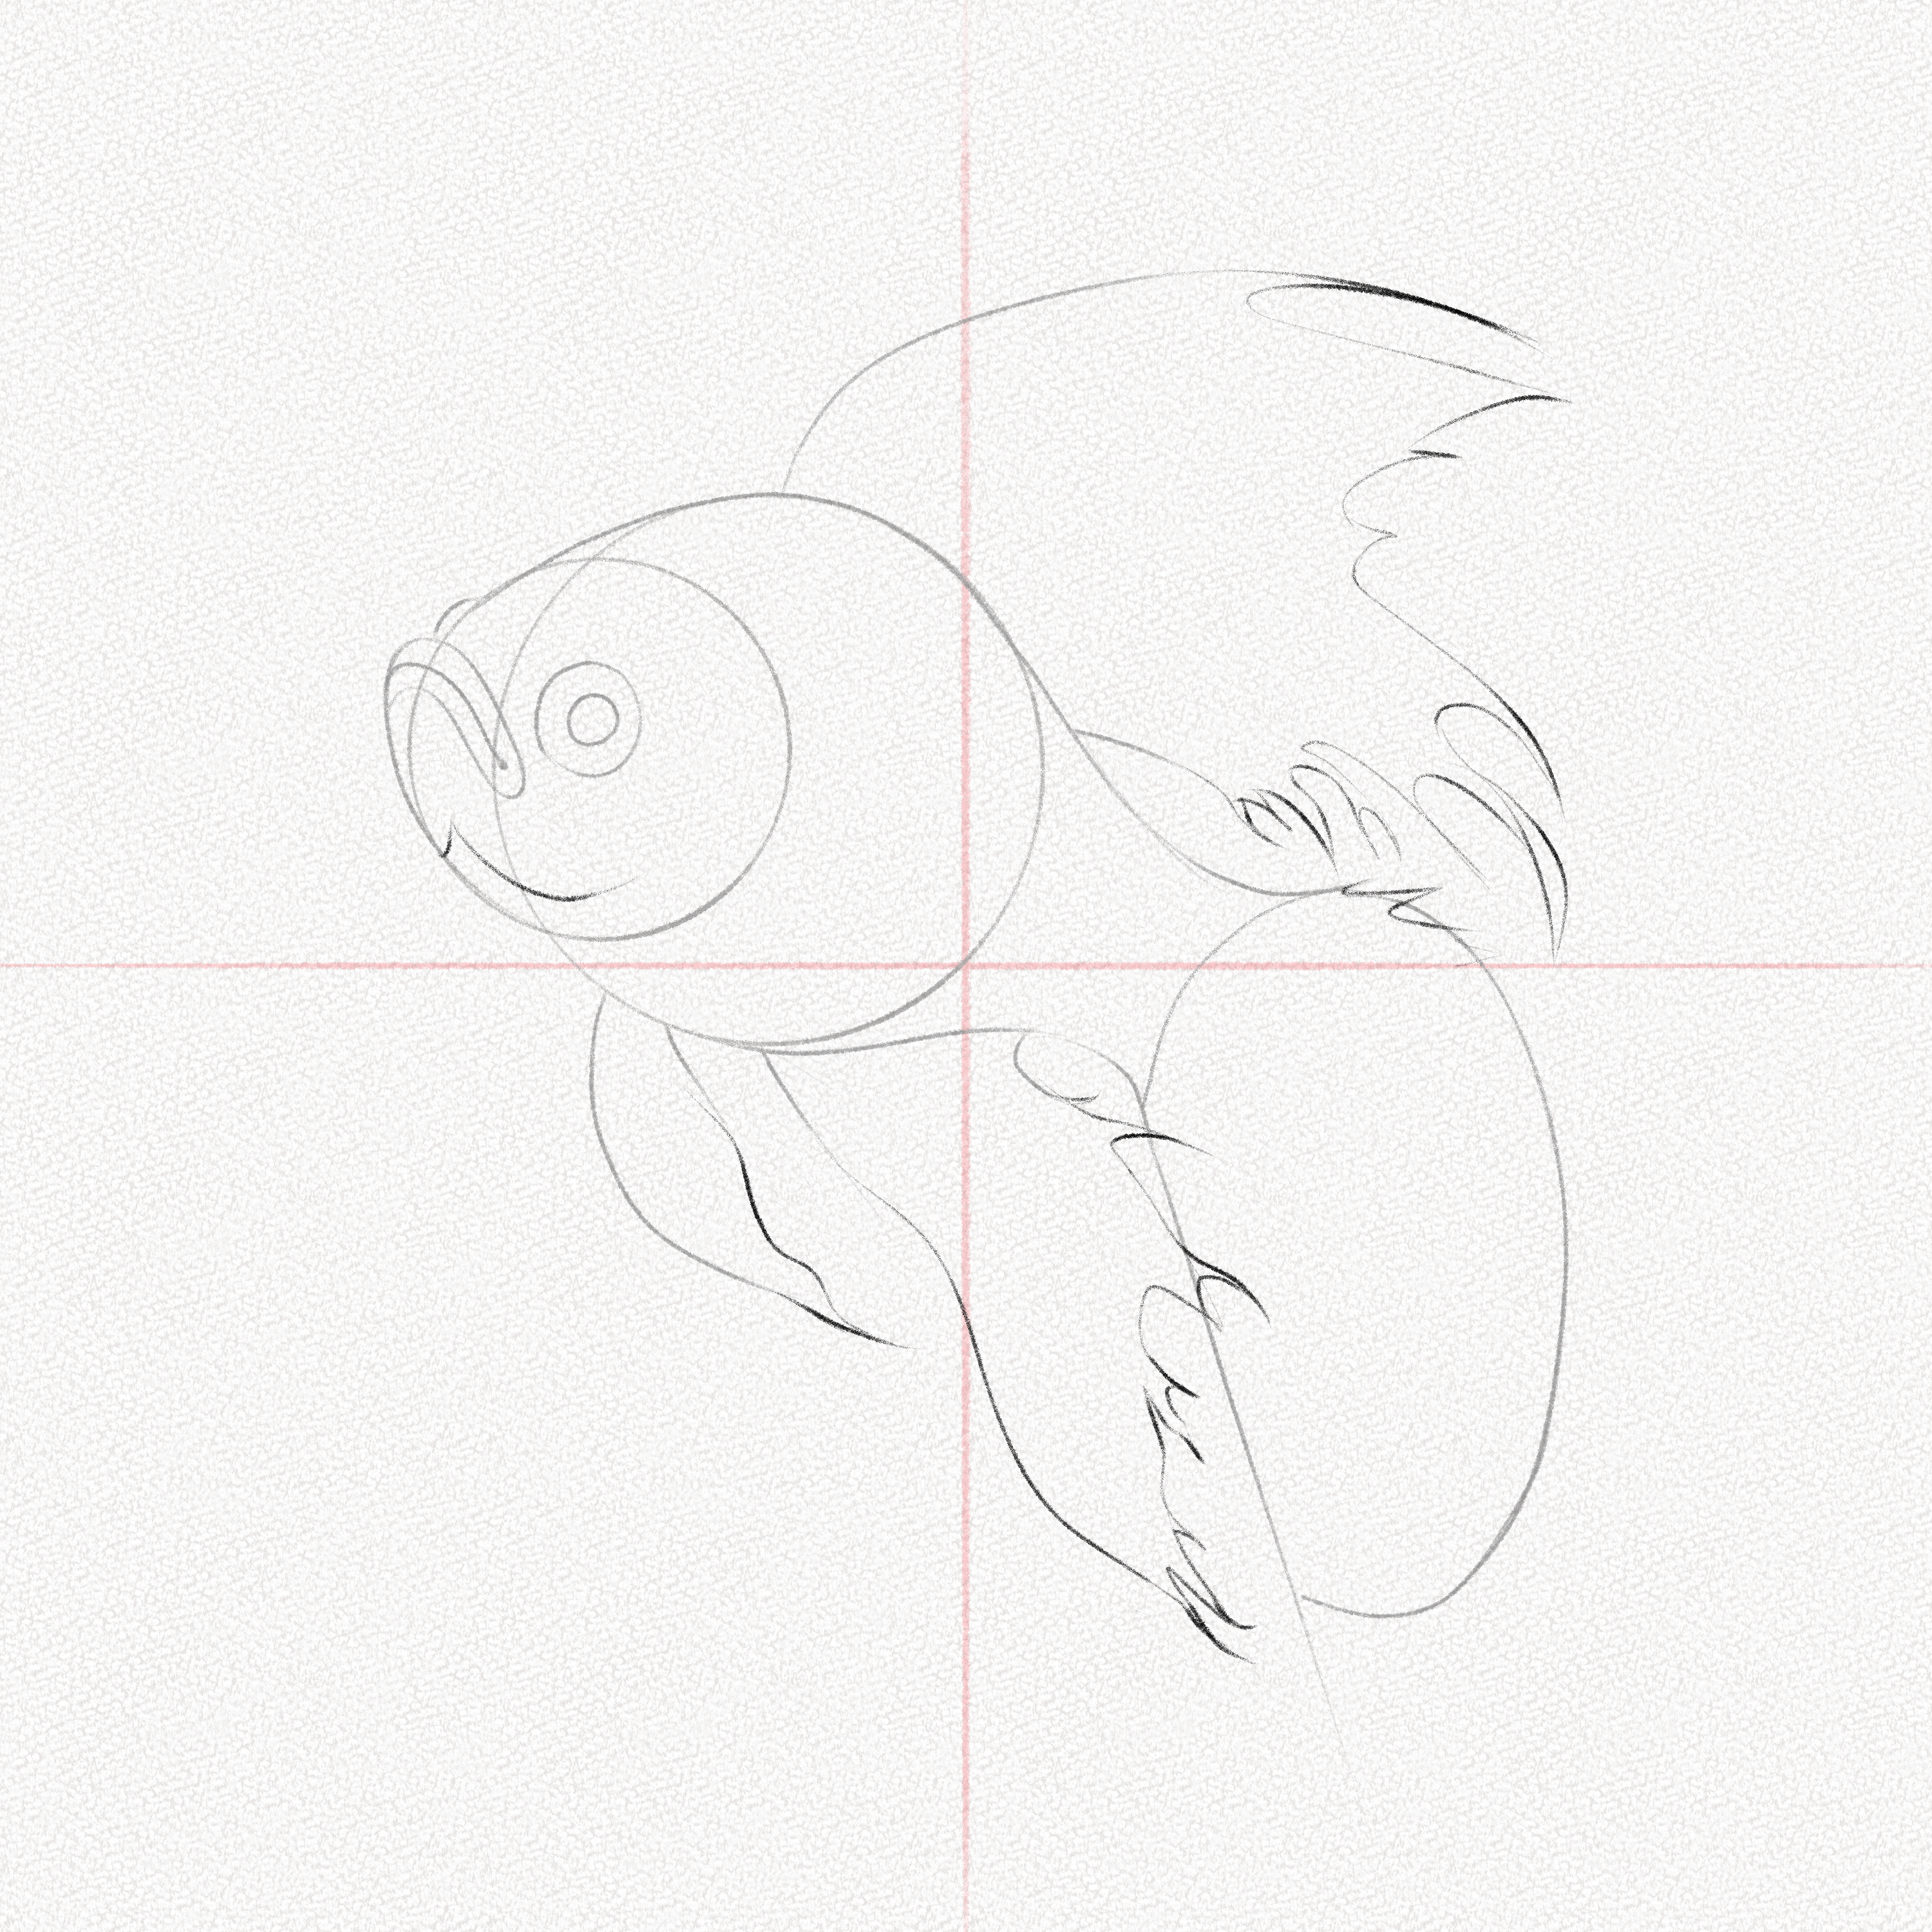
Step 14: Draw the gills and left fin
Draw the fins and right fin of your fish, keep the fins within the head circle shape, and draw the left fin following the flow of the water.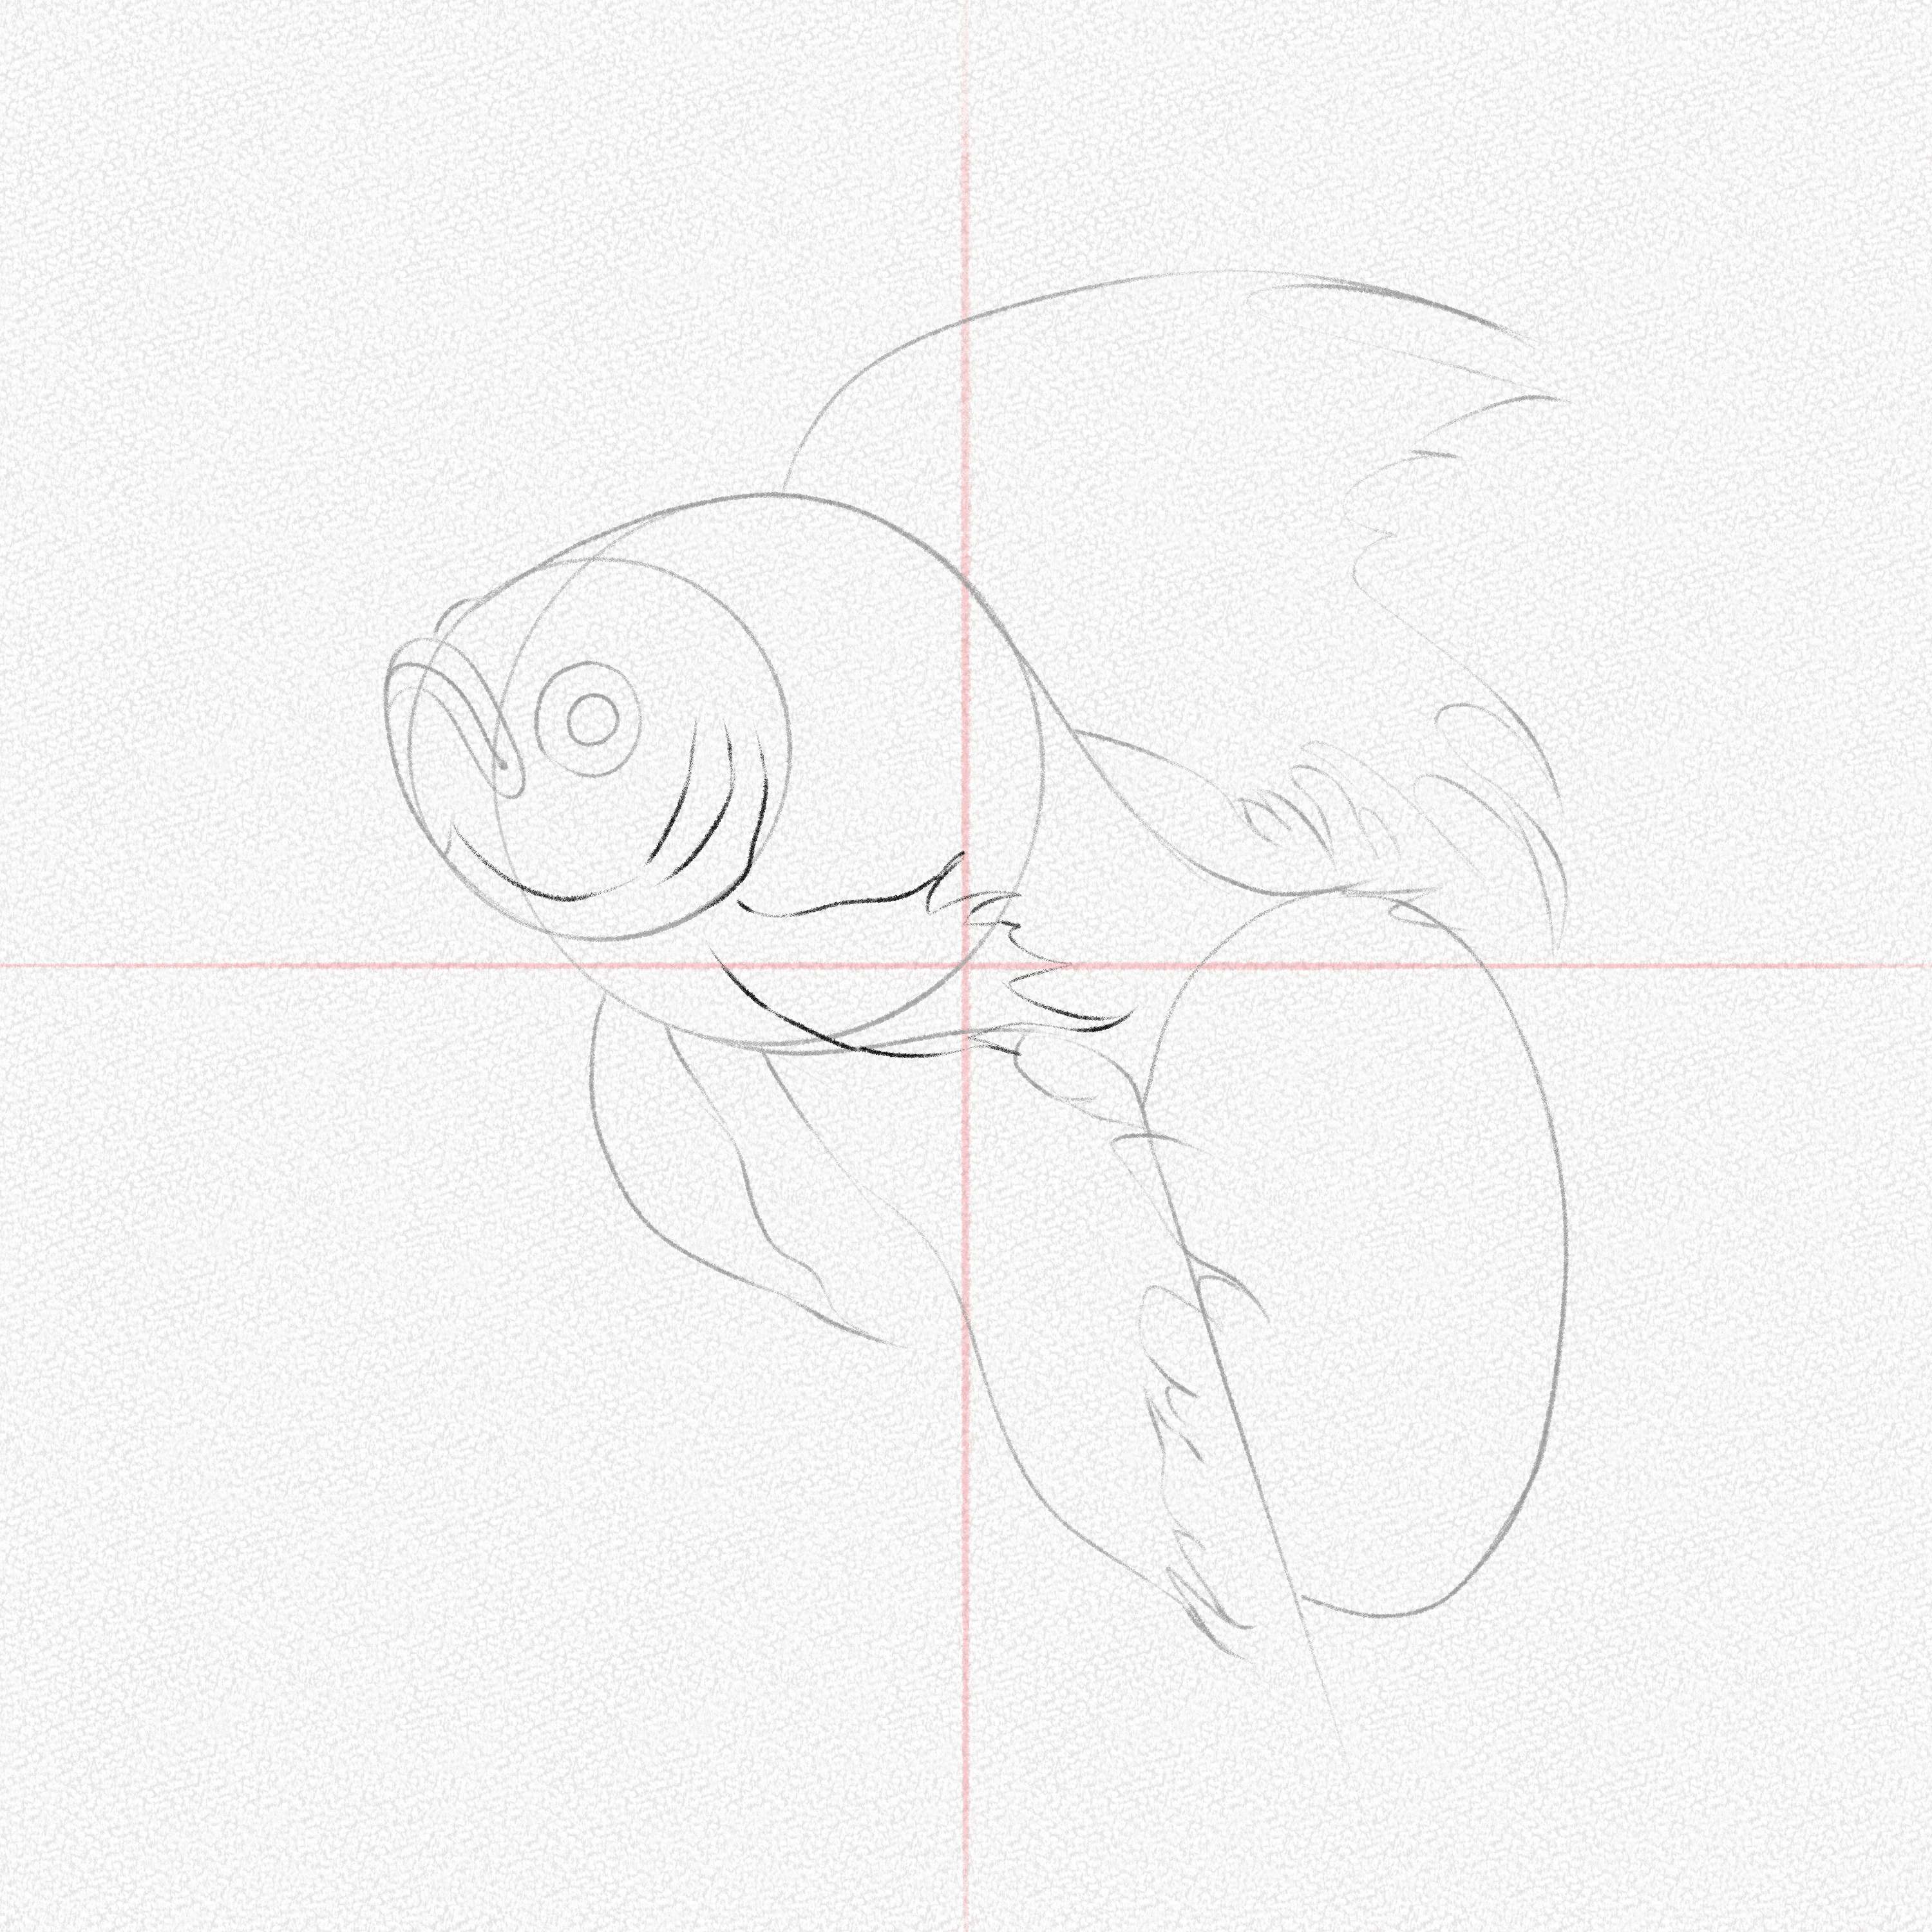
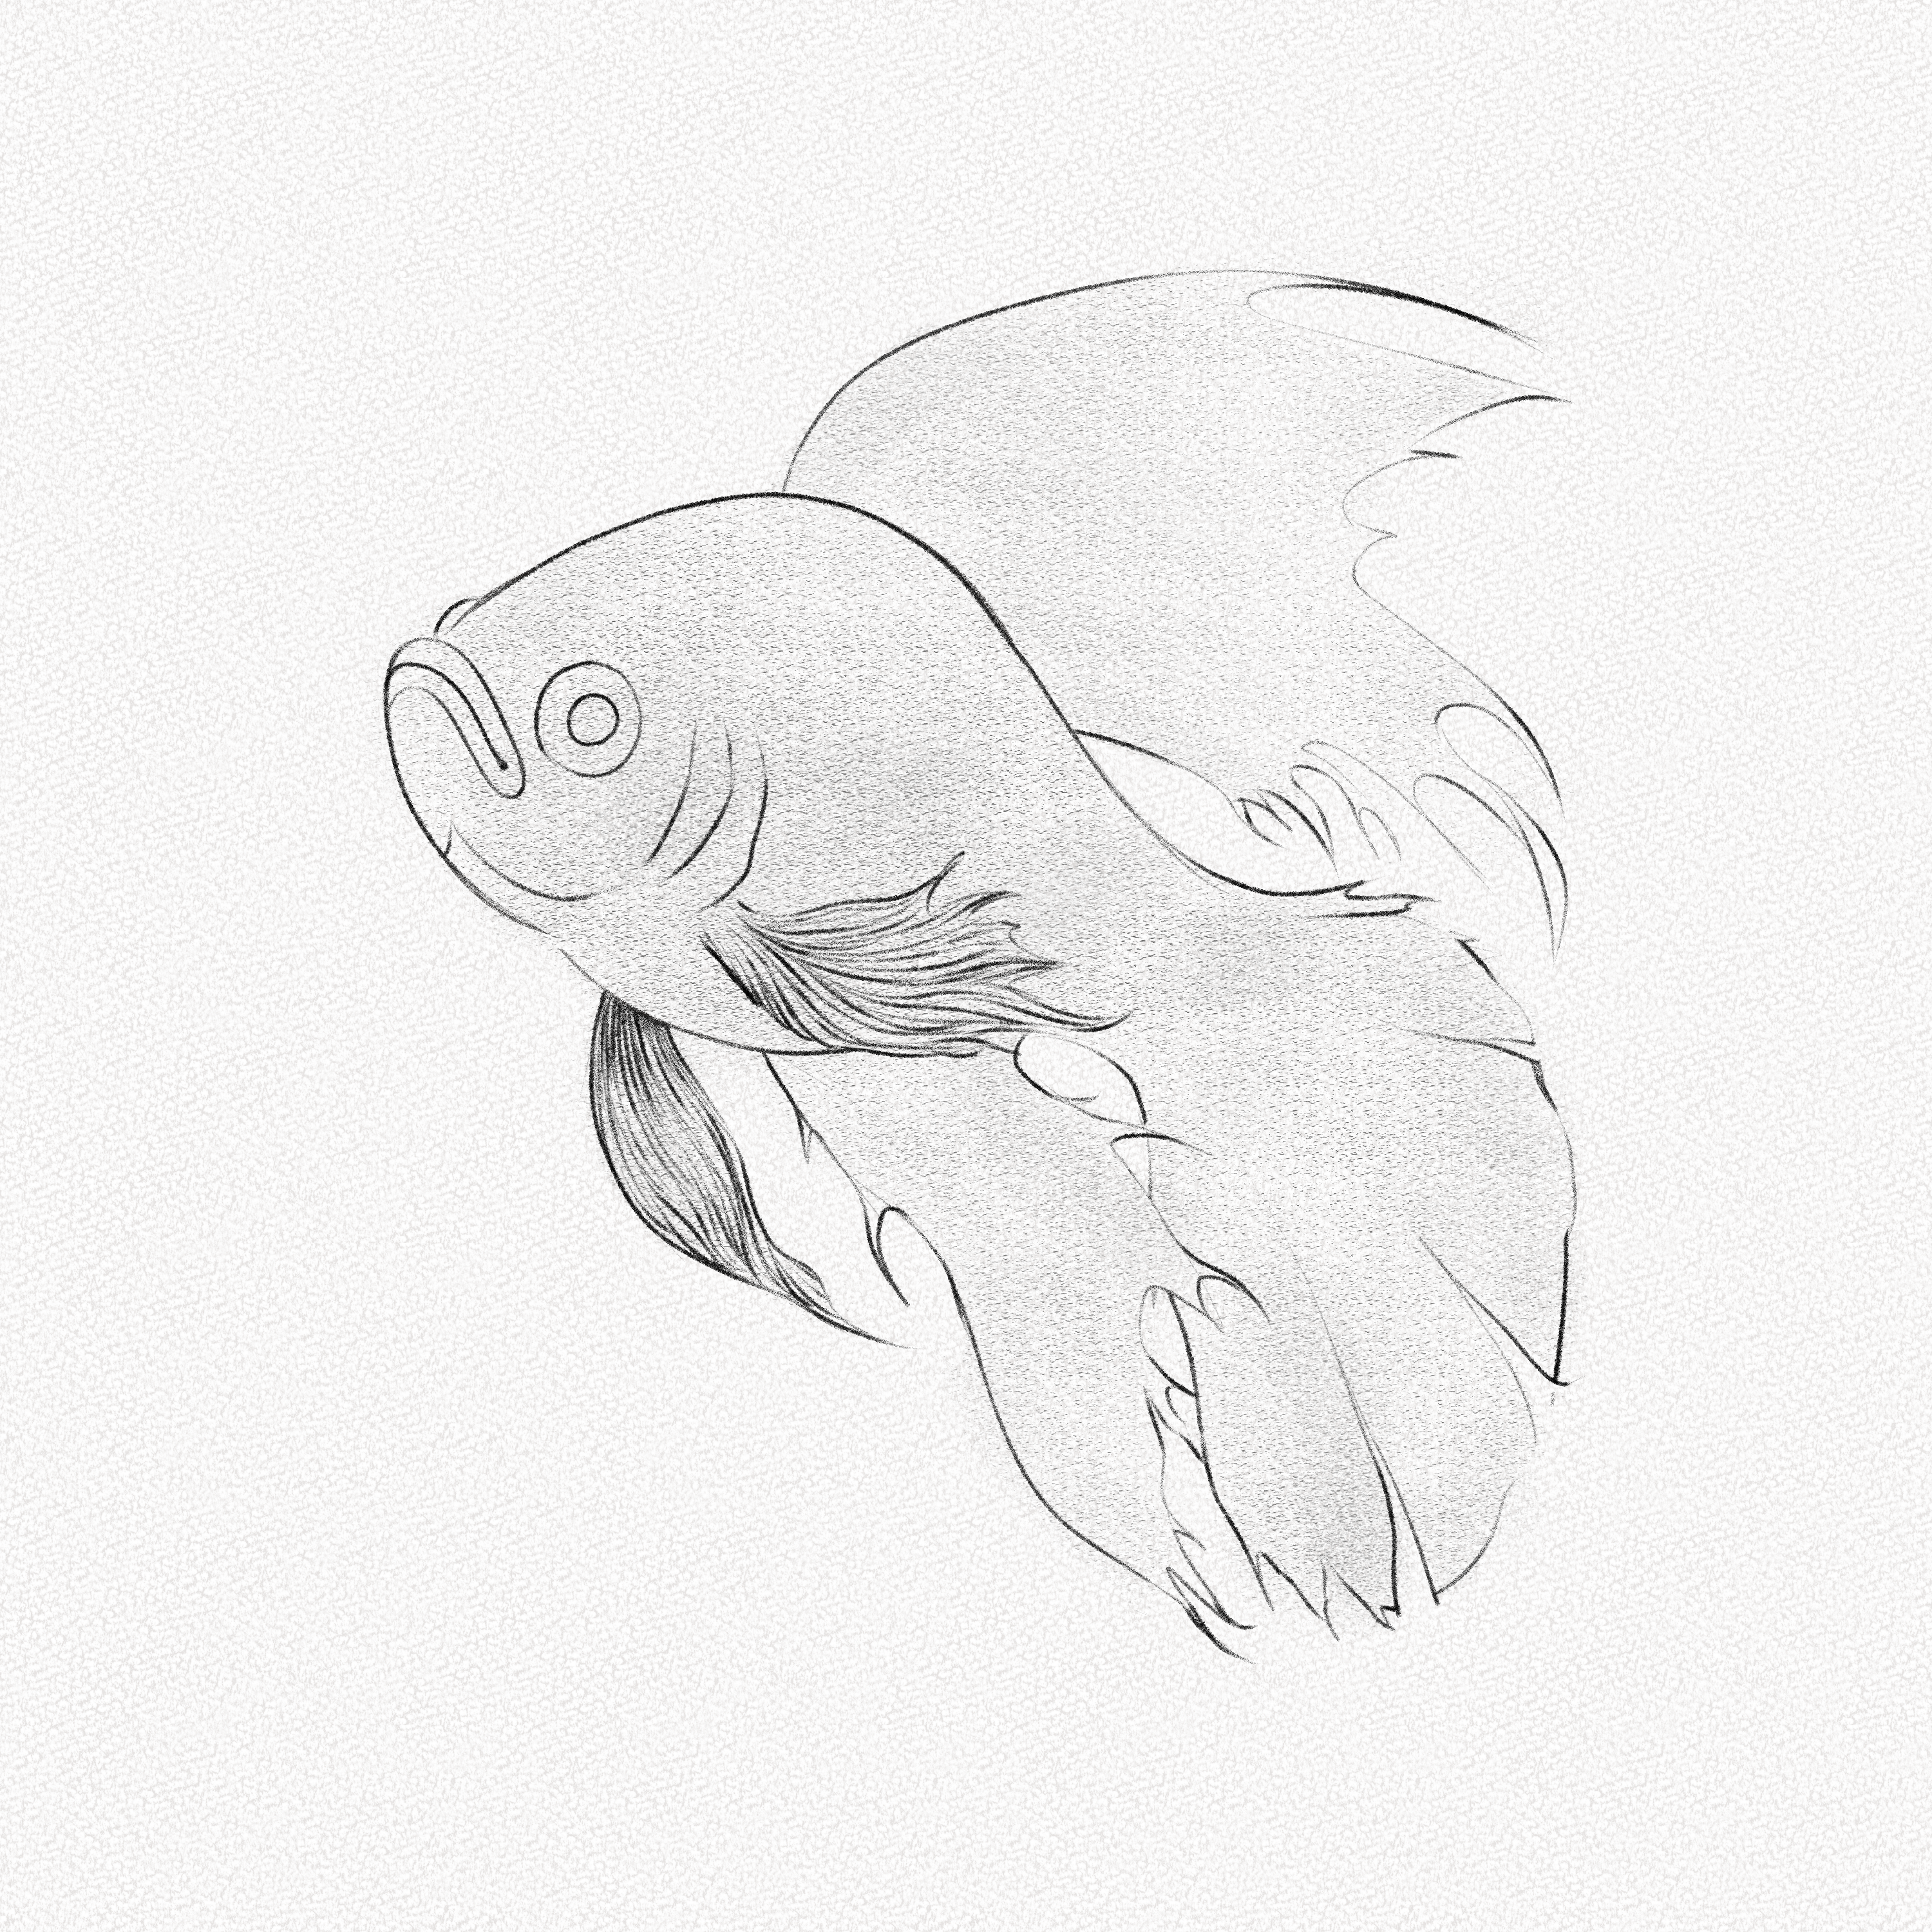
Step 15: Complete the tail
Following the ellipse guidelines, complete the tail, adding a few splits here and there.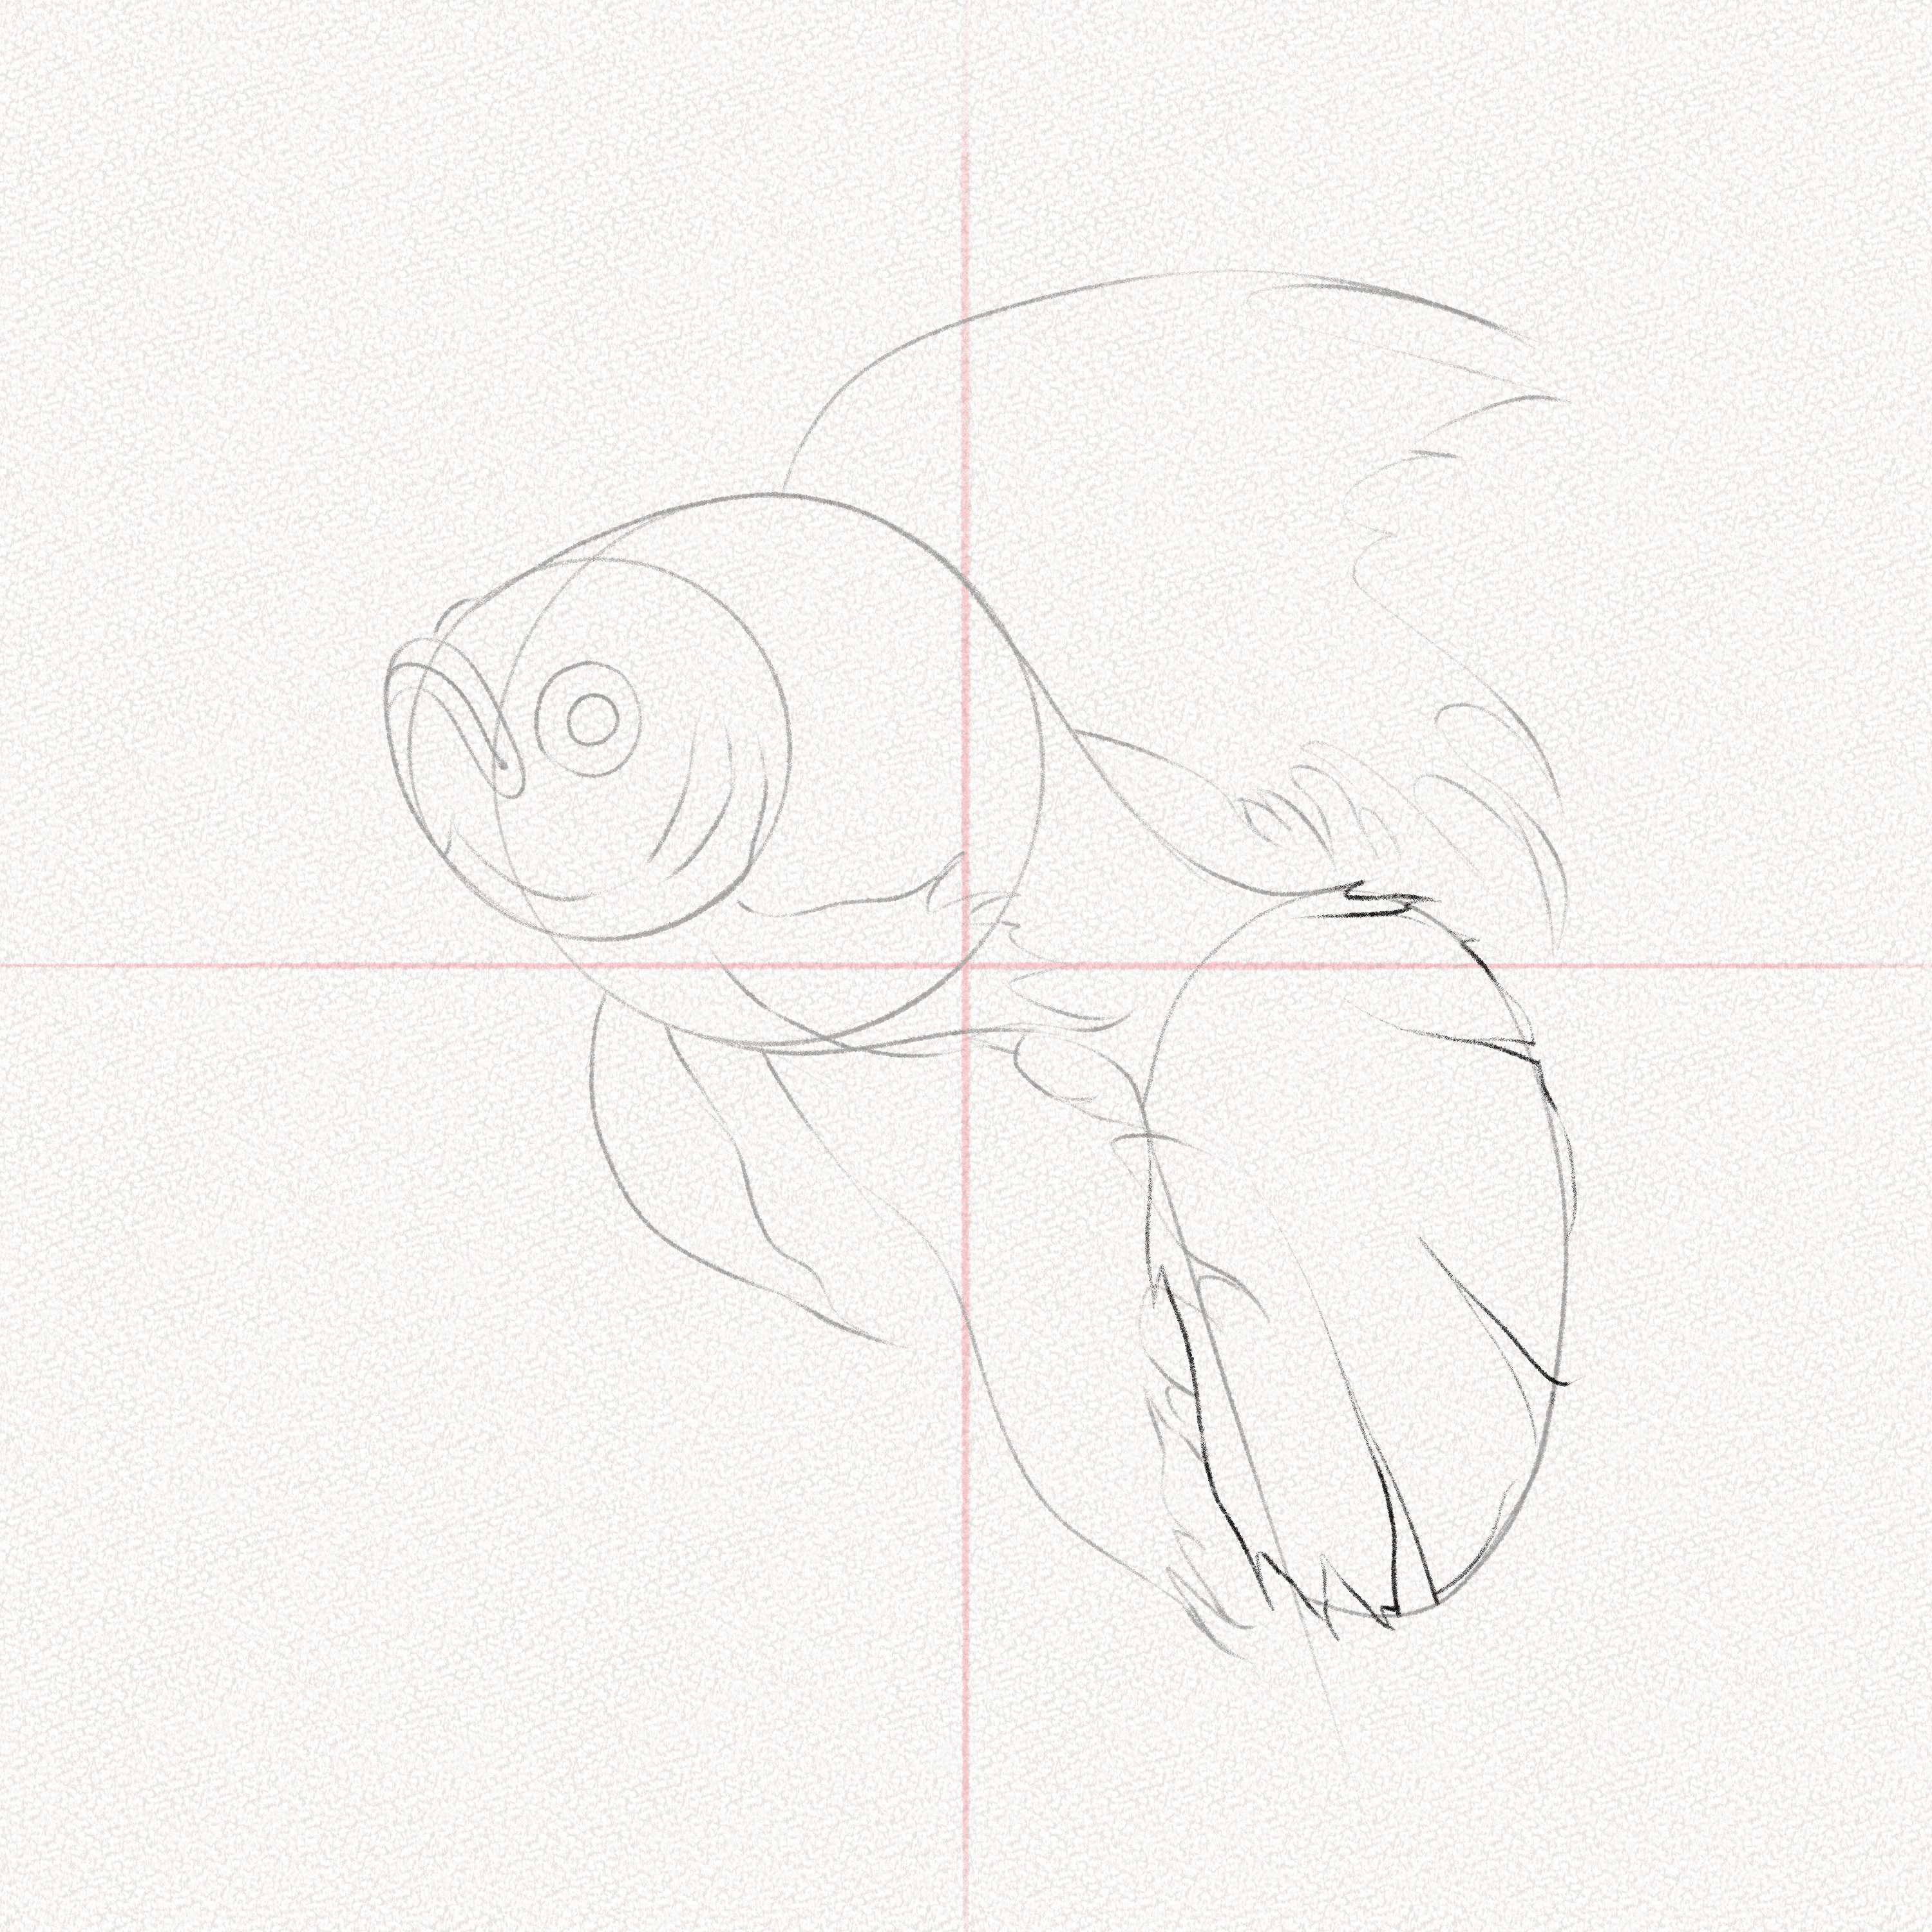
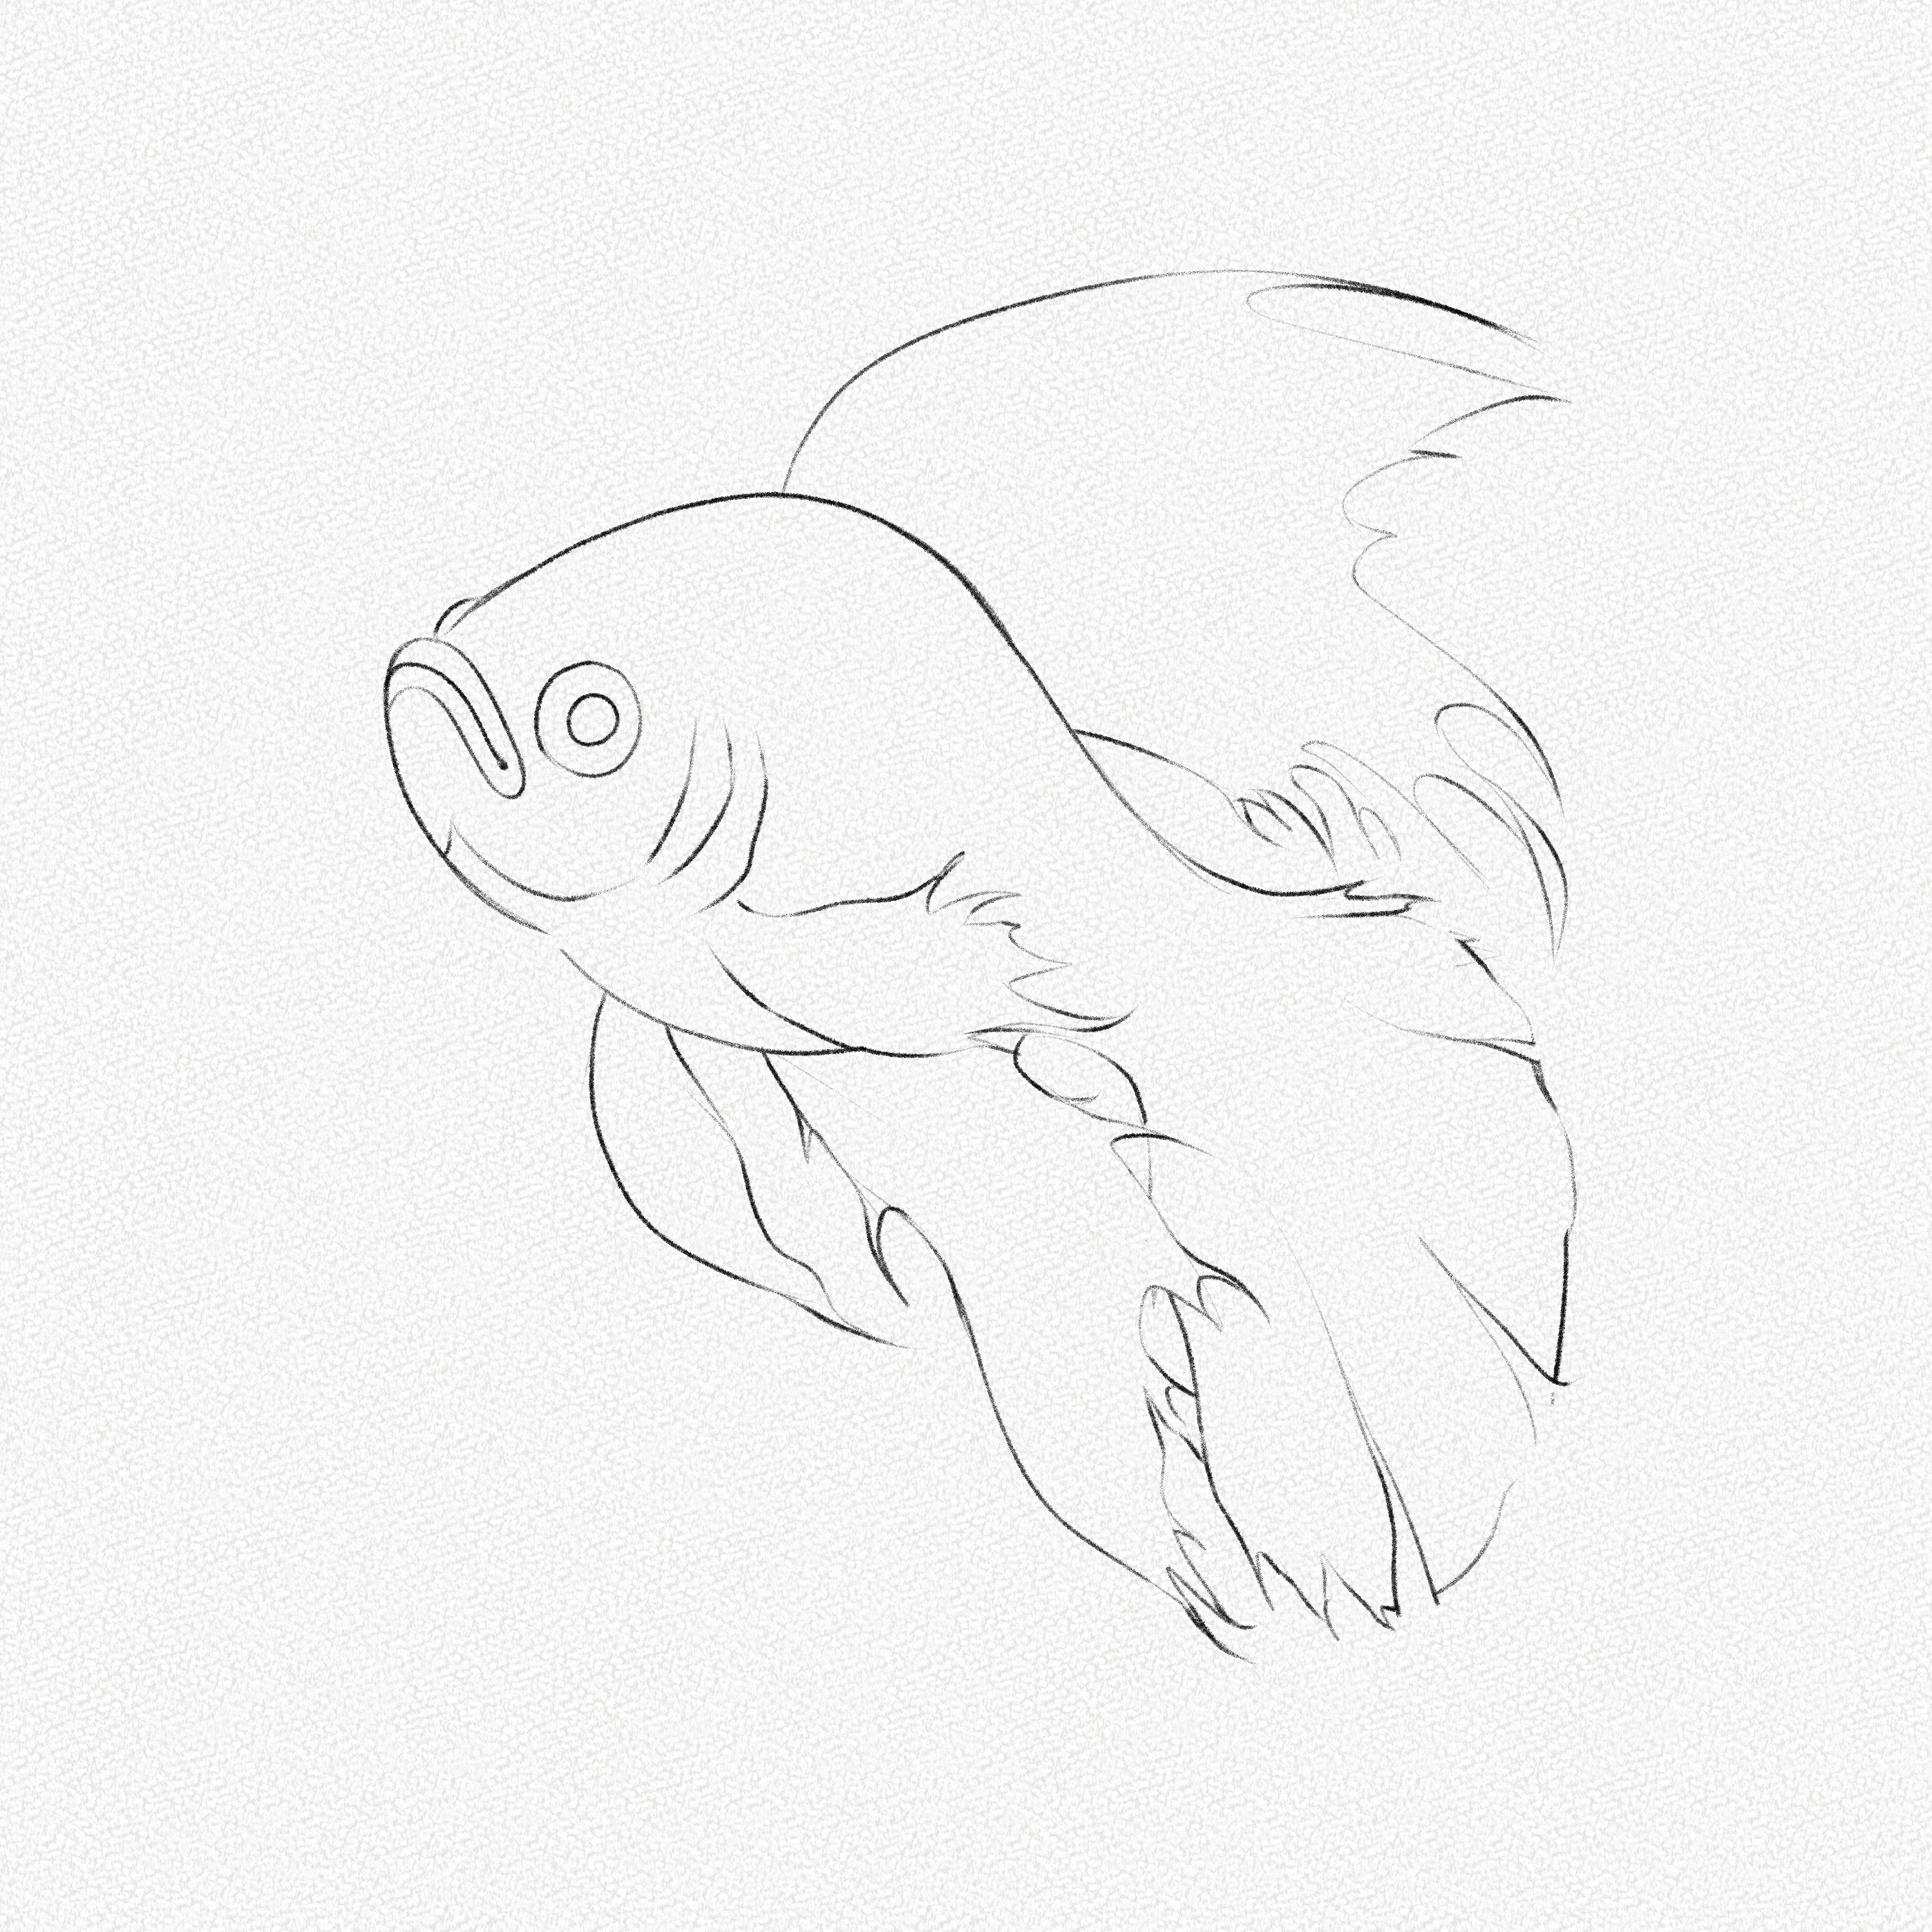
Step 16: Outline the fish
Erase your guidelines with your kneaded eraser and outline your fish; make sure to erase the overlapping parts.
Section 2.- How to Shade a Fish
It’s time to add some texture and shading to bring your fish to life. We are going to use a variety of techniques to create texture and shadows, but don’t be too hard on yourself if it doesn’t look perfect right away. Remember that art is about experimentation and learning and not perfection from the beginning.
For this section, we’ll use powdered graphite, a soft brush, and your 4B and 9B pencils. Since this section will be a bit more complex and detailed, please pay attention and follow the steps closely.
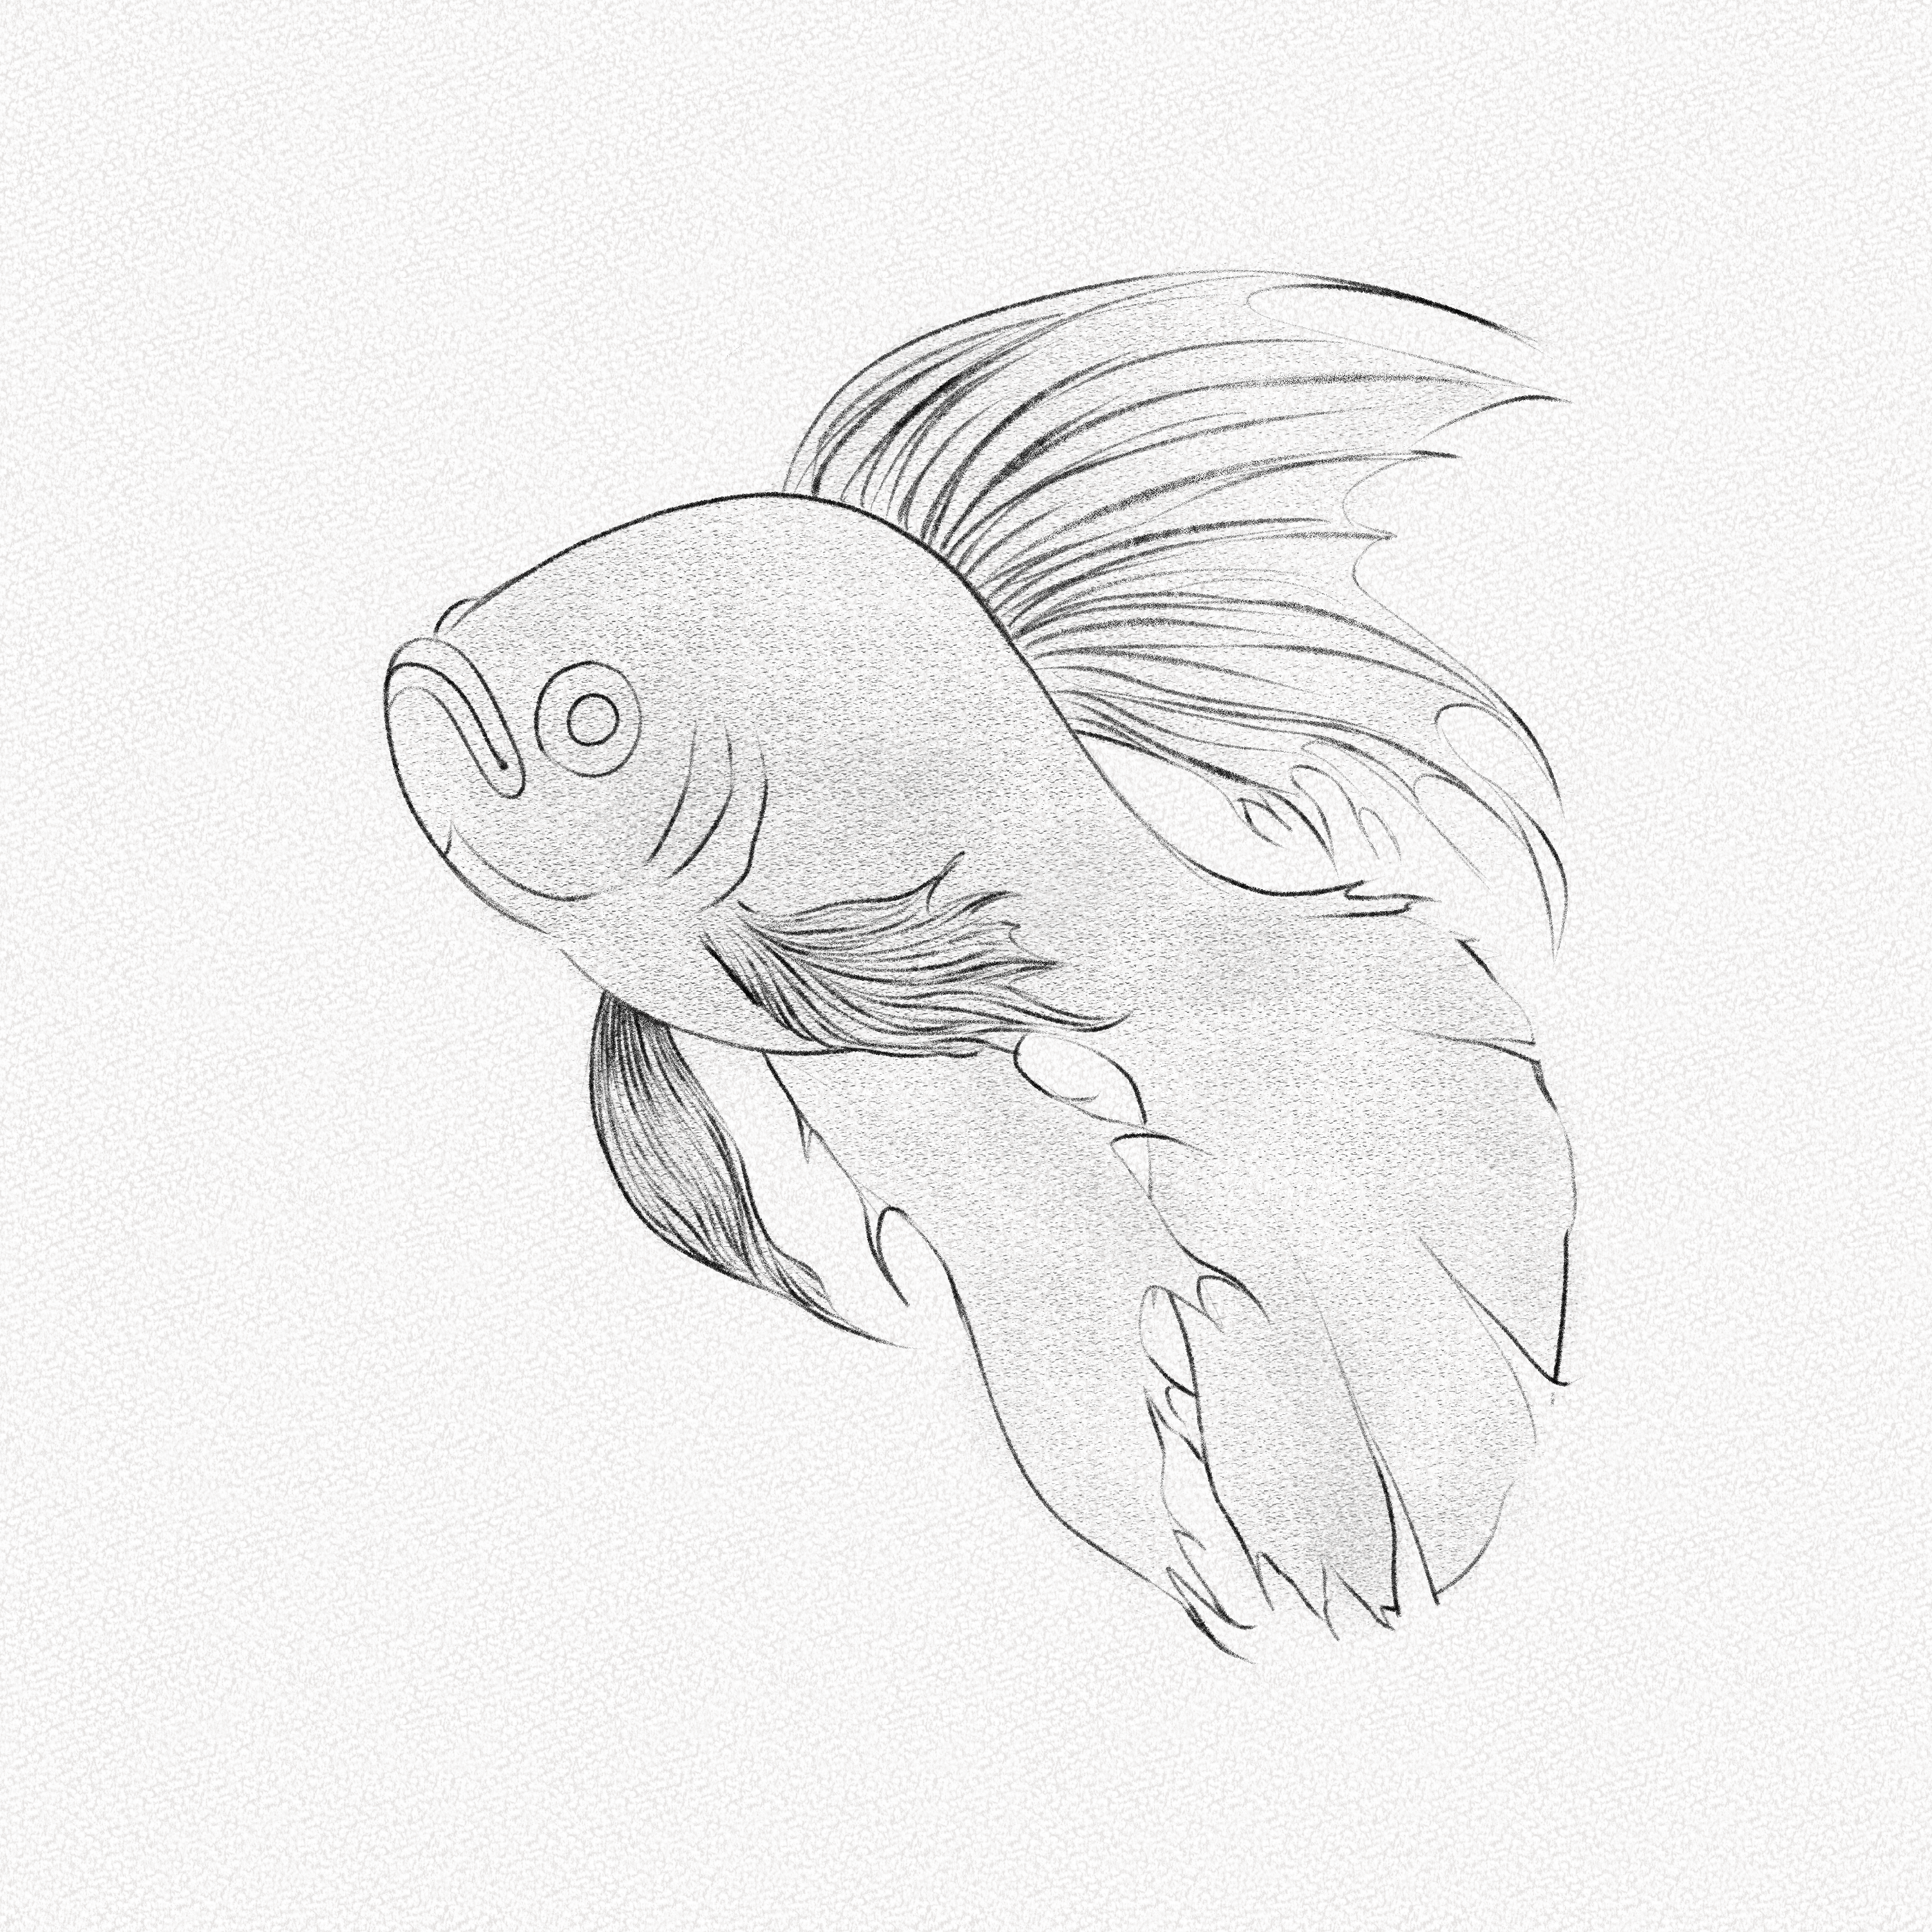
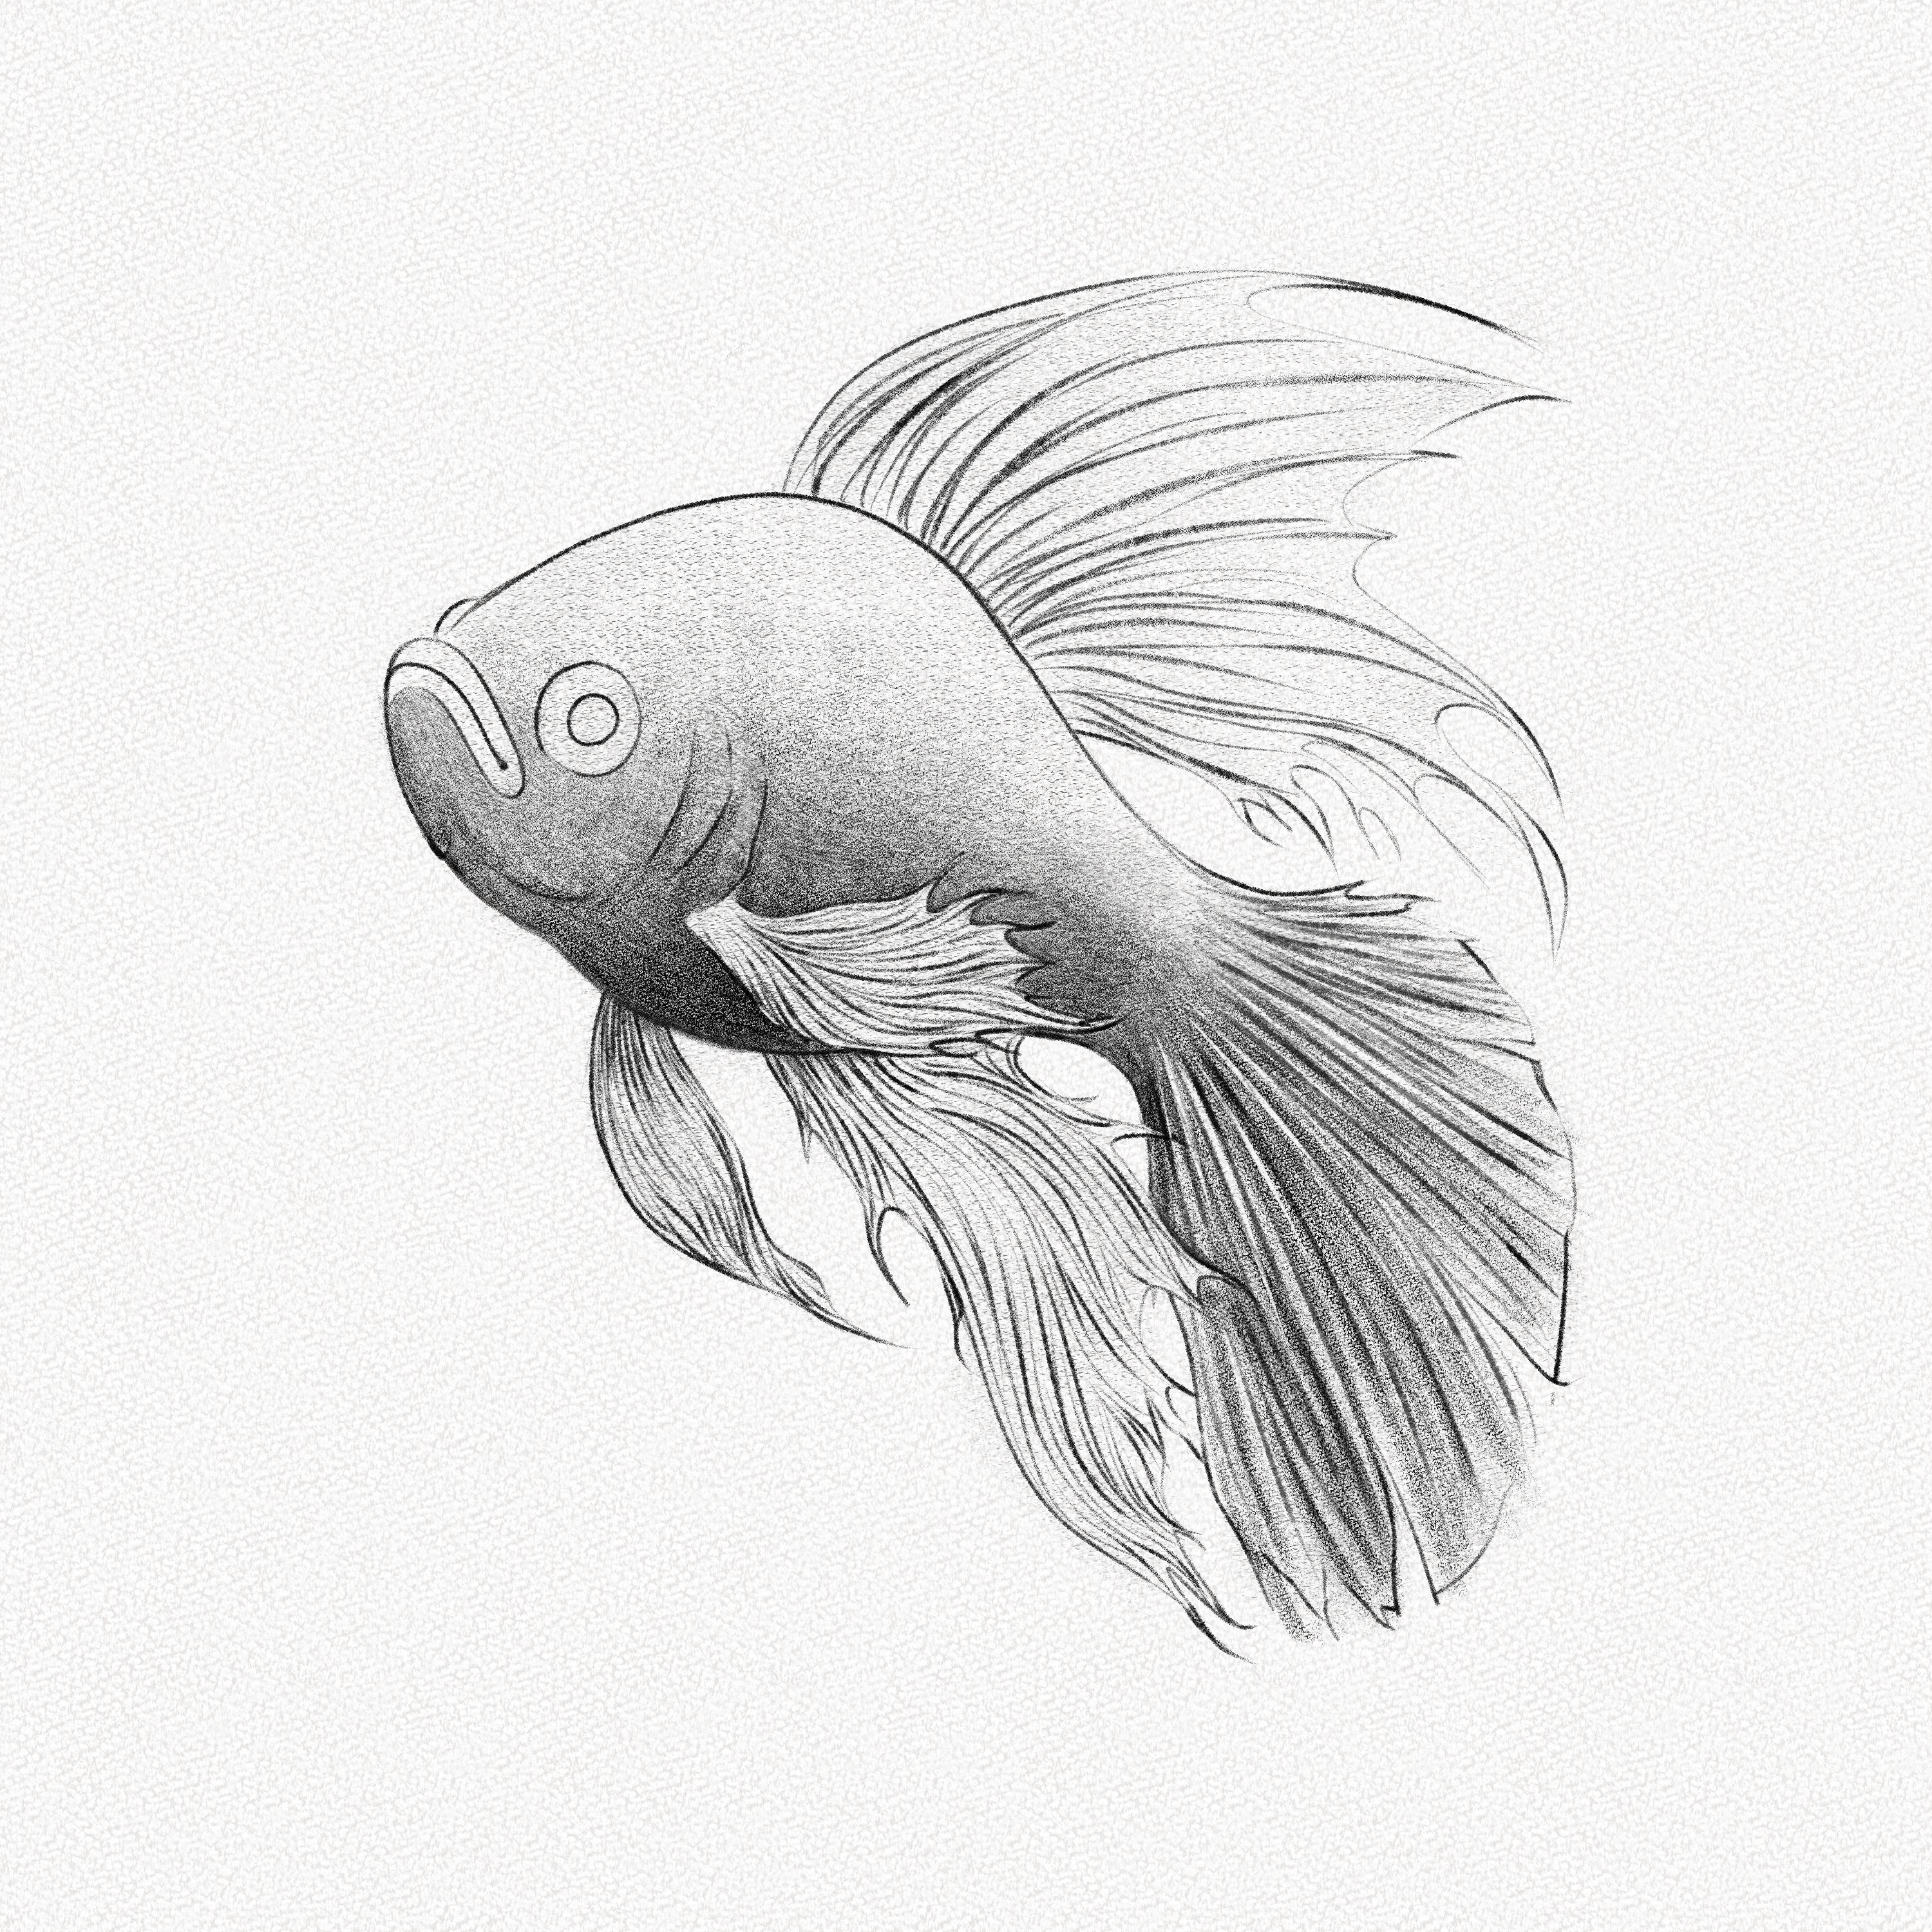
Step 17: Fill your fish with graphite
Grab some powdered graphite with your brush, shake the excess, and softly apply the graphite to your fish’s body.
Step 18: Work on the fin’s details
Draw lines following the fins’ shapes. Use your 4B and 8B pencil to add depth and thickness variety.
Step 19: Repeat
Do the same for the upper fin, but leave some space between them. Repeat the same step for the lower fin too.

Step 20: Shade your fish
Carefully shade your fish, making the belly and base of the fish the darkest. Pull some lines from the area you shaded to add the tail’s details.
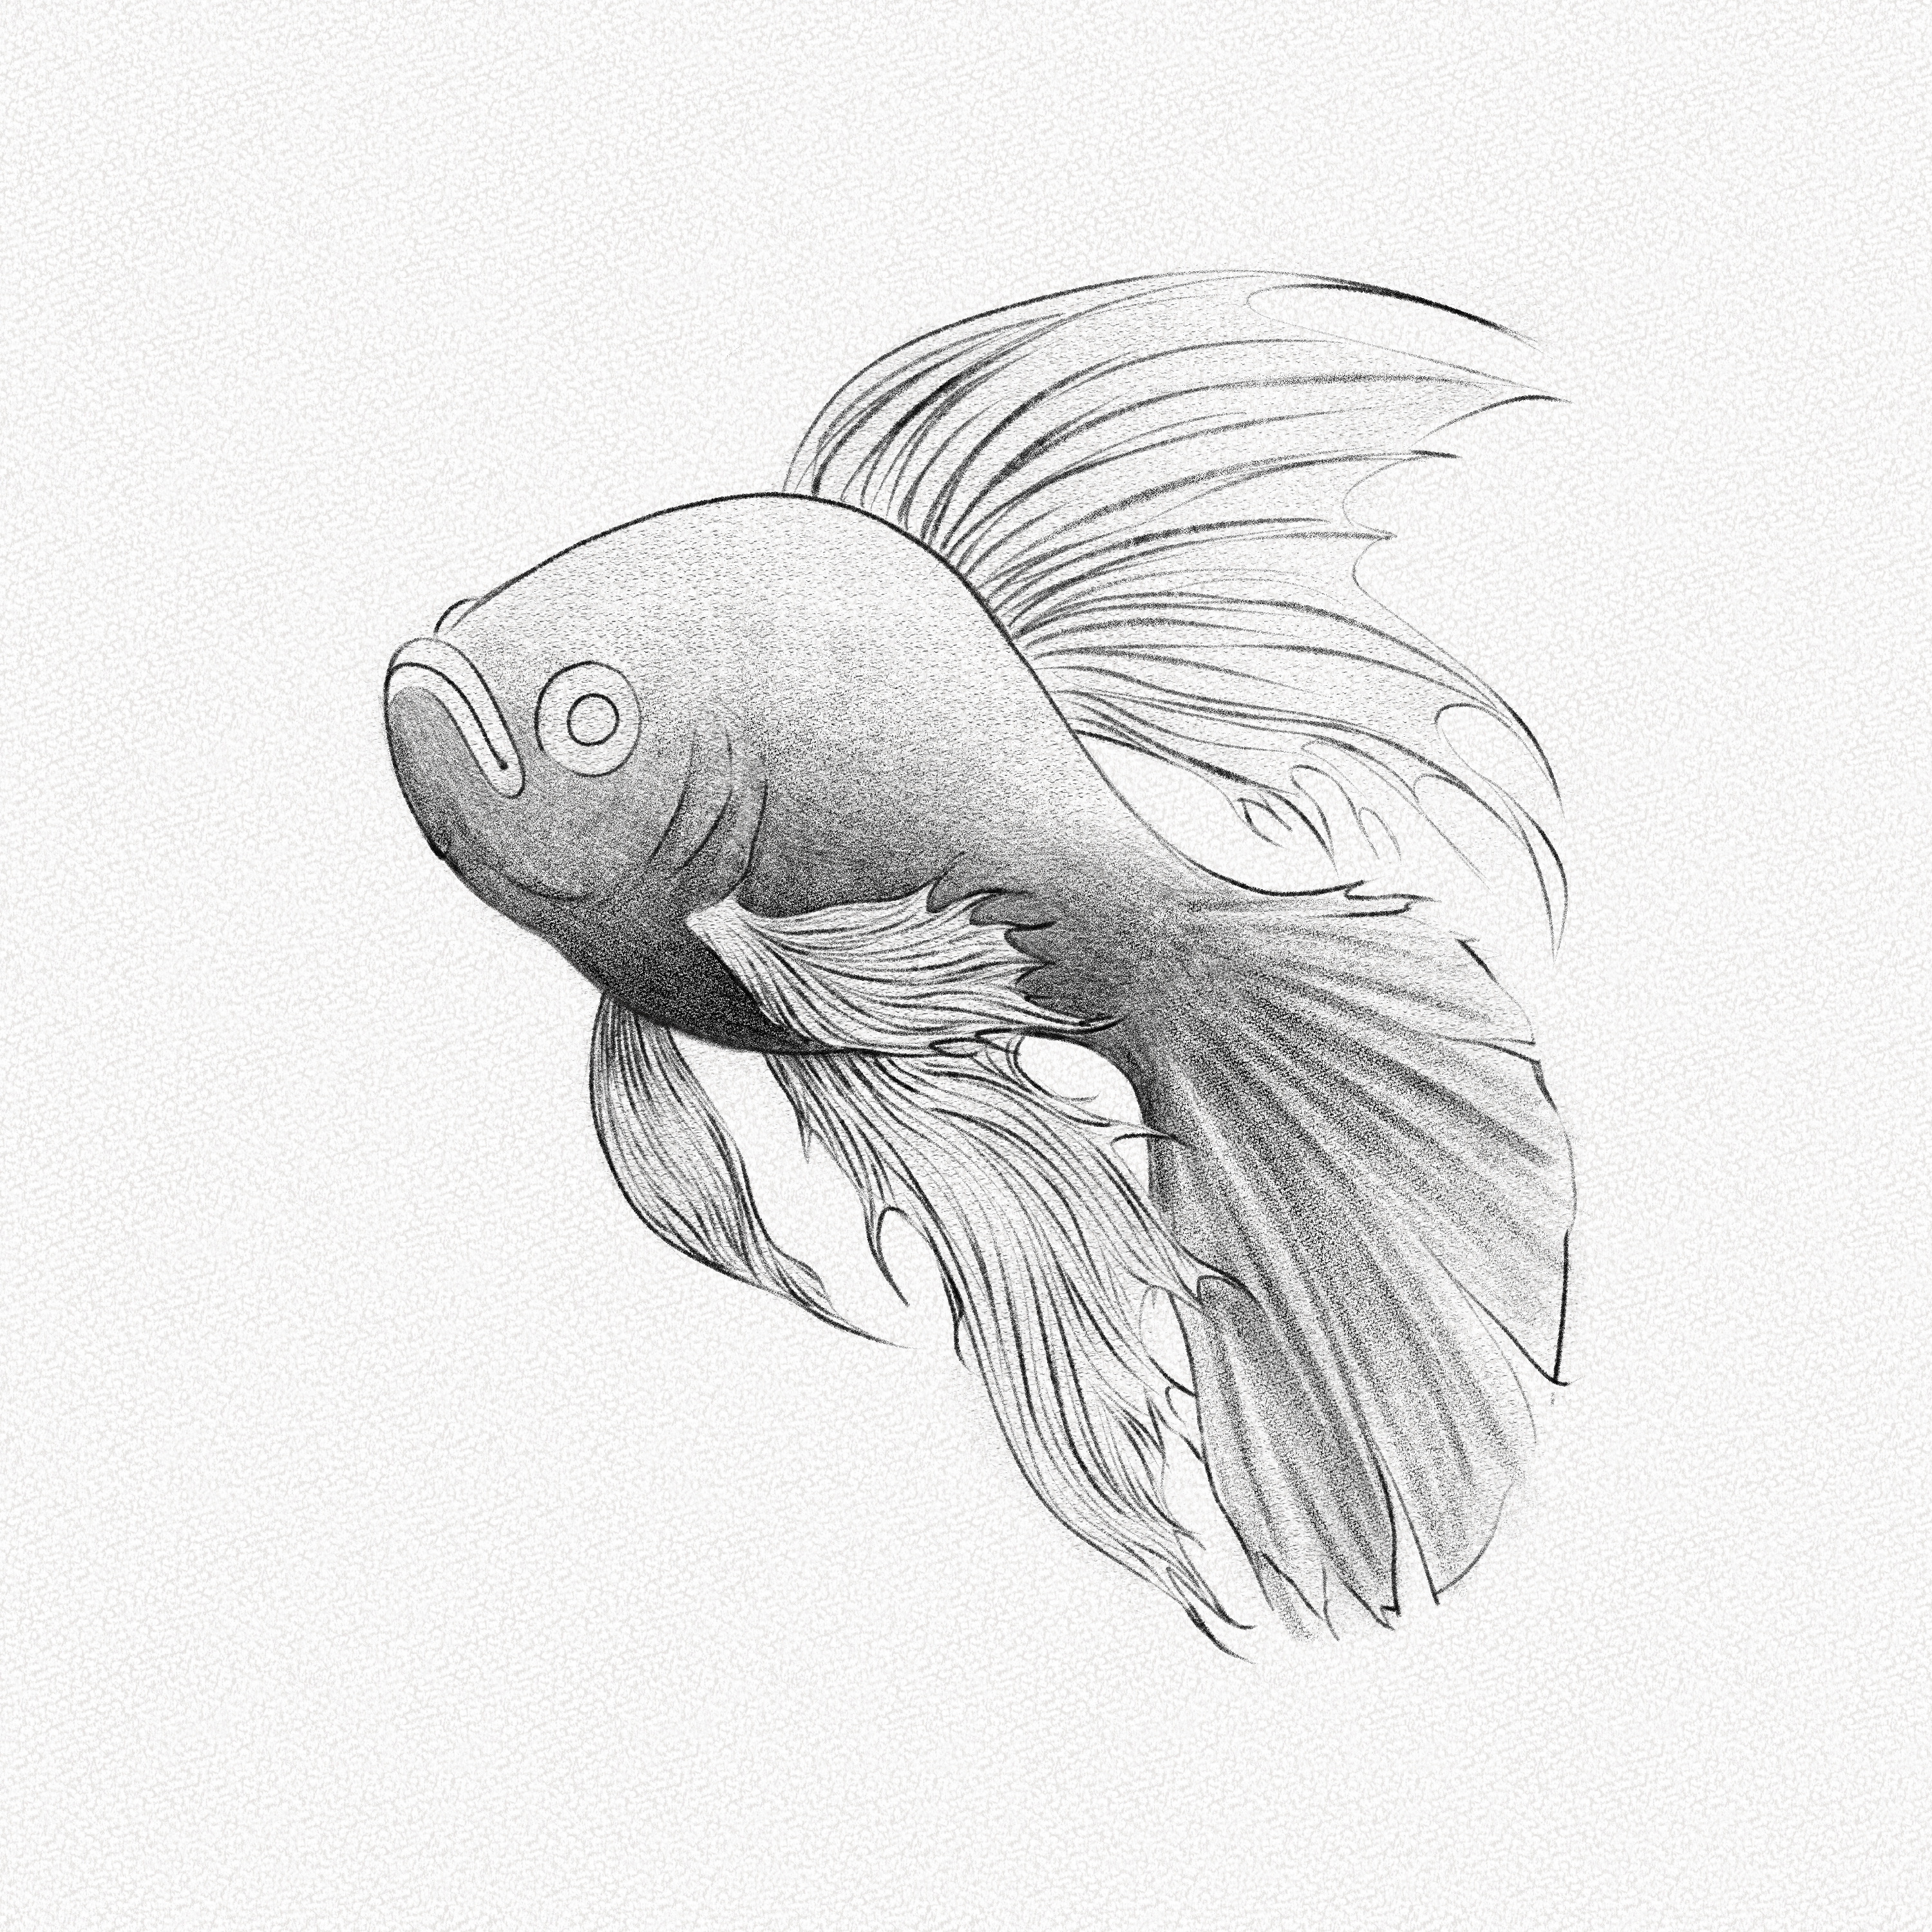
Step 21: Detail the tail.
Using your 4B and 8B pencil, add details to the tail as we did in step 18.
Step 22: Shade the eyes and mouth
Shade the eyes and mouth following the shapes’ volume. Add some depth to the belly as well.
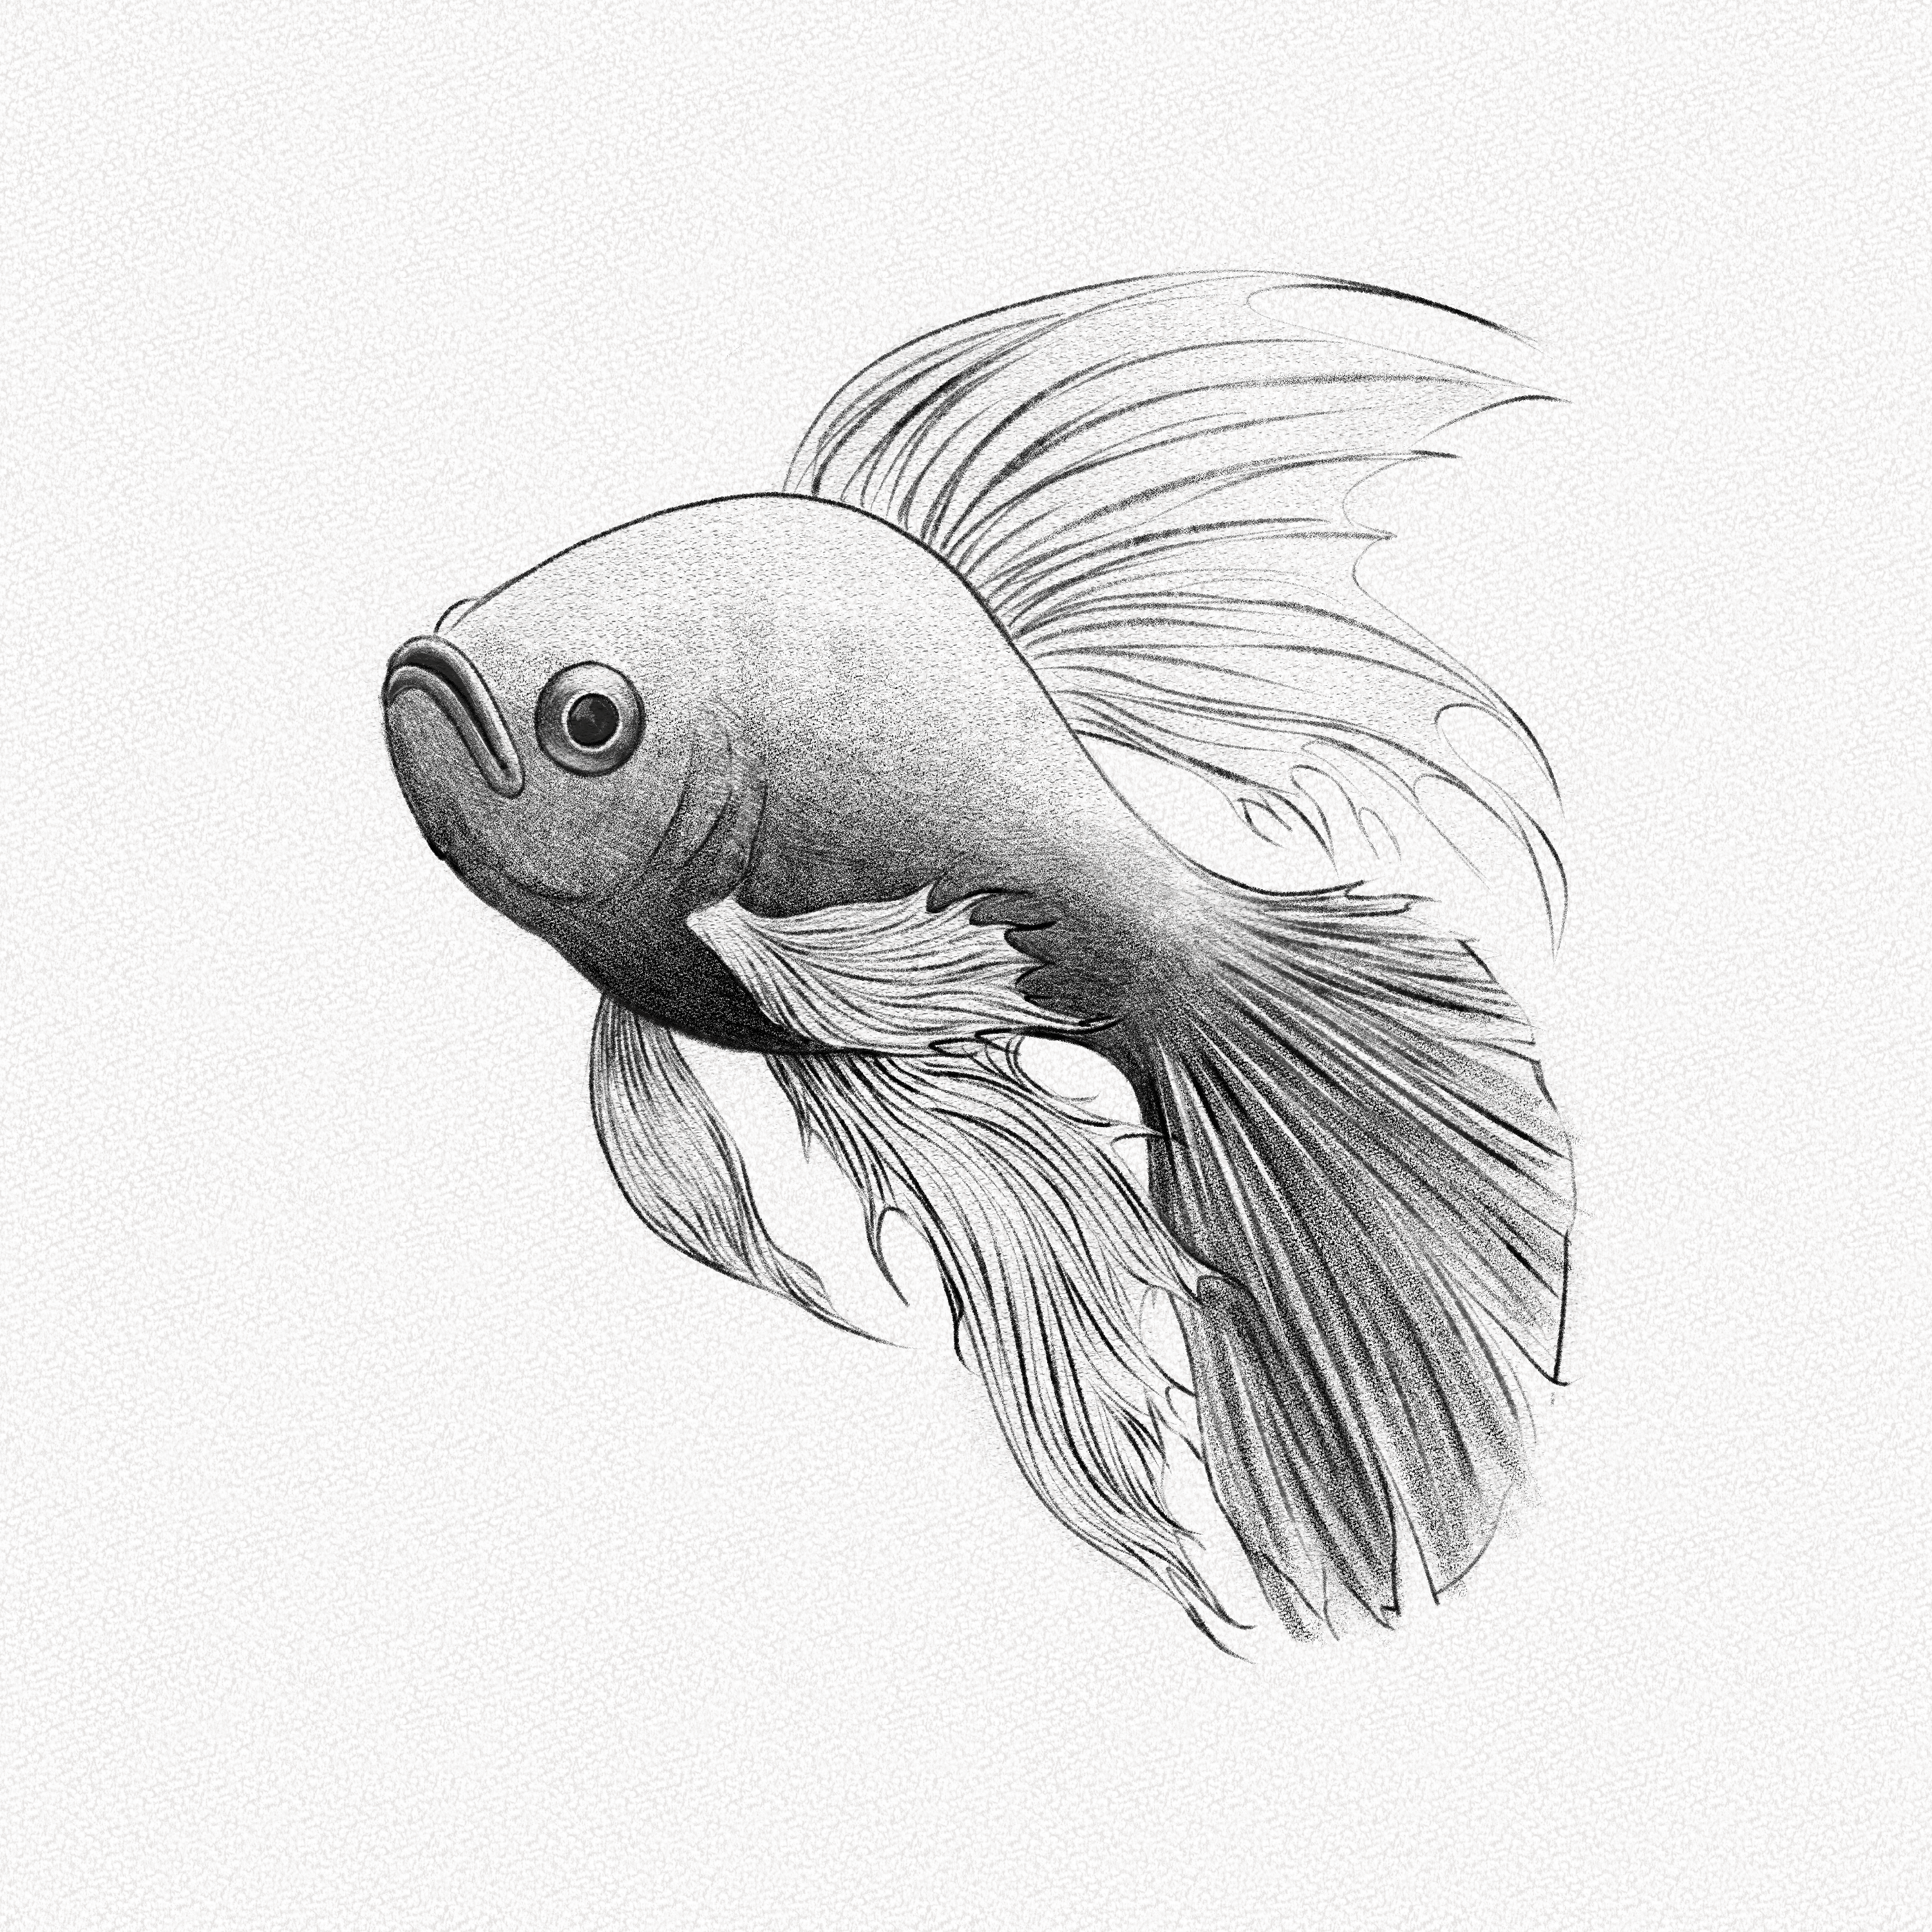
Step 23: Shade the head
Shade the head of the fish, adding contrast to the gills and the area between the left fin and body.
Step 24: Add the scales
With your 2H pencil, draw barely noticeable curved lines following the fish’s body shape and draw the scales on top.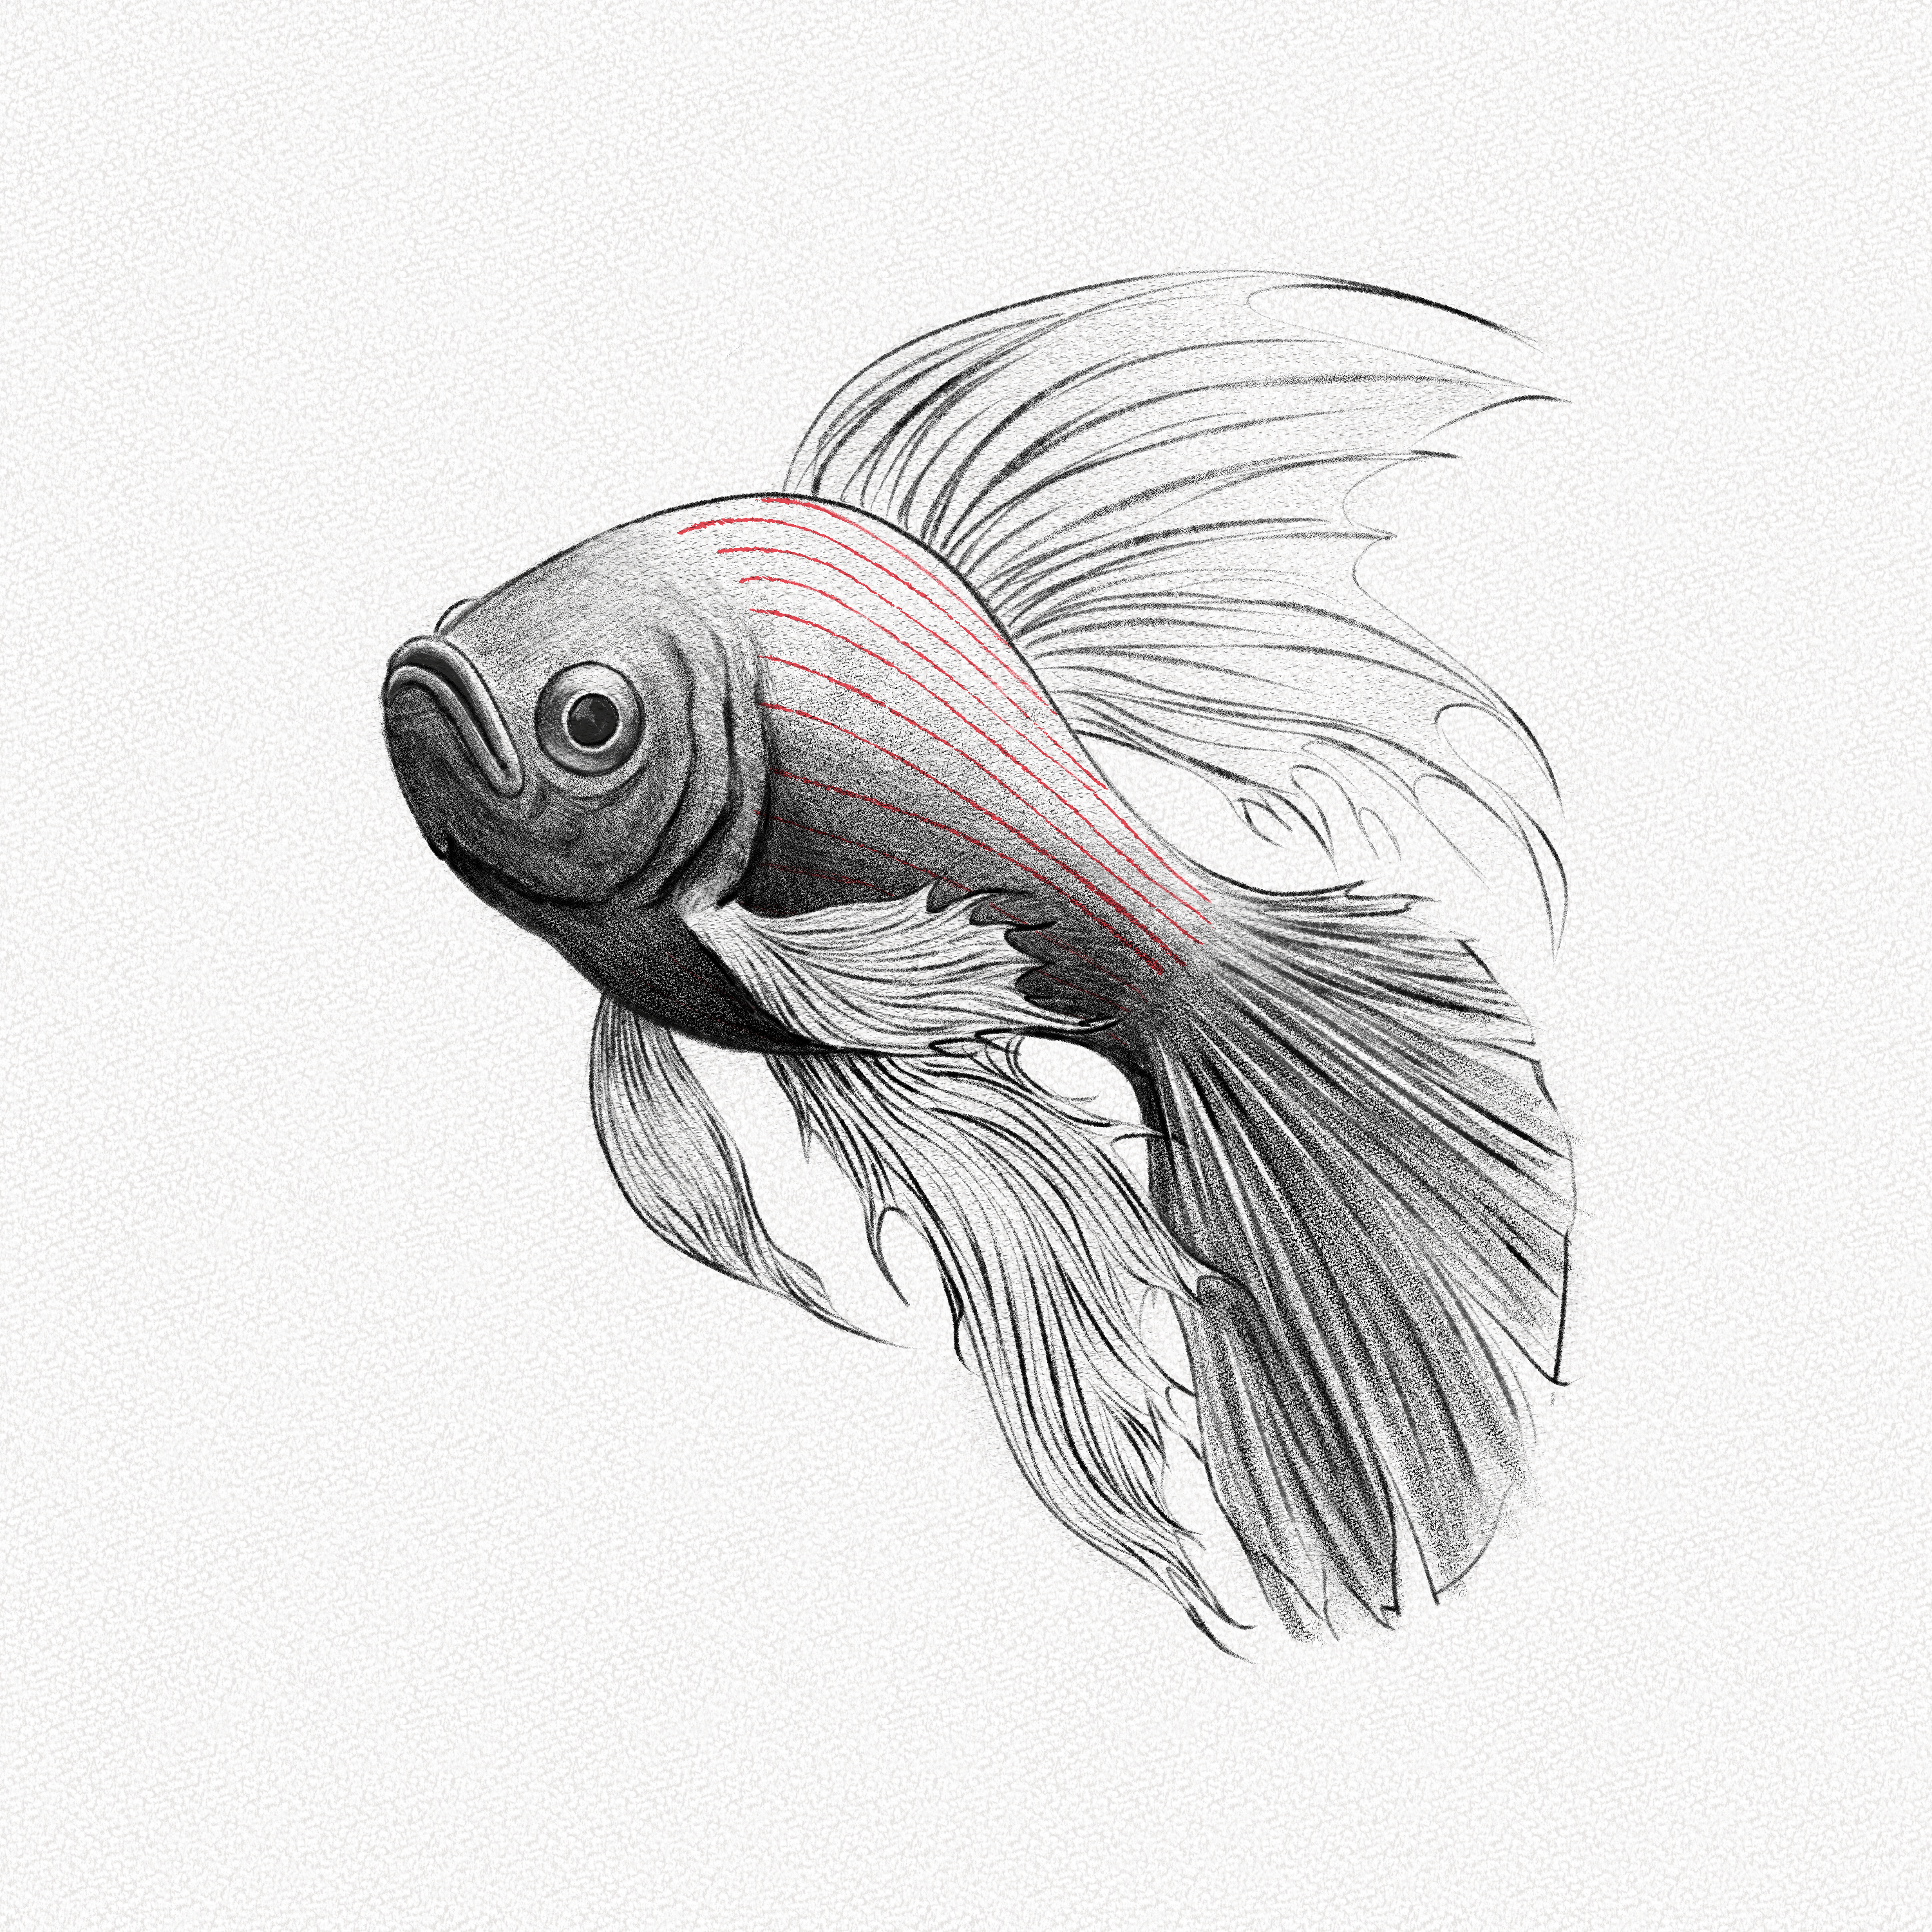
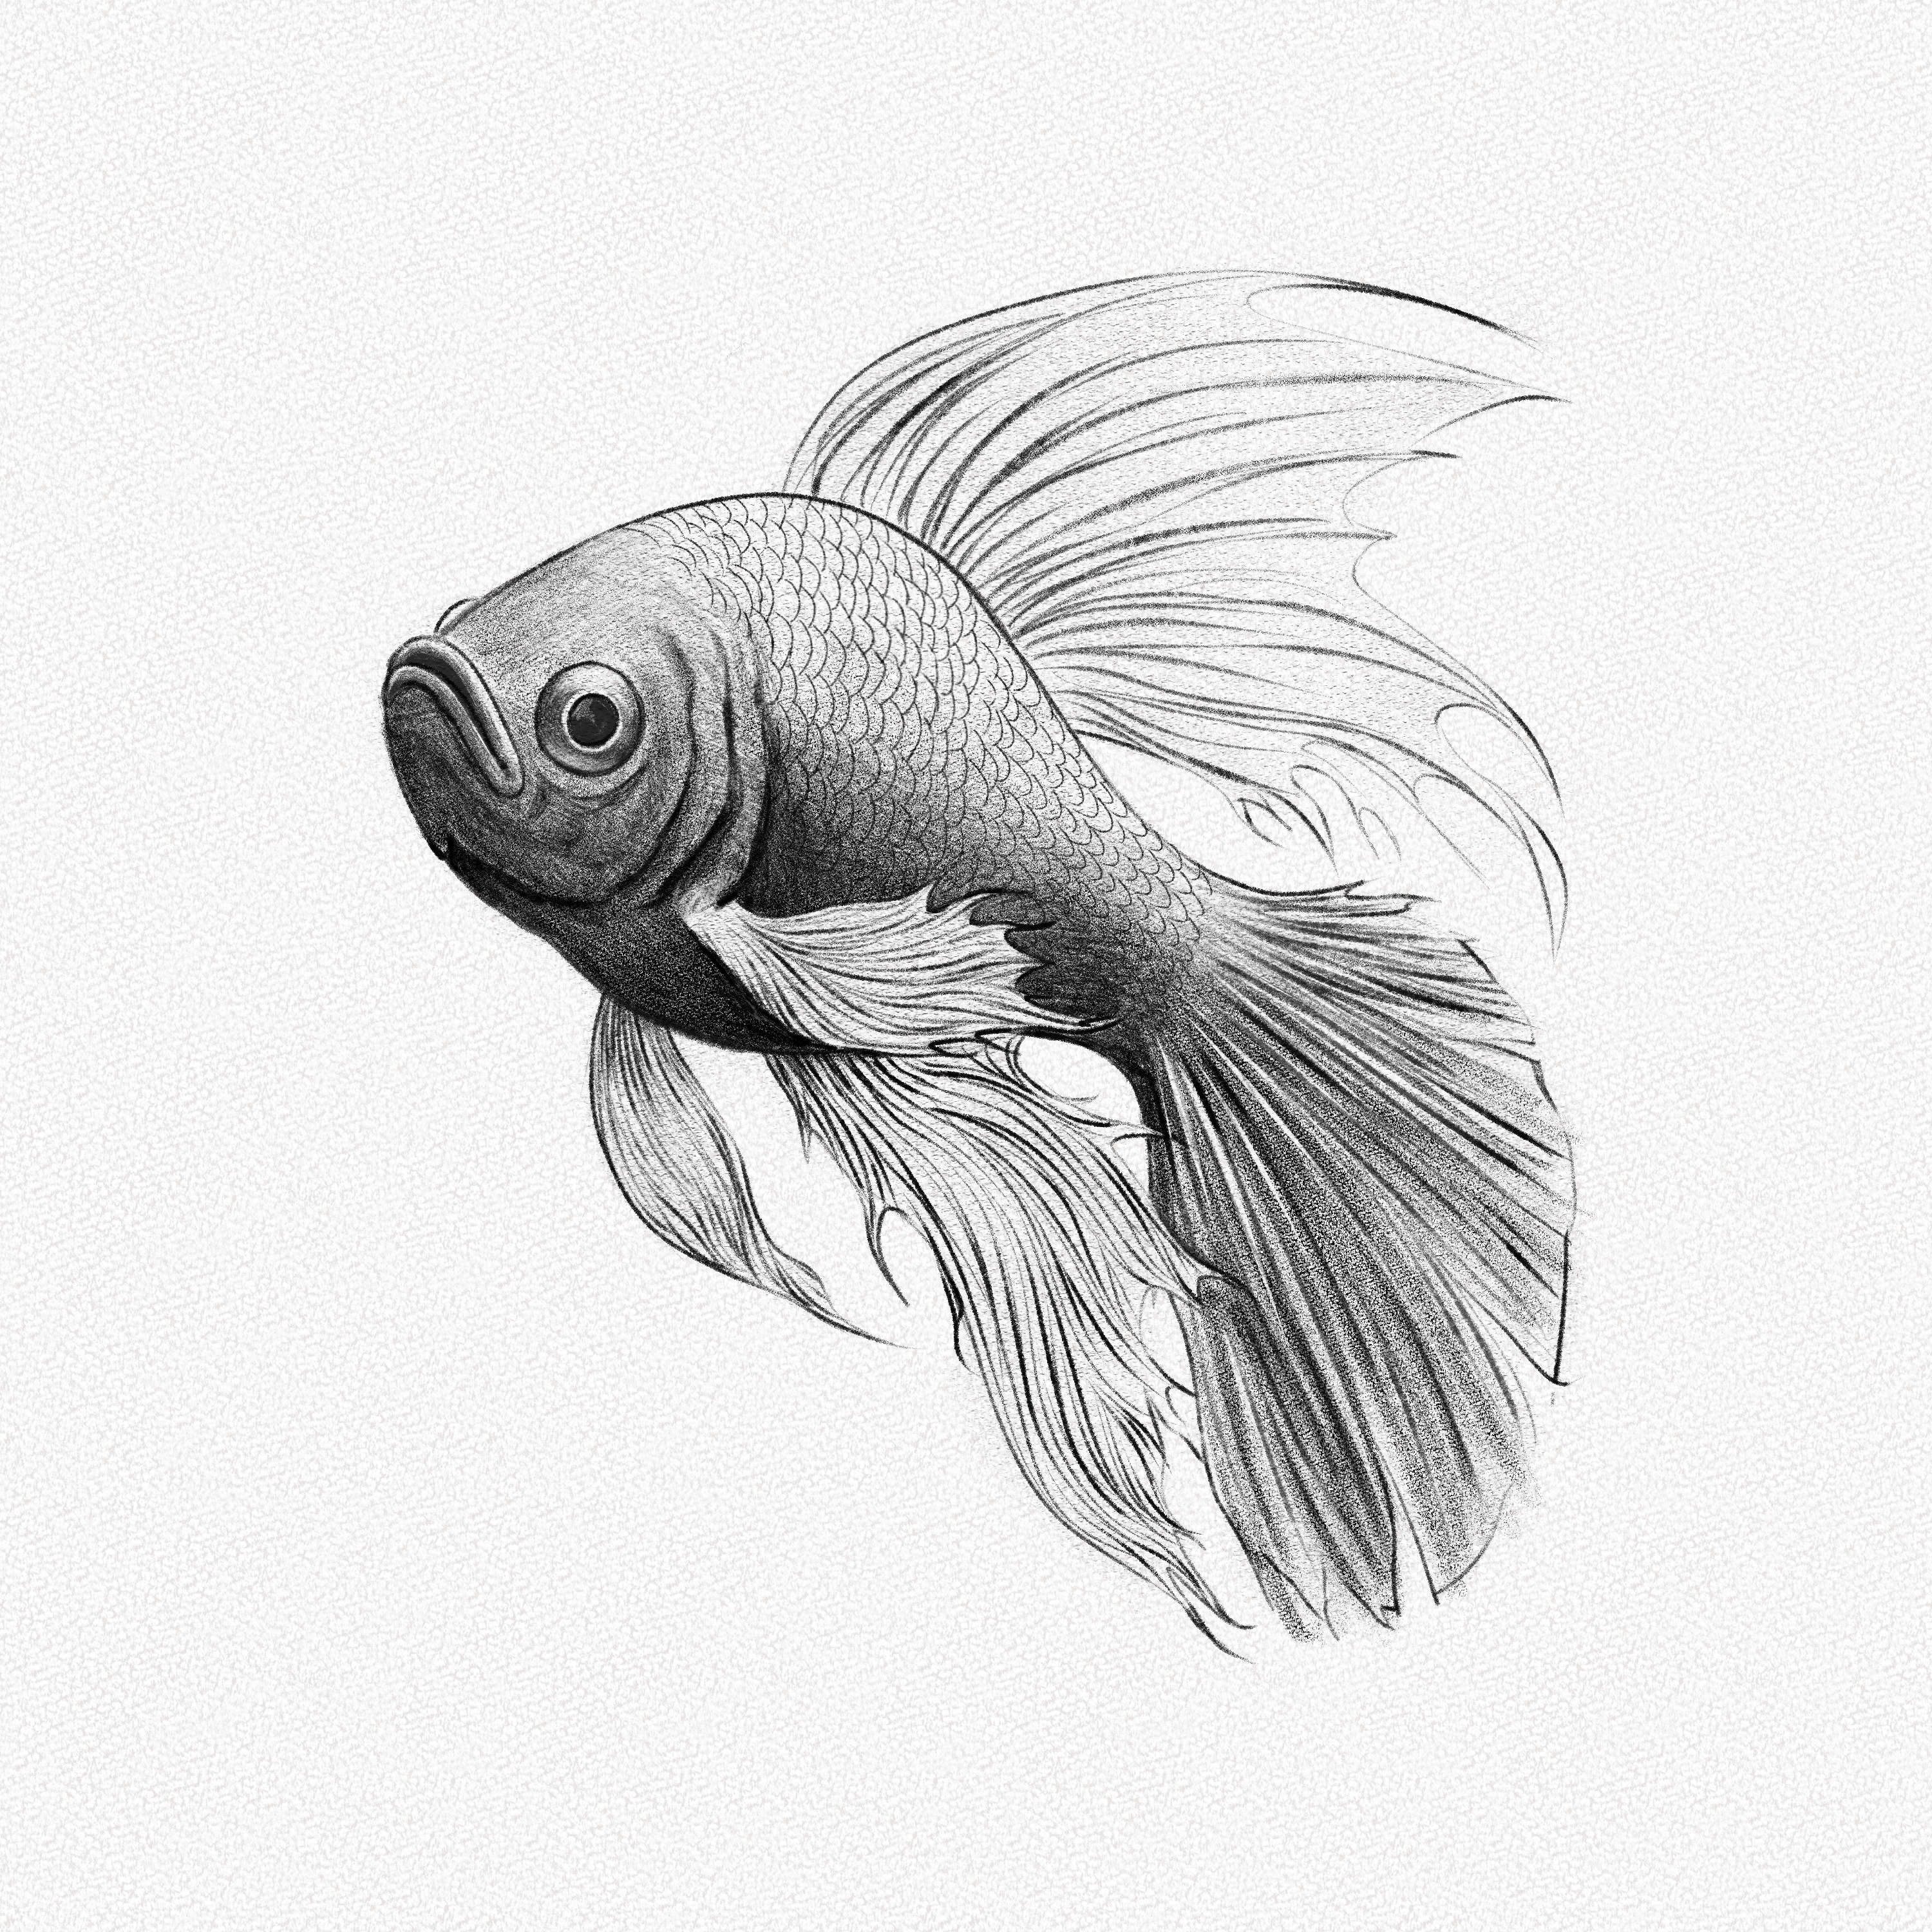
Step 25: Shade the scales
Shade the scales, adding more contrast to the ones placed near the head, and shade the others by pulling graphite in their direction with your blending stump.
Step 26: Shade the fins
Add some graphite to the upper and lower fins, especially to the parts close to the body.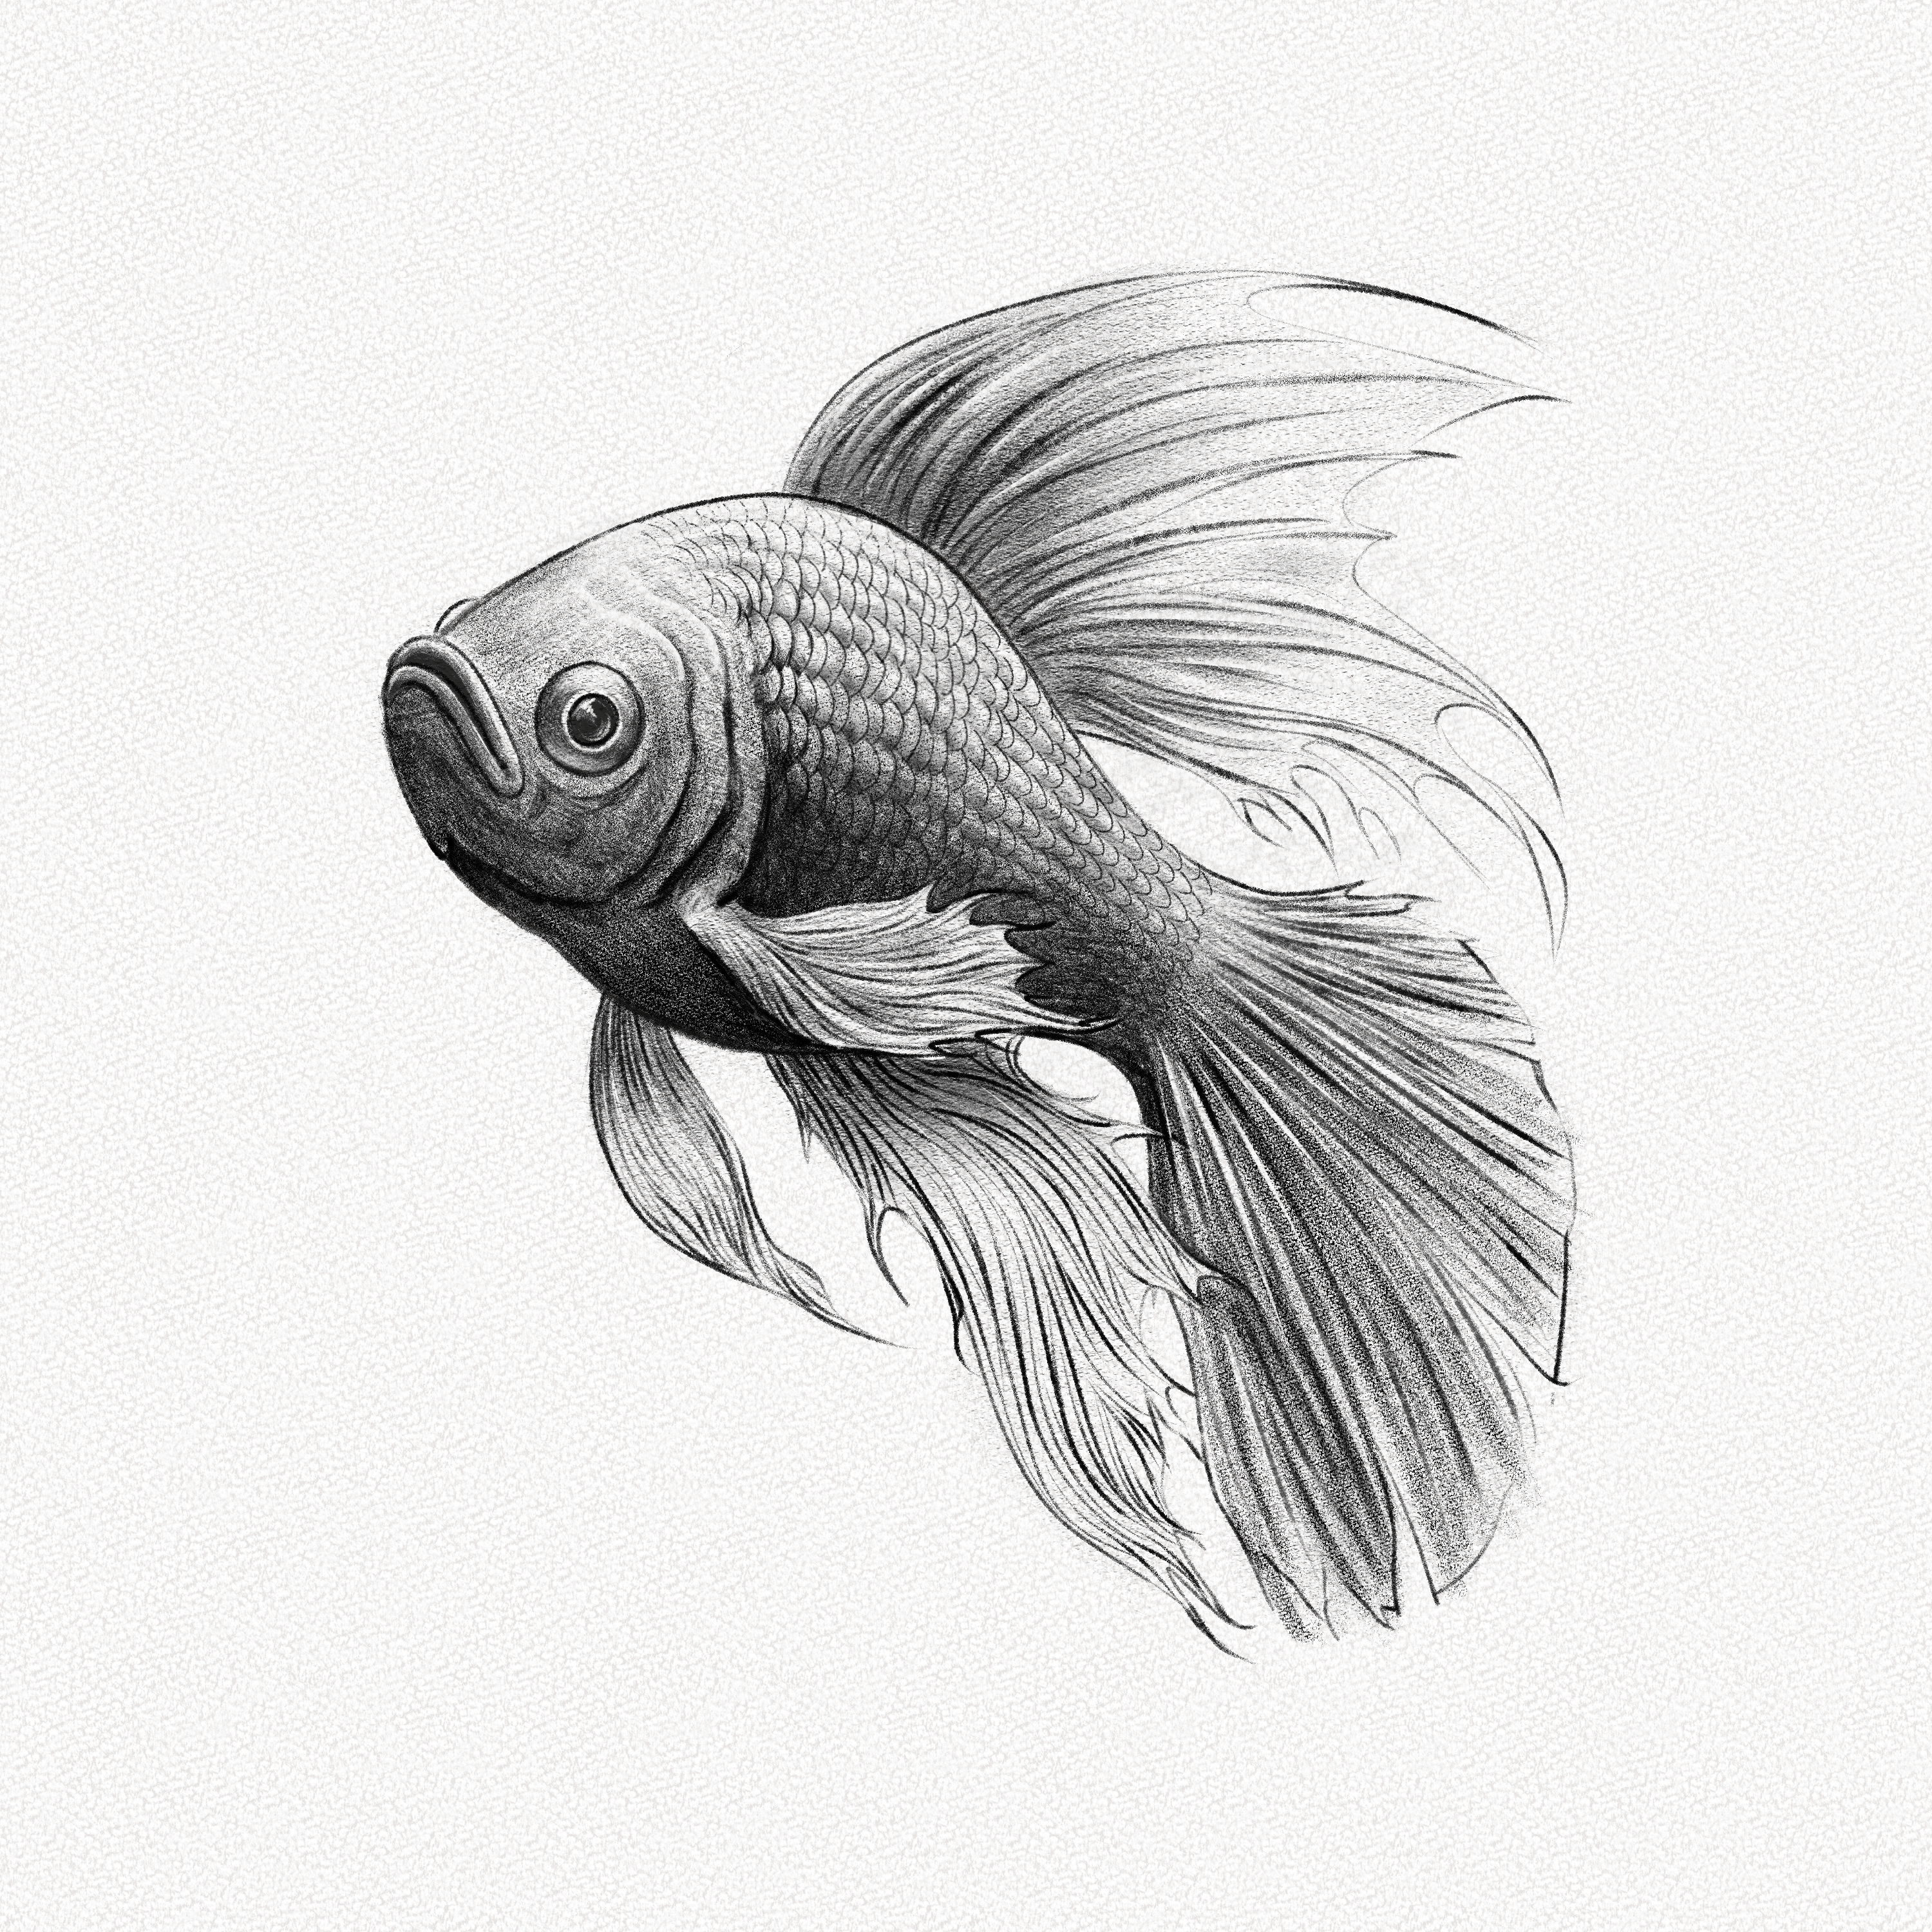
And that’s it. You’re done!
Congrats! We hope you had a good time and enjoyed the tutorial!
The final touches can really make your drawing pop. If you have practice with the technique, you can try and add a gradient in the background to mi mic water. Also, you can add reflections in the eyes or ripples in the water around the fish.
Remember, it’s not about creating a perfect drawing; it’s about enjoying the process and letting your creativity flow. So, keep at it, have fun, and who knows – you might just surprise yourself with what you create.
Thank you for joining us on this adventure, and happy drawing!