
I was recently chatting to a local friend about the course I’m setting up to teach local kids BBC BASIC and Logo. He mentioned that he had his brother’s boxed BBC computer in the loft and that he would donate it to me so that I had the final machine needed for the course. I’m going to be helping him with some work on his retro collection in return. What I didn’t realise at the time, was that the machine was a BBC Master 128!
The machine
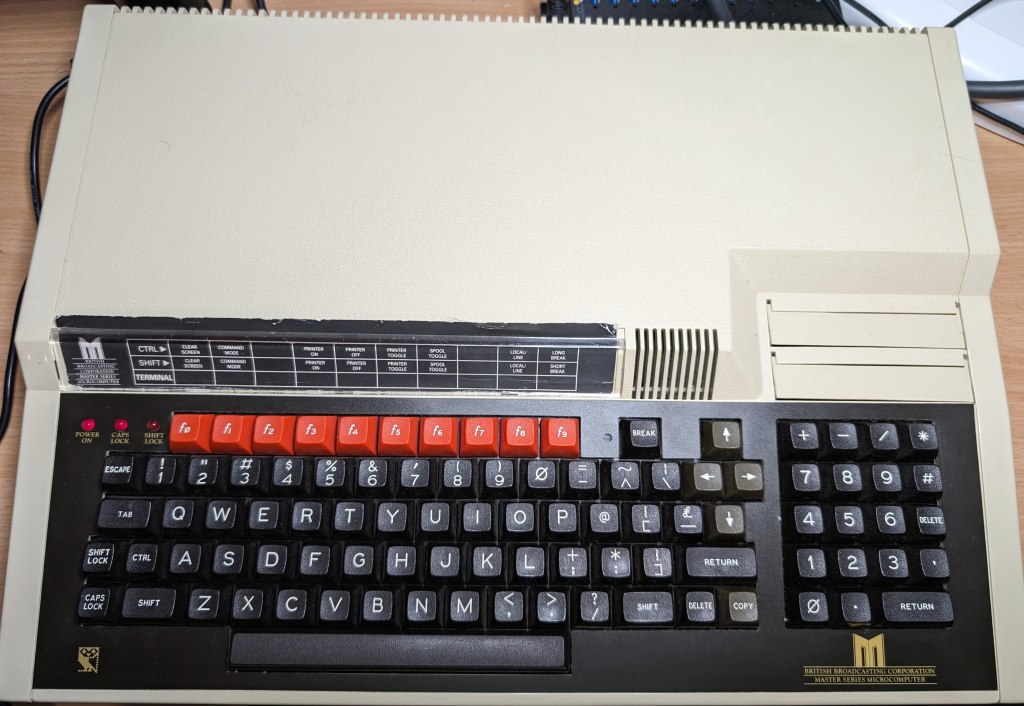
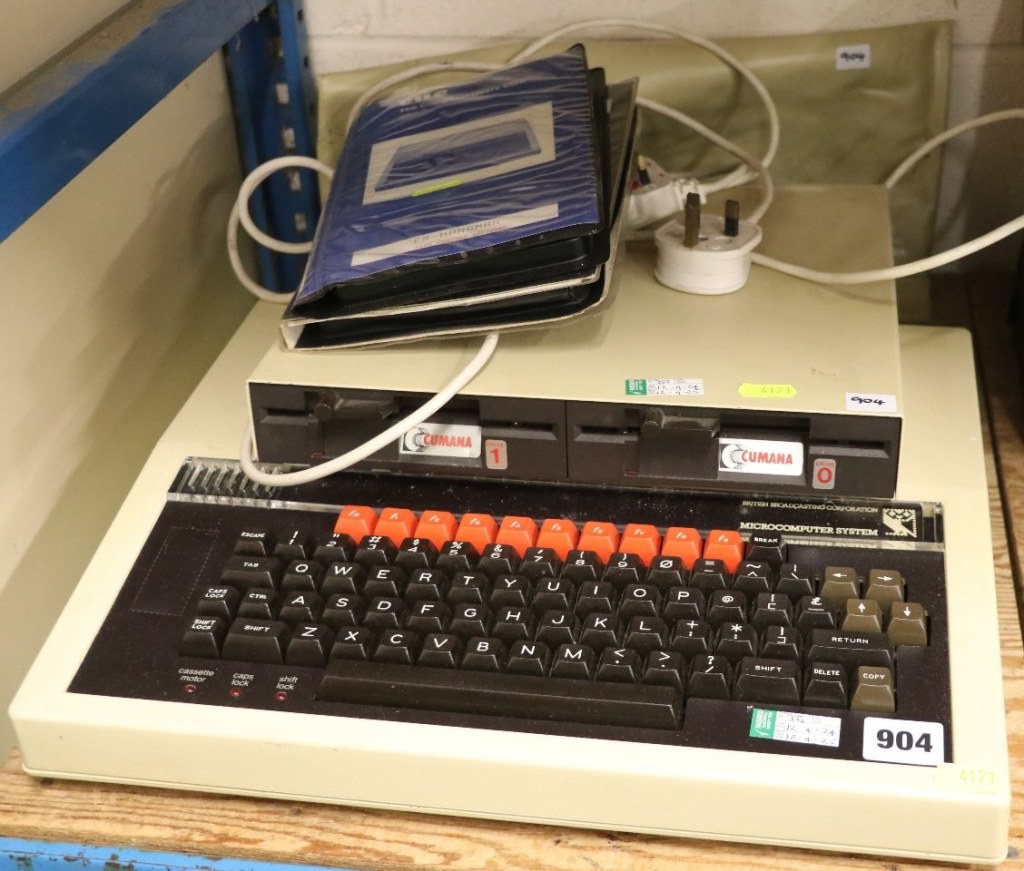
This is what was handed to me, the BBC Master 128 was boxed still with polys. It still has a shipping address on the box, it has likely never left this town. In addition, there were disk drives, floppy disks and books.


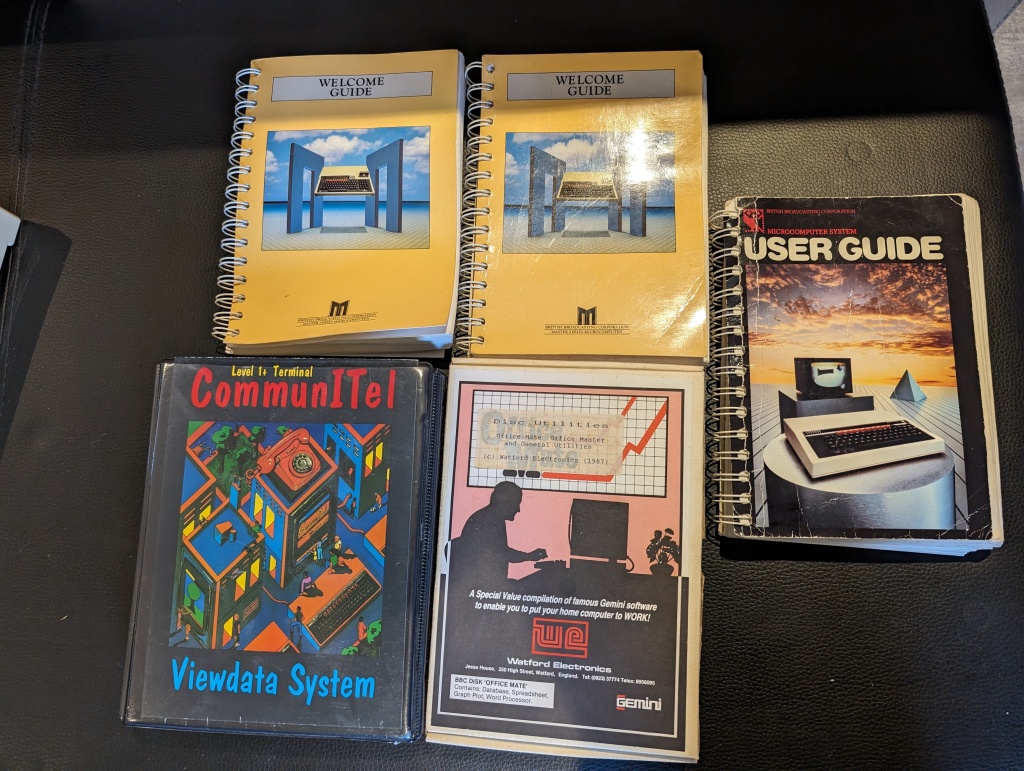

It looks like it was very well looked after. So let’s open it up and see what we have.
Opening up
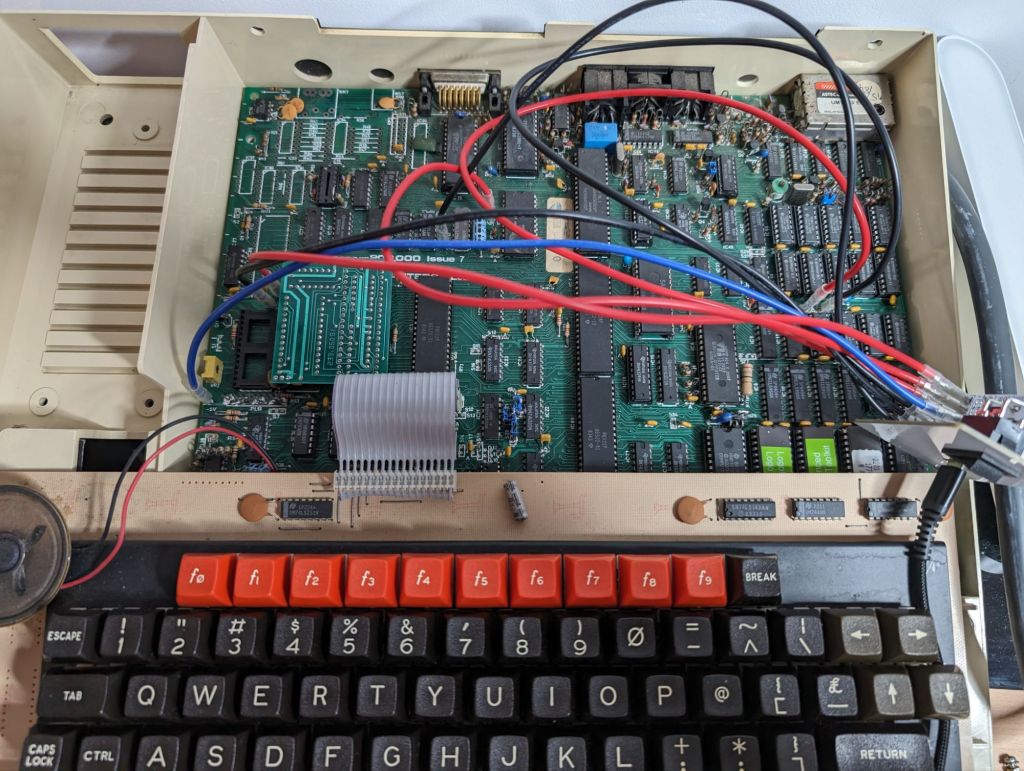
Unscrewing the long case screws from the bottom is all it takes to get the lid off, once inside, we see this…

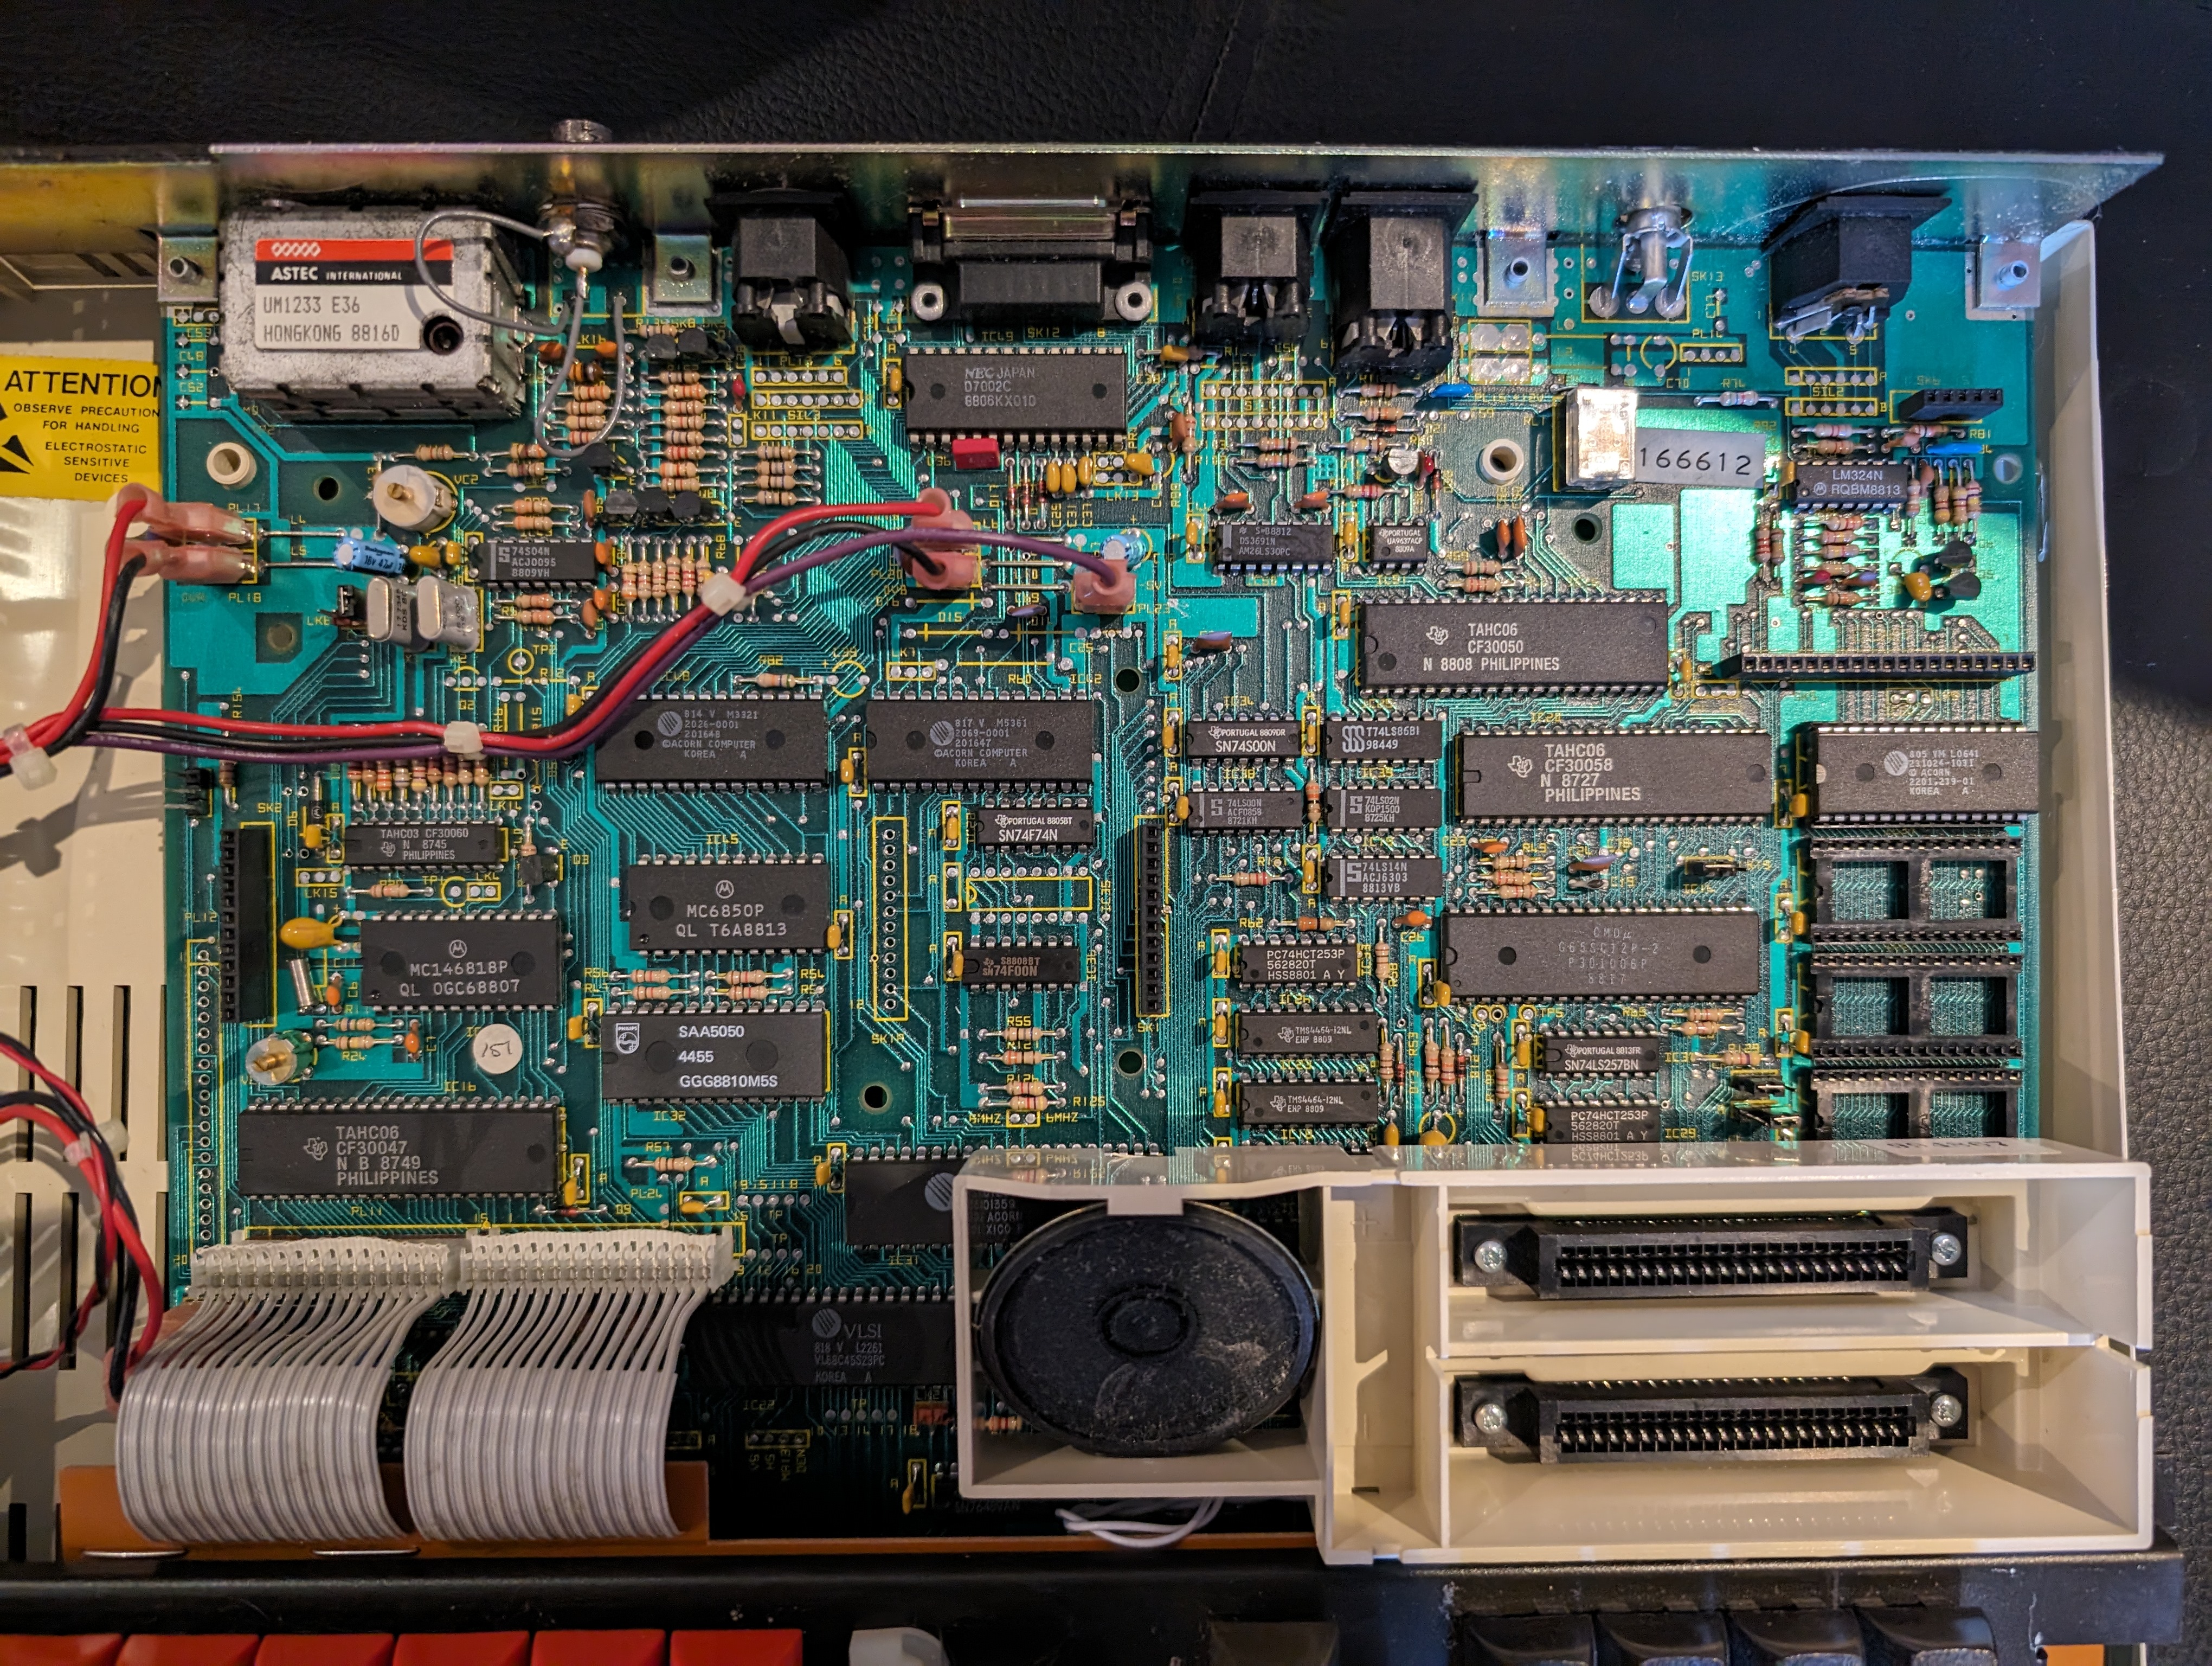

Well, that is not a great sign. It appears the battery pack which holds the settings has leaked pretty badly over the power supply, corroding the casing. In fact, there was still some liquid oozing out of the battery pack after I removed it!
Power supply
I need to open up the power supply anyway, just in case there is a Rifa capacitor that needs changing. Let’s see how bad the damage is.


That is a straight “nope” from me. The casing I could probably clean up, but the corrosion is covering components on the power supply, there is a good probability it has penetrated them too.
With a lot of work, I could clean and test everything, replacing suspect components. But I decided to just write it off, I have an alternative…
New power supply
The BBC Master 128 uses the following voltages:
- 5V for most of the machine
- -5V for the audio circuit and auxiliary power port
- 12V for the auxiliary power port
There is no amp spec for the Master 128 PSU available, but it should be very similar to the BBC B, as they are similar machines. So this means:
- 5V at 3.5A (half for the motherboard)
- -5V at 0.1A (1/4 for the motherboard)
- 12V at 1.25A (all for the auxiliary power port)
So, I need something that can provide all of that. It is possible to use a Meanwell PSU for this, but I have something else in my workshop.
The new power supply is a combination of an ATX4C and a 90W PicoPSU (UK suppliers available). These combined will be able to give all the required voltages from a single 12V input. The specifications are:
- 5V at 6A
- -5V via a 79M05 regulator on the -12V line, capable of at least 0.1A
- 12V at 5A
So, this should run without too much stress to power the machine. After testing that the voltages looked correct, I temporarily wired it up to test.


It boots! The text showing on the screen is to be expected due to the machine not having a battery and not having the software settings configured.
Now to make it more permanent. I designed a new 3D-printed caddy to hold the PSU setup in case.

I’m also going to solder the wires to the ATX4C instead of using the clip mechanism. They should be a little more secure that way. The end result looks like this:


In hindsight, I should have made the back a bit taller, but I guess this means it is well ventilated, and I’m not going to reprint now just for that.
Battery
In any Acorn computer that uses a battery, the battery is required. Acorn leant heavily on this to store machine settings, very much like PCs. I could replace the battery pack with another 3-cell AA setup, but instead I chose to use a single-AA 3.6V non-rechargable lithium battery. This should last around 10 years in a BBC Master 128 and should not leak like standard batteries do.
The machine has a recharge circuit, as it was originally designed for NiCads, but a simple diode and resistor (for protection if the diode fails) in-line will take care of that.
The BBC Master 128 actually has a place to wire up a single-cell battery, in the plastic mould that holds the speaker. So, I built a basic cable with the diode and resistor in, added blade connectors and connected them through the battery caddy (which had holes for blade connectors). The end result looked like this:

Holding down ‘R’ when powering up resets the settings chip, then CTRL+D+BREAK will reboot the machine into a * prompt. From here we can set things up. Some basic settings are available in the Welcome Guide for the BBC Master, but instead I used the list from this link.

I later set the FILE to 14 which is ADFS ROM ID instead of DFS, which is 9. Details of all the settings can be found on the Chris’s Acorns mirror.
The chip that stores the settings, of course, has a real-time clock, but this real-time clock is not Y2K compliant. I set it for today’s date and time, and it corrected the year to 1924.
Powering the system down, leaving it off for a while, and then powering it back on to check shows that it is storing the time and date correctly.

Finishing Up
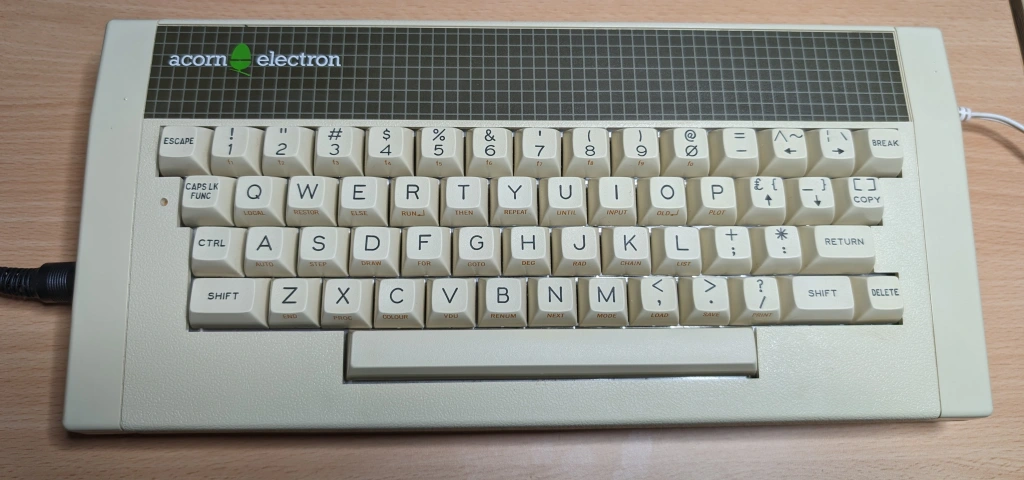
All that is left is to put the lid back on. This machine is all good! I have shoved a ROM inside it containing Logotron LOGO, ready to use when I do the workshop.

Leave a comment