
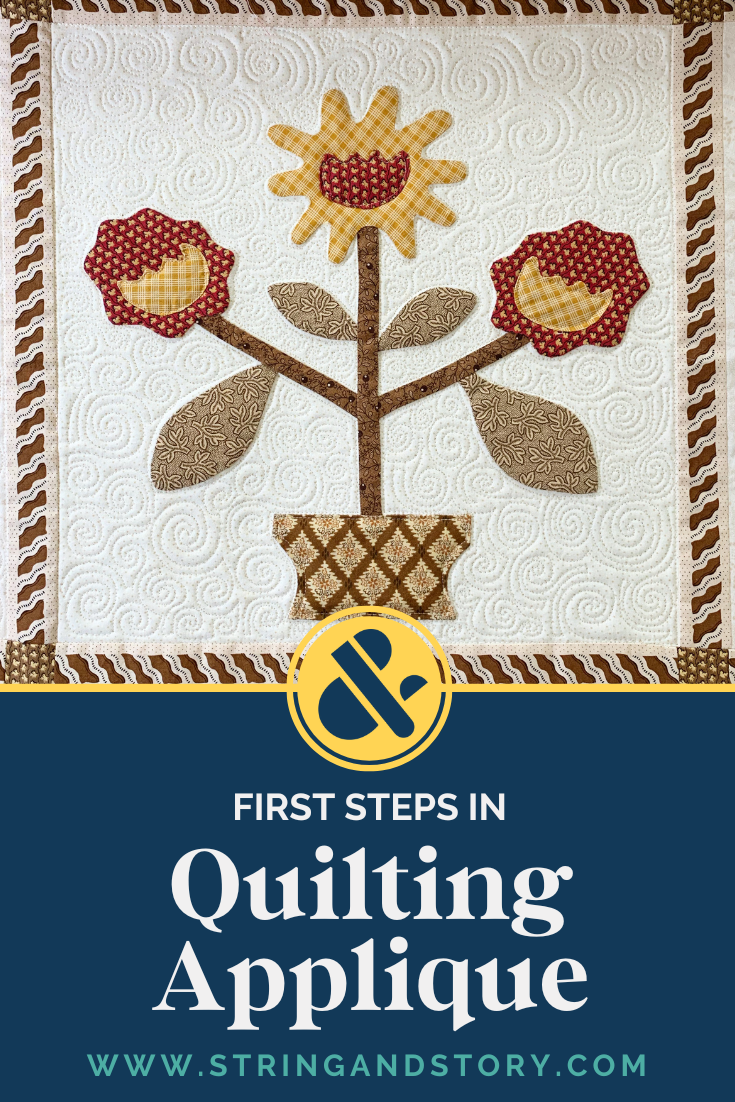
Basic Steps to Quilting Appliqué
Usually, I talk about all the texture free motion quilting adds to a quilt, but when applique has already added an extra layer of dimension, what is the role of the quilting? Furthermore, how do you decide what motifs to use-- and where-- and whether the appliqué itself needs some quilting? Join me as I take you through some basic steps to get started!
(This post contains affiliate links)
I recently quilting two large appliqué quilts for a long arming client, and, I admit, I was pretty intimidated to get started! Appliqué just felt so different compared to working with just piecing. With piecing, if I want to ignore the seamlines, I just do, it’s no big deal, the quilt looks cool, and everyone is happy. But with appliqué, there’s this added dimension, and those are NOT lines you should just quilt over willy nilly. My client spent a lot of time creating those gorgeous shapes, and I was going to treat them with great respect. I created a simple, step by step method to quilt these quilts, and if you’re experimenting with quilting appliqué, I hope it helps you get started!
Note Bene: I quilted these on my longarm, but everything I discuss in this blog will work on your domestic machine, too!
Video
This video will show you a synopsis of how I quilted a recent appliqué quilt step by step. Below, I’ve written out my method step by step for a similar project.
(You’ll notice I didn’t stitch on the appliqué in this video, even though the trees were on the larger side. That’s because this client will be adding additional felt appliquéd cardinals on top of trees that will secure those areas properly)
Making a Quilting Plan
A quilting plan is your roadmap for quilting your project. We make all of our decisions on paper before we begin stitching. If you’ve never made a quilting plan before, you can download a free resource here:
Let me walk you through how I did this for appliqué quilts:
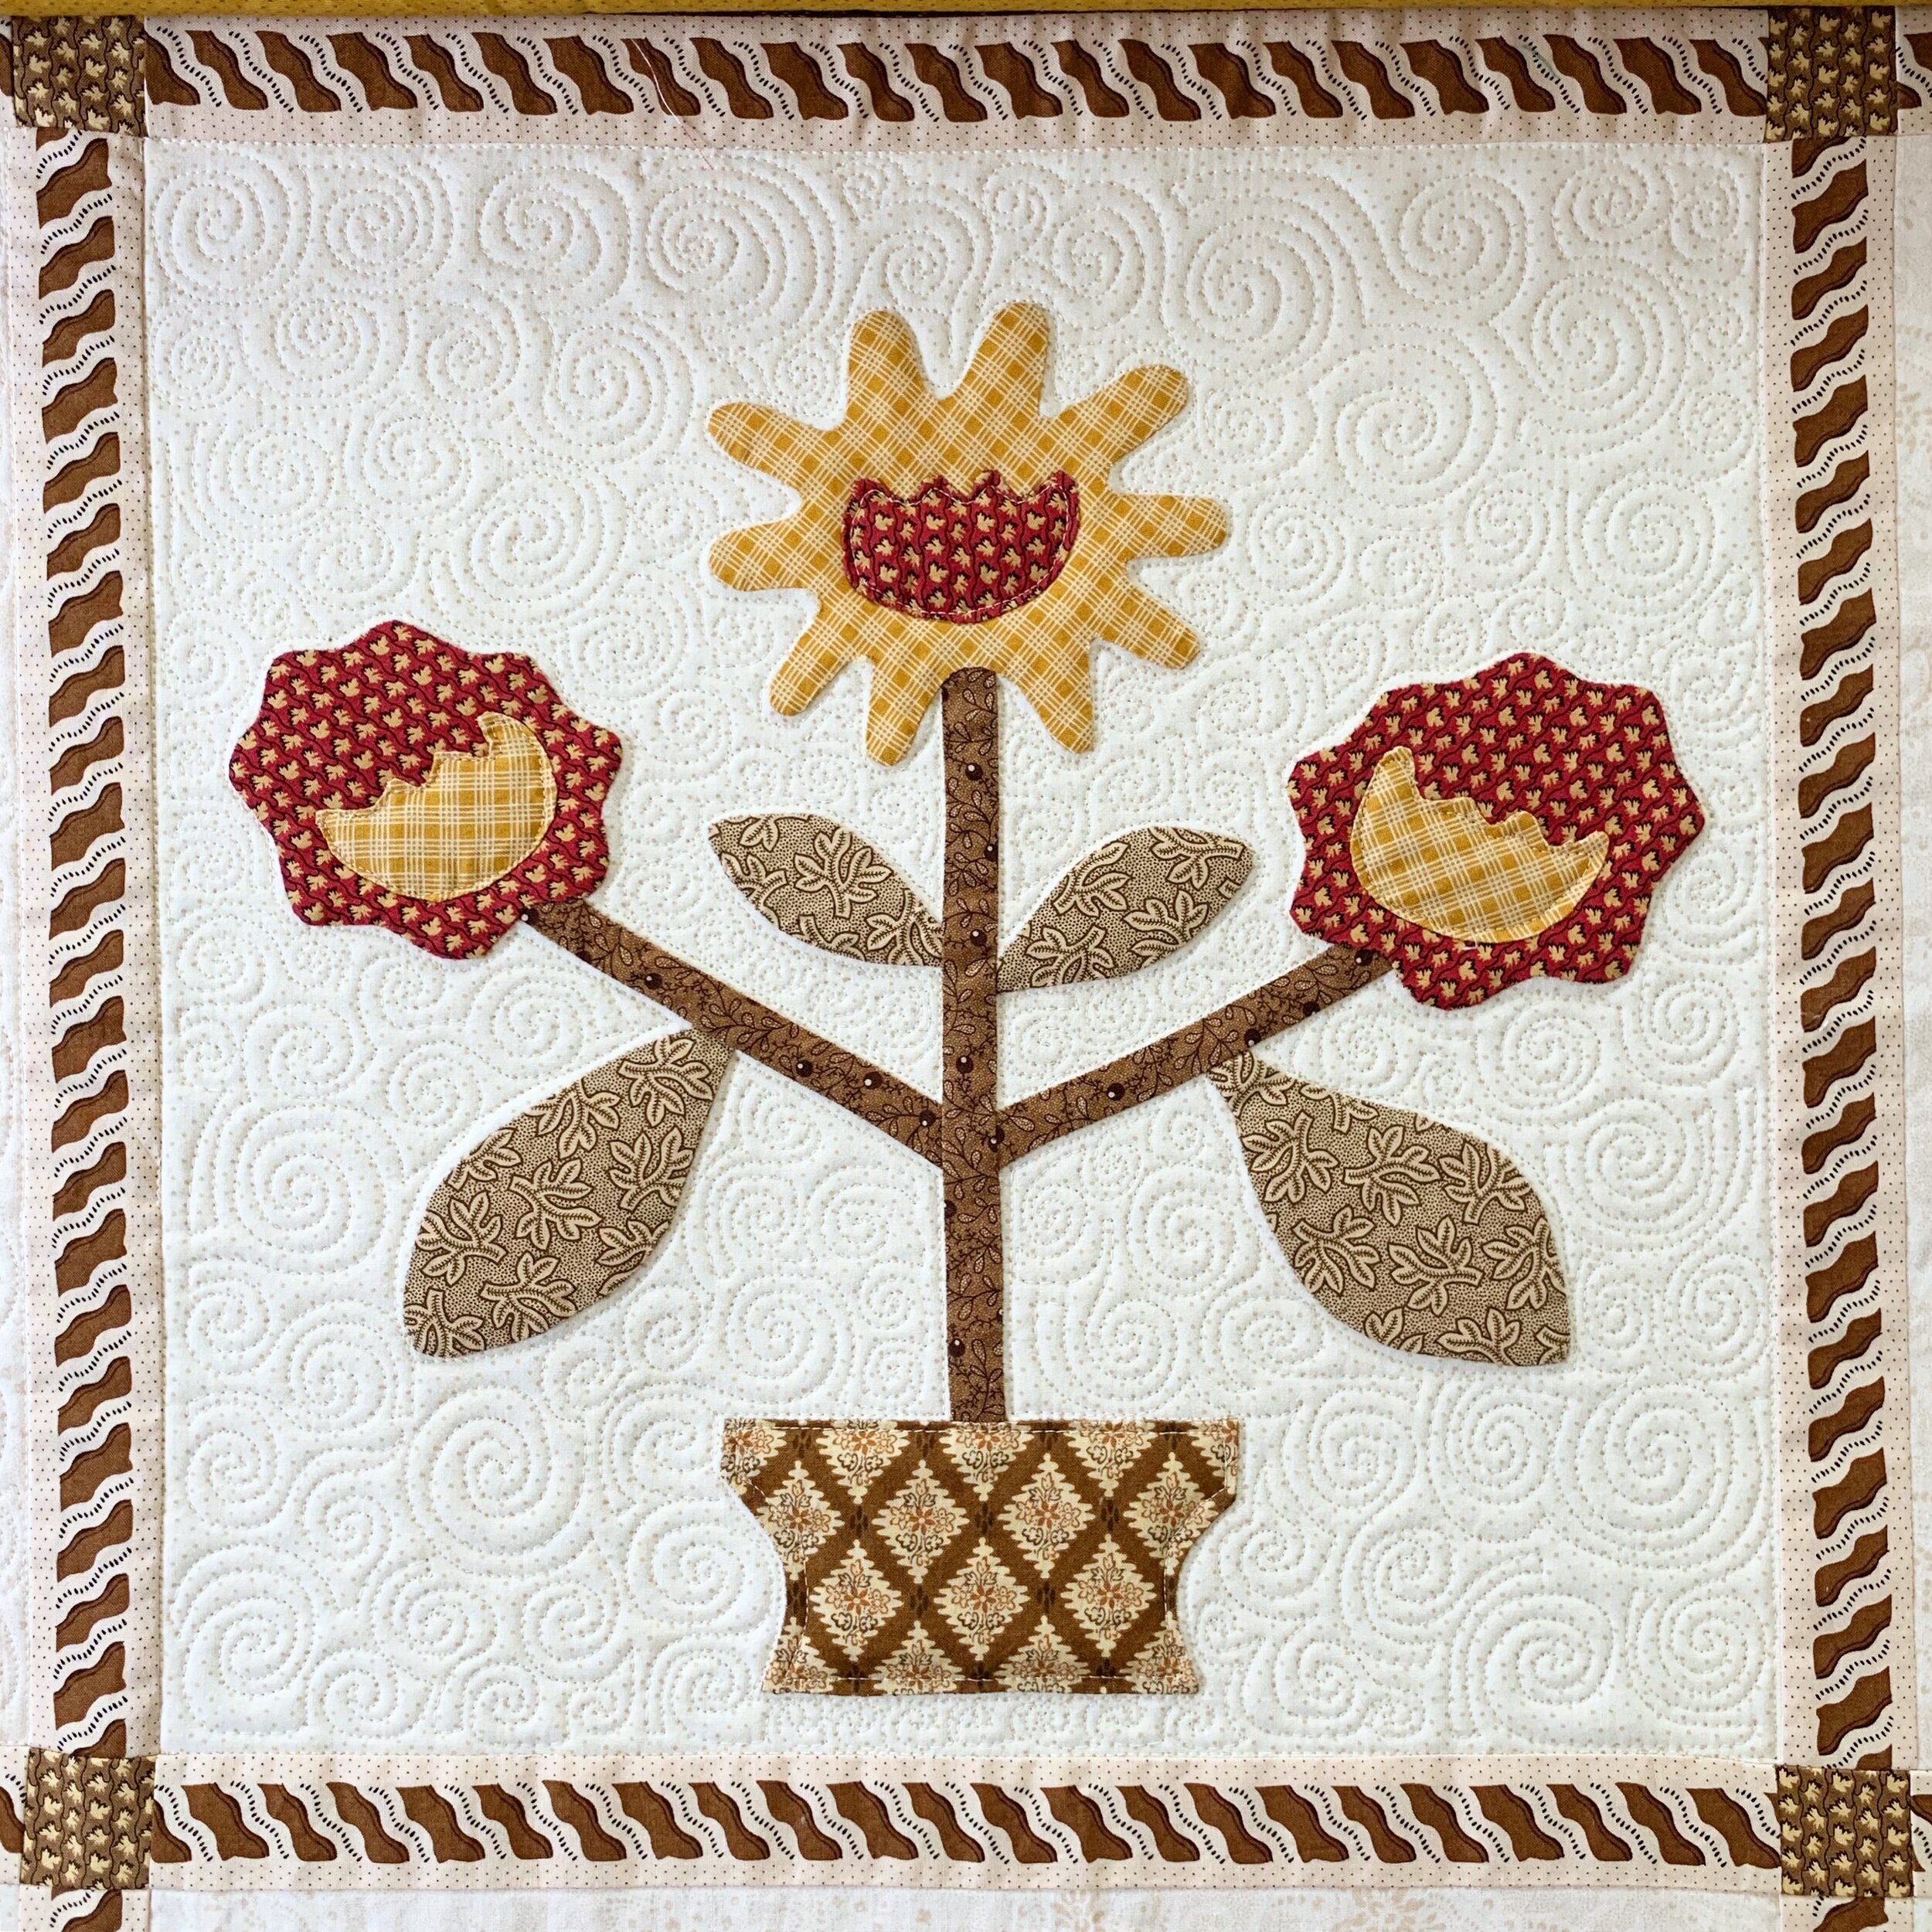
Choose your background motif. Start by deciding what you want in all that negative space .Whatever you choose, make sure you enjoy quilting it and feel confident doing so. I can guarantee there’s more background than you think! Common choices include: meanders, swirls, pebbles, paisleys, and feather meanders (you know, if you’re feeling fancy!)
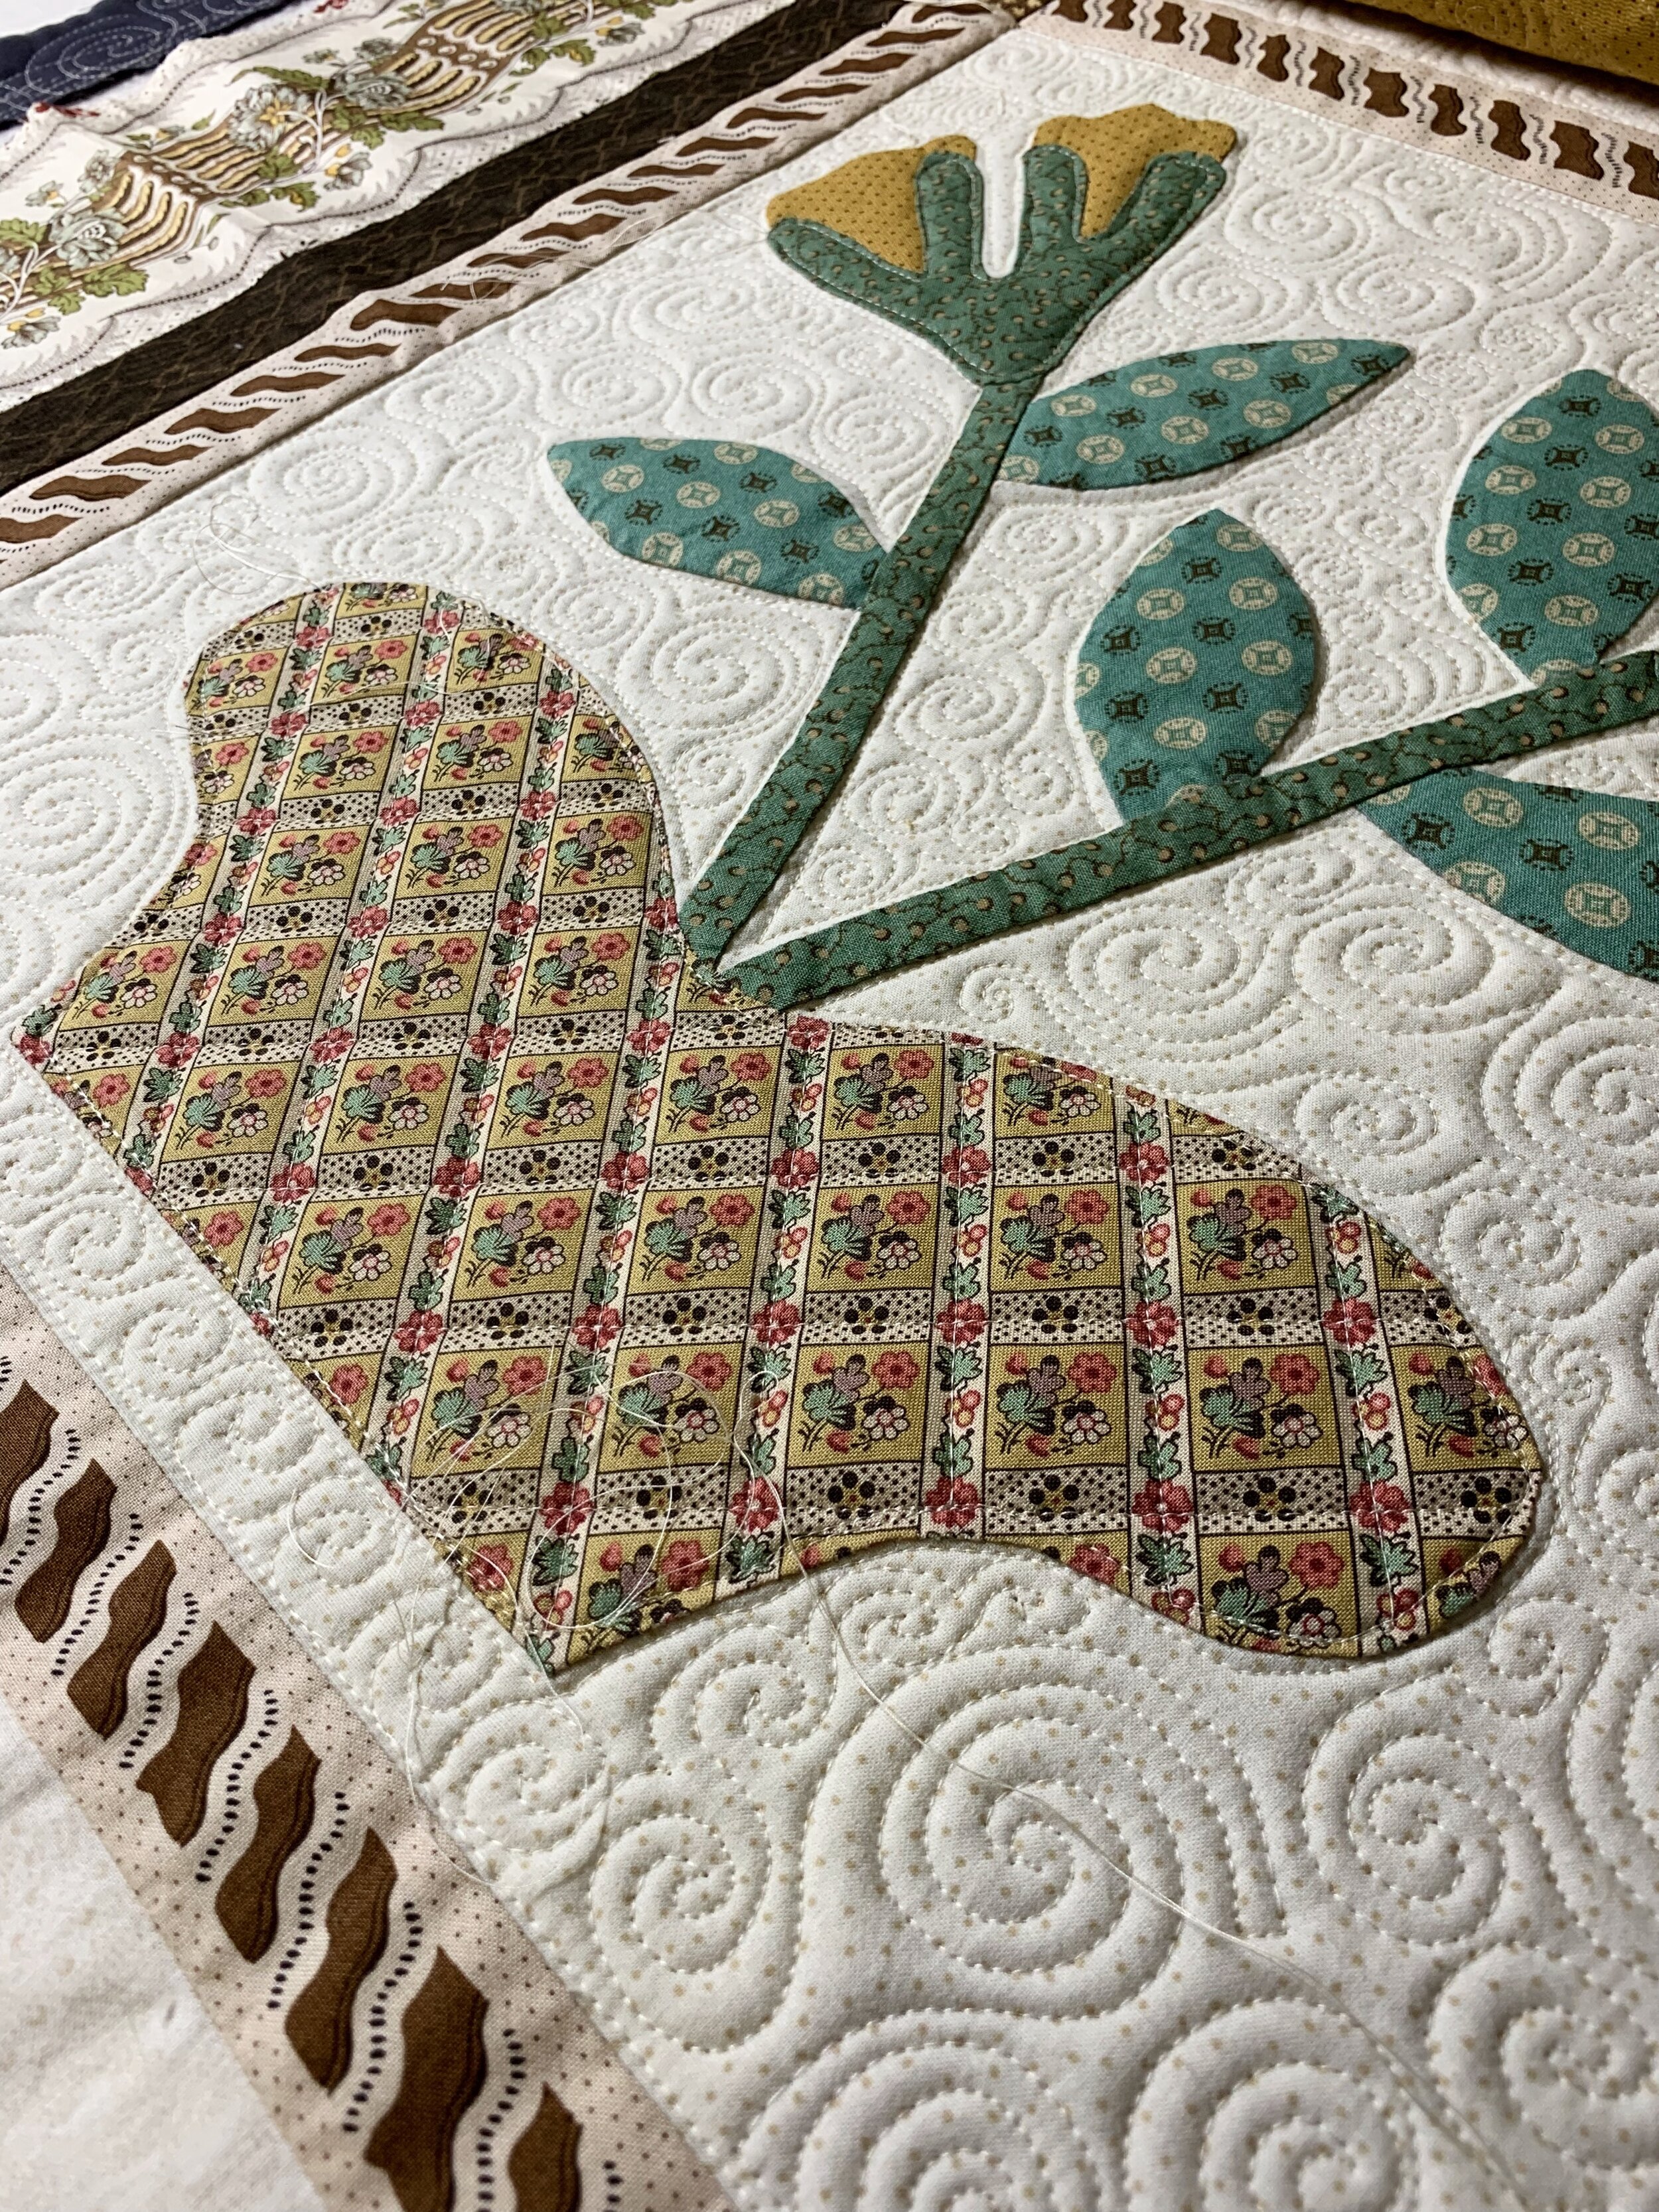
Stitch around the appliqué. This is the question I’ve received half a dozen times already. You may not draw it on your quilting plan, but you’ll want to stitch about 1/8 of an inch around all appliqué shapes.
I recommend doing this at the very beginning or very end of each block. You can free hand this or, as I did in the ruler, you can use a ruler as a guide. Please be sure to use a proper quilting ruler, not a cutting ruler.
If your quilt has sashing, consider also stitching in the ditch around each block to help the sashing “pop.”
Design your sashing/ cornerstones. If you have a quilt that uses lots of prints, try to let the designs of the fabric suggestive sashing and border quilting. It will keep the quilt from getting too busy and make your life a lot easier. I used the rope design in the sashing of one quilt and simply traced it. Otherwise, use your judgement about what will look best. When in doubt, wishbones and ribbon candy are my go-tos
Design your borders. Again, if the fabric can inform this, awesome! Otherwise, I recommend feathers or switchbacks because I’m an “all in or super simple” kind of girl!
Note Bene: I know I haven’t mentioned the appliqué itself yet. Hang tight!


Quilting
As you might imagine, quilting at this point is as simple as following the plan. Or, that is at least 90% of the execution. We do, of course, need to consider the appliqué, though. You can either quilt the appliqué after you do the background of each block, or you can do it all at once before you tackle the sashing— it’s up to you.
Regardless, I used two rules of thumb:
1I only stitched ON the appliqué if it was the same size as or larger than my palm (about 3 inches in diameter). Anything smaller will be secured with the SID around it
I kept it as simple as possible (lots of simple outlining, a little bit of ruler work where the fabric looked like basket weave, and a couple of feather wreaths). Less is more— let the appliqué shine!
Note Bene: You’ll have lots of threads to bury. Just a heads up. If you’re unsure how to bury threads, check out my quick tutorial here.
After stitching the appliqué, carry on with your quilting plan! Before you know it, you’ll have stunning finished quilts!
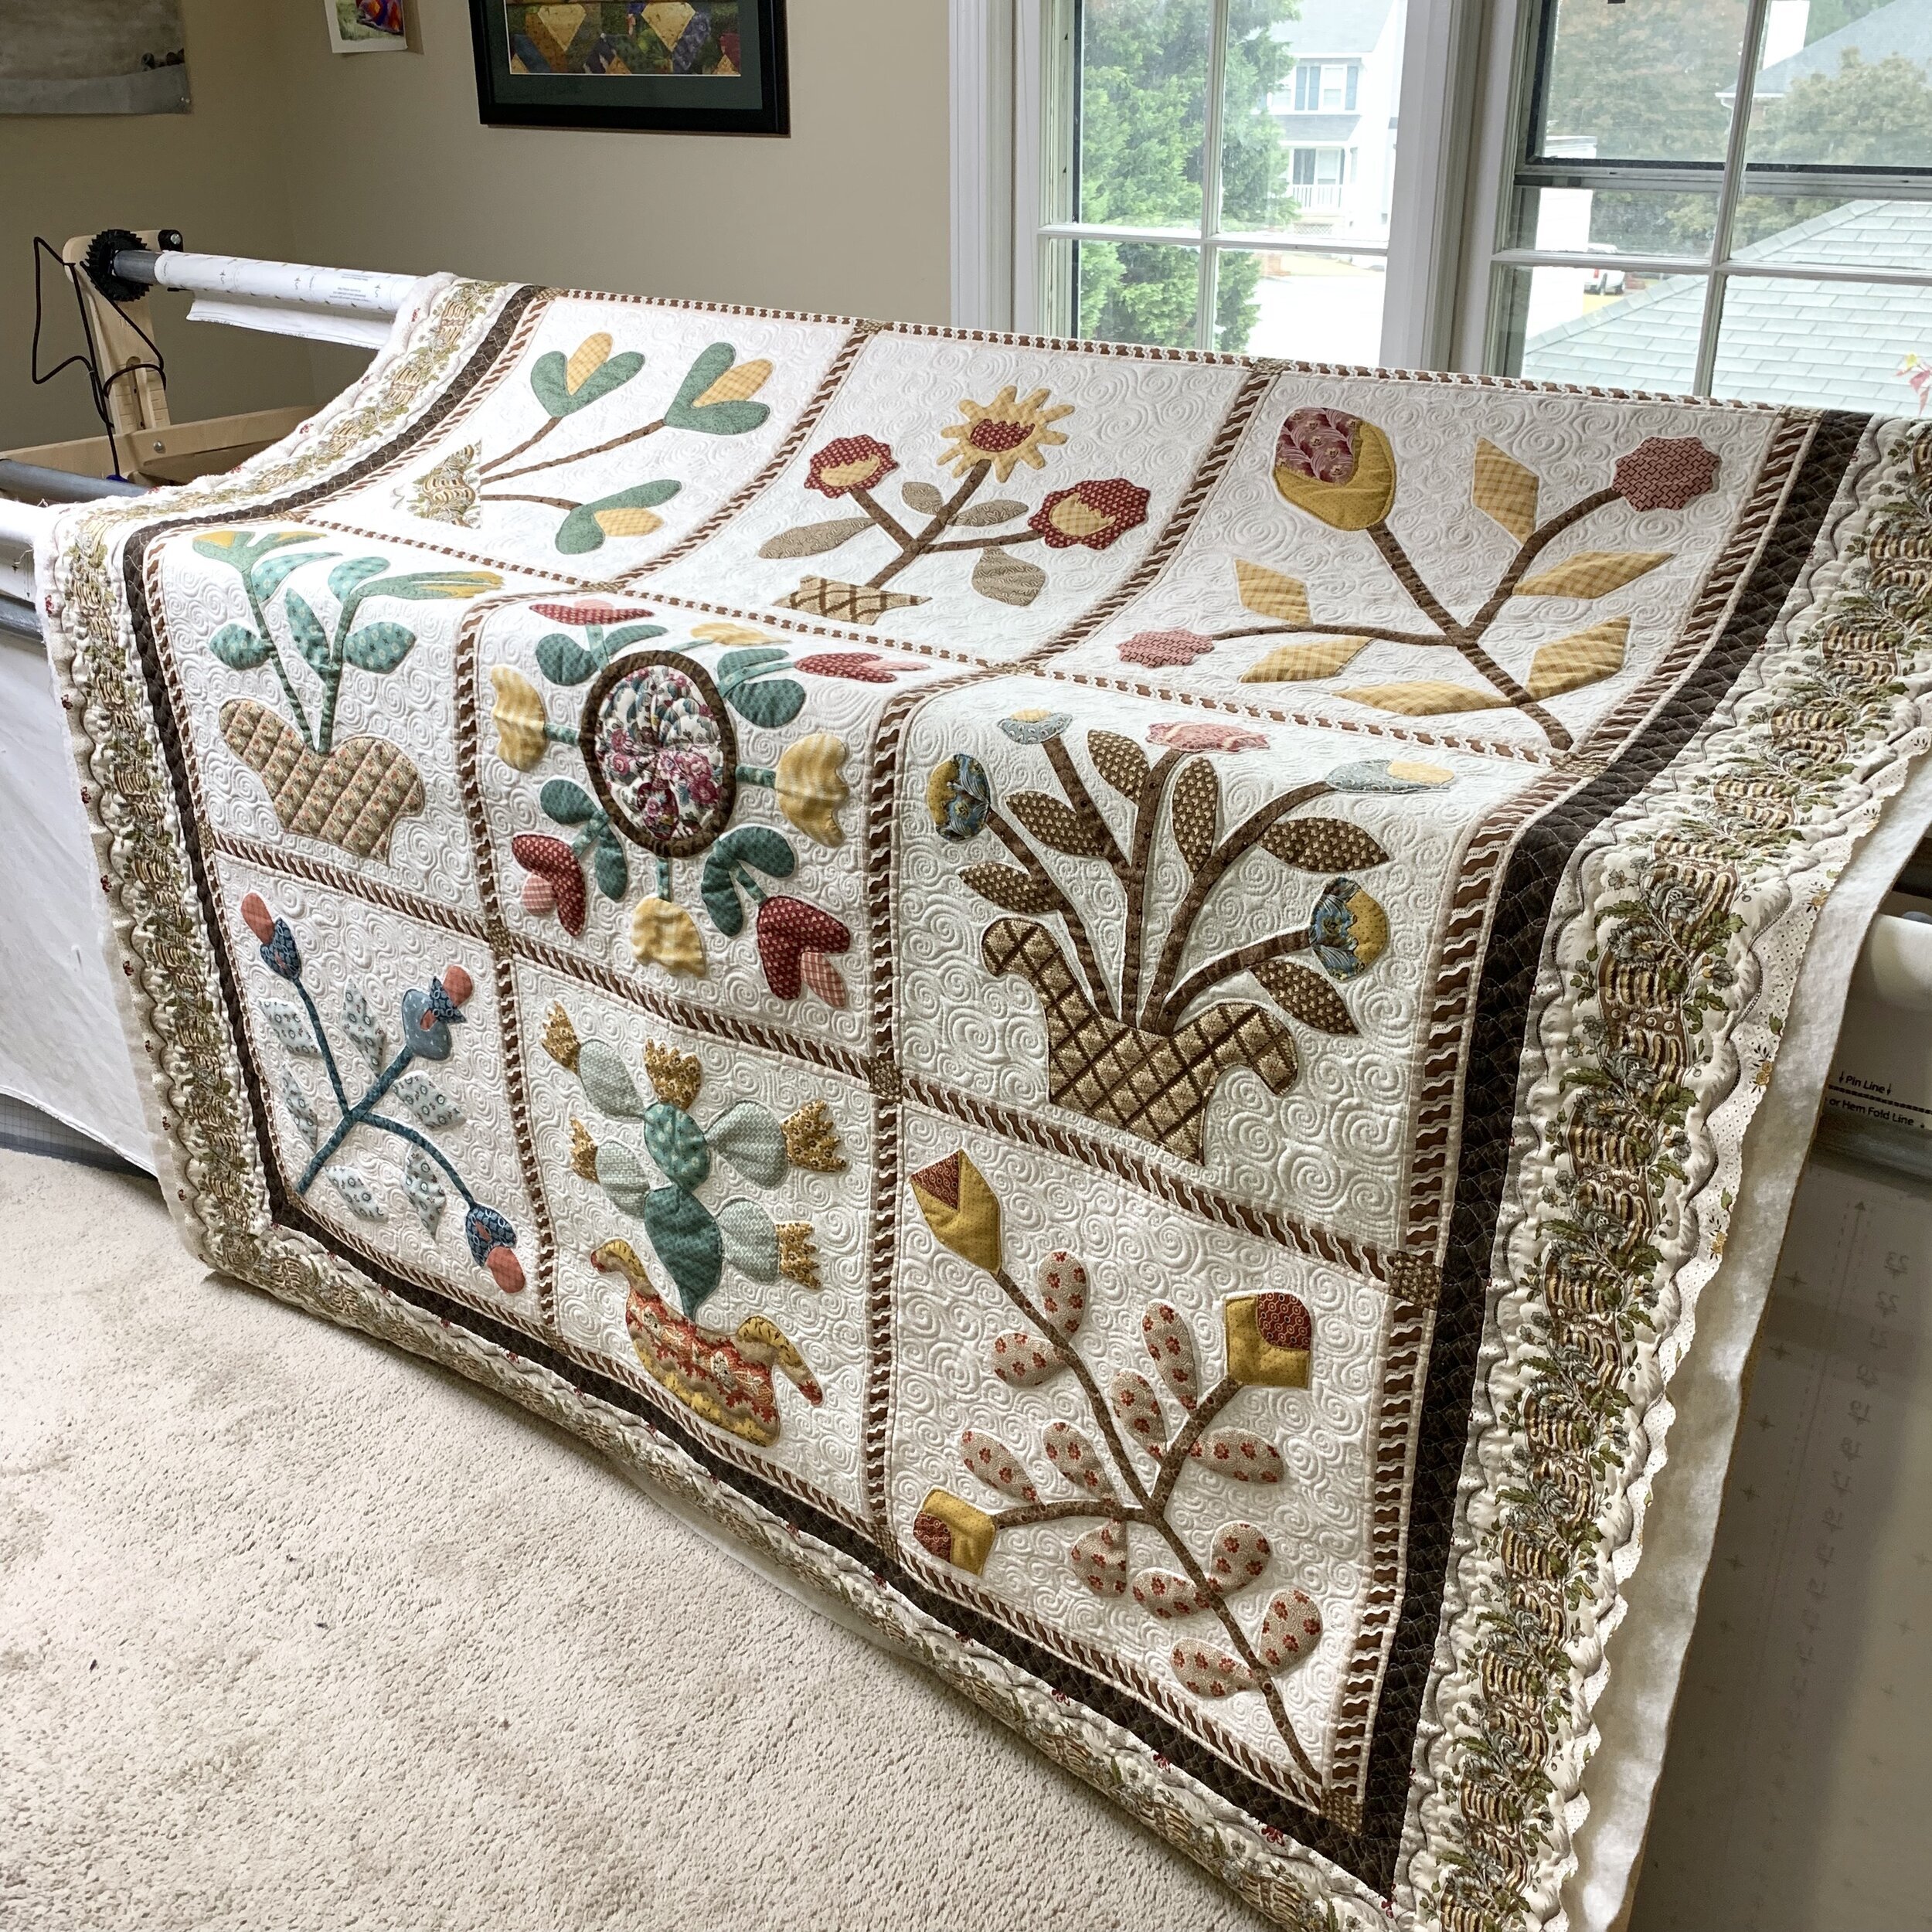
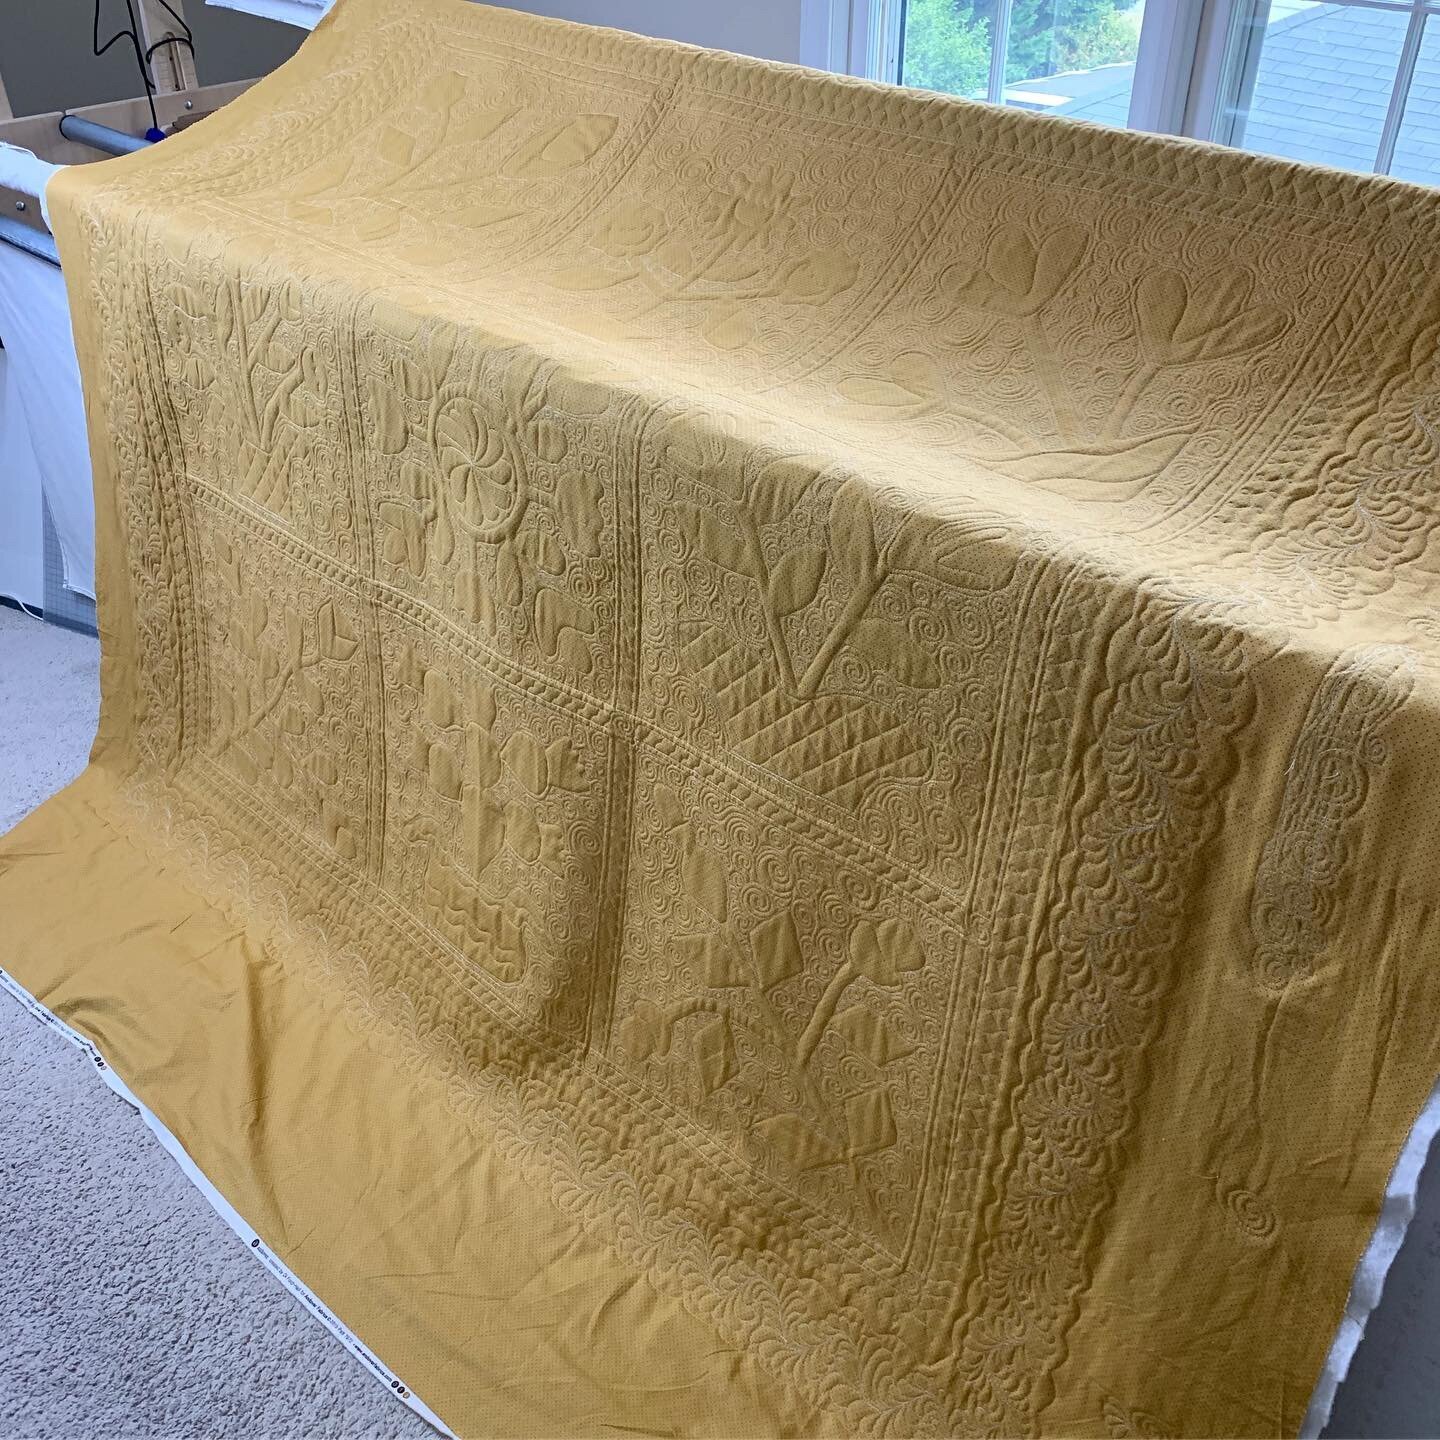
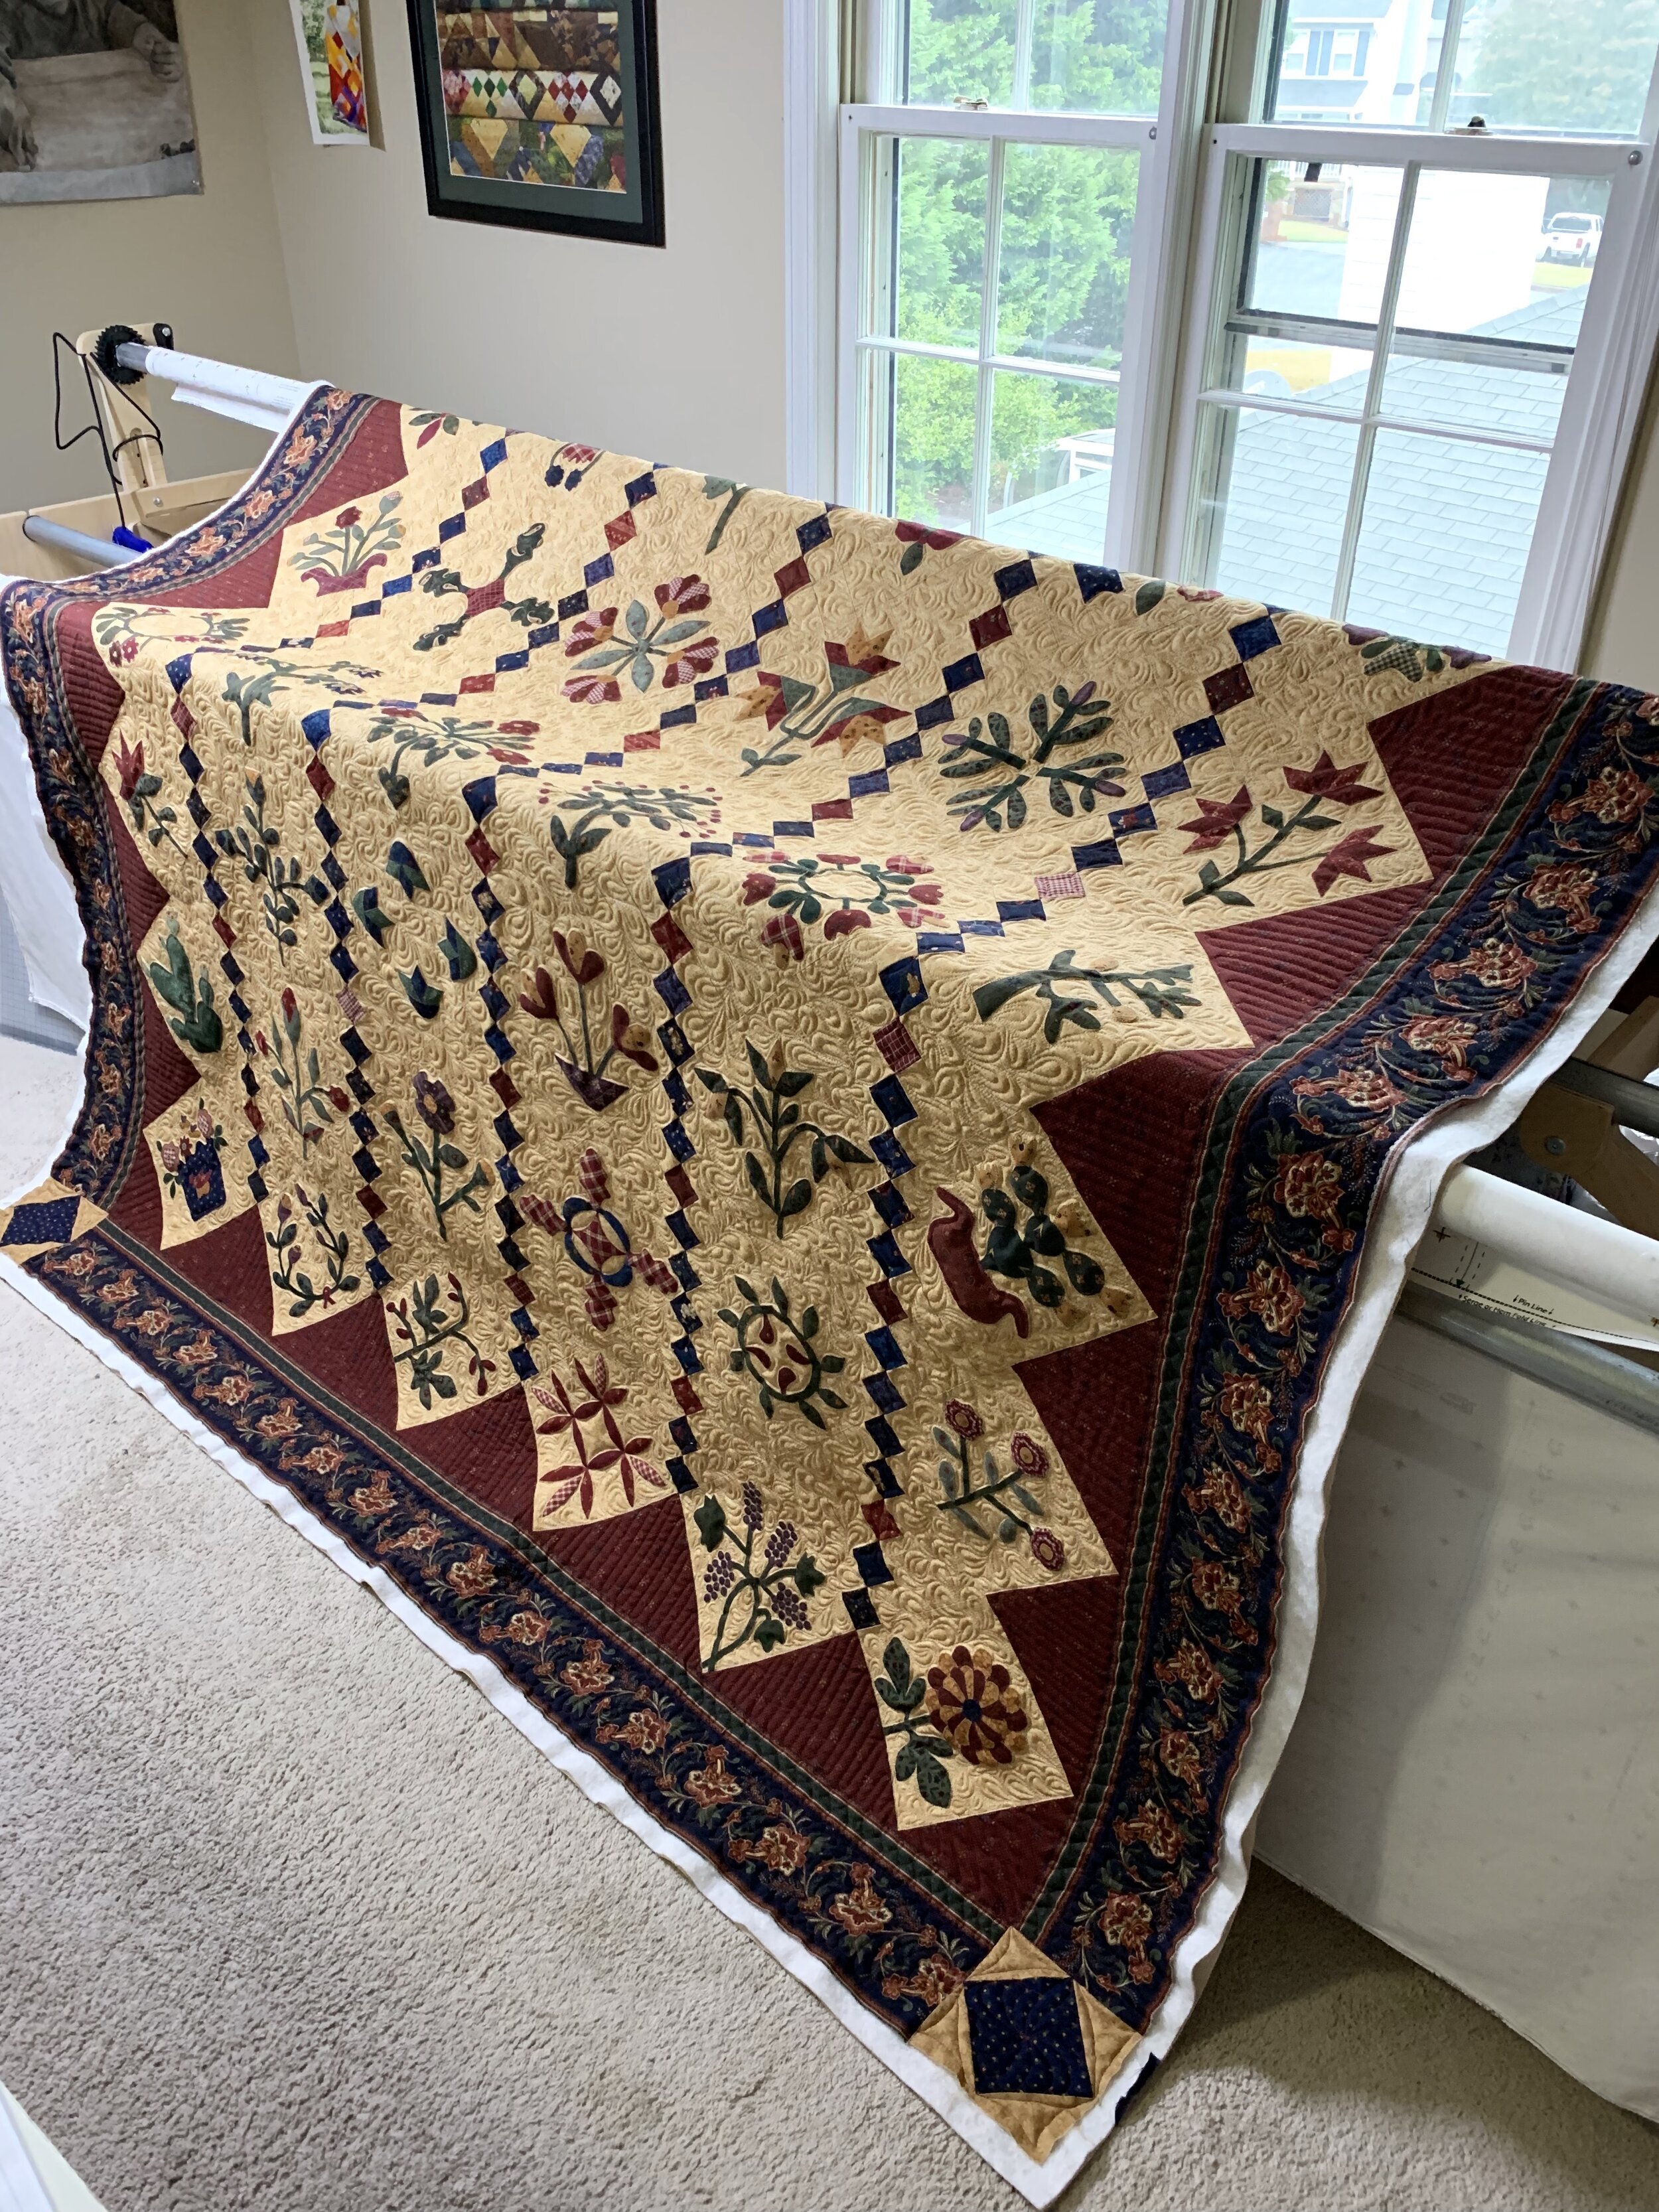
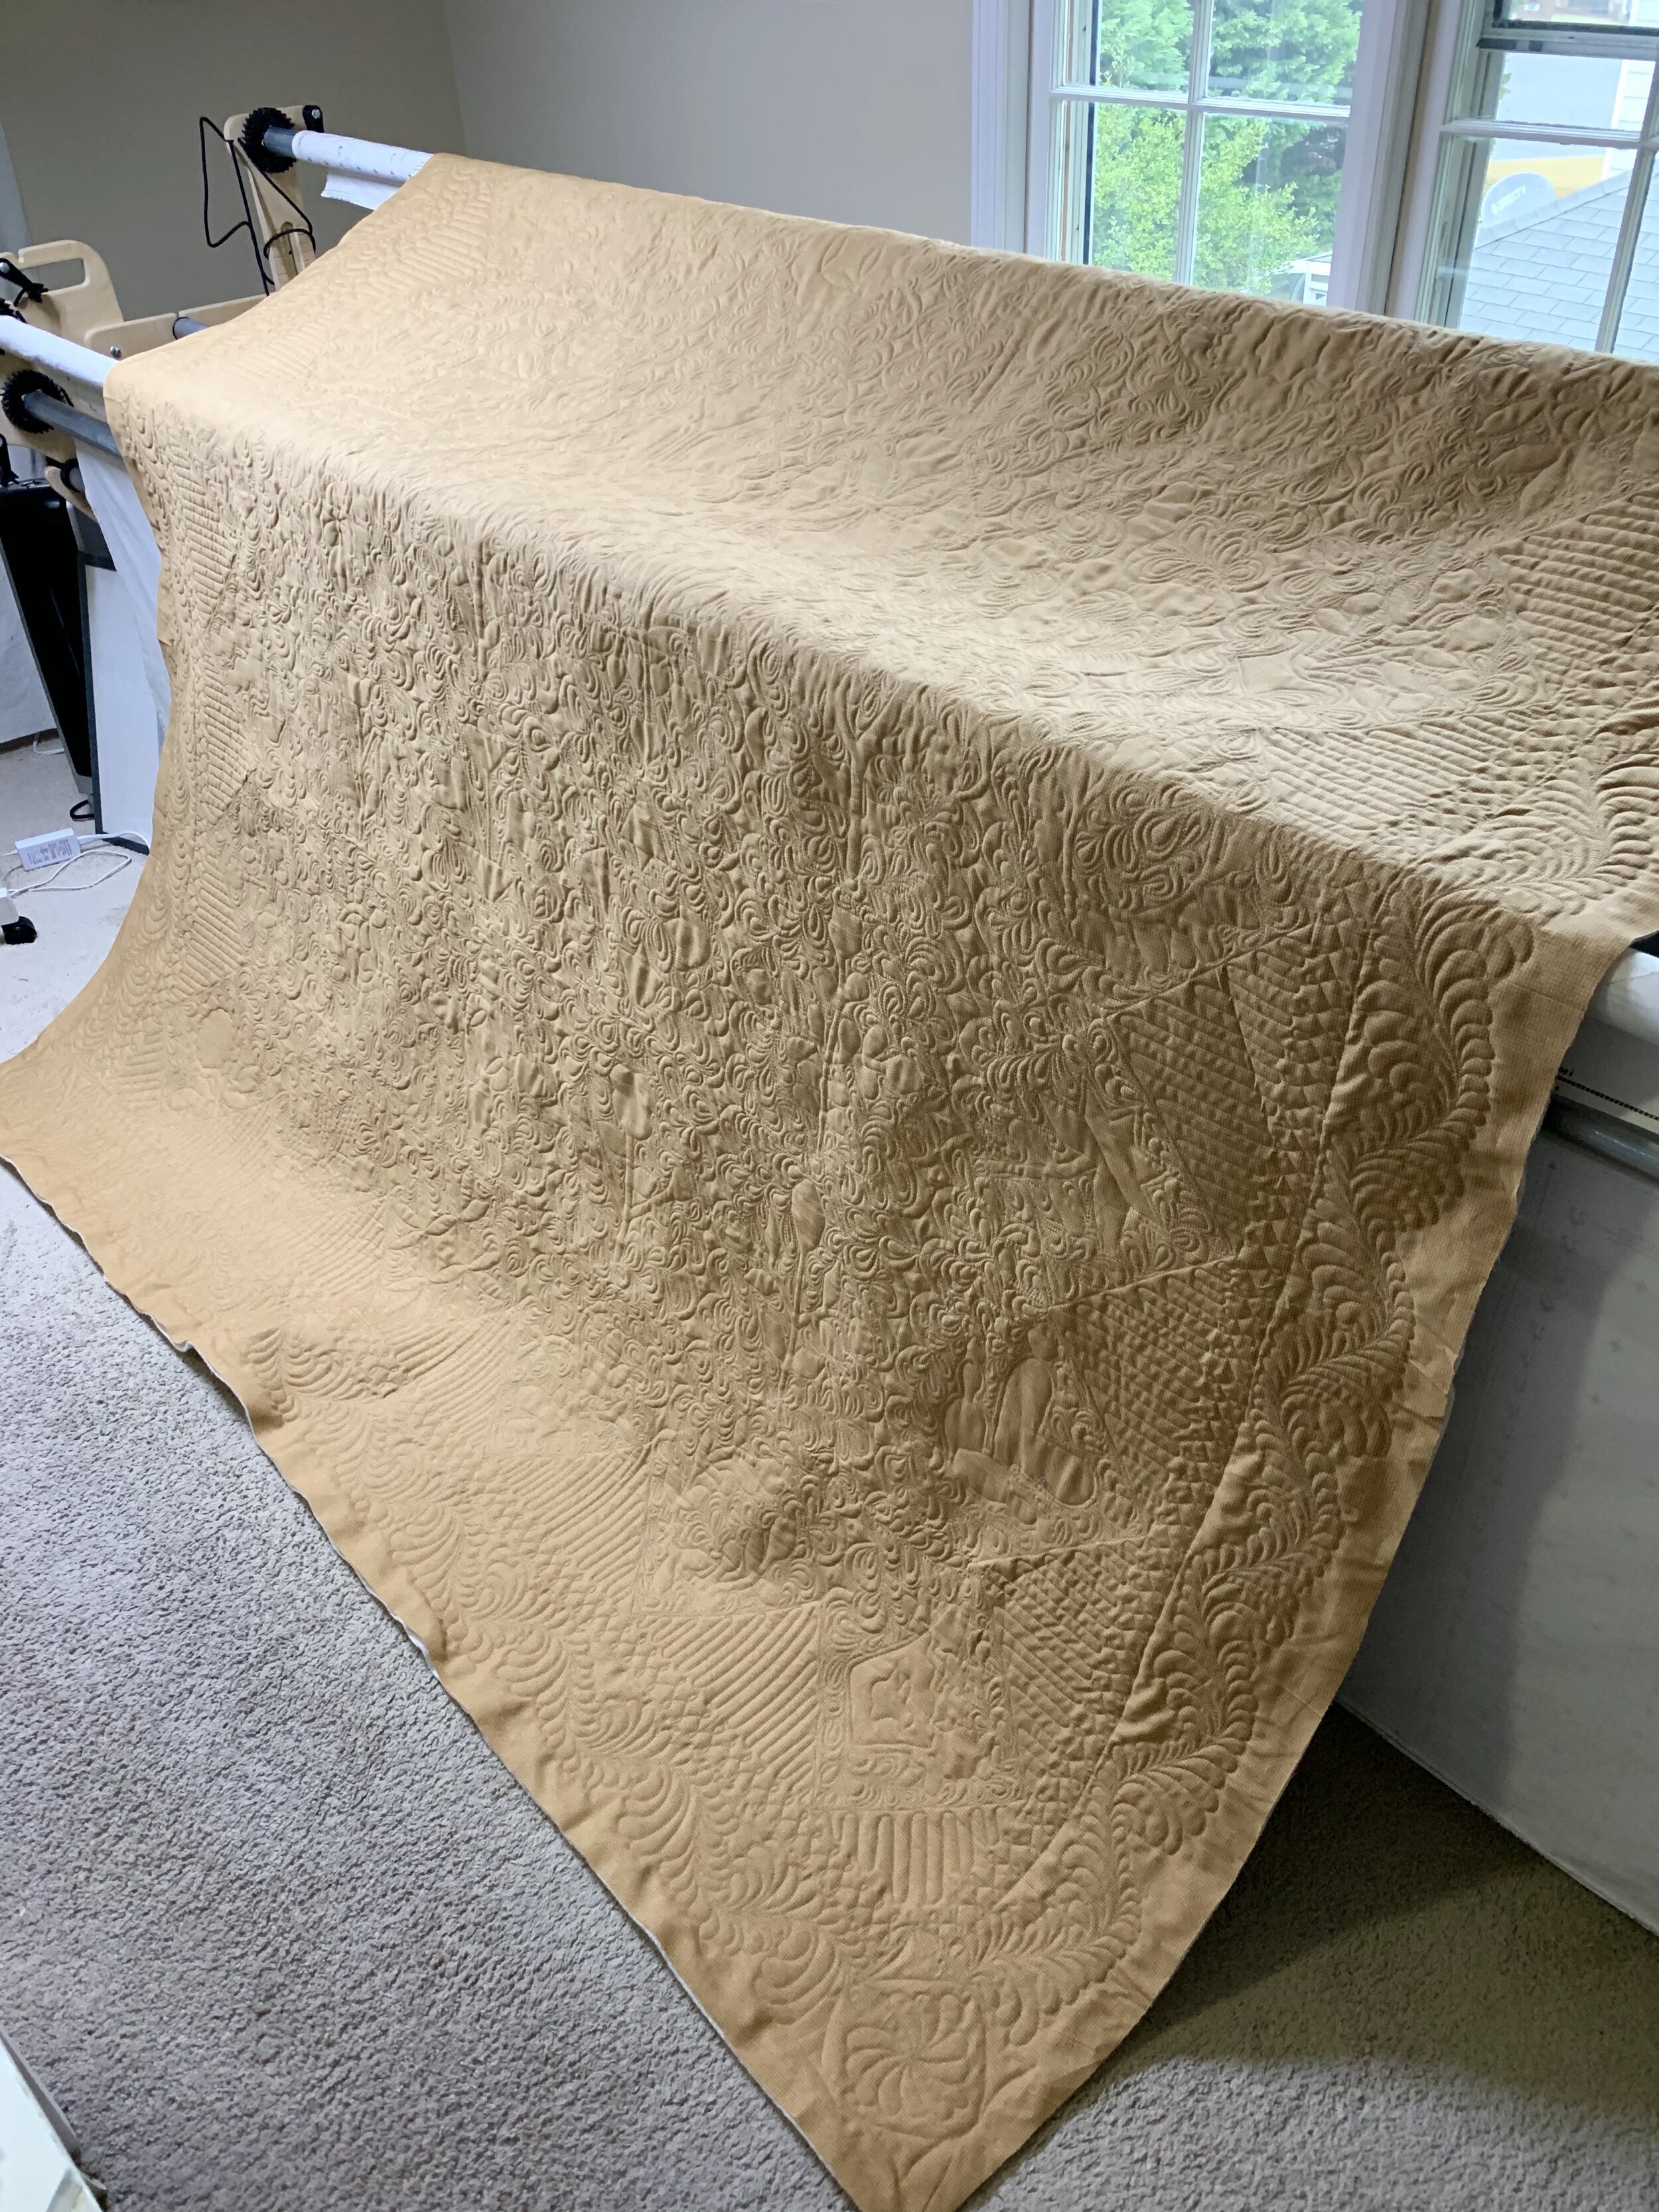
Tan floral quilts pictured were designed by Dawn Ronningen and pieced by Karen Beigh.
Resources
VIDEO: How to Bury Threads
FREEBIE: Quilting Rockstar Library (Confident Quilting Plan Workbook, Confident FMQ Workbook, Confident Longarm Quilting Workbook, etc)
MINI COURSE: Quilting Rockstar Band Camp: Appliqué Edition — 4 hours of high quality fusible appliqué education on demand from multiple instructors
Share this blog if you found it helpful: